3 Cute & Easy DIY Crop Tops Inspired by Bella Hadid

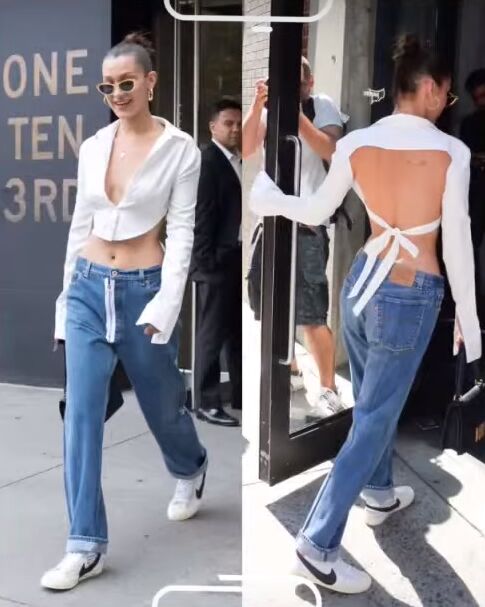
In today’s thrift flip tutorial, we are going to show you how to make three simple tops out of old clothes. One is a shirt-to-crop-top DIY inspired by Bella Hadid’s backless crop top, while the others are different styles, but also feature a similar back-tie to Bella's.
If you want to see how we made these trendy tops, then keep reading to get inspired! Let’s start thrift flipping!
Tools and materials:
- White shirt
- T-shirt
- Turtleneck
- Sewing machine
- Scissors
- Pins
- Matching thread
- Needle
- Measuring tape
- Fabric marker or tailor's chalk
- Safety pin
- Iron
DIY Bella Hadid crop top

Our first thrift flip is this old white shirt that we plan on turning into Bella Hadid's famous white backless top.
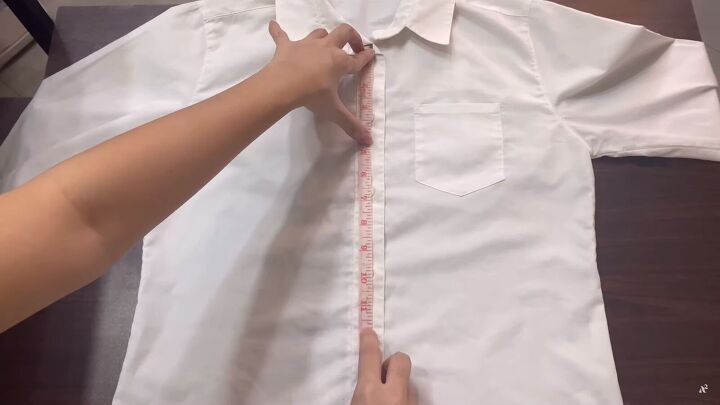
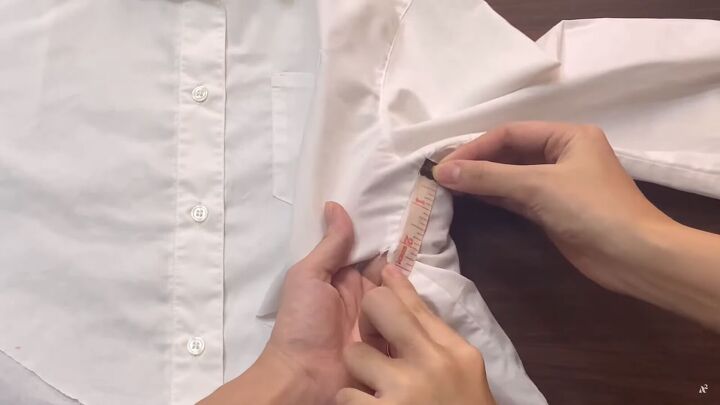
1. Measure the crop top
First, measure how long you want the front to be. It all depends on how much of your tummy you want to expose. Ours is 14” long with the hem already included.
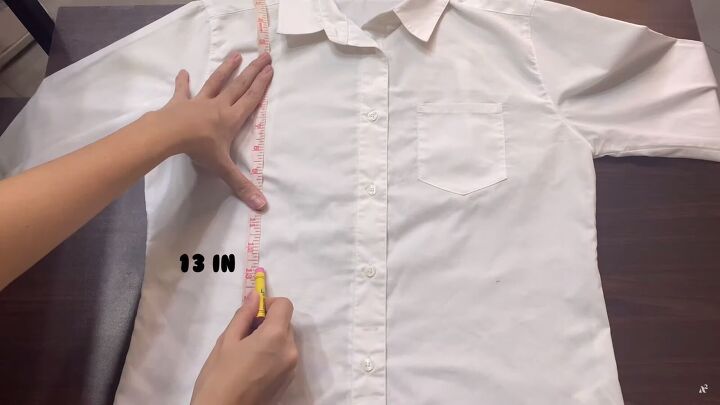
Make 13” marks on either side to get the curvy front form.
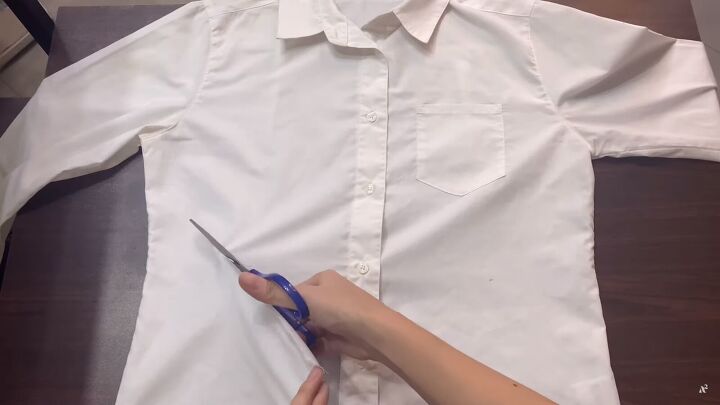
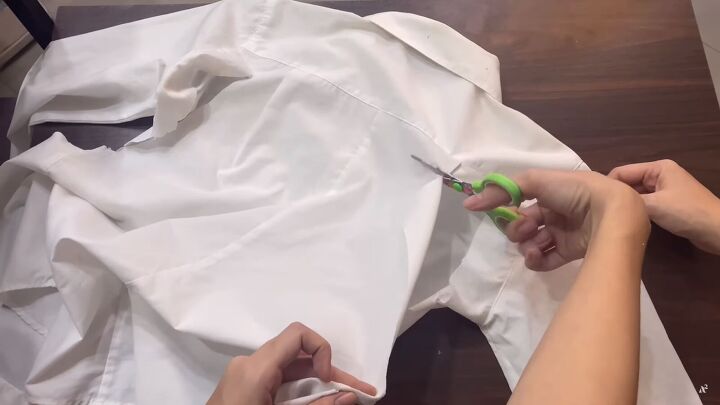
2. Cut the crop top
Cut the top layer along the points.
Be sure to leave a 2.5” gap below the armhole.
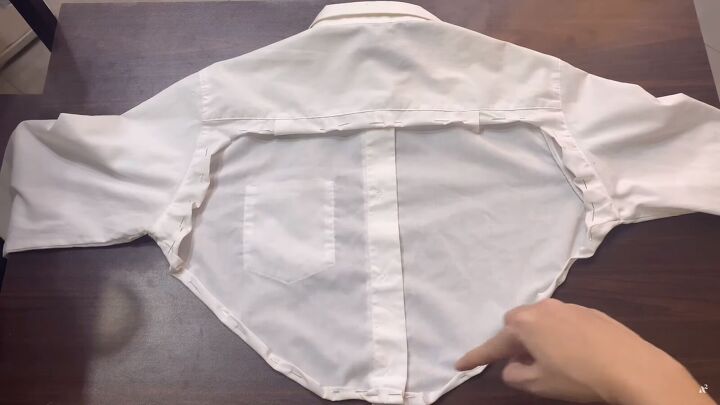
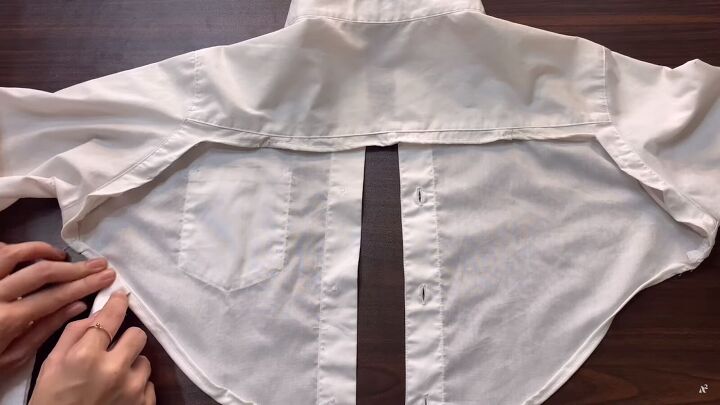
For the back, cut along the sleeve seams and the back seam across the whole top.
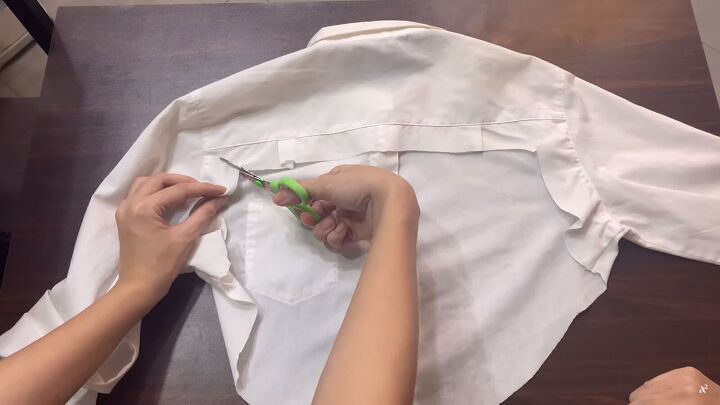
Snip into each corner so you can easily fold the edges up when hemming.
3. Hem the crop top
Hem the fabric by folding the edges up twice and pinning them in place. Do this all the way around the front, back, and sleeves. Like this, you’ll hide the raw edges. Now, hem the top.
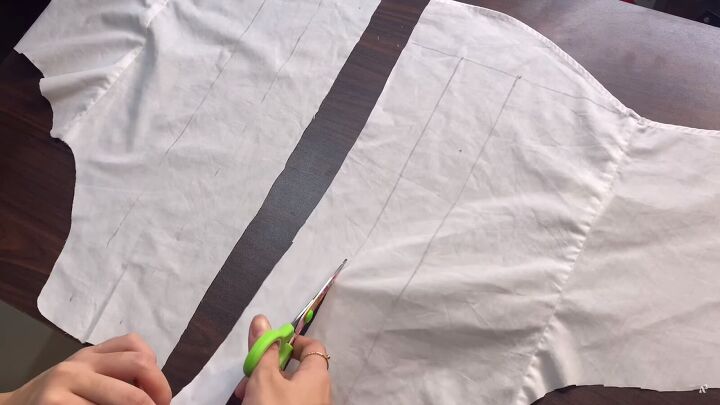
4. Make the ties
Cut four straps from the back section of the top that you cut off earlier. Our strips are about 2 inches wide.
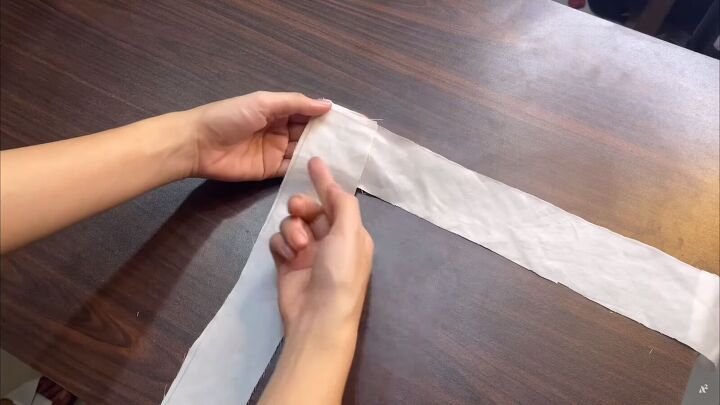
Attach the straps at a 90-degree angle and sew this area diagonally.
Cut out the tip.
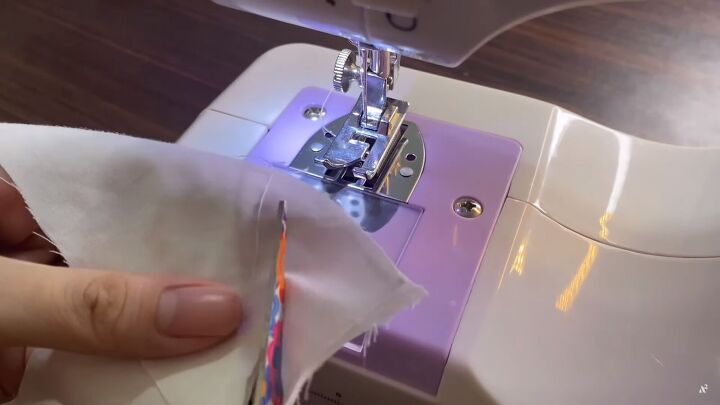
Now you have two long pieces. Fold the fabric right sides together and pin. Then, sew each strap with a straight stitch.
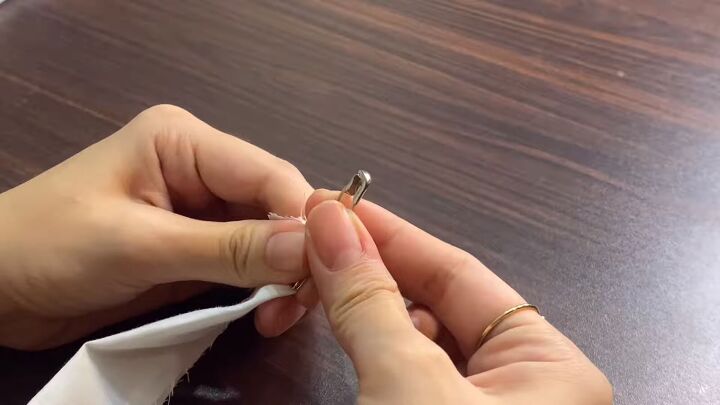
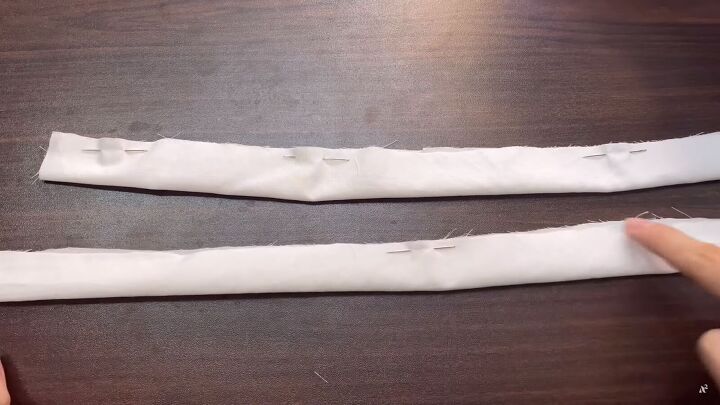
Turn the fabric right sides out with a safety pin.
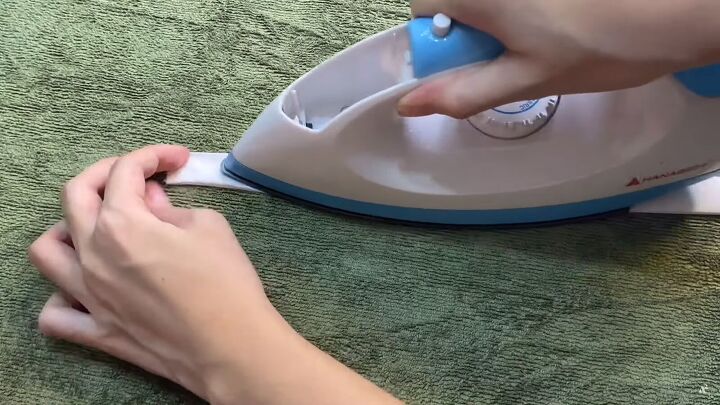
Iron the fabric to make it look neater.
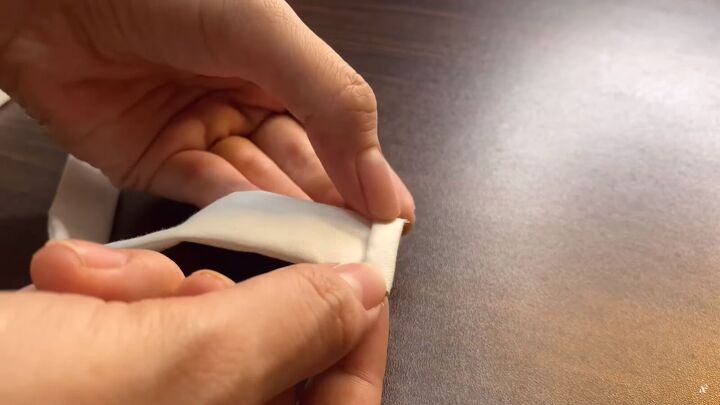
Fold the ends down twice and sew for a cleaner finish. We hand-sewed this section.
To attach the straps to the top, pin them halfway down the front edge of the shirt and hand-stitch them in place.


So, what do you think of this Bella-Hadid-inspired crop top? It’s such a straightforward thrift flip and totally stylish!

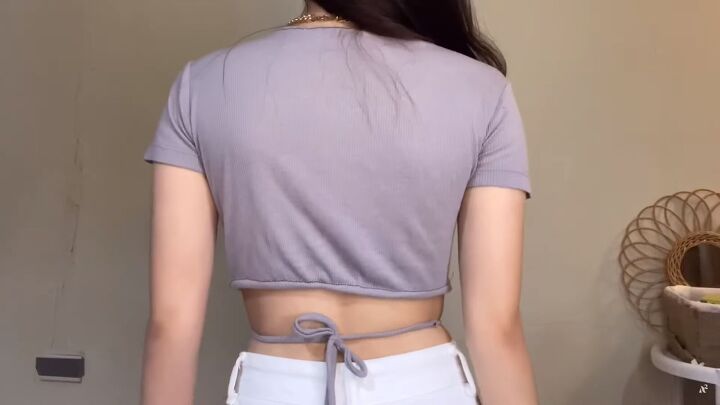
DIY turtleneck crop top with ties
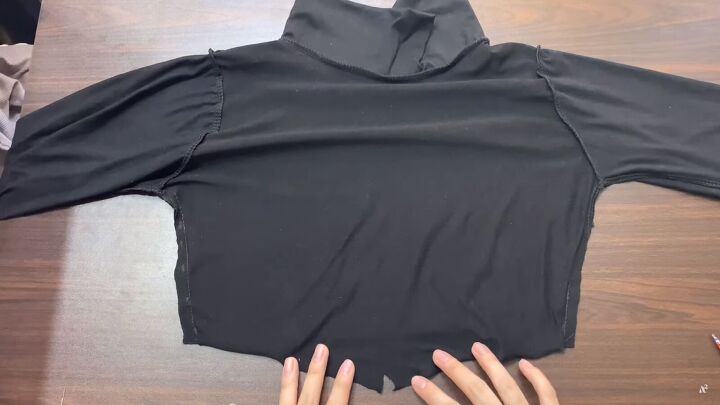
The next thrift flip is with this long-sleeved black turtleneck top.
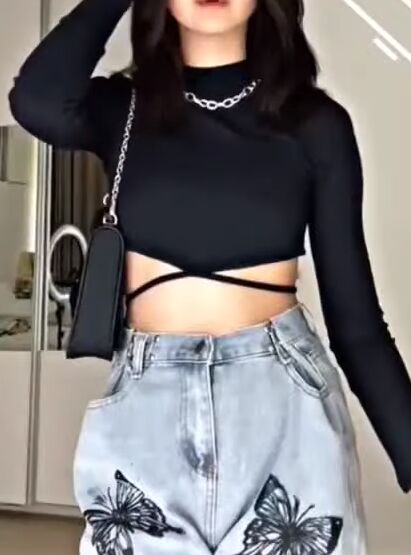
We plan to turn it into a cute and trendy top, as shown above. For this top, we’re simply going to crop it and attach the ties, which wrap around the waist.
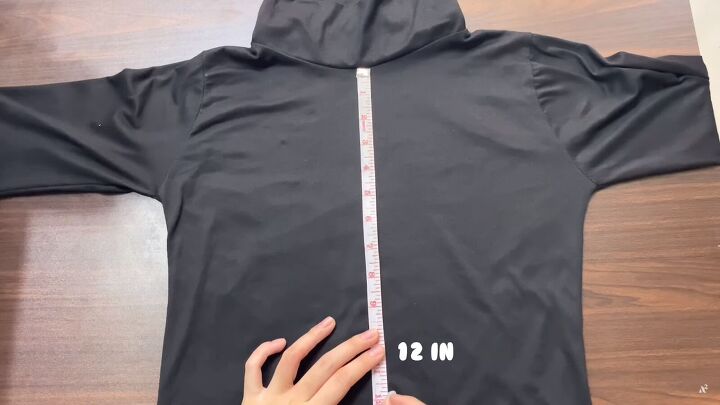
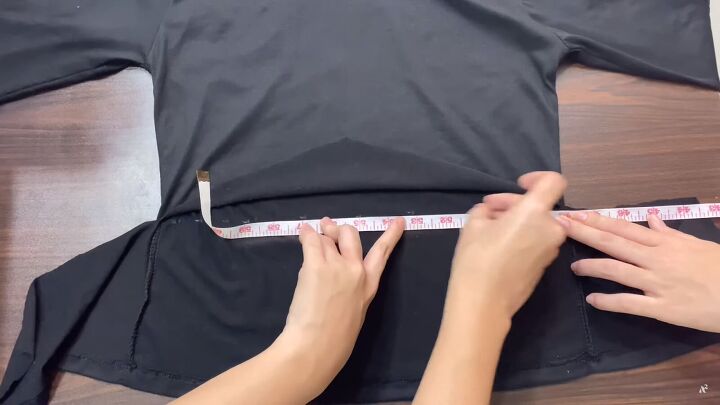
1. Measure and mark
Measure how long you’d like the top to be. Ours is 12”.
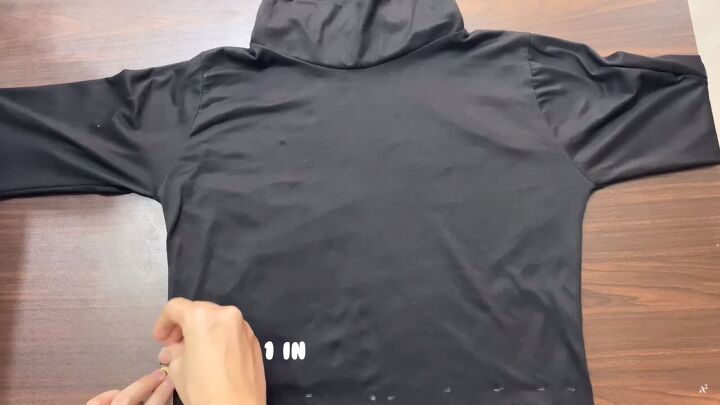
Now, mark both sides, 1 inch up from the center mark.
Connect these marks to make a slight V-shape.
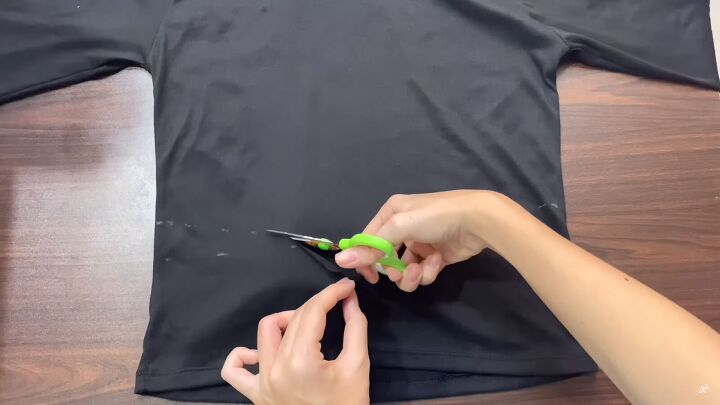
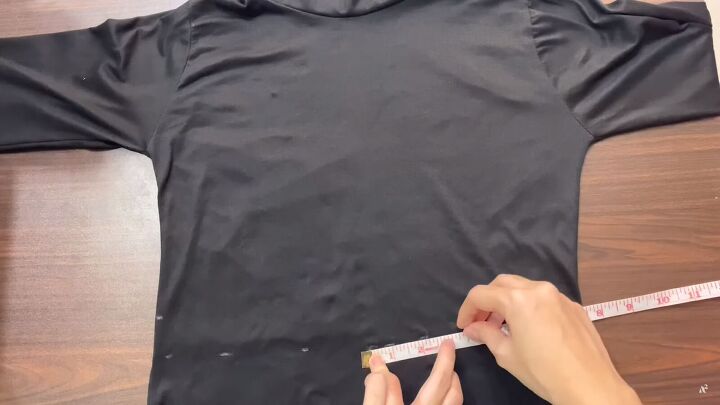
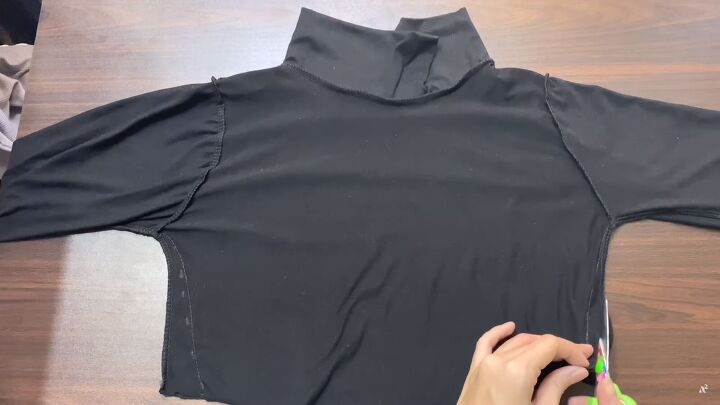
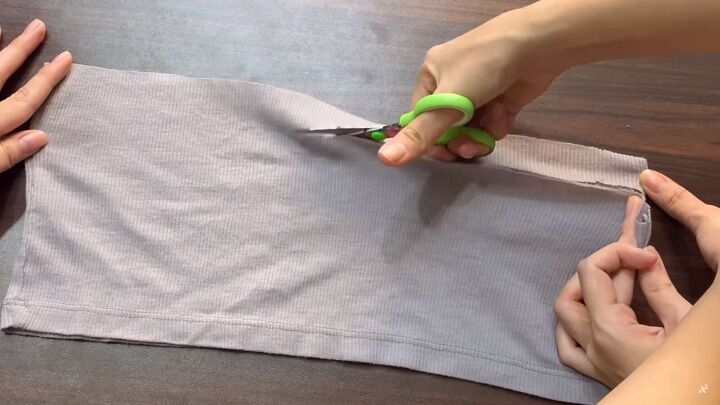
2. Cut the crop top
Cut the front layer first.
For the back of the top, simply draw a straight line and cut.
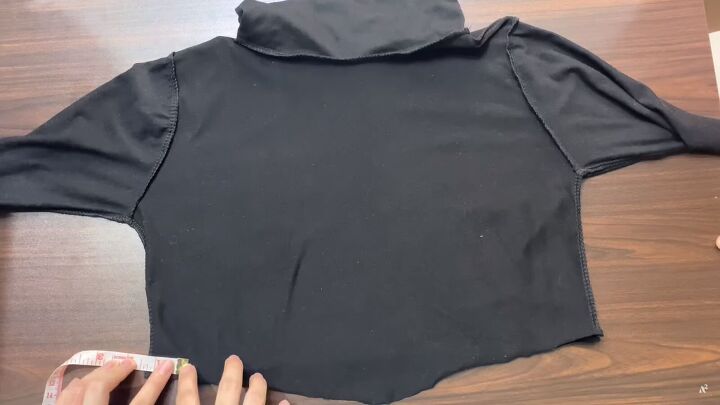
3. Take in the crop top at the sides (optional)
Since our top is fairly loose, we took it in at the sides, so it’s more fitting. To do this, mark 1-inch from each side. Your top should be inside out.

Connect the bottom armhole seam to the mark (on each side). Sew along the lines.
Cut away the excess fabric.
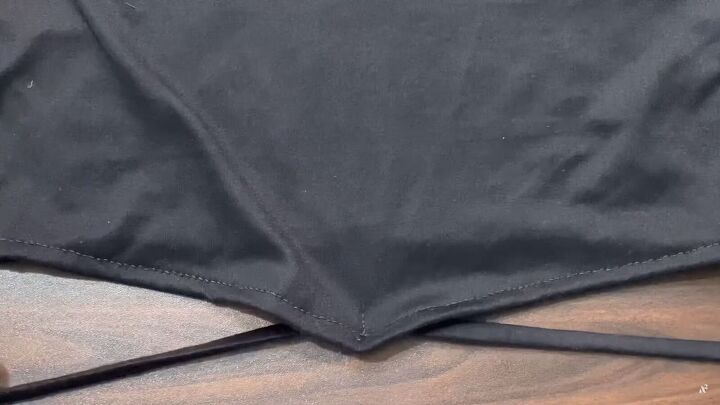
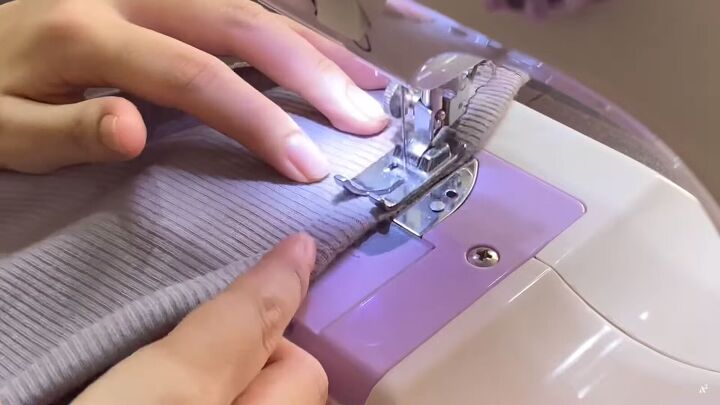
4. Hem the crop top
Snip the center so that it’s easier to fold up the edges when hemming.
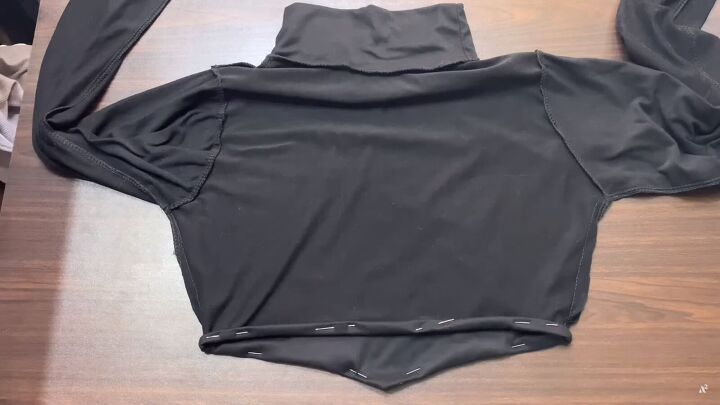
Hem the bottom raw edge by folding the fabric up twice and pinning them to hide the raw edges. Then, sew to secure.

5. Make the ties
To create the strings, cut two long 1-inch wide strips.
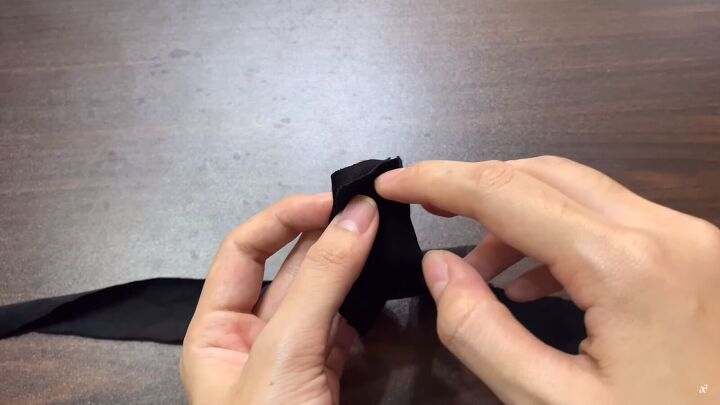
Sew the end of each strap together, right sides facing. Do this with a straight stitch. You now have one long strip of fabric!
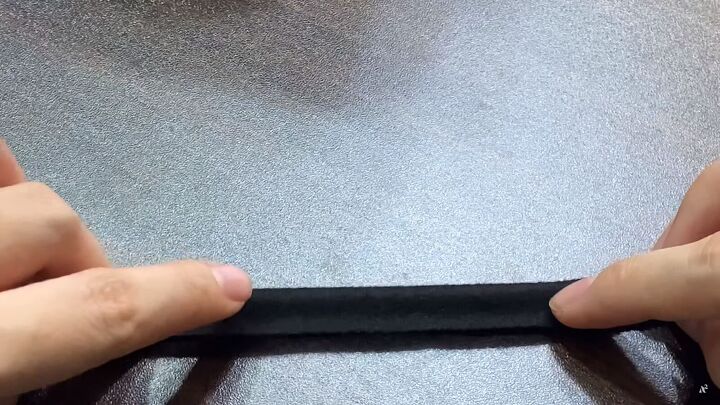
Fold the strip right sides facing and sew along the edge.
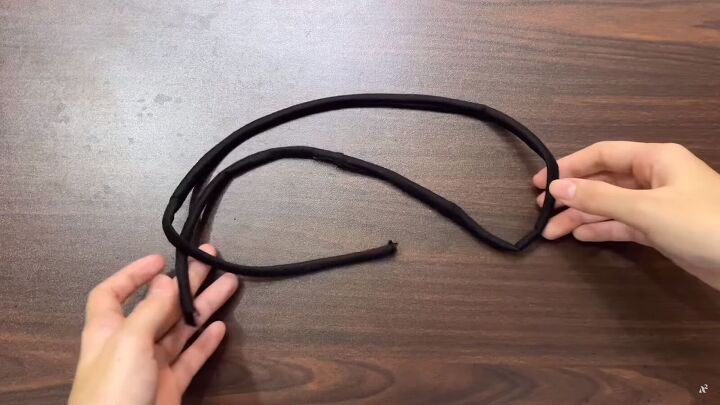
Turn the strip right sides out with the help of a safety pin.
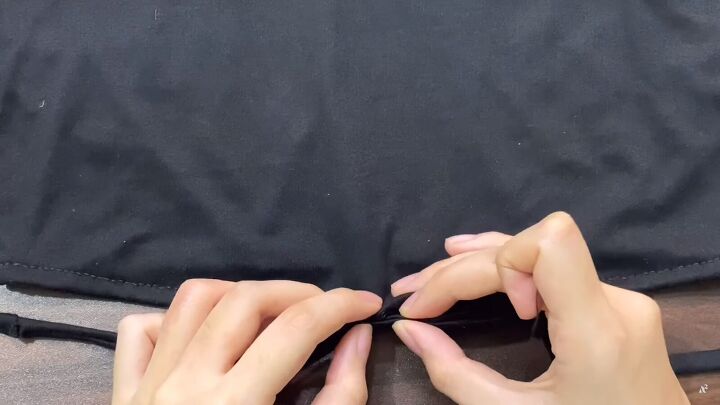
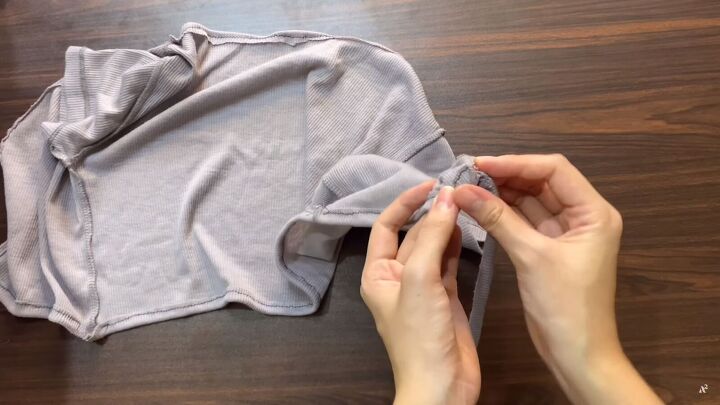
6. Attach the tie
The final step is to find the string’s middle point and attach it to the pointed corner of the top.
Hand-sew to secure it in place.


There you have it, this beautiful black wrap-around top. It’s so stylish and unique, don’t you think?

DIY wrap crop top
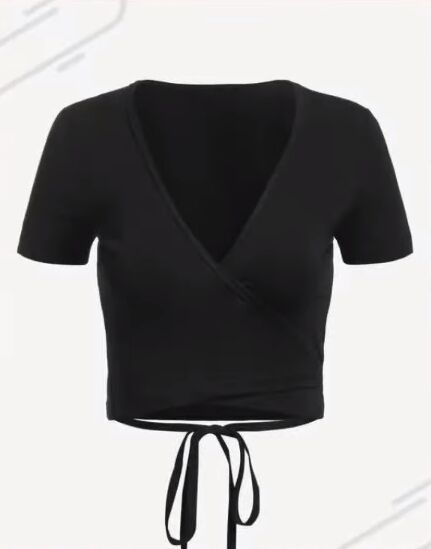
For the last tutorial, we will be transforming a plain t-shirt into a wrap-style top with a V-shaped neckline and a tie at the back, like the crop tops above.
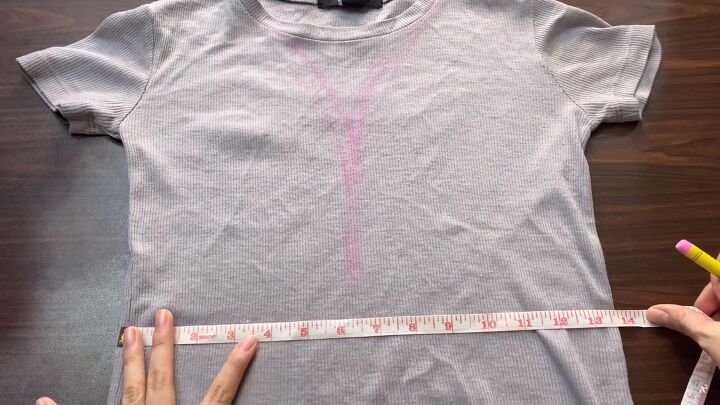
1. Measure and mark
Figure out how long you want your top to be, we measured 10” from the neckline.
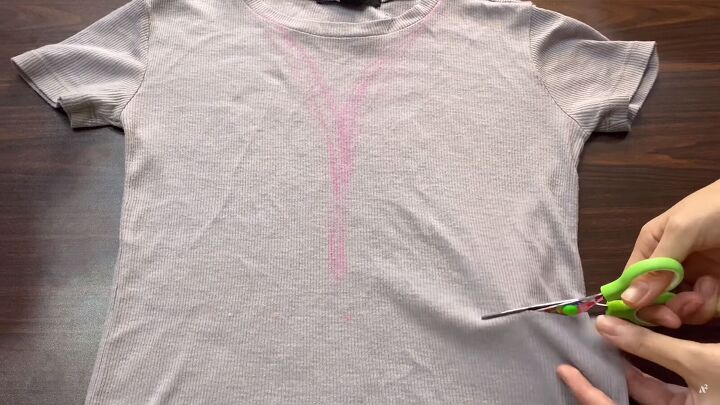
2. Cut the new shape
Draw a straight line and cut.
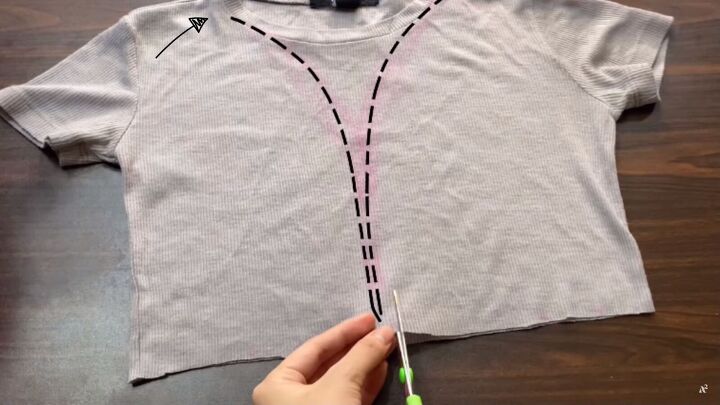
Now, draw a curved line in the front and cut.
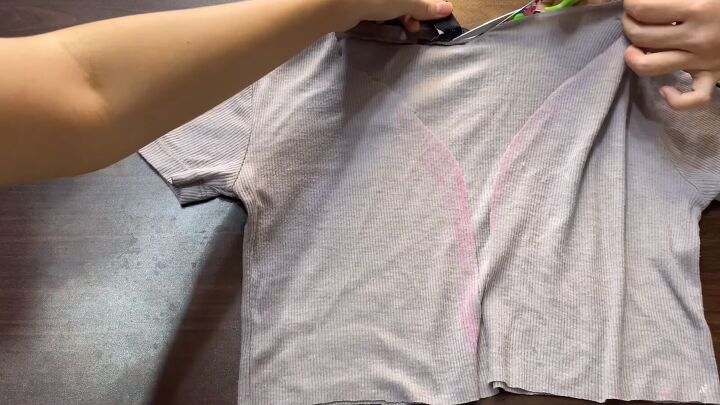
Cut out the neckline completely.
3. Hem
Fold the raw edges, then pin and sew to secure. When sewing the bottom hem, make sure it’s wide enough for a drawstring to pass through.
4. Make the ties
Cut two 1-inch wide strips from the remaining fabric.

Then, follow the same steps as we did with the ties we created in the previous tutorial.
5. Insert the drawstring
Insert the drawstring all the way around with a safety pin.

You’re done! What a straightforward transformation!
DIY Bella Hadid crop tops
Thank you for joining us! We hope you enjoyed the tutorial and got the inspiration to make your own Bella Hadid crop top and wrap tops!
Let us know which your favorite is in the comments below. Good luck!
The author may collect a small share of sales from the links on this page.


Comments
Join the conversation
The t shirt crop top is really cute! Great ideas for changing up a wardrobe, using scarves, floral or other prints would make really nice ties as well!