DIY Gym Clothes: 3 Thrifty Ideas

In this tutorial, I’m going to show you some DIY gym clothes. We’re going to be making two DIY workout shirts and a DIY headband. All three of these projects involve items you already have around the house, so you don’t need to spend any money on making them at all!
Tools and materials:
- T-shirts
- Scissors
- Hair tie
- Tape
- Sports bra
- Pins
- Fabric glue
Wrap racerback t-shirt
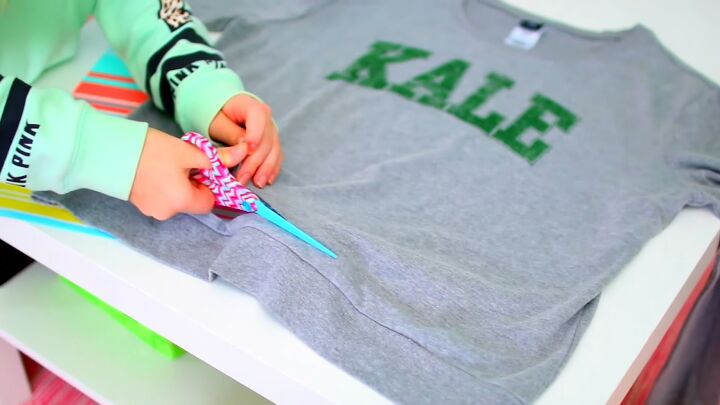
1. Cut the t-shirt
Start by cutting the hem off of your shirt. You can make it as short or as long as you want as long as you’re cutting off at least part of the hem. Then cut off the sleeves of your shirt, basically making it into a muscle tee.
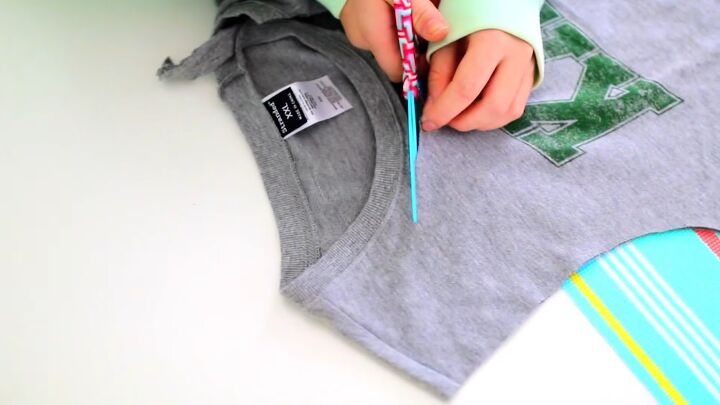
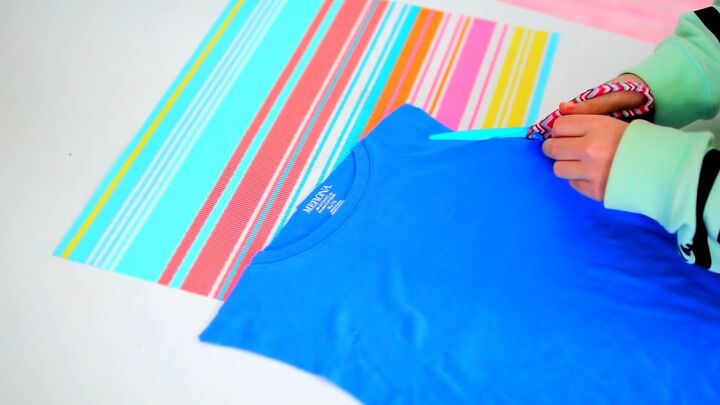
Once you’ve done that, take the top layer of your shirt and cut off the collar of it, just below where the normal collar would be.
After that, flip your shirt over and cut a big triangle in the back of your shirt. It should end in the same place where your armholes end.
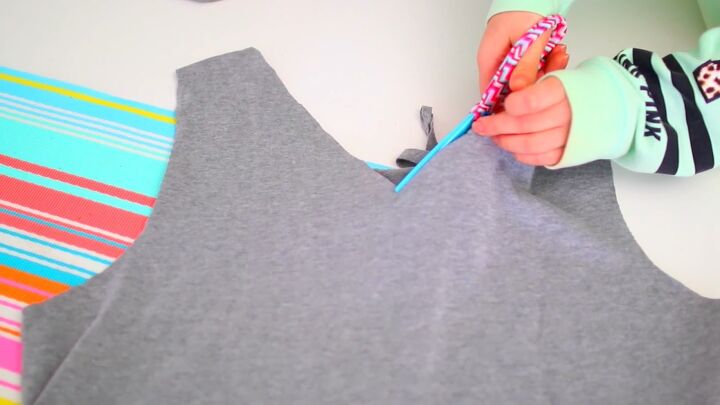
2. String the back of the shirt
Next, take the hem of your shirt that we already cut off in the beginning and make a cut in it so it is one long piece. Use the piece to string it through the back of the shirt and tie a secure knot so it doesn’t move.
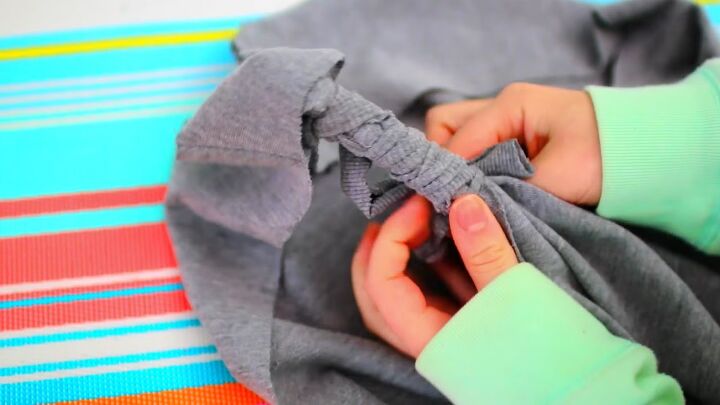
Then wrap it around the back of the shirt until you get to where the armholes are. Try to do it as tightly as possible so it doesn’t unwind.
Once you get to the bottom, tie it off so it doesn’t unravel, I recommend doing a double knot. Then cut off the extra fabric.
And that is how you make this twisted racerback upcycled t-shirt.
This is a great comfy and trendy shirt to work out in!
Braided headband
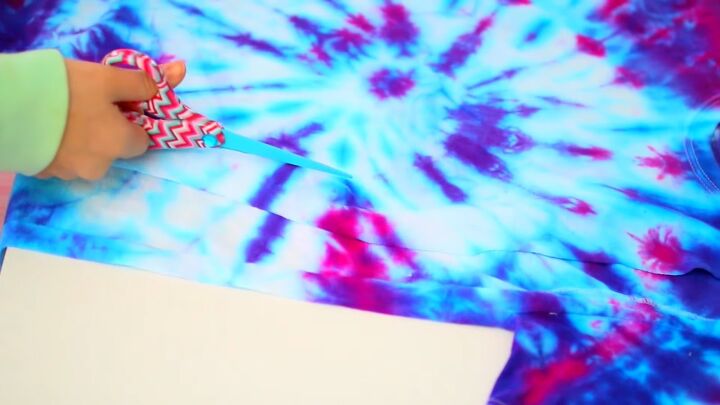
1. Cut strips from the shirt
Take a t-shirt of your choice. I think that a tie-dye shirt works best for this because it will make the colors of the headband look really cool.
Cut three very long strips of fabric as you want them to be able to fit around your head. I recommend making them about 1.5 inches (4cm) wide.
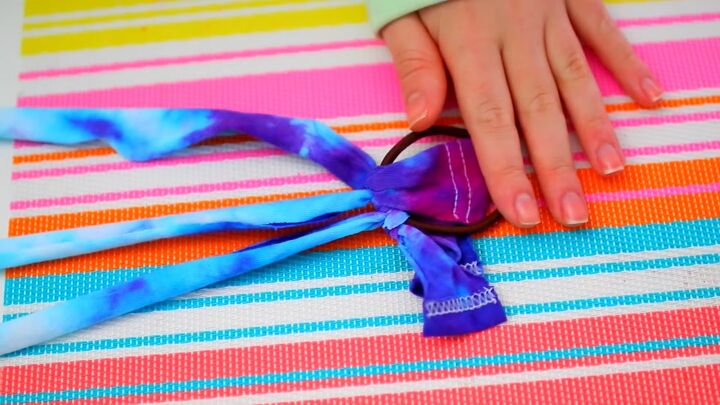
2. Tie to a hairband
Next, take a hair tie and tie each of the pieces of fabric onto it. Make sure the knots are super tight and won't come undone.
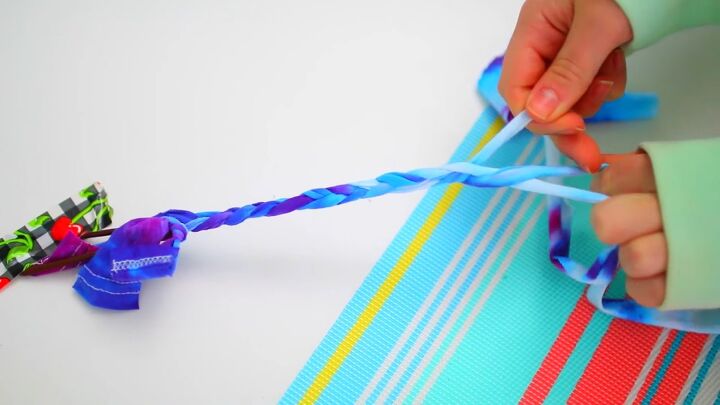
3. Braid the strands
Tape the hair tie down to a table and then start braiding the strands as tightly as possible.
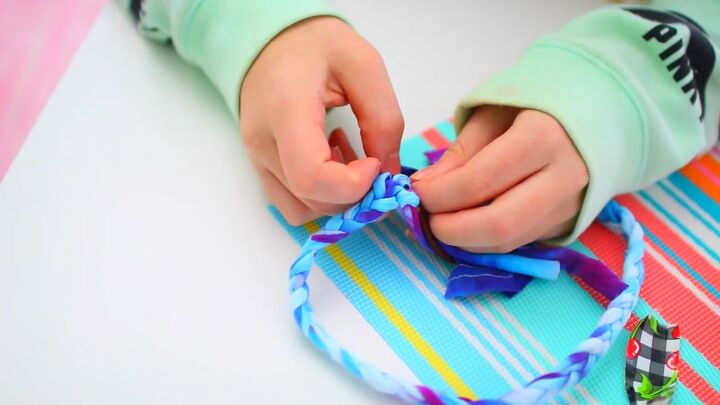
4. Tie the end
Once it is the length you want it, tie the three strands onto the hairband as you did in the beginning. Finish off by cutting any of the remaining fabric.
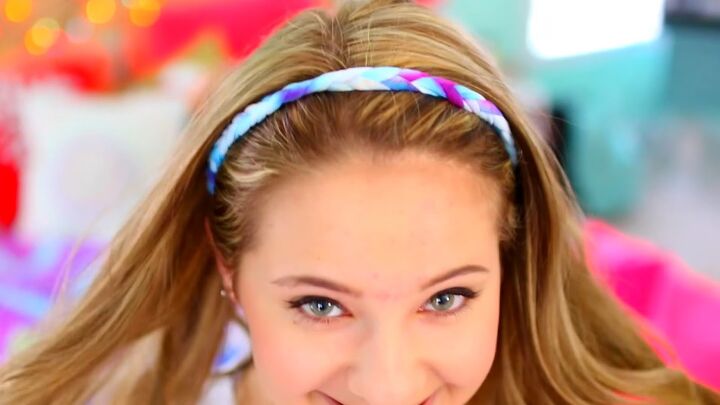
This cute, braided headband is a great way to keep your hair out of your face when you’re working out. Putting the hair tie in the back of it makes it very stretchy and easy to put on over your head.
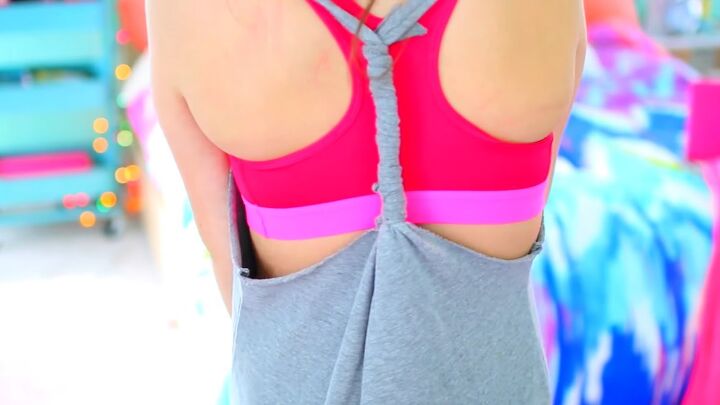
Two-in-one shirt
This last DIY is a 2-in-1 sports bra and shirt workout top.
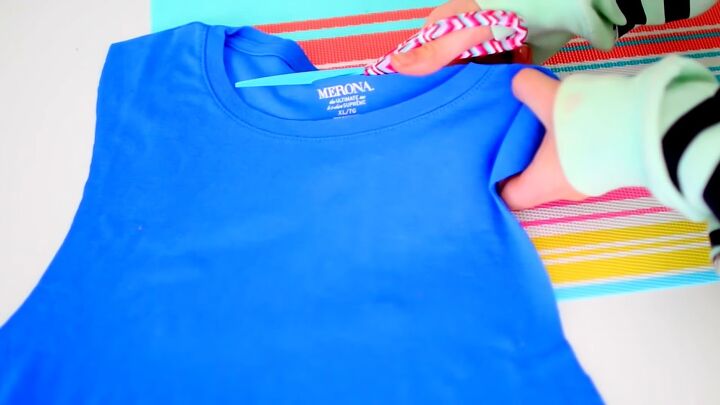
1. Cut the top
Start by cutting off the sleeves of the top you’re using. Then cut off the top 2-3 inches (5-7.5cm) of the top so it ends right around the end of the collar.
Proceed to cut the sleeves in a diagonal shape so they end right where the collar ends.
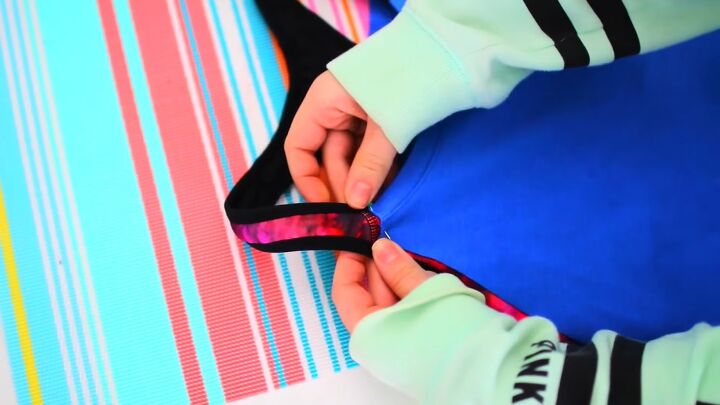
2. Pin the sports bra to the top
Next, place your sports bra in between both layers of the shirt and pin it in the place where you would like it to be on the front of the shirt.
As for the back of the shirt, fold the fabric back and cut where you want it to end.
I chose to do it in a straight line to make it easy, but you could also cut the fabric in the same shape as the sports bra to make it look a little bit cooler. Once again pin that in place.
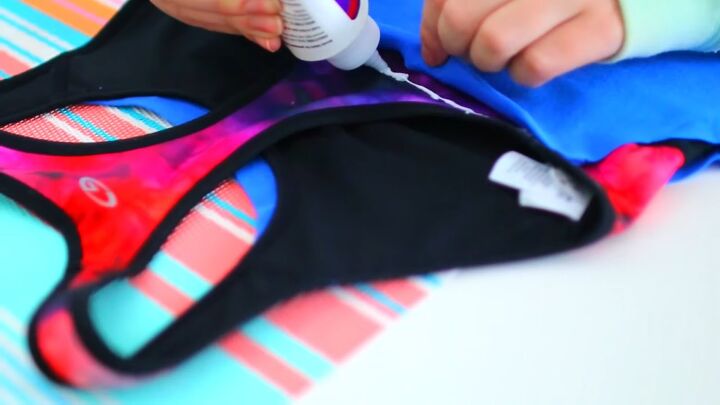
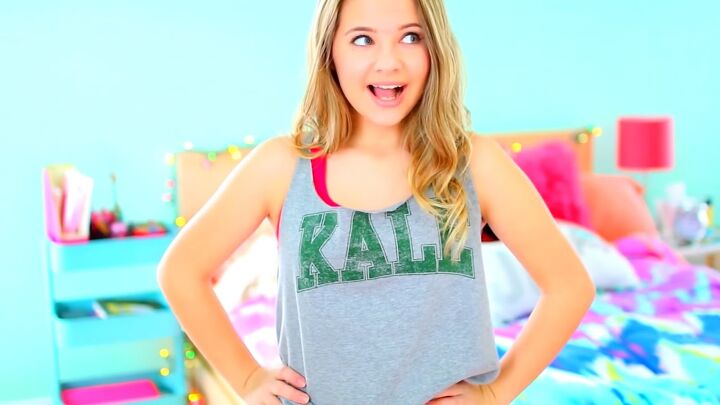
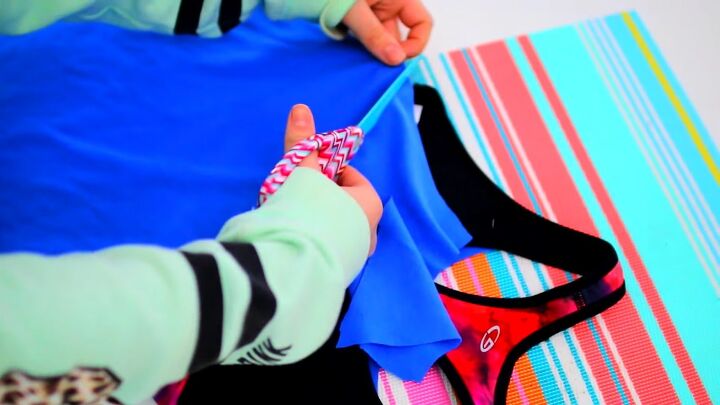
3. Glue the top down
Take some fabric glue and glue down all the parts you have pinned. You could also sew it for a cleaner look.
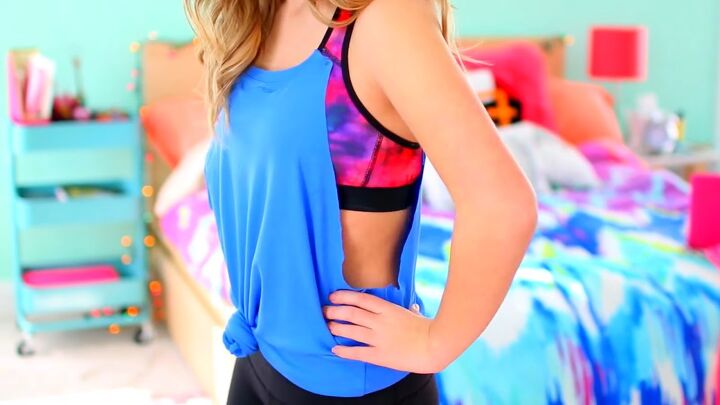
This is the finished look.
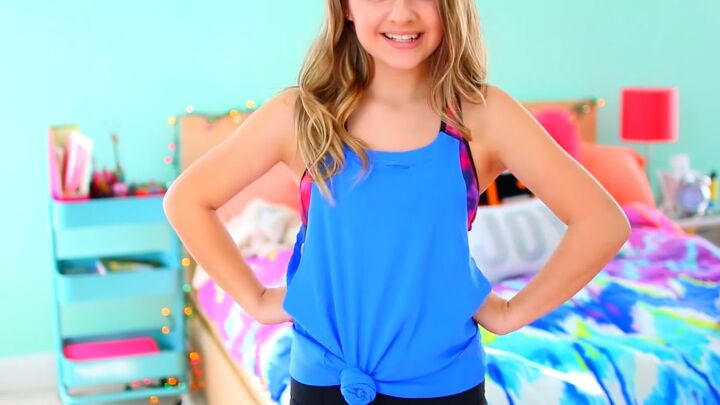
My shirt was a little bit long so I ended up tying it in a knot at the front.
DIY gym clothes
I hope you’ve enjoyed these three easy and stylish workout pieces. Each piece is so straightforward to make and only requires materials that you most likely already have. Your next workout will be twice as good when you feel great in the workout clothes you’re wearing.
The author may collect a small share of sales from the links on this page.


Comments
Join the conversation