How to Make a Cute DIY Two-Piece Set Out of a $1 Dollar Tree Top

Two-piece sets are one of the hottest fashion looks for summer. If you ever wondered how to make a dress into a two-piece set, wonder no longer! I made this two-piece set sewing pattern out of a large T-shirt that I bought at the dollar store.
In this tutorial, I’ll show you to make a two-piece set skirt with a crop top in about 2 hours. Perfect for beginners, let’s start making this DIY two-piece set.
Tools and materials:
- 1 L or XL long-sleeve t-shirt
- Your own t-shirt
- Your own stretchy skirt
- Measuring tape
- Ruler
- Pins
- Sewing machine
- Scissors
- Safety pin

1. Make the two piece sewing pattern
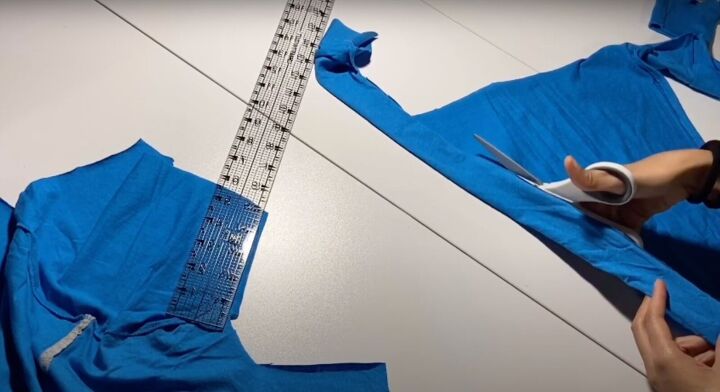
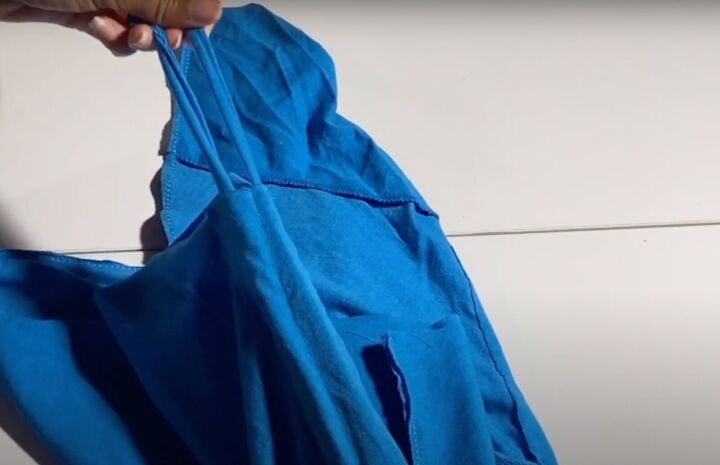
Try on the shirt to gauge the length. Crop the shirt to your preference.
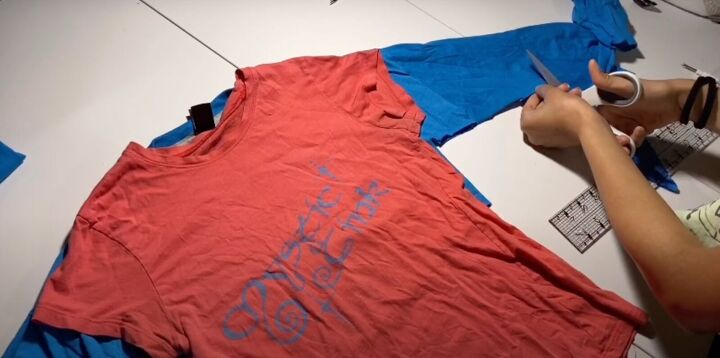
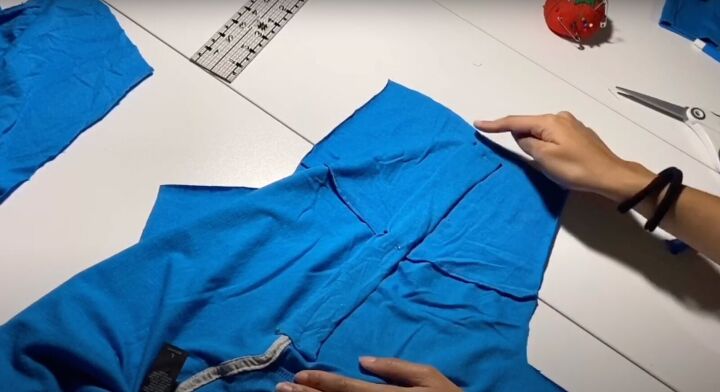
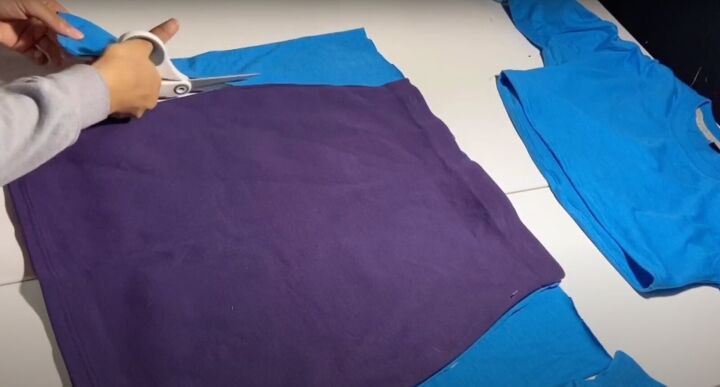
Lay your own t-shirt on top as a template. Cut around your shirt, adding ½ inch around as seam allowance.
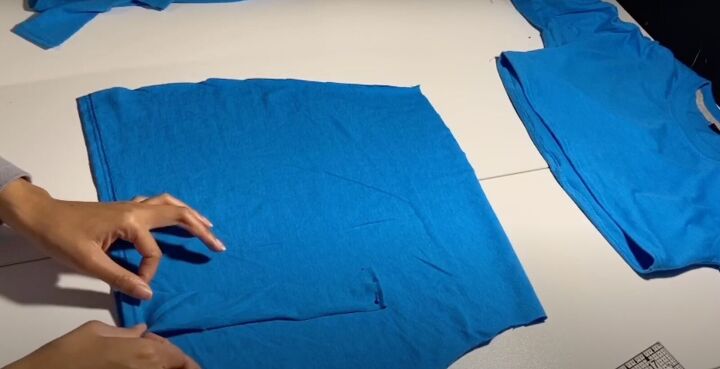
Add about 5 inches from the original shoulder seam at the sleeve if your t-shirt doesn’t have sleeves. Cut away the excess sleeve. Repeat for the other side. Reserve these sleeves.

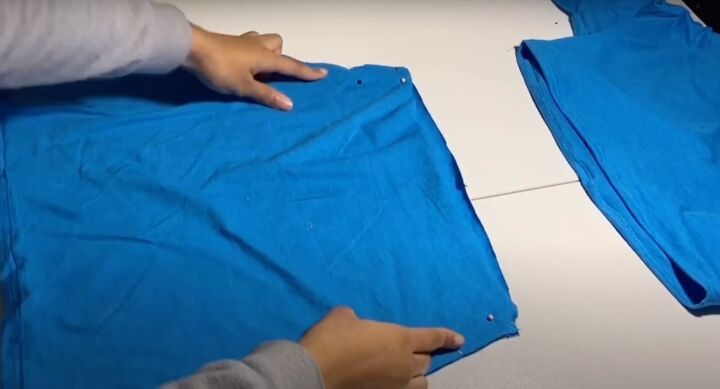
Open the top to the wrong side. Make sure you cut enough fabric from the T-shirt to make the skirt.
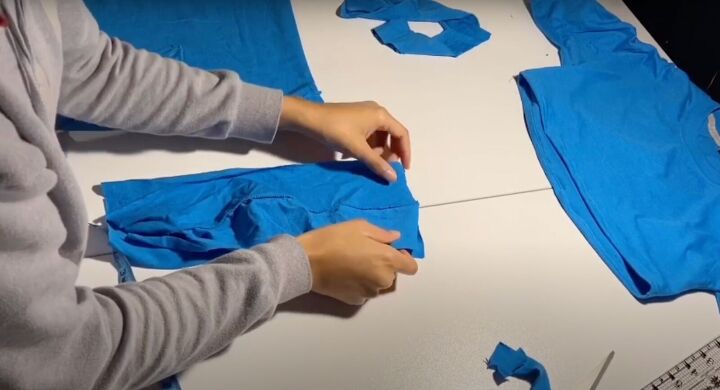
2. Make the casings for the top
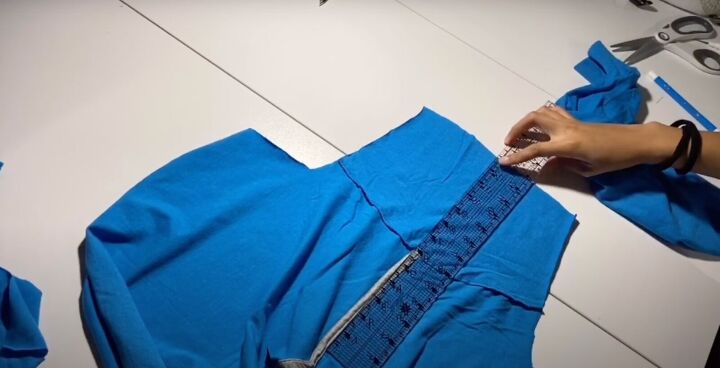
Measure from the shoulder seam to the bottom of the sleeve.
Cut open one of the reserved sleeves along the seam line. Remove the cuff.
Fold in the sleeve along the long side about 1½ inches. Measure to make sure it is even along the fold.
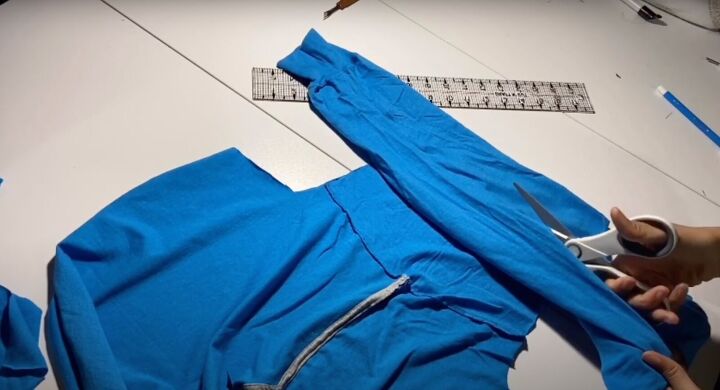
Cut the piece out and along the folded edge to make two casings.
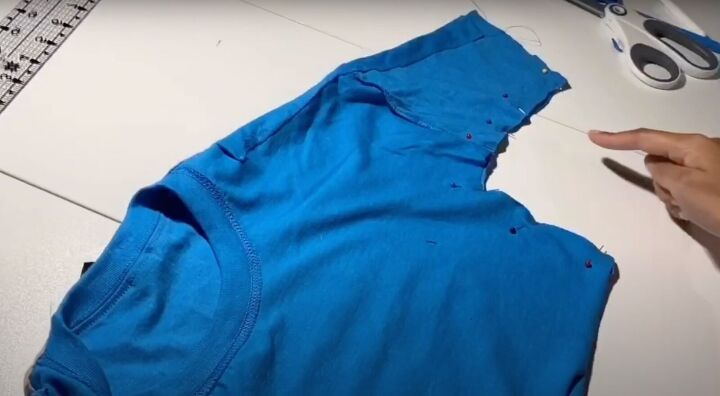
Lay the casing where you measured. Fold the long edges in for a professional finish. Pin.
Sew along both edges and down the center to make two channels. Repeat for the other sleeve.
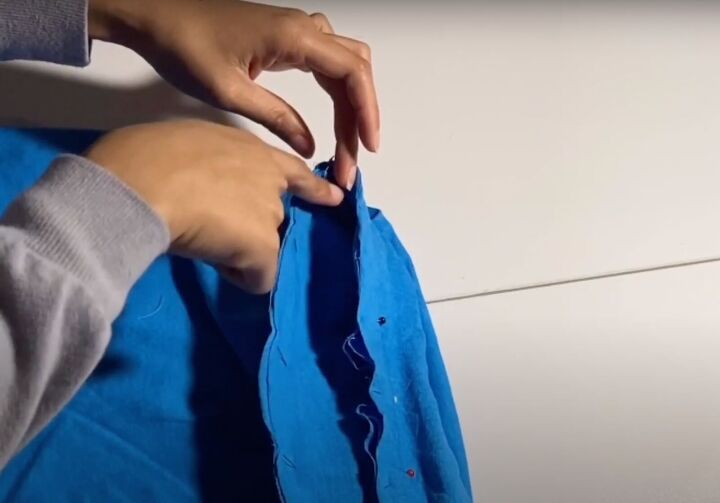
3. Sew the top
Pin the sleeves and side seams. Sew with a zigzag stitch.
Trim any excess seam allowance.
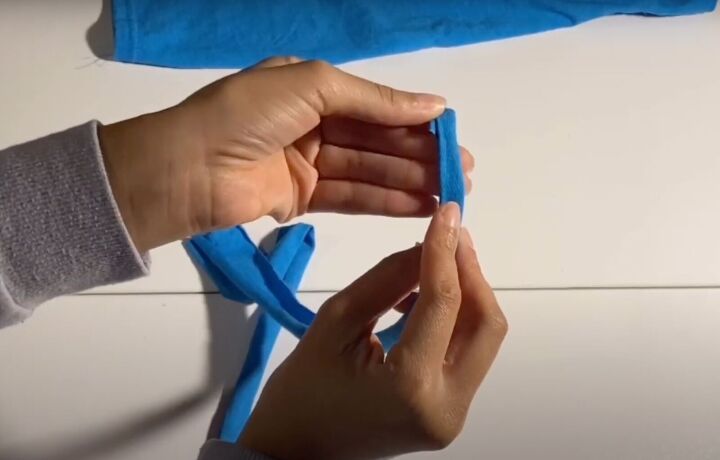
4. Make the straps
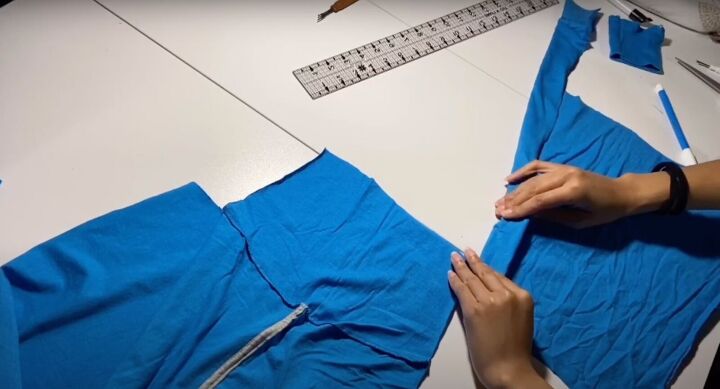
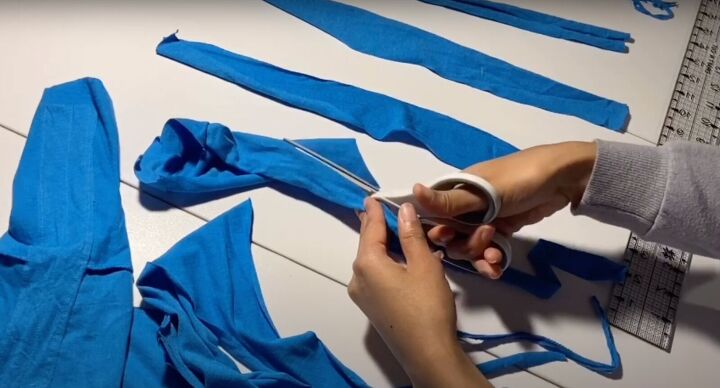
Using the same sleeve you used for the casing, measure and cut out 1-inch straps about 10 inches long.
Pin two of them right sides together and sew across the short side to make one long piece.
Fold both ends in towards the center and then again in half.
If your piece is wider, fold it into thirds and then in half. Fold in the top and bottom of the strap. Sew along the length. You should have two long straps. Trim any bumps at the ends if needed.
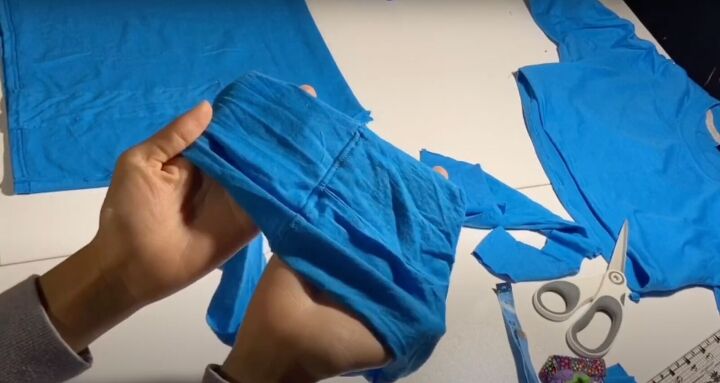
5. Hem the shirt
Fold in the bottom of each sleeve towards the wrong side. Pin and sew into position.
Fold the bottom of the top in twice. Pin and sew into position. Sew with a zigzag stitch.
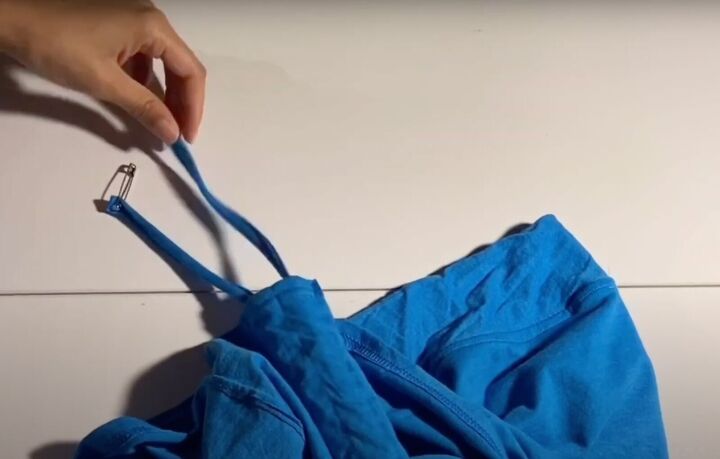
6. Insert the straps
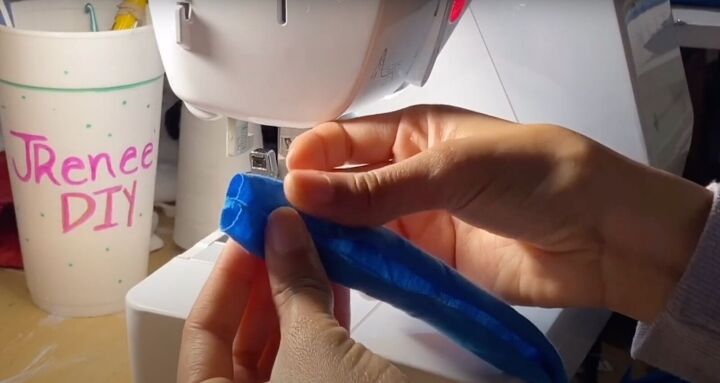
Use a safety pin at one end of the strap to pull up through the first channel. When you reach the top, pull the strap down through the second channel.
Tug on both to straighten out the strap and make the straps even. Tie at the bottom to secure.
7. Make the skirt
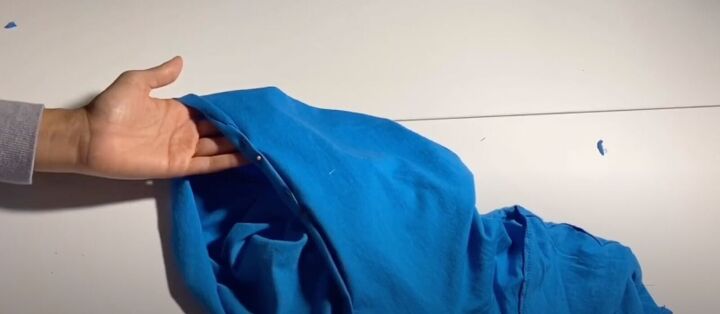
Lay the bottom piece of the T-shirt and place your own skirt on top as a template. Cut around the fabric, making sure you keep the hem of the T-shirt at the bottom for your skirt hem.
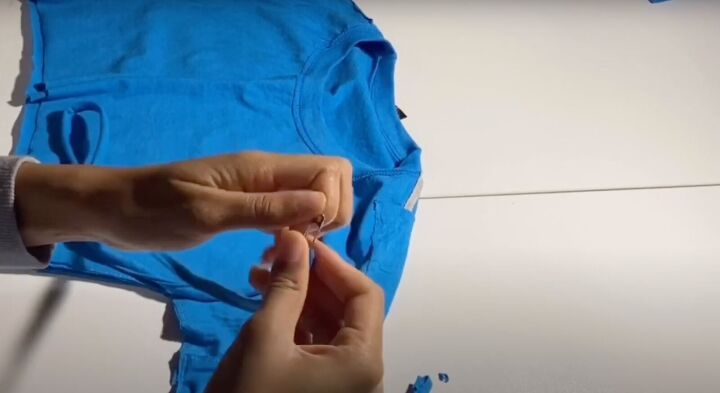
Use the first leftover sleeve to make a casing for the skirt. Cut out a 2 X 6-inch piece of fabric and fold it in on the top and sides. Place it off-center on your front skirt panel. Sew both sides and down the center of the casing.
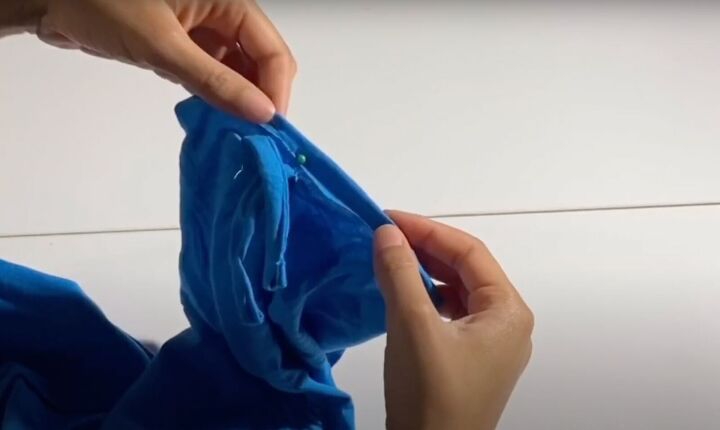
Place the front and back skirt panels, right sides together. Pin in place. Sew with a zigzag stitch. Turn to the right side and topstitch the side seams.
8. Make the waistband
Use the second sleeve to make the waistband. Measure your waist and measure half that measurement down the sleeve. Measure the additional width of the sleeve for the waistband. Make the width larger if you want the skirt to be a bit longer. Cut out the fabric. Trim to make it even. Place the two pieces right sides together. Pin and sew both short sides to make a loop.
Topstitch the loop on the right side. Fold the loop in half right sides showing.

9. Attach the waistband to the skirt
Lay the skirt right side showing. Slide the skirt into the loop with the open edge of the loop right at the raw edge of the skirt.
Pin across making sure all 3 layers are straight and the side seams are aligned. Sew and then topstitch on the seam.
10. Finish the skirt
Cut the leftover fabric to make the strap for the skirt casing about 1 inch wide and 12 inches long. You may need to cut two pieces of fabric and sew them together. Follow the same method for making the straps you did before. Use a safety pin to insert using the same method as before.
Pull on the straps to create the ruching and tie at the bottom.

Dollar Tree DIY two-piece set
You’ve made a DIY two-piece set perfect for summer. I can't believe this cute outfit was a long-sleeve topfrom Dollar Tree!
Please let me know in the comments if I showed you how to sew a two-piece set or tag me when wearing it on social @lovejocey.
The author may collect a small share of sales from the links on this page.


Comments
Join the conversation