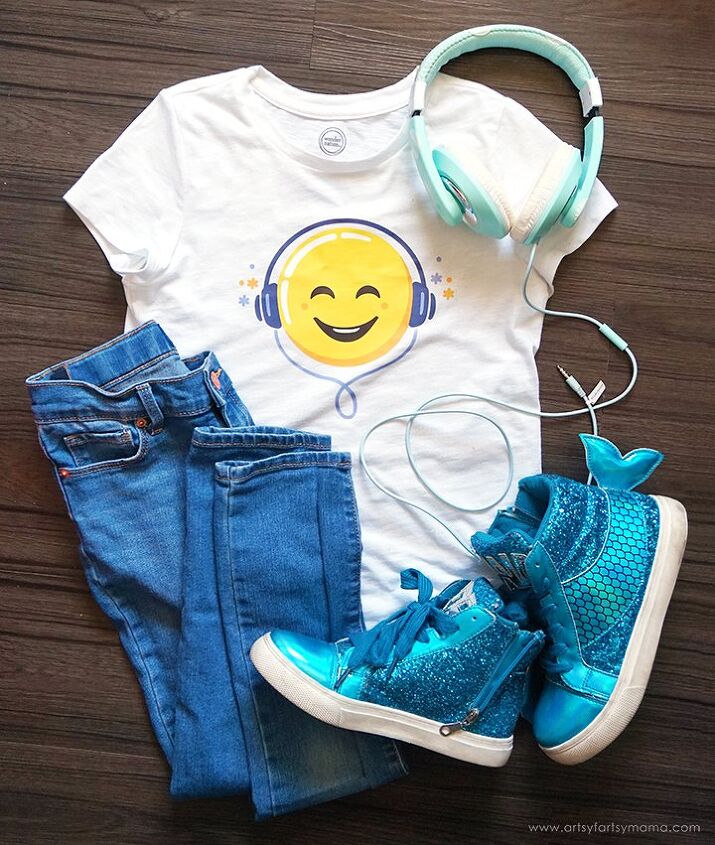
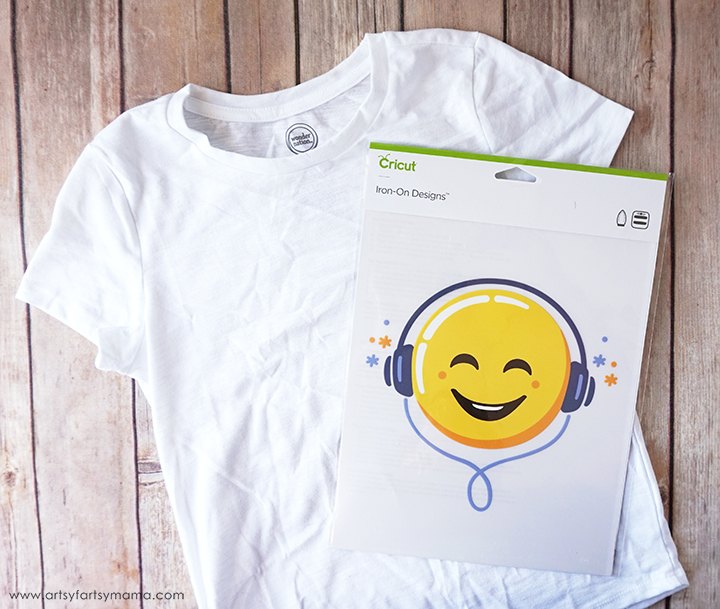
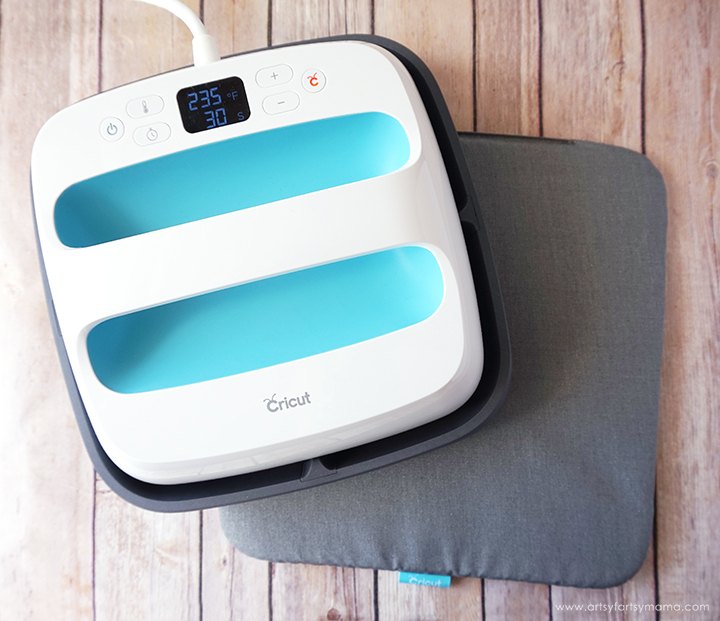
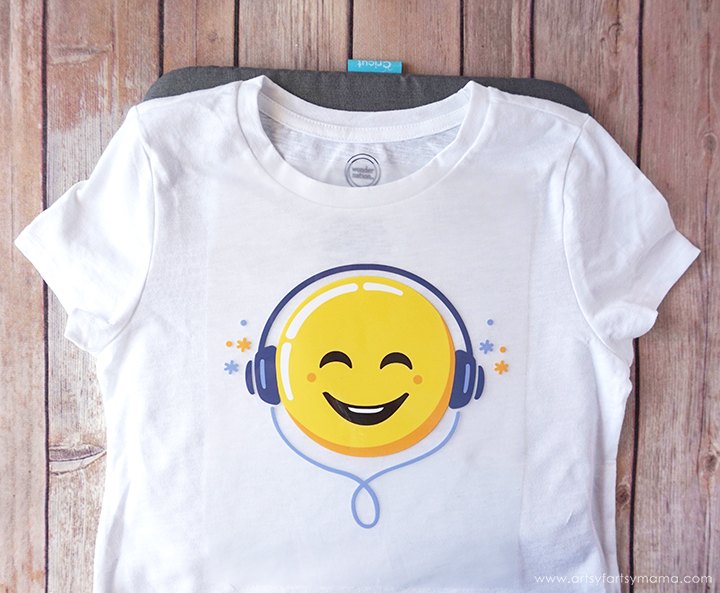
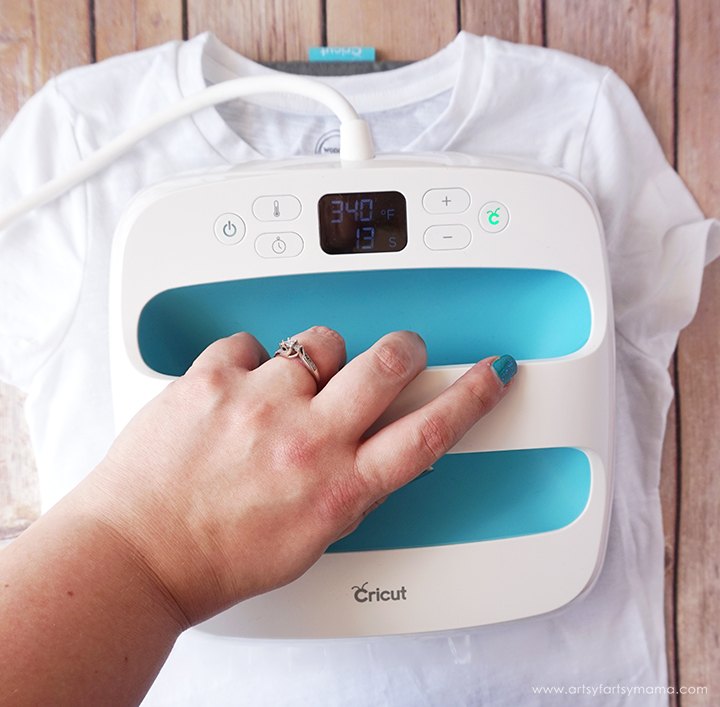
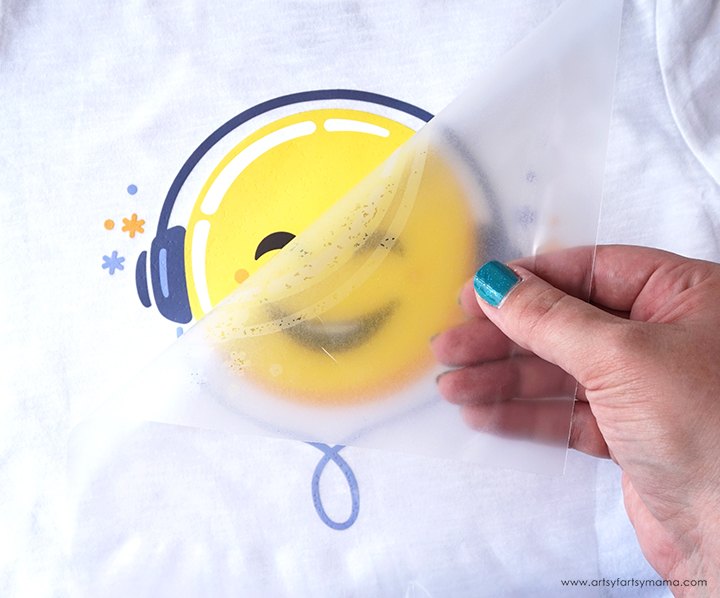
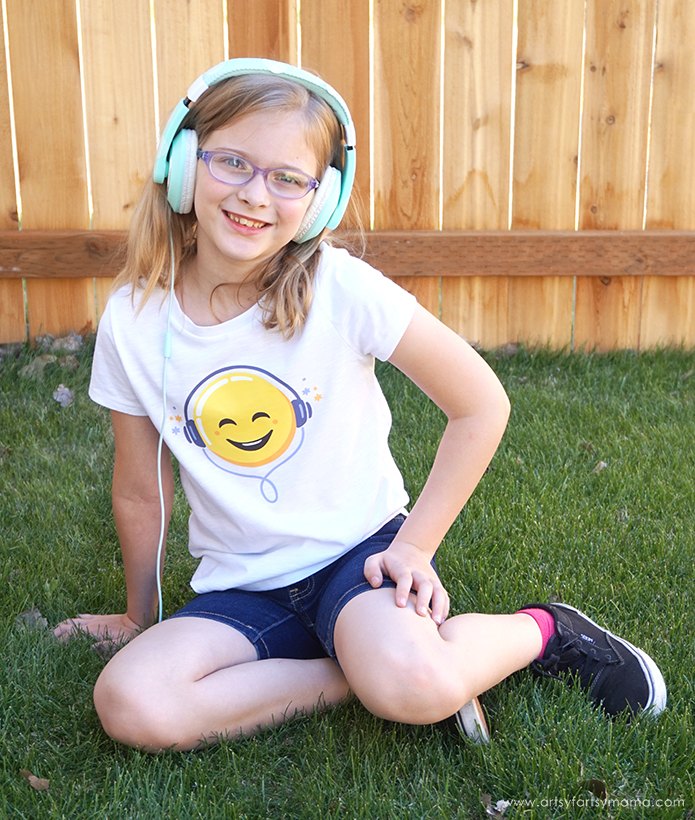
Headphones Emoji Tee With Cricut Iron-On Designs

$10
15 Minutes
Easy

Easily make your own graphic tees, like this Headphones Emoji Tee, with Cricut Iron-On Designs!


My daughter loves wearing graphic tees lately, and it's never been easier to create professional-looking apparel (and home decor, tote bags and more) with Cricut’s new premium Iron-On Designs! For this particular shirt, my daughter chose the Headphones Emoji Iron-On Design because she loves rocking out to music and doing homeschool computer activities while sporting her polka dot headphones.


Cricut Iron-On Designs are pre-designed and ready to use straight out of the package, so you don't have to get out your machine. However, you can combine Iron-On Designs with Iron-On Lite vinyl to create your own amazing creation. Right now there are over 50 designs to choose from, with more coming soon.


While you can use your iron or heat press to apply the Iron-On Designs, I have come to love the simplicity of the Cricut EasyPress along with the EasyPress Mat.


The Cricut EasyPress is a cross between an iron and a heat press. What makes it different than the two is that the EasyPress distributes consistent temperature across its 9" x 9" plate. This compact piece of equipment heats up quickly and is easy to use!


The EasyPress Mat is the perfect partner to the EasyPress, and is a lifesaver for projects like this! Instead of getting the ironing board out, this mat is easy to use and protects your surface area from heat and moisture. It's definitely an accessory I recommend if you own an EasyPress!


Plug in the EasyPress and power it on. Adjust the heat setting to 340º and the timer to 30 seconds, which is the perfect setting for Iron-On Designs while also using the EasyPress Mat. Once the light turns green and the machine beeps, it's ready to use.


If you are using a towel instead of the EasyPress Mat, you can change the time to 50 seconds. Be sure to check out the Cricut EasyPress Recommended Settings for more instructions.


Lay the shirt over the EasyPress Mat. Pre-heat the shirt for 5 seconds. Remove the Iron-On Design from the packaging and place it liner-side up on the shirt.


Lift the EasyPress out of its base and set it down over the design. Press the green Cricut button to start the timer, and add medium pressure while you hold the EasyPress in place until the timer goes off. Turn the shirt over and press the area for 15 seconds.


Allow the shirt to cool completely before removing the liner. Removing the liner while the design is still warm or hot may cause the iron-on design to peel, stretch, or warp as the liner is being removed.


Once you've peeled the liner away, the shirt is ready to wear! My daughter has loved wearing this new shirt and we can't wait to make more using other designs. She's been asked multiple times where she bought this shirt from her friends so they can get one!


Which Cricut Iron-On Design is your favorite?


This is a sponsored conversation written by me on behalf of Cricut. The opinions and text are all mine.


The author may collect a small share of sales from the links on this page.

Lindsay | Artsy-Fartsy Mama
Want more details about this and other fashion and style ideas? Check out more here!
Go
Comments
Join the conversation
Next