How to Create a V-neck
Today I’m going to show you how to alter a shirt neckline through making a simple DIY v-neck t-shirt.
We’ve all been there: you find a fun tee but it’s got a crew neck that’s not too comfy to wear. You love the v-neck style and yet, here you are staring at this crew neck.
Can you save it, or do you pass?
This kind of project is why we sew: so you can get exactly what you can’t find.
The good news is that it’s easy to change a t-shirt neckline. A little bit of measuring, a tiny bit of deconstruction, and you’ll have a newly altered t-shirt that’s more your style.
Best part? You can make up your new DIY v-neck t-shirt in about 30 minutes.
Ready to learn how to alter a t-shirt neckline? Grab a pair of scissors and let’s do this.
Table of Contents
How to alter a t-shirt neckline (DIY v-neck t-shirt) supplies
- Crew neck or scoop neck t-shirt to alter
- tape measure
- Clover Hot Hemmer
- Scissors ( find the best sewing scissors for you)
- 75/11 stretch needle
- sewing pins
- fabric marker ( love this one) or washable marker
- French curve ruler
- embroidery scissors or a seam ripper
- Stretch Double needle
Mark the level of the v-neck for your DIY v-neck t-shirt
The first step in how to alter a shirt neckline is to figure out where you want the v-neck to end.
Try on your t-shirt.
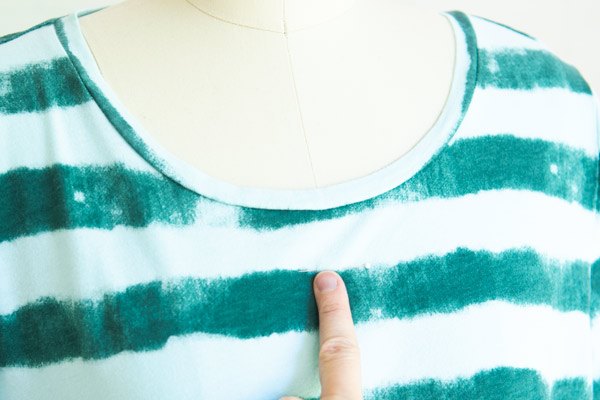
Mark with a pin where you want the bottom of the v-neck to sit on your body. Keep the pin roughly in the middle of the front for now.
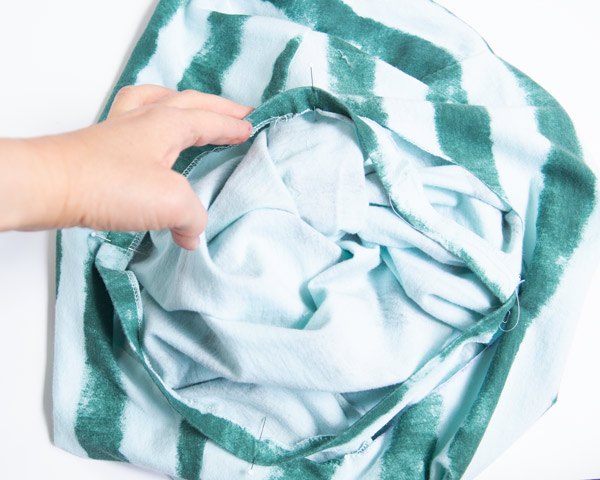
Unpick the neckline seamline
This is the step that will take the longest. Be patient here. We want to preserve most of the original neckline. Get too aggressive with your stitch ripping and you’ll stretch out the original neckline and end up with a mess.
Locate the threads holding the neckband piece in place. You can use a traditional seam ripper here, but embroidery scissors are very precise for getting at the threads.
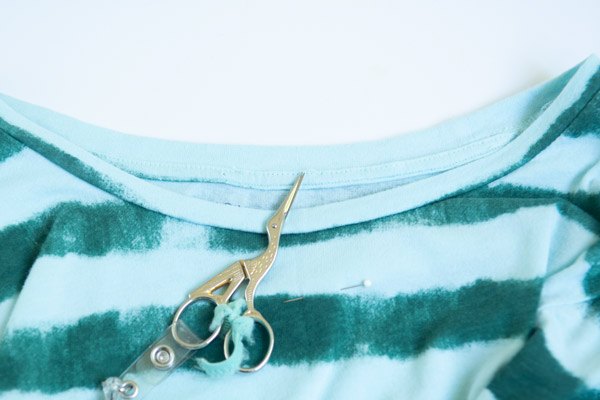
Slide the closed tip of the embroidery scissors under the stitches and carefully start to pull them out. You can cut a couple threads then pull out a couple inches of thread at a time.
There is likely a small strip of fabric covering the back neck seam. Remove the threads on this strip of fabric first, then you’ll be able to remove the stitches in the back neck area.
Keep going around the neckline, removing stitches until you’ve removed the neckband entirely.
Draw a new neckline
Gently press the neckline once you’ve removed the neckband to help the seam allowance lay flat.
From here, fold the t-shirt together so that the side seams are on top of each other. Pin the seams.
Do the same for the shoulder seams.
Now you should have a fold right on the center front line.
Smooth out the fabric so that the neckline edges meet perfectly. See where your pin is from earlier? Now you need to draw a new curve that meets the pin.
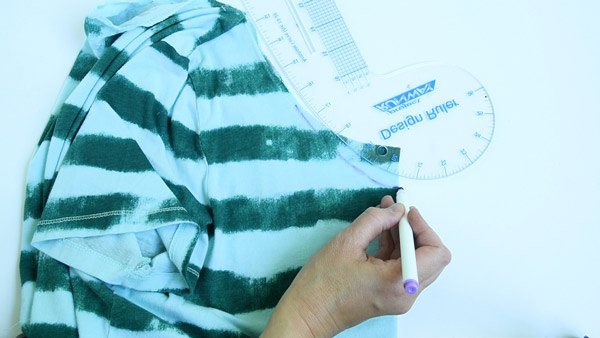
Draw a small 1/4″ line at the level of the pin that is perpendicular to center front.
With your French curve ruler, draw a gentle curve from the neckline down to the new pin, joining it with the tiny line you just made.
Cut the new v-neckline
Cut along the line you just drew through both layers of fabric.
Make a new neckband
In a perfect world, you’d be able to reuse the original neckband. Unfortunately, this kind of t-shirt alteration will make the old neckband too short to work.
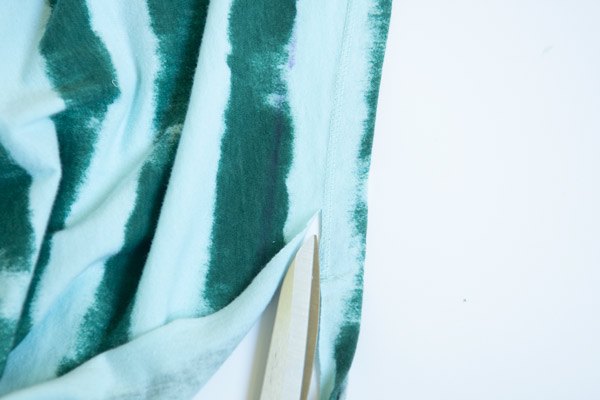
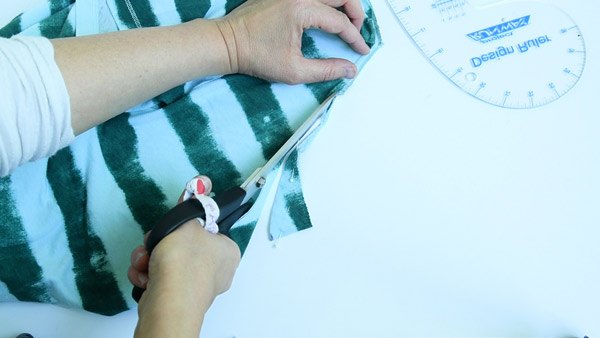
Thankfully you’ve got a hem that’s prepped and ready to be turned into a perfect new neckline.
Simple cut off the hem right above the stitching line. This is so easy because the new neckband is already basted together with the previous stitching. Saving you time and frustration right now!
Set aside the new neckband piece for now.
Measure the new v-neckline
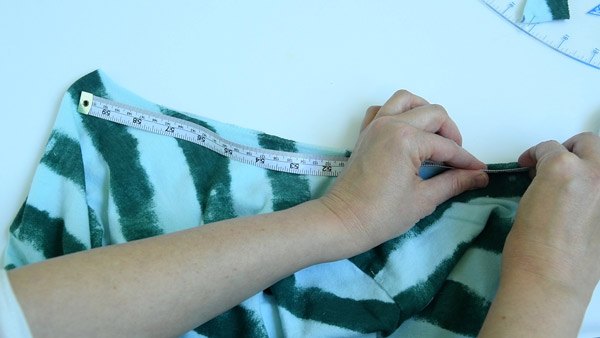
Take a tape measure and measure 1/4″ away from the raw edge of the neckline all around the neckline. Stand the tape measure on its edge and measure in centimeters for easier math.
Yes I said math, and don’t panic.
Minor math to do: subtract 10% from whatever your measurement is.
Example: say your neckline measures 70cm all around. 10% of 70 is 7.
70-7 is 63. Your neckband piece would need to be 63 cm long.
Note, that you do lose a tiny bit of length due to seam allowance, but it shouldn’t be enough to mess up this calculation.
We’re keeping it simple.
Cut down your new neckband piece that’s as long as the number you just calculated.
Sew the neckband ends together
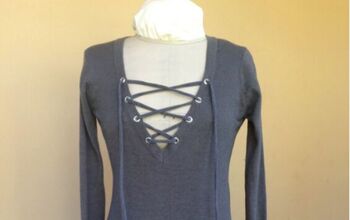
Overlap the ends of the neckband together to form a V.
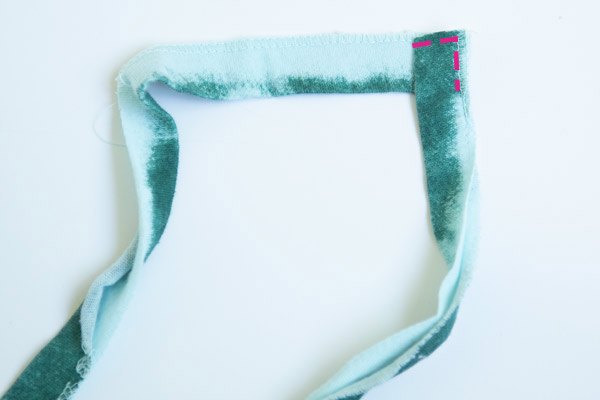
With a long straight stitch stitch through the layers of the neckline close to the raw edges. With the neckband basted, it’s time to sew everything together.
Quarter the neckline
Next, quarter your t-shirt neckline and the neckband.
On the t-shirt, fold the shoulder seams together to find center back and center front. Mark both with a pin.
Then fold the pins together to find the other quarter marks.
Do the same for the neckband, using the basted v ends as your center front.
Match your pins together starting at center back, pinning the neck band and t-shirt together only at the quarter marks.
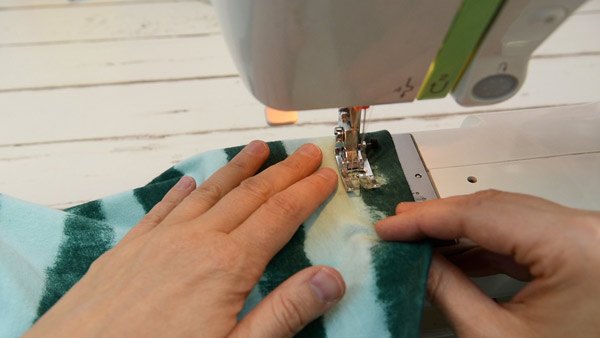
Sew the v-neckline on your DIY v-neck t-shirt
Adjust your machine to make a narrow zigzag stitch (0.5mm wide, 2.5mm long).
Sewing with the neckband on top, sew the neckband to the t-shirt with a 1/4″ seam.
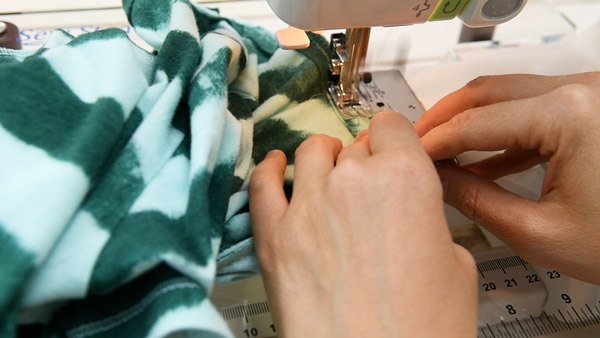
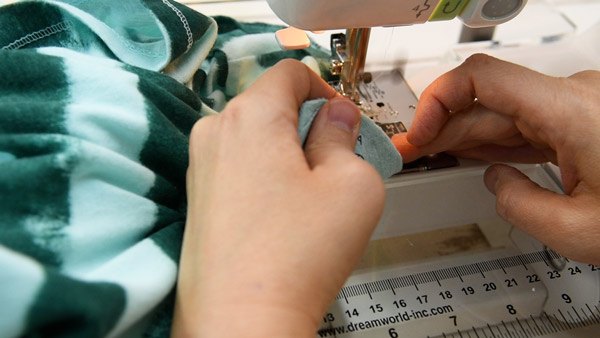
Curve the fabric towards the machine. This will naturally ease the shorter neckband into the curve of the longer t-shirt neckline.
Do NOT stretch the t-shirt neckline!
When you get to center front, pivot right at the tip of the V. You may find it easier to baste a couple stitches on either side of the V to make sure that it looks nice and crisp.
Finish the back neckline
This is such a nice finish and worth the extra time EVERY time:
Cut a 1″ strip of knit fabric just a little bit longer than the inside length of the neckline from shoulder seam to shoulder seam.
Next, fold both raw edges towards the center the long way and press.
Tuck one of the short edges under.
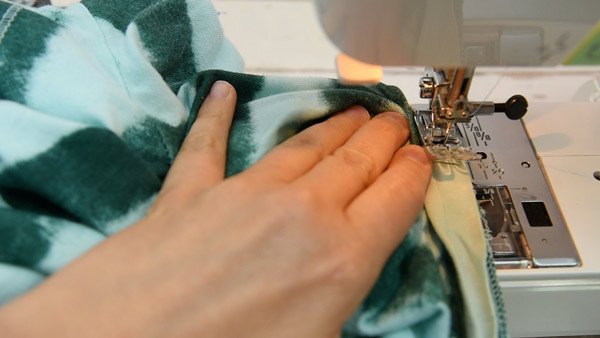
Match the right side of one of the long edges to the topside of the neckline seam. Stitch the strip in place from shoulder seam to shoulder seam, tucking in the raw edge of the second short edge as you get to it.
Flip the strip to cover the back neck seam.
Don’t stretch this–just let it be like it wants to be. Working from the inside of the shirt, stitch all around the fabric strip. Pivot at the shoulder seams.
Finish off by stitching down the seam allowance of the rest of the shirt neckline all the way around.
Add a new hem
To make a new hem, use the Clover Hot Hemme r or file folder hem strips to press up 1″ around the bottom of your t-shirt.
Change your machine’s needle to a stretch double needle.
Thread your left needle, then thread the right needle. So you’ll have 2 threads running through the sewing machine’s thread path. Now all you do is stitch with that same narrow zigzag you’ve been using this whole time

Conclusion
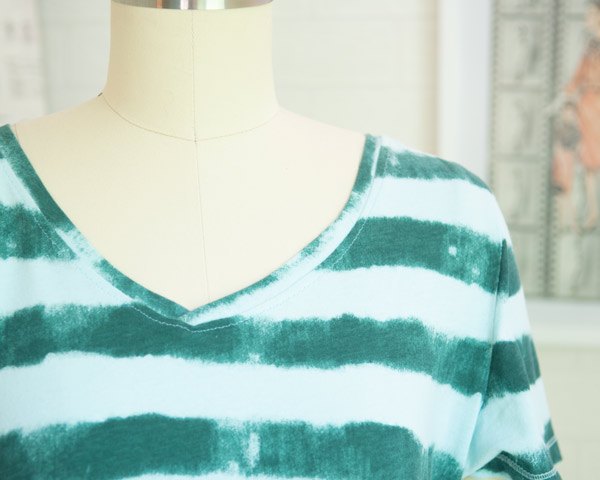
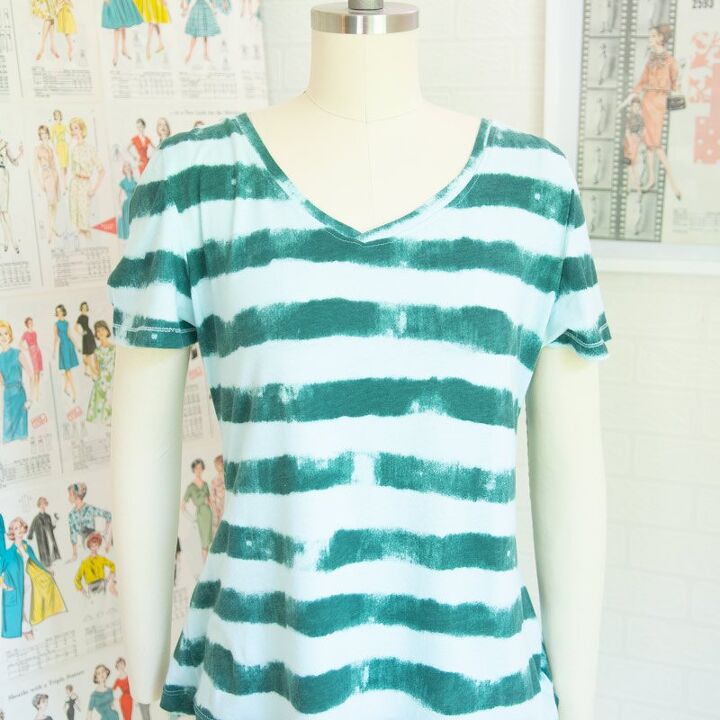
So that is just one way of how to alter a shirt neckline. It’s a simple and practical fix to turn a crew neck into a DIY v-neck t-shirt. I hope you’ll try it! Be sure to watch the video for a full video tutorial:
Elizabeth Farr is the writer behind the Elizabeth Made This blog where she shares helpful sewing tips, step by step sewing tutorials and videos to help you explore your creativity through sewing. She has written sewing Eguides and patterns, been a featured teacher at Rebecca Page’s Sewing Summit and Jennifer Maker’s Holiday Maker Fest and her work has appeared in Seamwork and Altered Couture magazines. She also created a line of refashioned garments for SEWN Denver. When her sewing machine isn’t humming, she’s playing and teaching violin, and hanging around a good strategic board game with her husband and 4 kids.
The author may collect a small share of sales from the links on this page.


Comments
Join the conversation