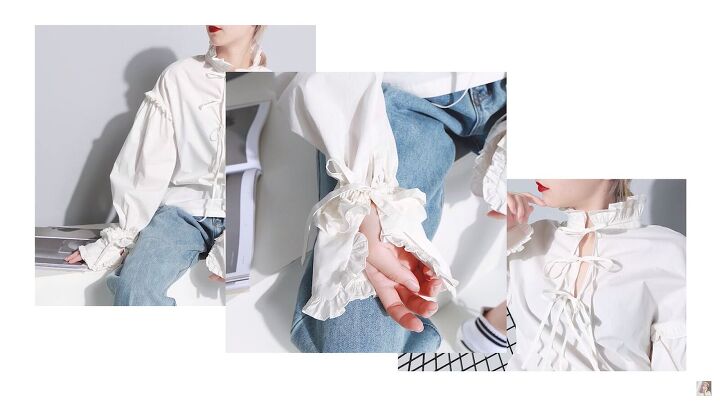
How to Make a Blouse With Frills Out of an Old Men's Dress Shirt

Today, I'll show you how to make a blouse with frills out of an old men's shirt. I found some inspiration from a fashion brand and recreated this look by upcycling a men’s dress shirt that I thrifted. Want to see how I make this ruffle-trim blouse? Let’s begin!
Tools and materials:
- Old men’s shirt
- Ruler
- Marker
- Seam ripper
- Sewing machine
- Thread
- Iron
- Scissors
- Pins
- Fitted t-shirt
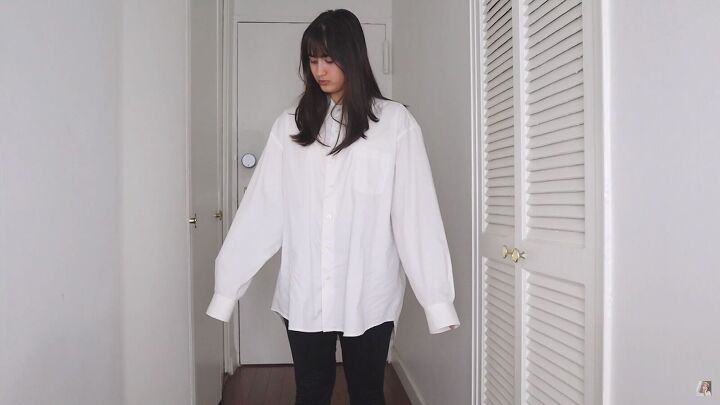
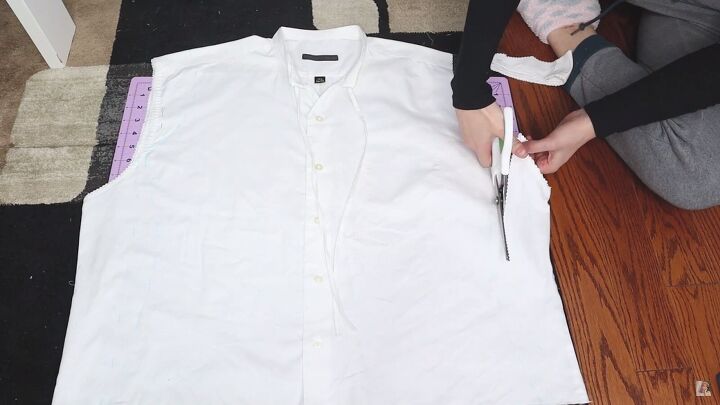
1. Disassemble the shirt
Seam rip the collar and the cuffs, then remove the buttons on the sleeve and the pocket.
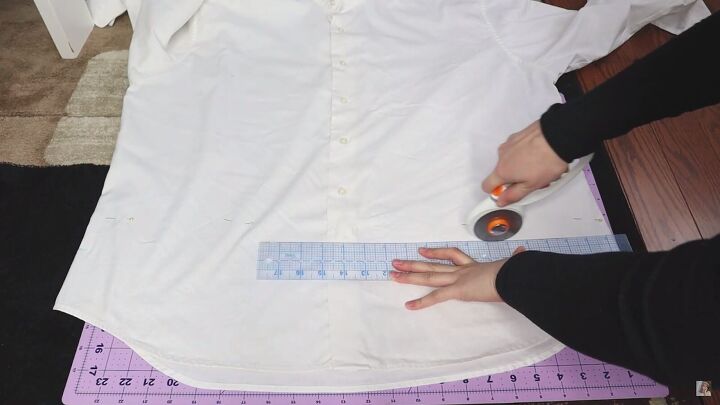
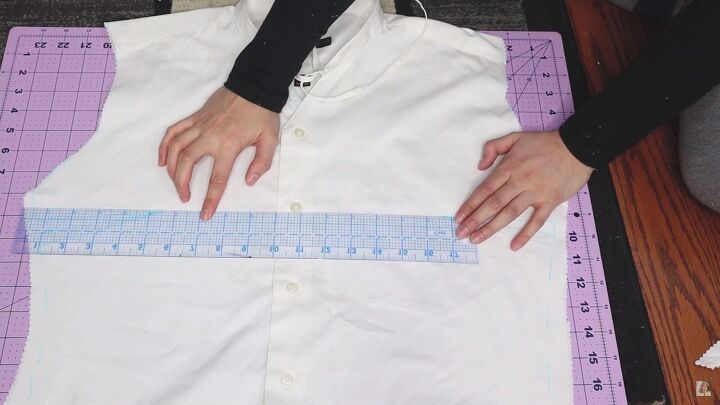
2. Crop the shirt
Shorten the shirt to your desired length. Ensure you have enough leftover fabric to make the ruffles later.
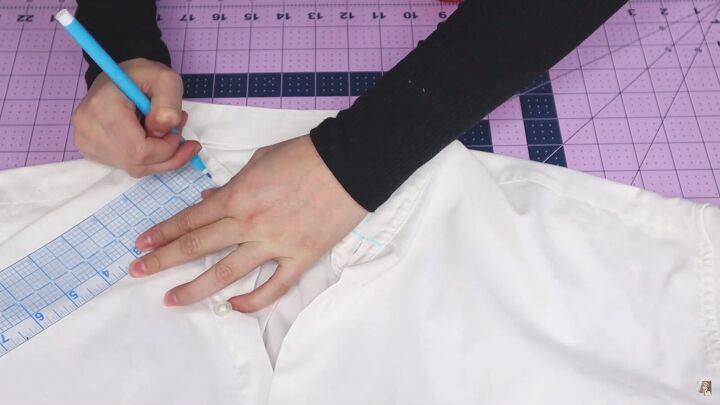
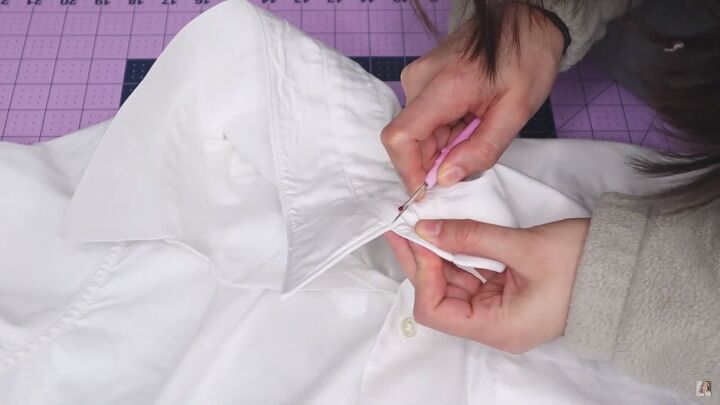
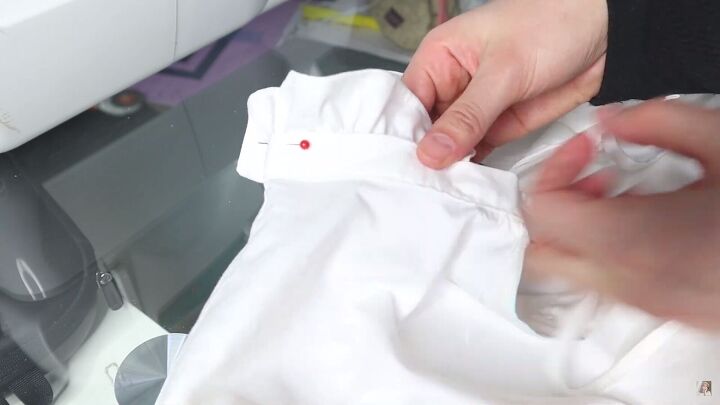
3. Make collar alterations
Draw a line just before the button and buttonhole and shorten the collar by ¾“. I realized if I left it at the original length, the ruffles would be too high.
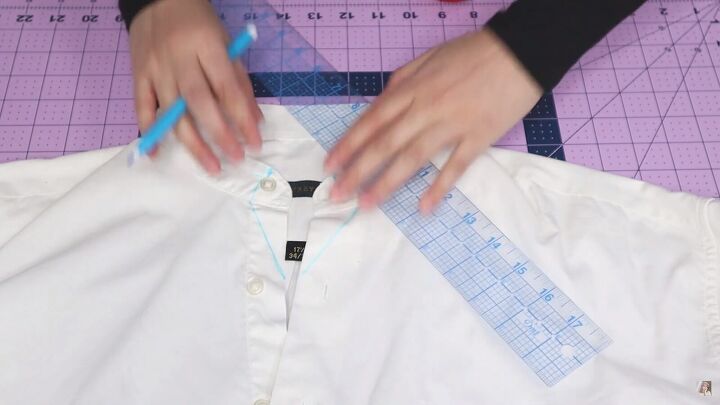
Connect the marking two inches below the collar to make two tiny triangles.
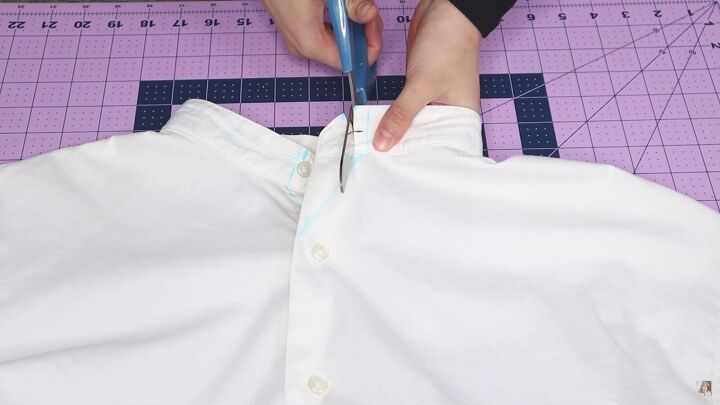
Cut ¼” before the marking and cut off the excess fabric.
Fold both raw edges inside and pin, then sew.
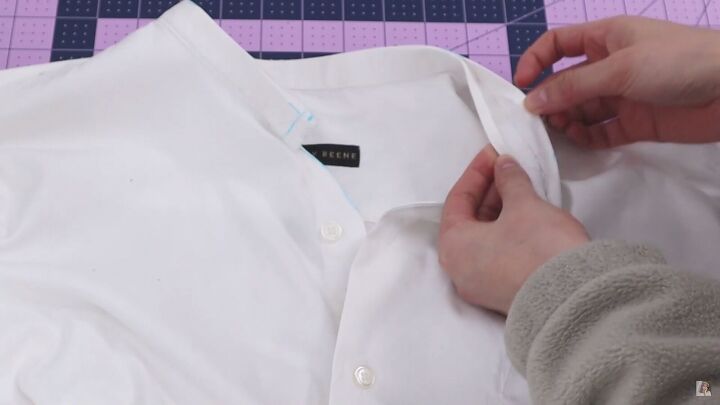
Iron the edges of the collar in by ¼”.
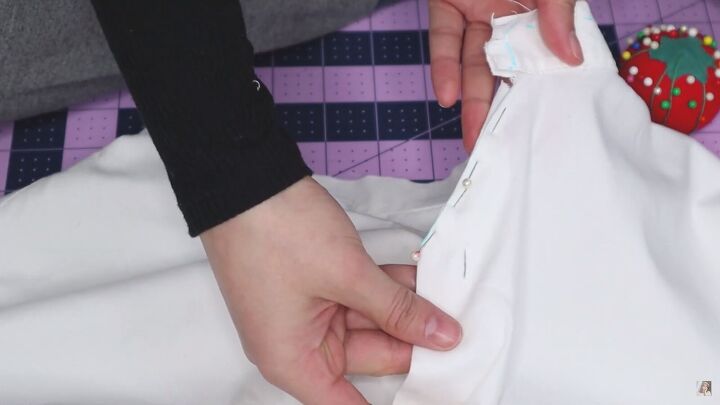
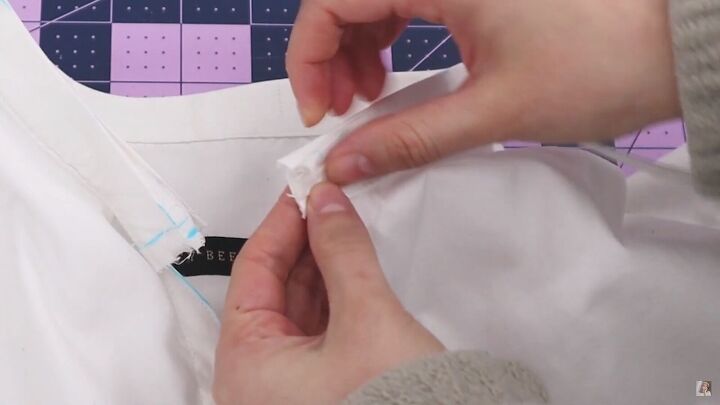
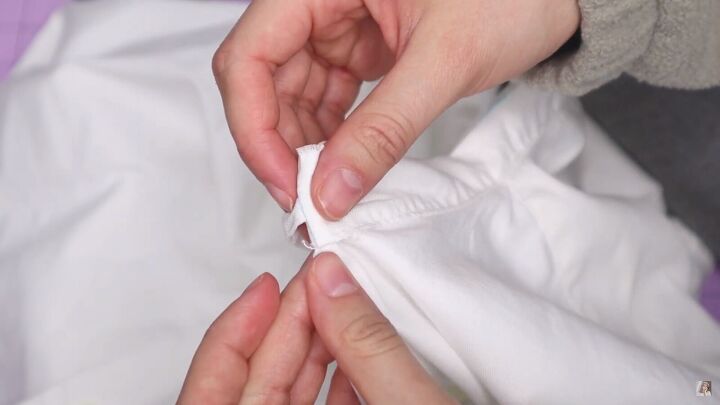
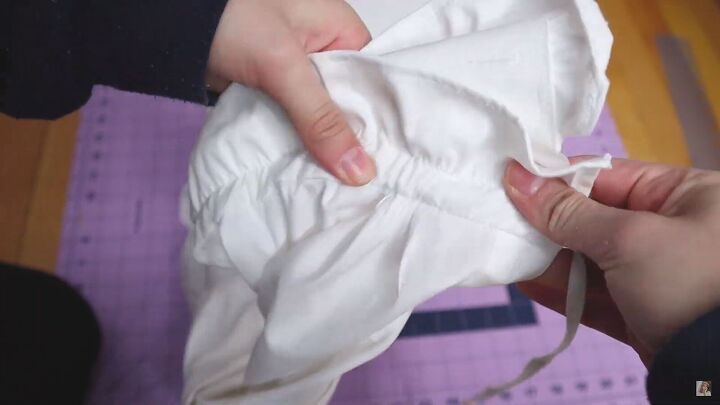
4. Make and attach the neckties
Cut a 1-inch strip from the remaining collar. Since there are two layers, it’ll give you two long rectangles.

Fold the edges to the center and fold the whole strip in half.

Sew it down close to the opening. Now you have two little ties.
Turn the collar down so that the tie is sandwiched between the collar.
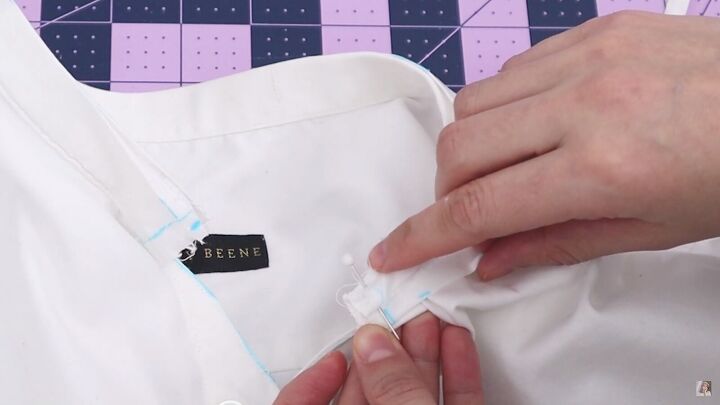
Sew where the marking is.
When you flip it back, the tie is secure between the two layers. Now, tuck in the remaining fabric and sew the opening closed.
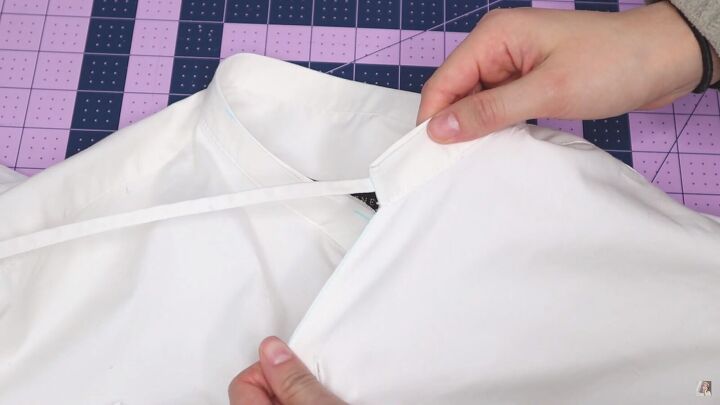
Repeat on the other side. Now, the neckline is complete!

5. Take in the bodice
Cut off the sleeves right before the seam.
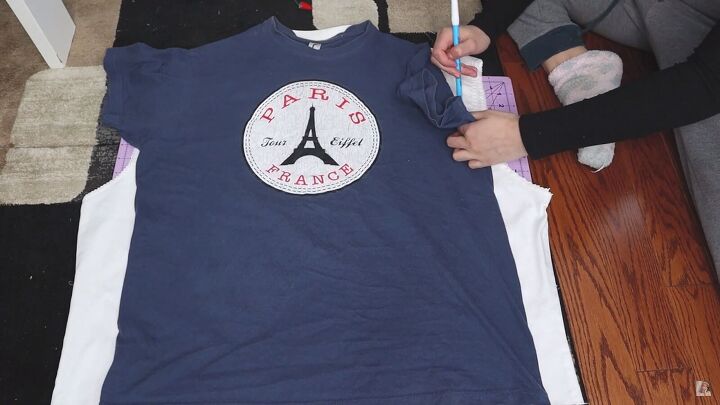
Place a well-fitting top on the shirt and trace the shape. Ensure the armholes are smaller than the original so that the sleeves will also ruffle.
While cutting, curve the sides to make them more form-fitting.
Make darts to add more shape to the button-down ruffle shirt. Mine measures 1.5” below the armhole, 5.5 inches long, 1 inch high, and the tip starts at the second button.

Flip the shirt inside out, pinch the dart, and pin it. Now, sew. When you reach the end, don't backstitch. Leave enough thread to tie two knots at the end.
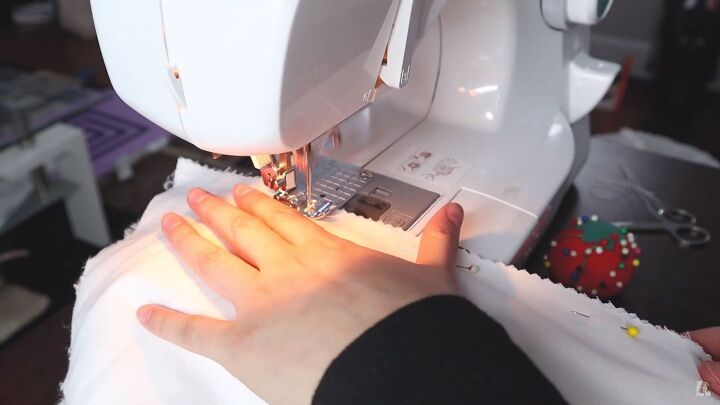
6. Sew the side seams
Sew the side seams with the shirt’s right sides touching.
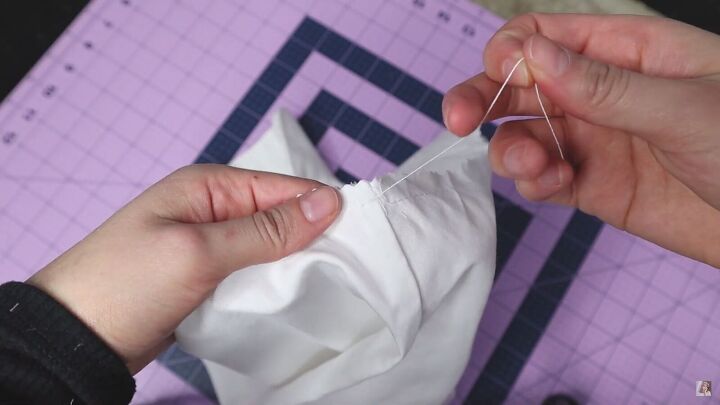
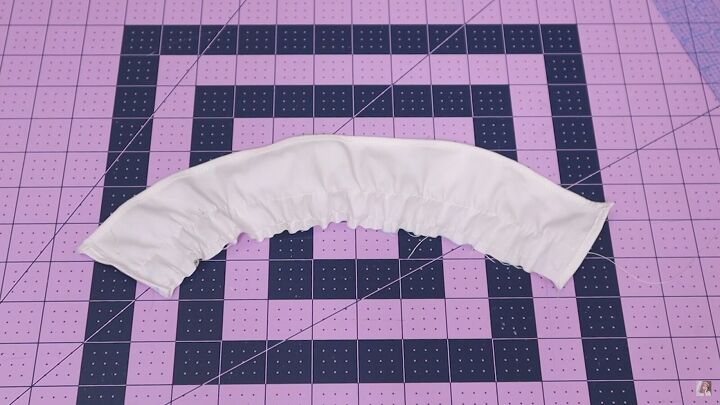
7. Ruffle the sleeves
Sew a long basting stitch around the sleeves’ top edge and pull on one of the threads to gather the fabric until they fit the armhole.

8. Attach the sleeve
Flip the shirt inside out and insert the sleeve so that the right sides touch.
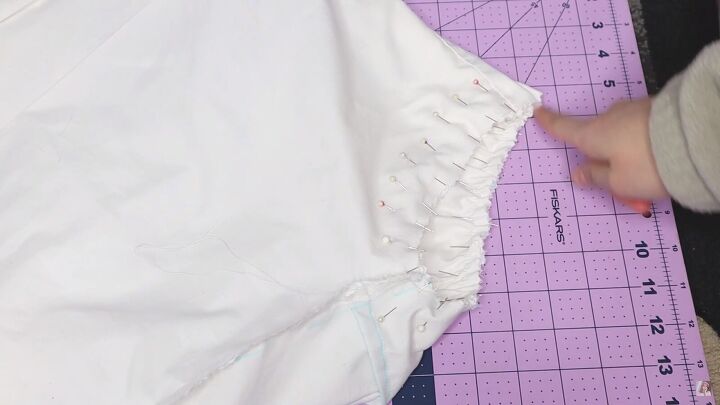
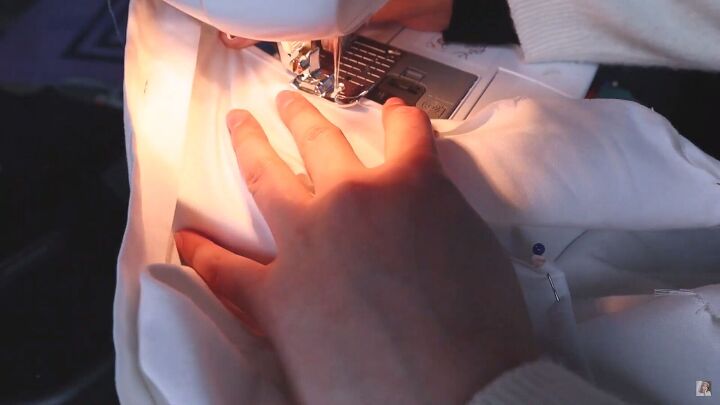
Add many pins as possible to secure the ruffles and sew.
Tip: You can sew over the pins if they are pinned vertically. This also helps keep the ruffles in place.
9. Hem the bottom
Hem the bottom of the blouse by folding the edges twice.
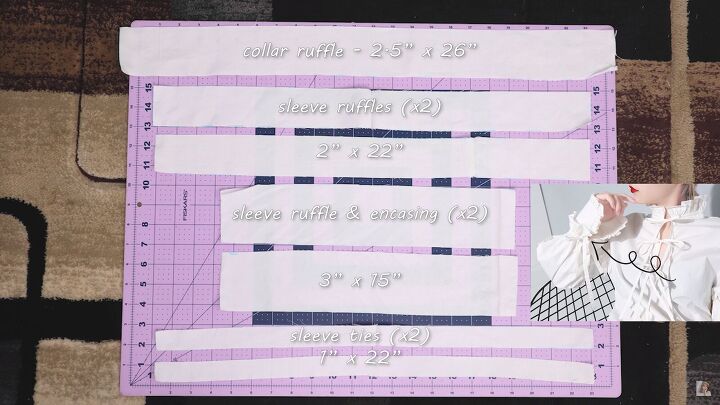
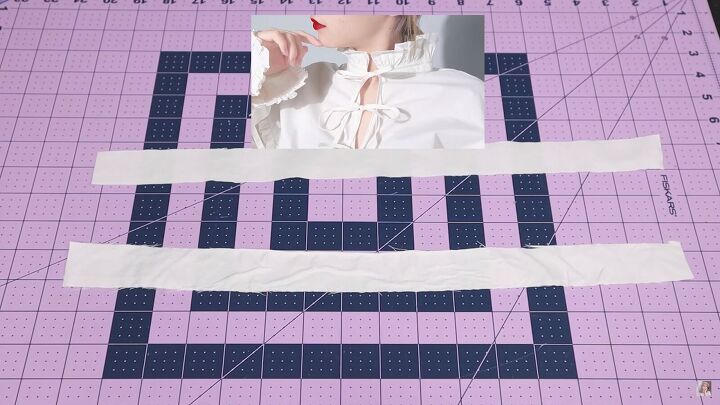
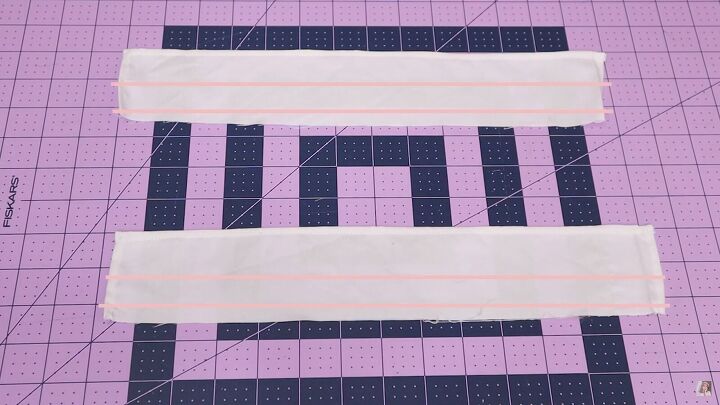
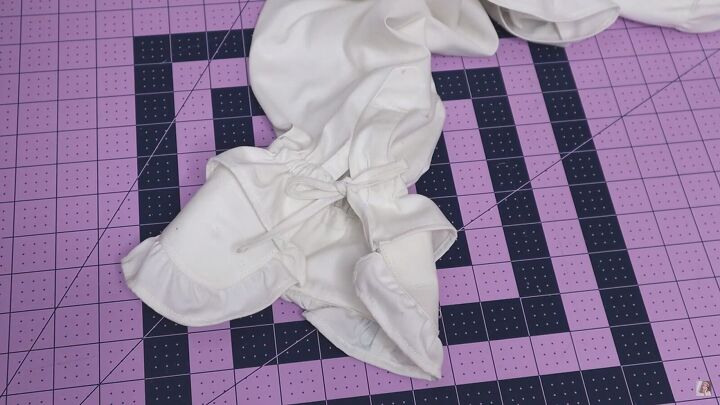
10. Make and attach the ruffles
You’ll need various strips of fabric;
- One collar ruffle piece measuring 2.5” x 26”
- Two sleeve ruffles measuring 2” x 22”
- Two sleeve ruffles & encasing measuring 3” x 15”
- Two sleeve ties measuring 1” X 22”
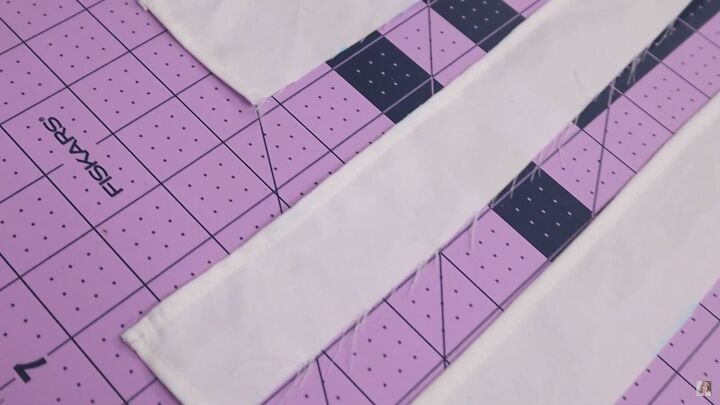
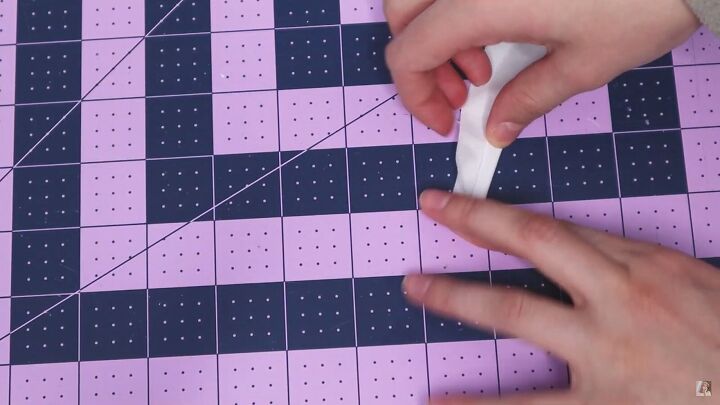
Hems on two short sides and one long side. Do this with a rolled hem (folded twice), and sew.

For the collar and sleeve ruffles, sew a basting stitch at ½” where the non-hem side is.
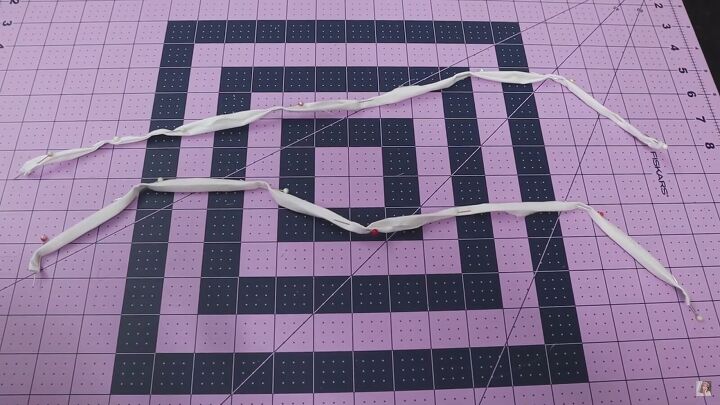
Start creating the ruffles.
Insert it at the opening of the collar until it reaches the end. Sew at the edge of the collar to secure it.
Repeat the same process for the sleeve ruffles.
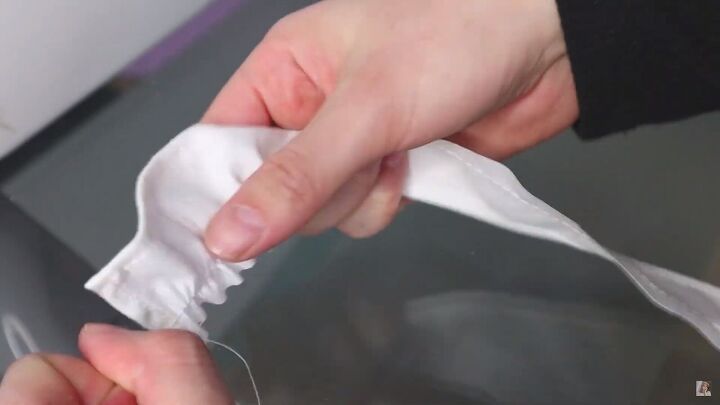
11. Make the sleeve ties
Fold the small edge down first, and fold it twice to create a thin rectangle.
Pin and sew to secure.
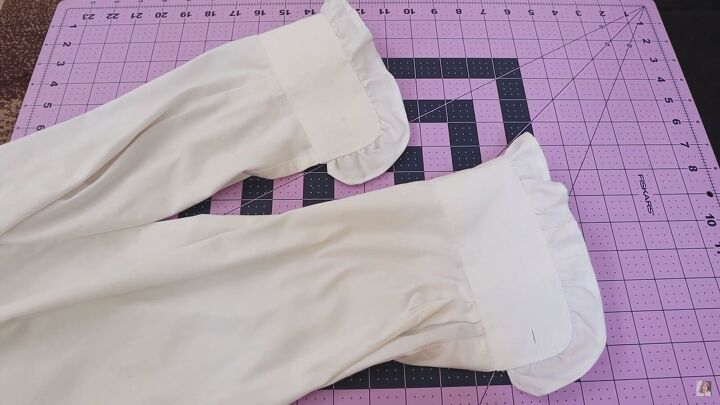
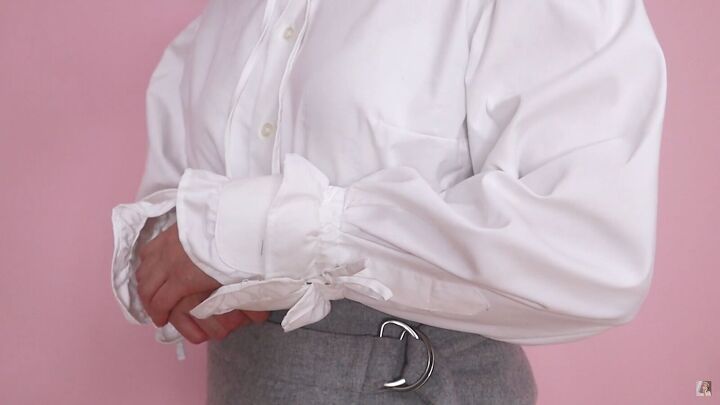
12. Finish the sleeve frills
For the second sleeve ruffle, sew two basting stitches. One at ¼” and the second at 1”.
This should be ruffled just a bit, enough to fit around the sleeve.
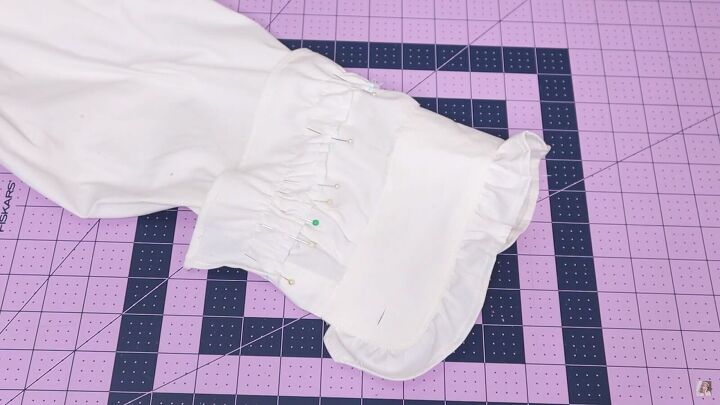
Mark 1.5” below the cuff of the sleeve and pin the ruffle on that marking. Sew on the ruffle where the first basting stitch is.
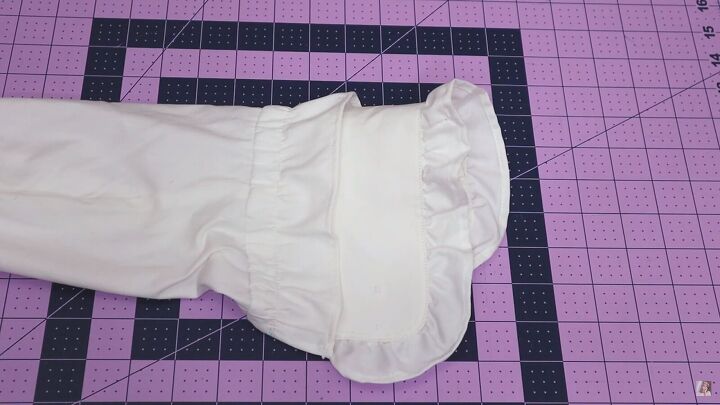
Fold it up, and sew at the second basting stitch. This will create a little encasing to put in the sleeve ties.
Use a safety pin to guide the ribbon through the casing.
Make a little bow to finish off the sleeves.

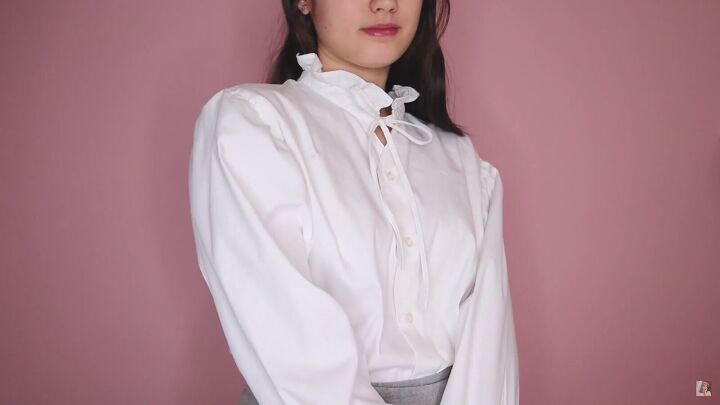
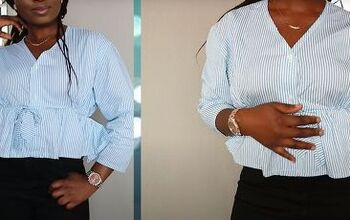
How to make a blouse with frills
Here’s the final transformation! What do you think of this elegant blouse with frills? The detail is exquisite, and no one would ever know this was once a recycled men’s shirt!
The author may collect a small share of sales from the links on this page.


Comments
Join the conversation
Beautiful. I will give it a try. Thank you
don't think will try, but adorable and such a cutie wearing it...!😘