How to Easily Turn T-Shirts & Shirts Into Trendy Tops

In this tutorial, I will show you how to make two different trendy casual tops. One is a tube top made from an old t-shirt and the other is a backless halter neck top from an old button-down shirt. These are both great ways to upcycle unused items from your wardrobe.
Tools and materials:
- Old t-shirt
- Old button-down shirt
- Ruler
- Scissors
- Sewing pins
- Thread
- Sewing elastic
- Sewing machine (optional)
1. Upcycle an old t-shirt
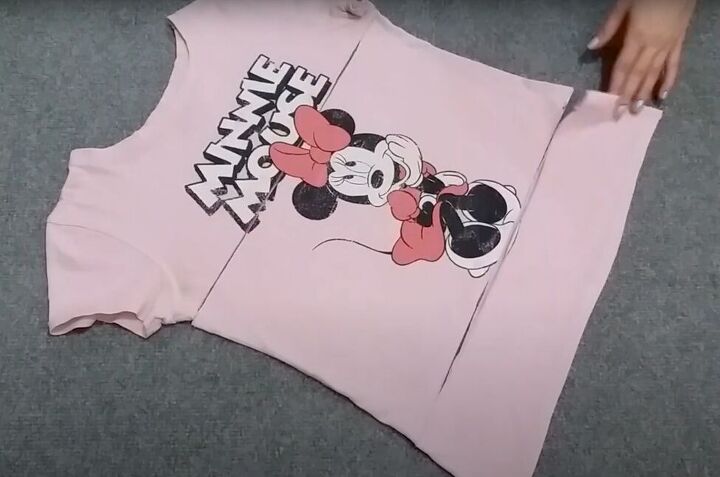
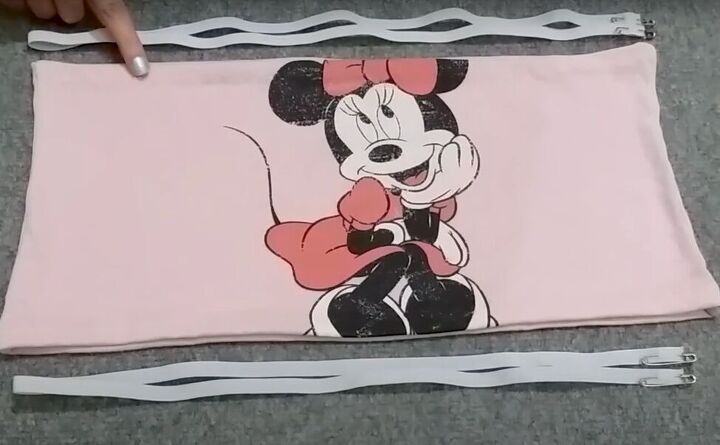
Cut your old t-shirt horizontally under the arms and from the bottom, maintaining most of the pattern you want to preserve.
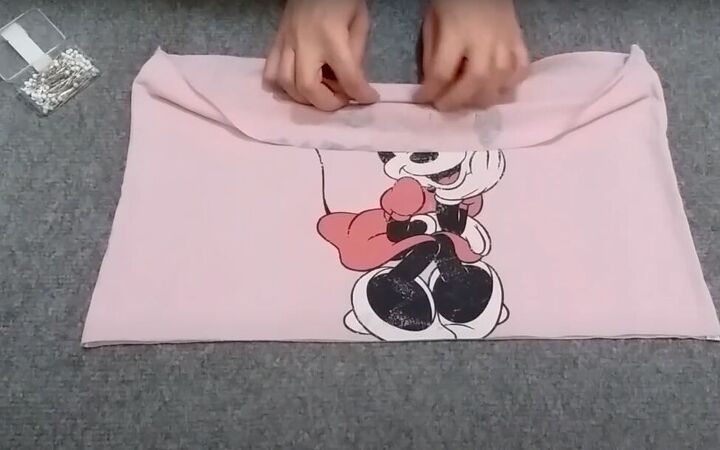
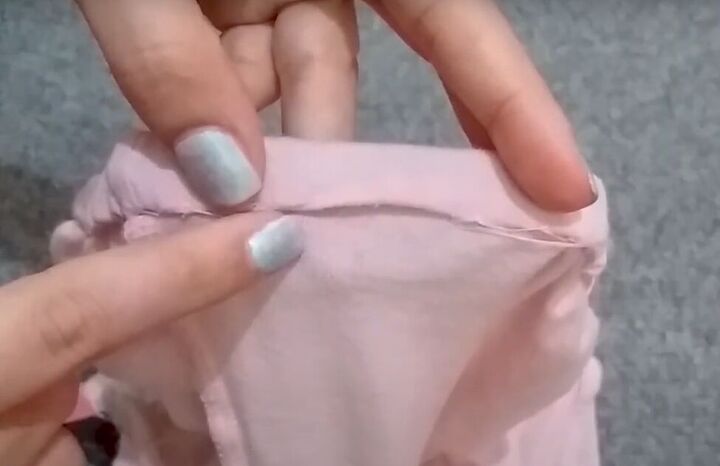
Double-fold to the inside, and pin the top edge of the t-shirt fabric you will use.

Repeat for the bottom edge.
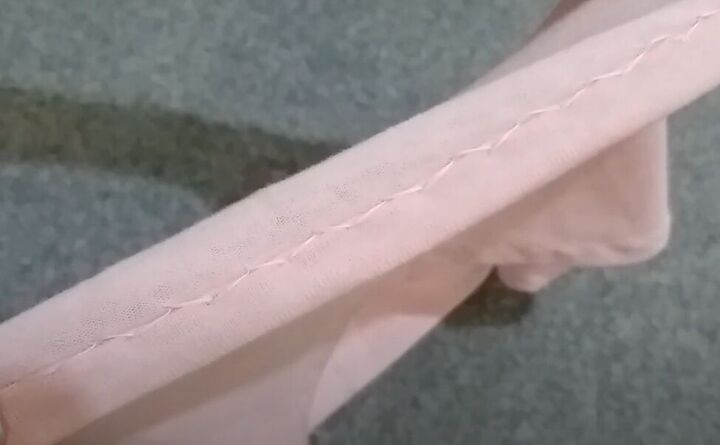
Sew both edges with a zigzag stitch either by hand or with a sewing machine. To see how I sewed a zigzag stitch by hand, follow the video from 1:09 to 1:29. Using a zigzag stitch will preserve the stretch of your fabric.
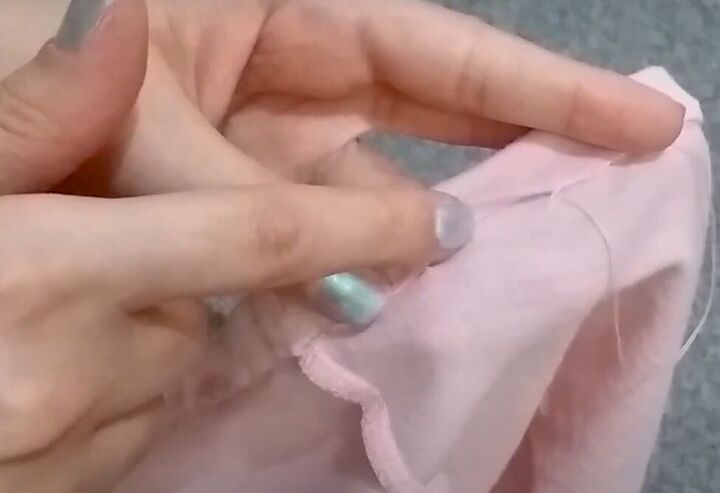
Leave a small opening on both edges for elastic.
Insert elastic into both the top and bottom of your t-shirt.

Sew the ends of the elastic together.
Sew the gaps closed with a zigzag stitch.
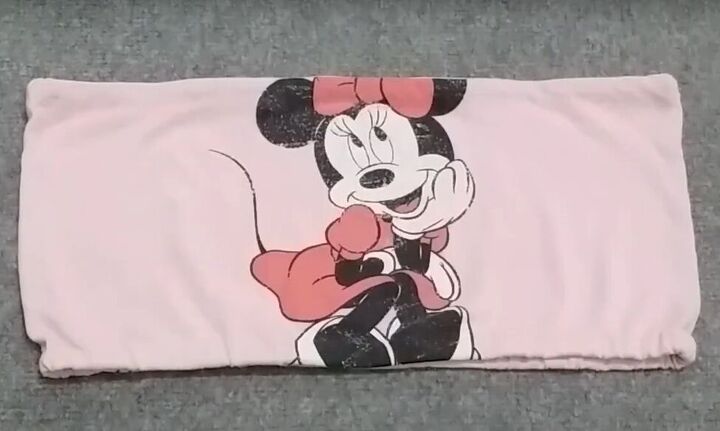
And here’s your new elasticized crop top all done. But wait! I’m going to make this even cuter!
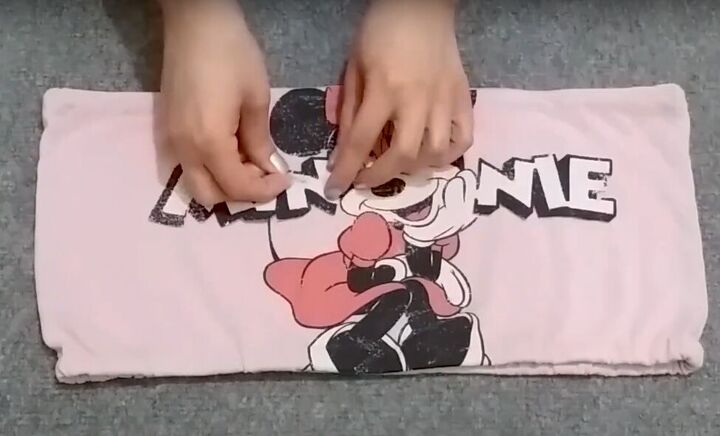
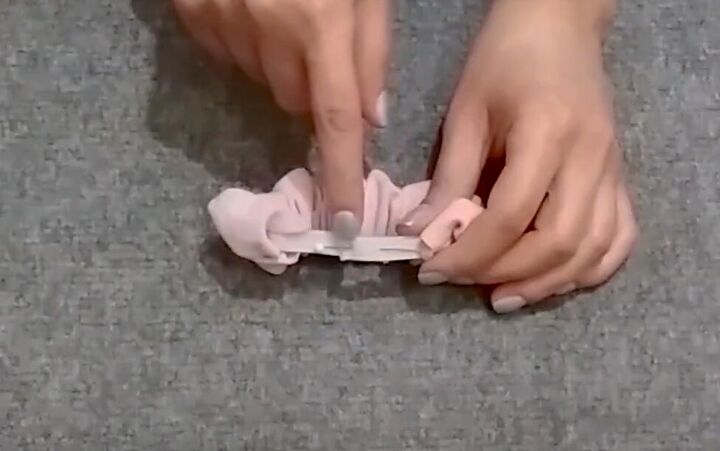
If there are other graphic elements you want from the discarded t-shirt pieces, cut them out and pin them in place on your new crop top.
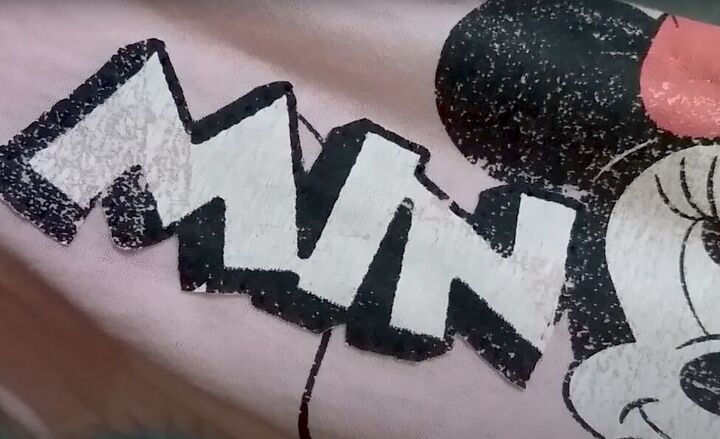
Then sew around the edges of the new elements to attach them to your crop top.
2. Make a matching scrunchie
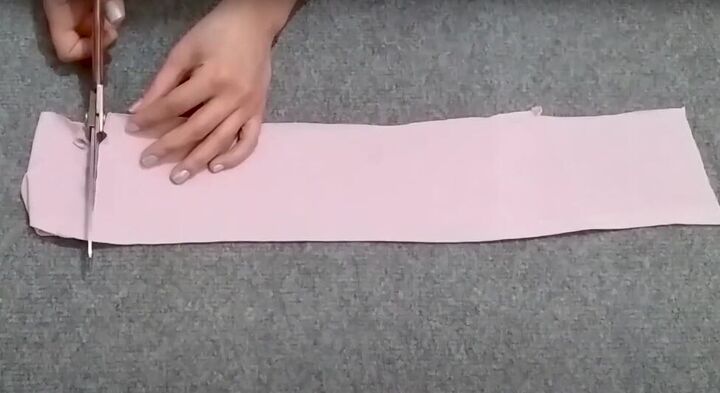
From the discarded bottom of the old t-shirt, cut open one side seam and cut out a rectangle from the fabric.
Fold the rectangle in half with the right side facing in, and sew along the long open edge.

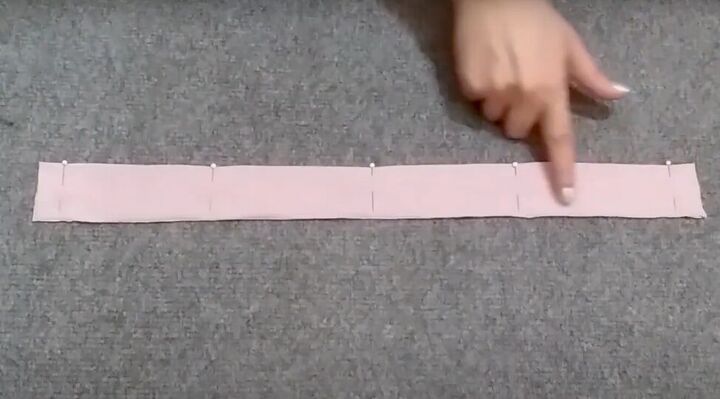
Turn the rectangle piece right-side-out and insert a piece of elastic that is about one-third the length of the rectangle.
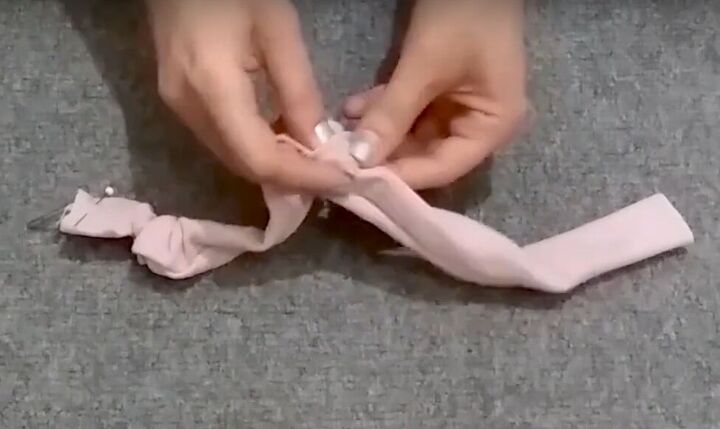
Pin the end of the elastic in place so it doesn’t get lost inside the rectangle, and then gather the rectangle fabric as you go.
Sew the ends of the elastic together.
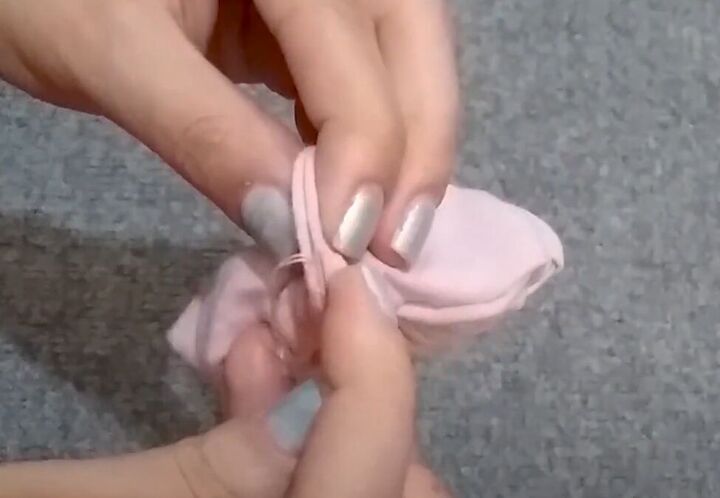
Fold the ends of the rectangle to the inside and then sew the two ends together.
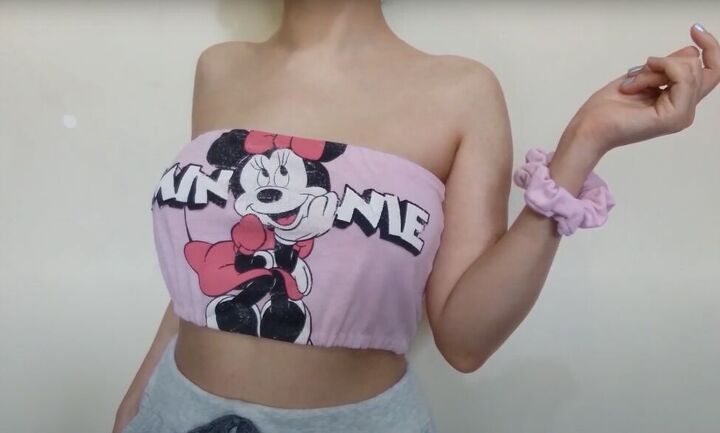
Here’s the finished crop top and scrunchie!
3. Upcycle an old men’s shirt
Mark 2 centimeters (0.78 inches) from the shirt collar along each shoulder.
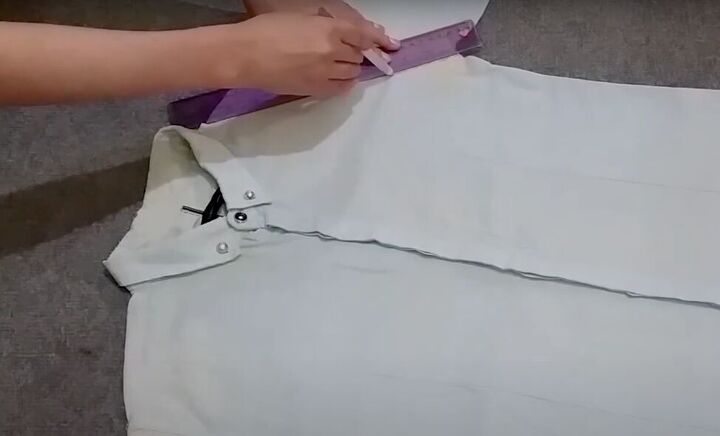
Draw a diagonal line to connect the underarms of the shirt to the shoulder mark on the same side.
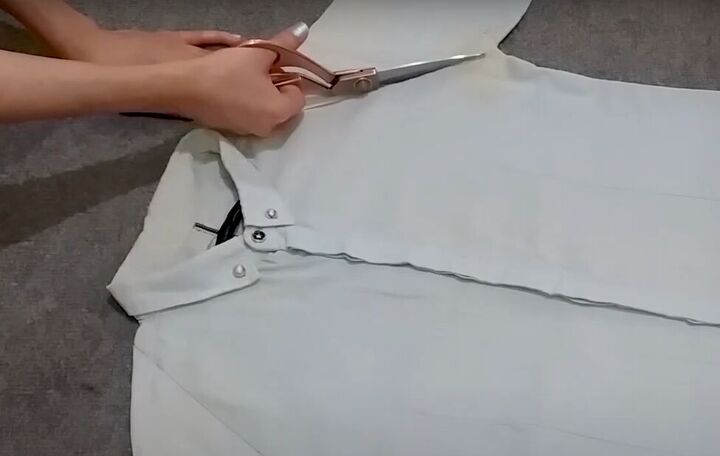
On the front of the shirt only, cut the shirt along those diagonal lines.
On the back of the shirt, cut 2 centimeters (0.78 inches) below the collar of the shirt.

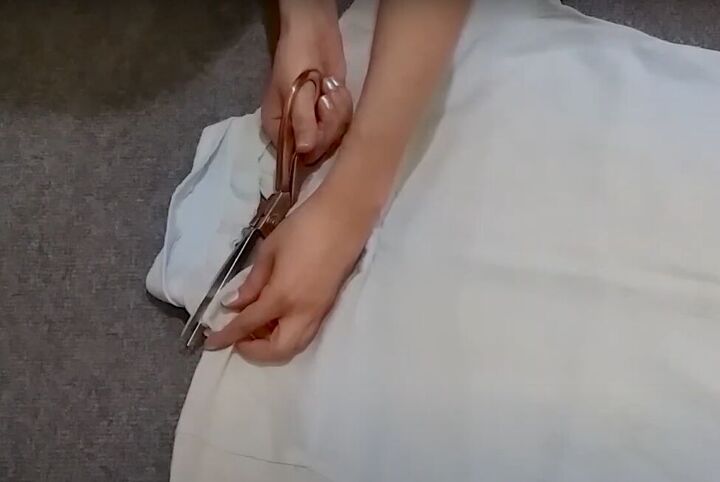
Now, on the back of the shirt only, cut the shirt horizontally below the underarms.
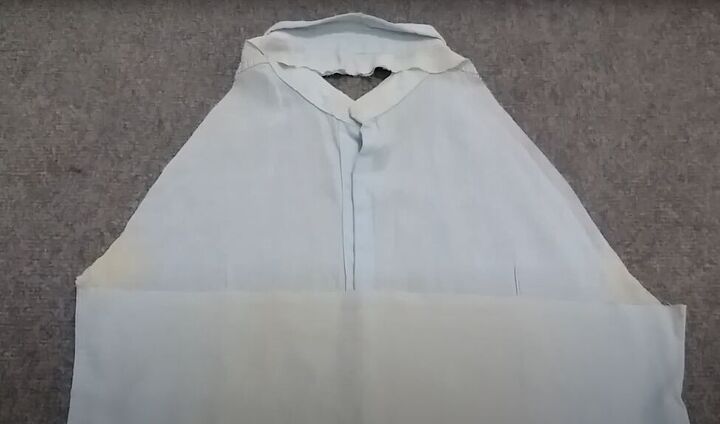
This is what your shirt should now look like from the back.
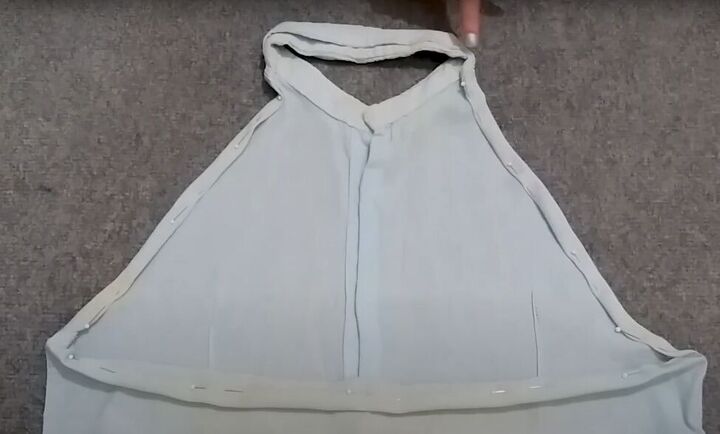
Double-fold, pin and sew all of the raw edges of the shirt, leaving two small openings on each side just below the collar.
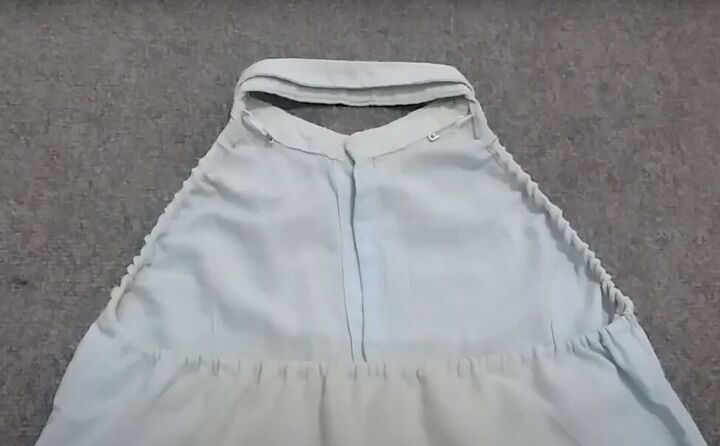
Insert elastic starting at one of the openings, going down the side, around the back, and up the other side to the second opening, gathering the fabric as you go.
Sew the elastic at the openings, and then sew the gaps closed.
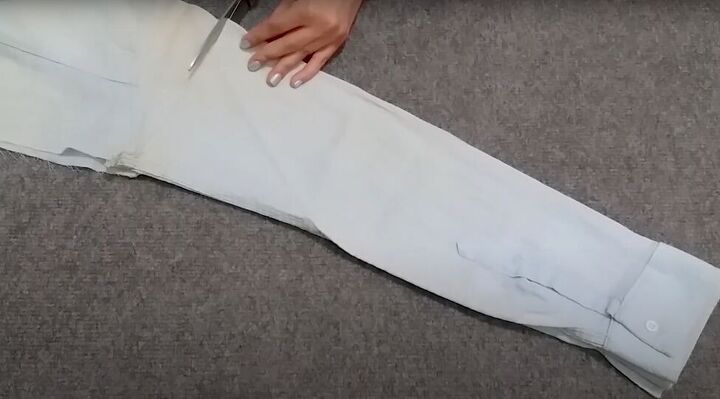
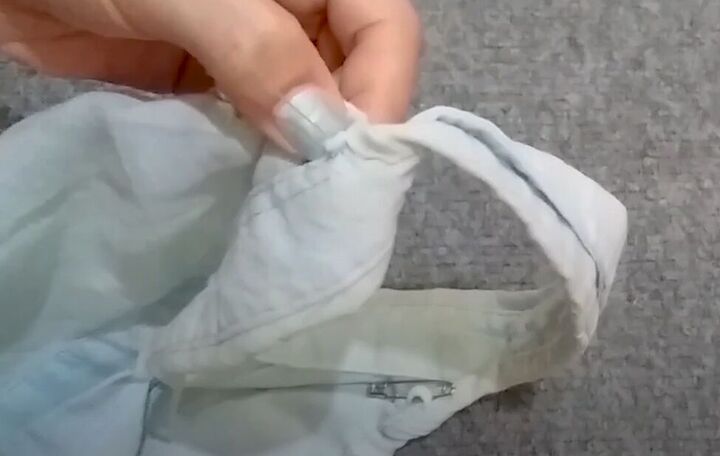
Cut the sleeve off of the unused part of your old shirt.
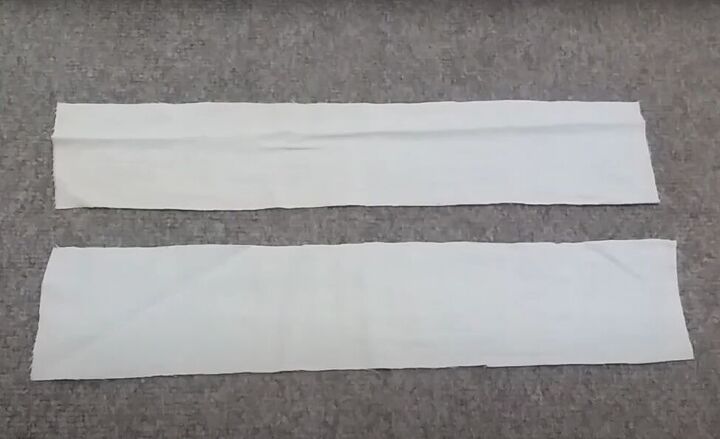
Cut the sleeve seam open and cut off the cuff. Then cut two equal-sized rectangles from the sleeve fabric.
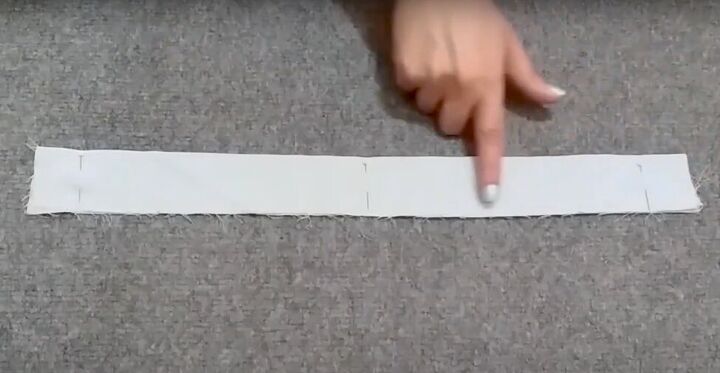
With the right side facing in, fold each rectangle in half lengthwise and sew along the long open edge of one rectangle. On the other rectangle sew the long open edge and one short edge.
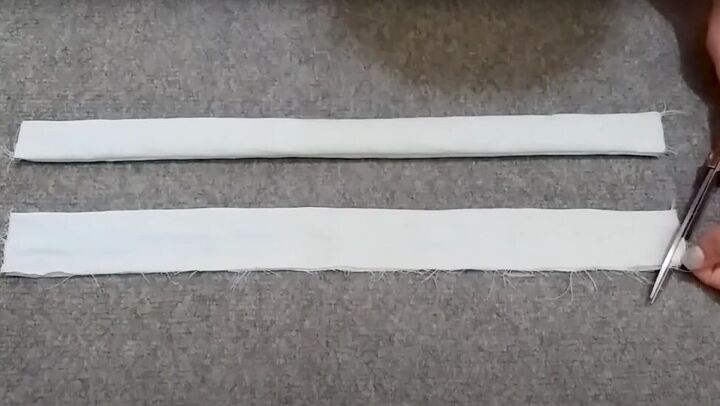
Turn both rectangles right-side-out. Snip a diagonal corner in the seam allowance from the rectangle with the sewn short edge before turning that one right-side-out.
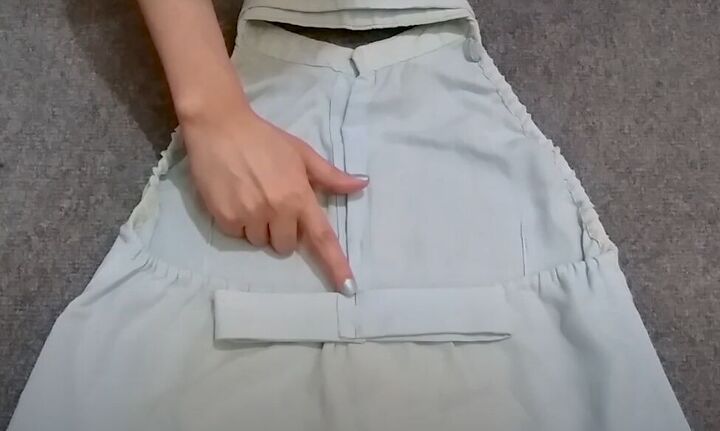
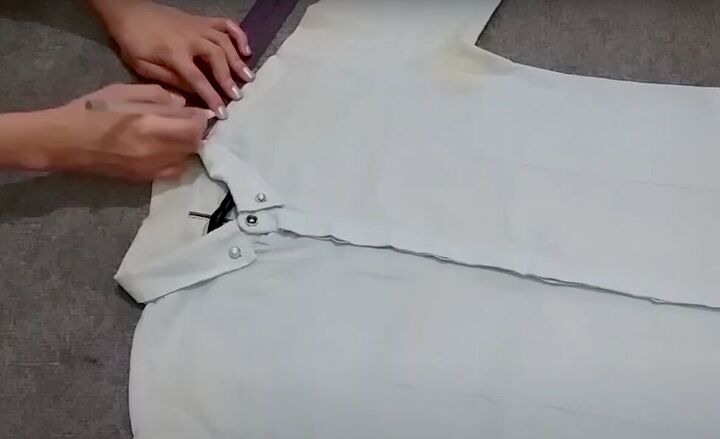
Lay the rectangle with both open short edges across the back of your shirt and fold and pin both ends to the middle. Then sew it to the shirt.
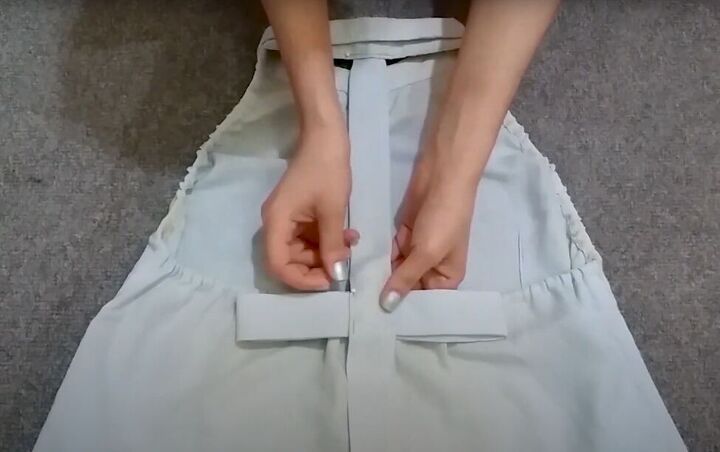
With the other rectangle, lay it vertically down the back of your shirt, with the closed end at the bottom. Now fold in the edges of the open short end and pin it just inside the bottom of the collar. Then pin it on top of the small bow.
Sew that rectangle in place at the collar and on all fours sides where it crosses the bow.

Turning t-shirts and shirts into trendy tops
Here is how the back looks.
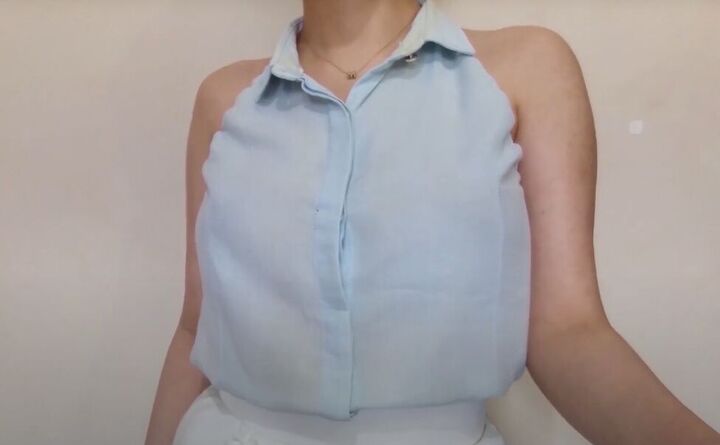
And here is the front. That is quite a transformation from an old plain button-down shirt! I hope you give one of both of these trendy casual tops a try, and leave me a comment to let me know how they turned out for you.
The author may collect a small share of sales from the links on this page.


Comments
Join the conversation
When reading the Title of your YouTube video, one would assume that there is NO SEWING involved in these 2 projects. LOLOLOLOL -- there is, in fact, quite a bit of sewing in both of them. What kind of click-bait title-ing are you playing at? Just tell the truth instead of taking the chance of angering your viewers.
How simple!! Love the detail on the back of the halter top! Good job!!