How to Make a Cozy & Fuzzy DIY Two-Piece Set Out of Sherpa Fabric

I’m going to show you how to make a super cute and comfy DIY two-piece set. This fuzzy set is made from Sherpa fabric, so it's warm and thick—perfect for wearing in colder weather.
The set is very straightforward to make, so if you’re just starting out in the world of sewing, this is a great project for you.
Tools and materials:
- Sherpa fabric
- Sweatpants
- Crop top
- Long-sleeved top
- Scissors
- Clips
- Pins
- Elastic
- Ruler
- Safety pins
- Sewing machine
DIY cozy pants
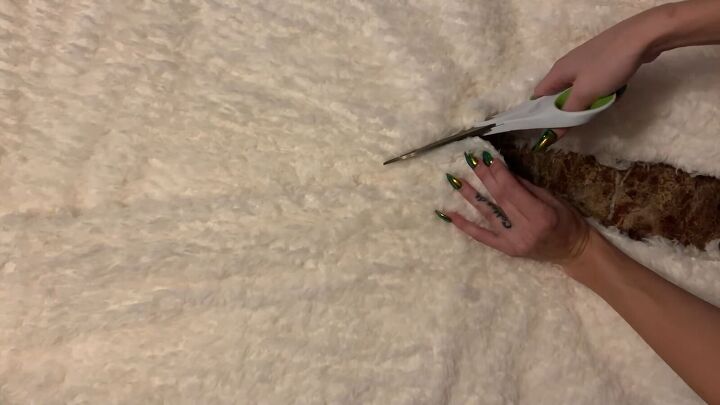
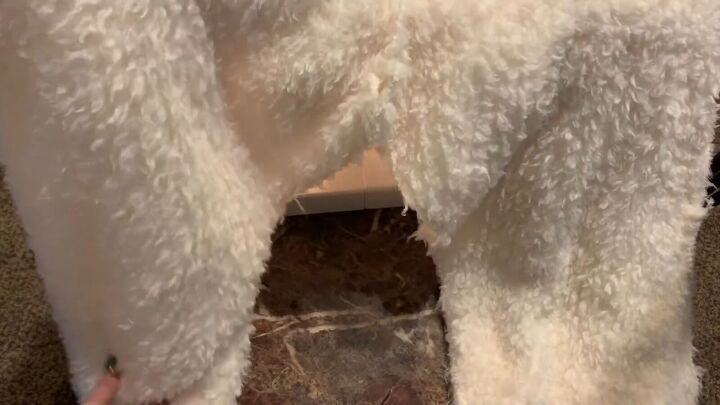
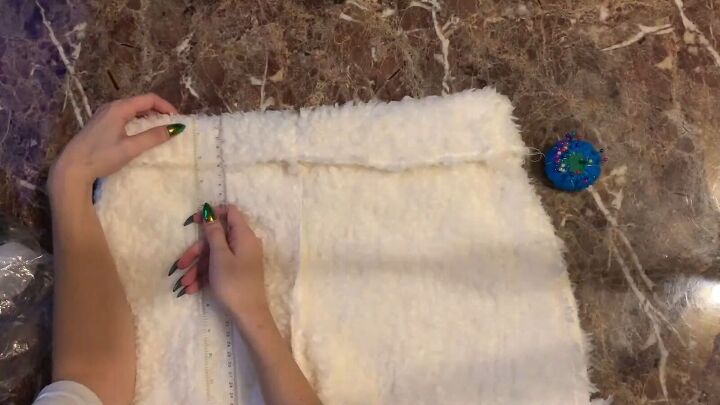
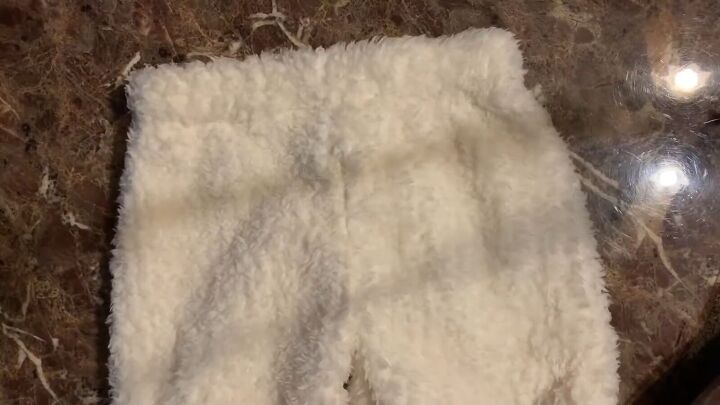
1. Cut the fabric
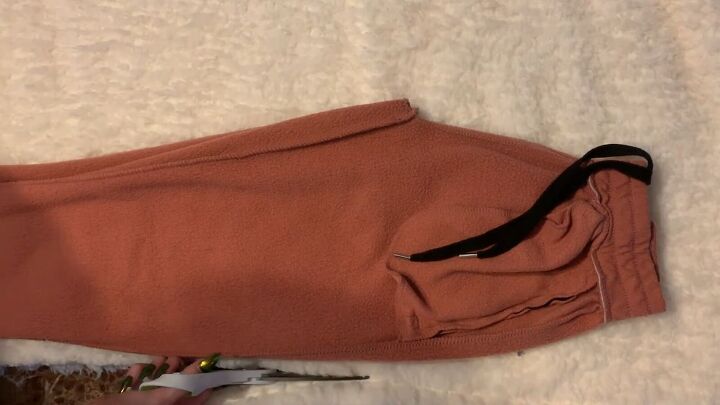
Lay your Sherpa fabric down flat, then take a pair of sweatpants that fit you well and use them as the template to cut out the sherpa fabric, leaving a few inches around the sides for seam allowance.
Once you’re finished cutting the front piece, use it to cut the back piece. The only difference when cutting the back piece is when it comes to the crotch part, go down about an inch (2.5cm) further and come out about an inch further, so there is room for your butt!
You will need to cut out two pieces for the front and two for the back.
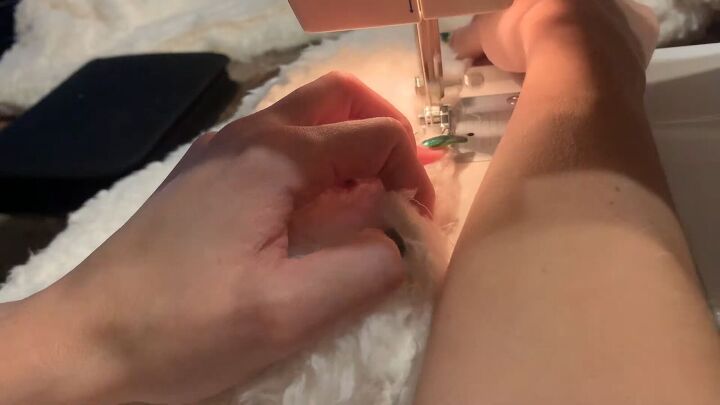
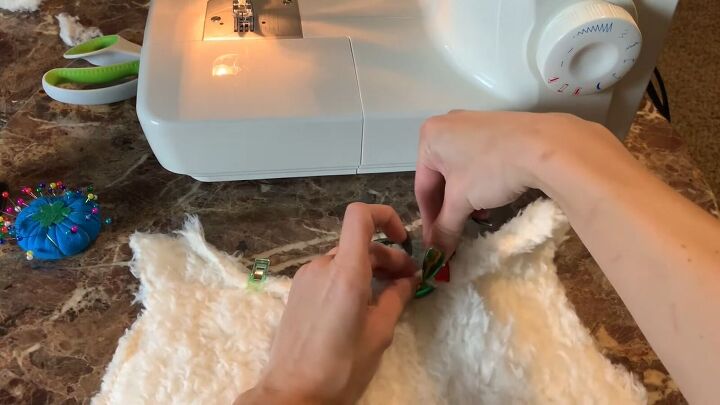
2. Sew the crotch
With both pieces cut out, sew the two front pieces together as well as the two back pieces together at the crotch.
To do this, put the two pieces together and sew them with a straight stitch. Then go back in with a zigzag stitch to secure all the fuzzy edges from flying all over the place.
3. Sew the outside legs
Now it’s time to sew the front and back pieces together down the legs. To do this, clip or pin the leg pieces together and then proceed to sew again, first with a straight stitch and then with a zigzag stitch to secure the edges.
We are going to do that every single time we sew anything together.
4. Sew the inside legs
When both pieces of the outside legs are sewn together, sew the inside legs starting from the crotch and working your way down. Do that on both sides.
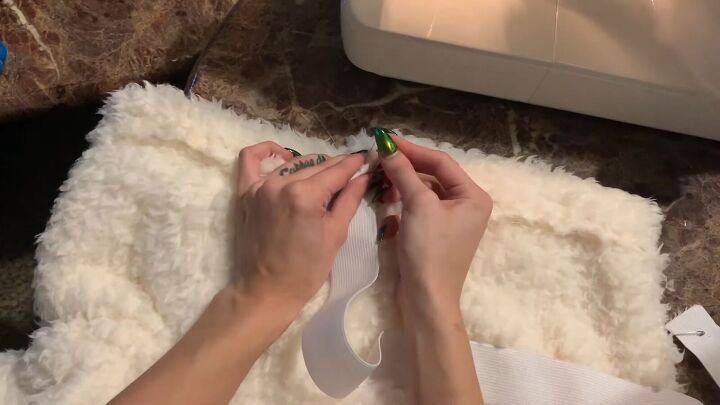
5. Measure and sew the waistband
When I cut the Sherpa fabric, I cut on the edge so that the bottom of my pants didn’t need to be hemmed. All you have to do now is finish up the waistband.
To do this, measure the width of your elastic and fold the band of your pants down, leaving the right amount of space to fit the elastic through (for me, this was 1 inch - 2.5cm). Pin the waistband down and then sew all around.
When you get to the end, remember not to finish it off, you need to leave a little bit of room so that you can fit your fingers and the elastic through.
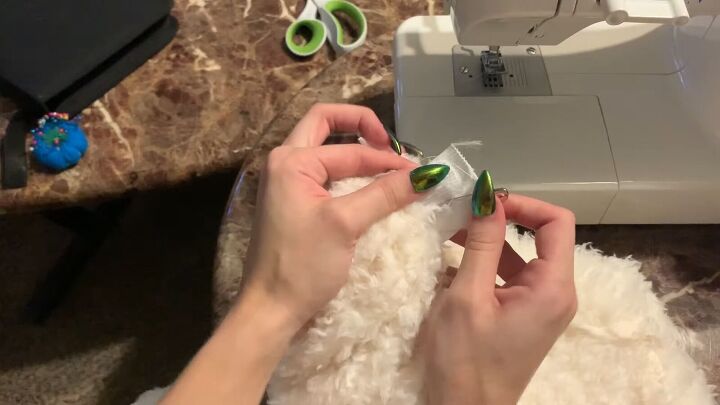
6. Insert the elastic
To insert the elastic, take two safety pins and clip one end of the elastic to your waistband, and put the other clip on the other end of the elastic to allow you to pull it through the band. This might take some time, so be patient with it.
7. Finish the pants
Once you’ve pulled the elastic through to the other side, secure the two ends with a zigzag stitch, and then close the opening of the waistband.
All you need to do now is turn everything inside out so it’s facing the right way as it should be.
The cozy pants are finished! Now let’s love onto the top.
DIY cozy top
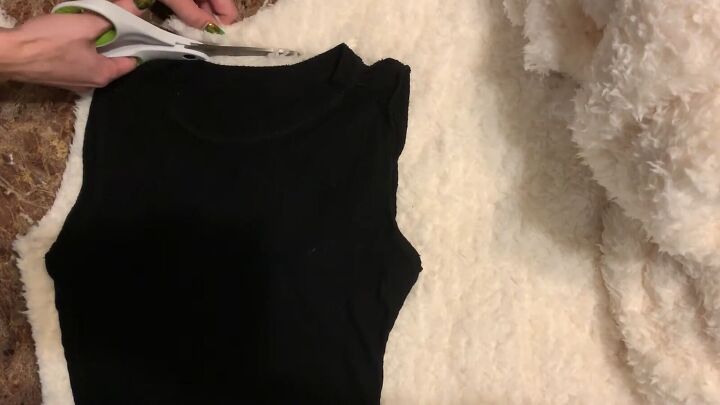
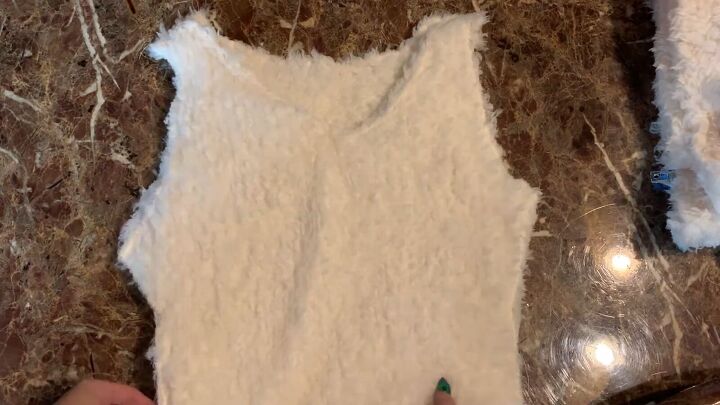
1. Cut the body of the top
To make the top, take a crop top that fits you nicely and use that as the template to cut out your fabric. Then cut out another piece for the back.
When they are cut out, fold them in half and cut them again to make sure that both sides are symmetrical.

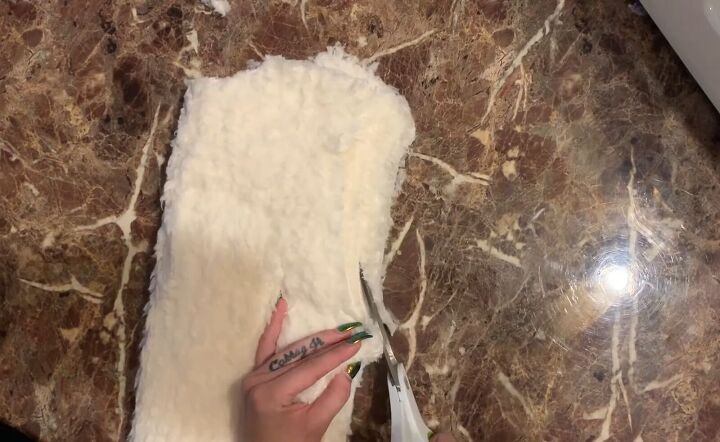
2. Cut the sleeves
Next, grab a long-sleeved top that you like and use that as a template to cut out your sleeves.
I recommend cutting out your sleeves with the fabric folded so that you don’t have two seams. Then take your already cut sleeve and use that as the template to cut the other sleeve.
3. Hem the top
Going back to the body of the top, hem the neckline by folding it down and pinning it. Do the same thing to the bottom of the top—flipping it over, pinning it down, and hemming it the same way.
When everything is nice and pinned, sew down.
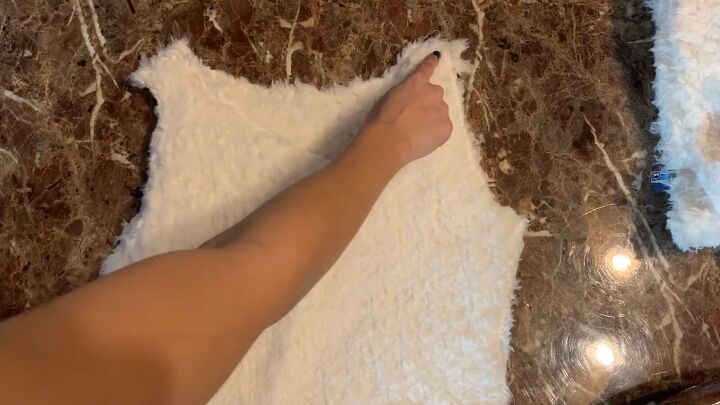
4. Cut the neckline
This next part is optional, but I cut the neckline of the shirt into a v-shape and then hemmed it. If you are going to do this, be sure only to cut the front side of the top.
5. Sew the shoulders
Now align the front and back of your top, right sides facing, and sew the two shoulders.
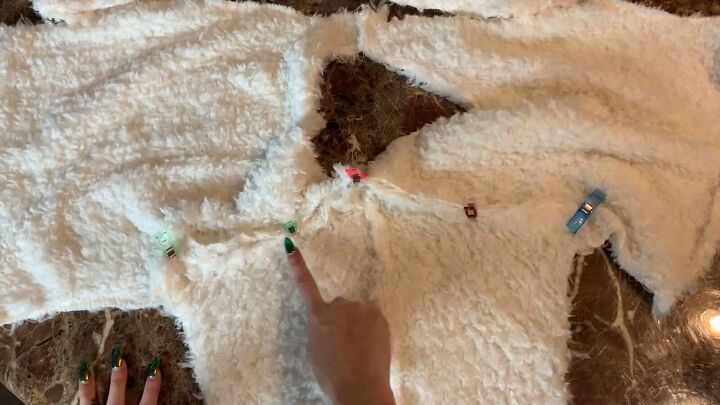
6. Attach the sleeves
Next, open everything up and align the sleeves to the sleeve openings in the body. Then pin them down and sew.
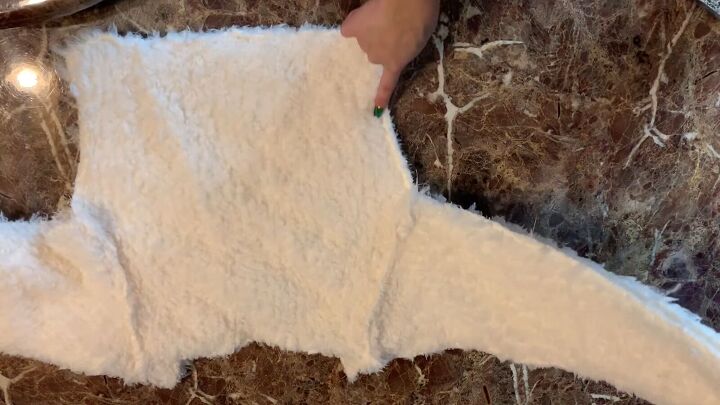
7. Finish the top
The next step is to sew along the inside of the sleeves and down the body on both sides to close everything together. Now that everything is sewn together, all you need to do is flip the top right side out.

DIY fuzzy two-piece set tutorial
Here we have our cropped long-sleeve top to go with the comfy pants. When you wear this two-piece fuzzy set, you do not need a blanket; it is so warm and cozy!
This is perfect for wearing around the house on those days when you just want to chill out; I hope you’ll give it a go.
The author may collect a small share of sales from the links on this page.


Comments
Join the conversation