How to Make a DIY Strappy Backless Top You Can Tie Multiple Ways

A sexy satin backless top you can wear at least 3 different ways? Yes, please! This easy DIY backless satin top is a knockout with the sheen and chic that only a satiny fabric can give. This backless top pattern is super simple and you can totally make this by hand. Let me show you how to make this gorgeous DIY backless top.
Tools and materials:
- Satin fabric
- Pins
- Tailor’s chalk or washable marking pen
- Measuring tape
- Ribbon
- Scissors
- Hemming tape (optional)
- Needle and thread
- Sewing machine (optional)
- Iron
- Safety pin
Make sure to use a stretch fabric. You can use new or upcycle a satin fabric.
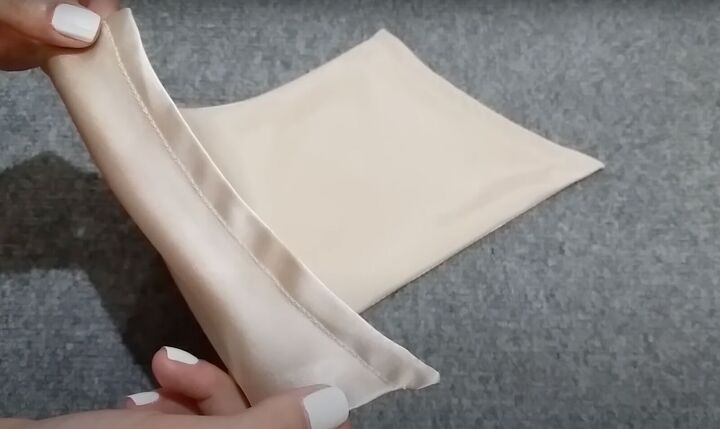
1. Make the straps
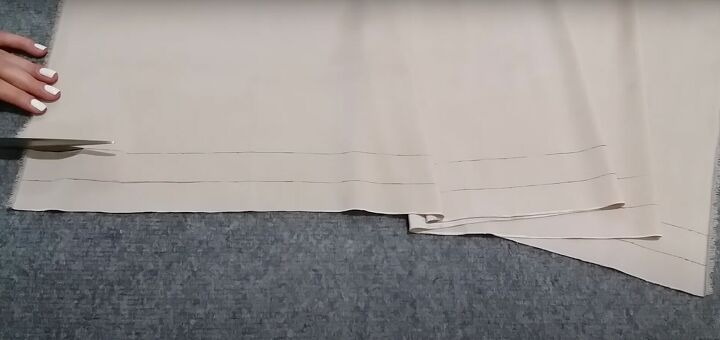
Cut 2 very long straps 1 inch wide that are at least 25 inches long.
You can make them longer if you prefer.
Fold and baste stitch in the short ends.
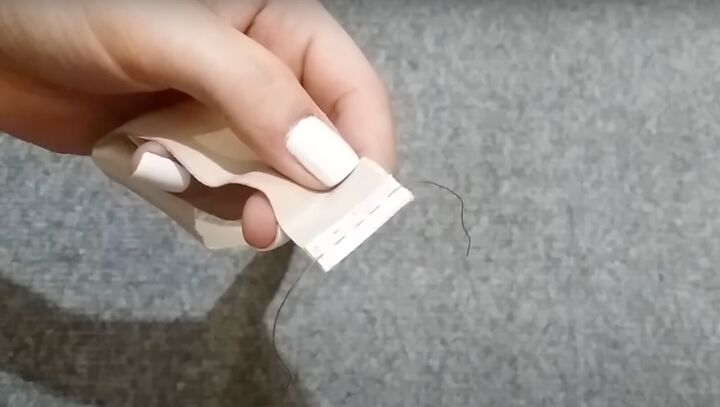
Fold the long edges into the center. Fold the strap in half. Sew along the entire length.
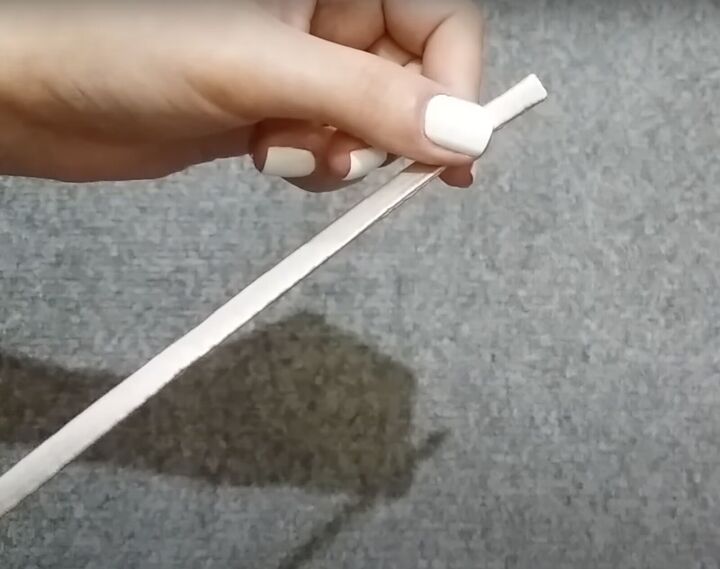
Sew the short ends closed.
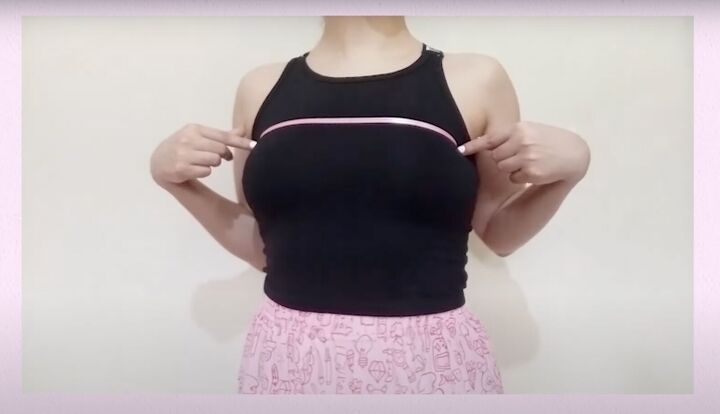
2. Measure yourself
Measure your neckline across the top of your bust.
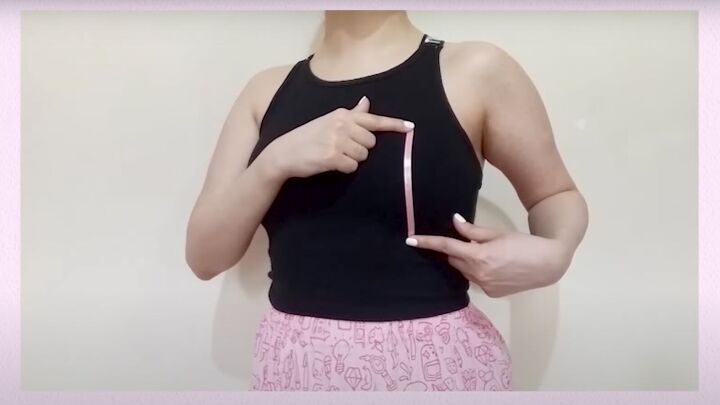
Measure the length by measuring from your neckline down to under your bust.
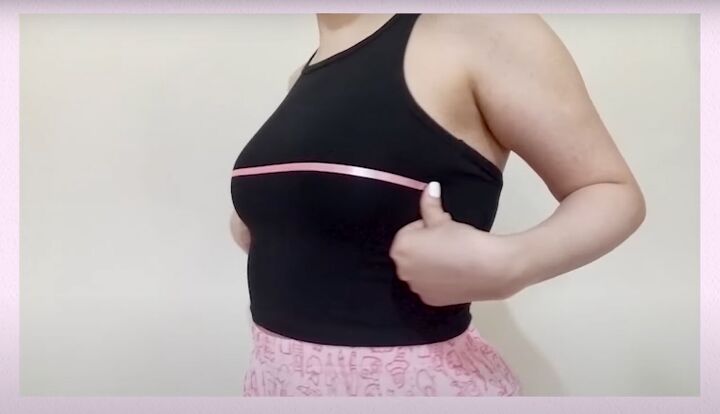
Measure the fullest part of your bustline from one side to the other. Use ribbons to mark these measurements.
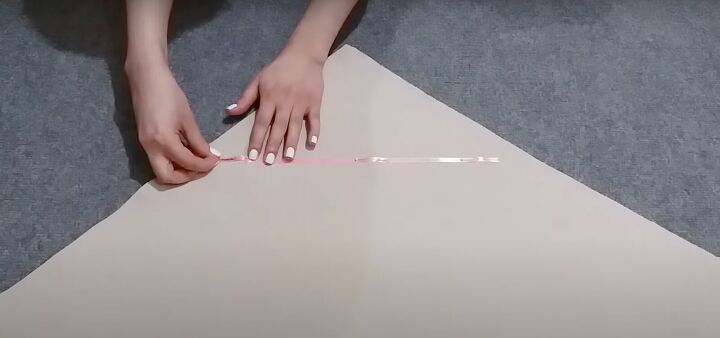
3. Make the pattern
If you’re using new fabric, check where the selvage is. Use the fabric on the bias. Pin the neckline ribbon.
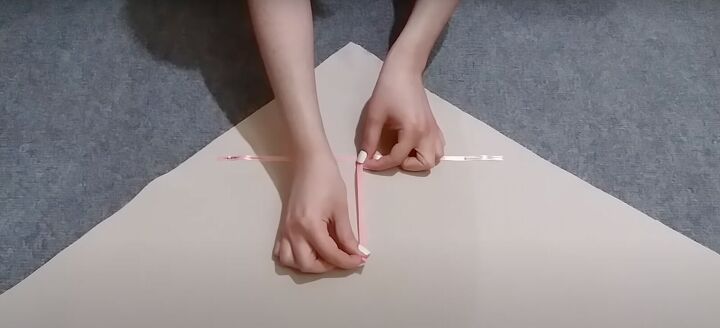
Pin the length ribbon down the center.
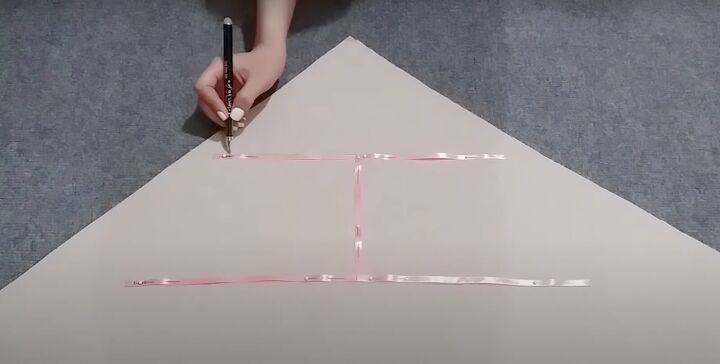
Pin the bustline ribbon. Trace the outline. Mark the centers and keep the center ribbon in place.
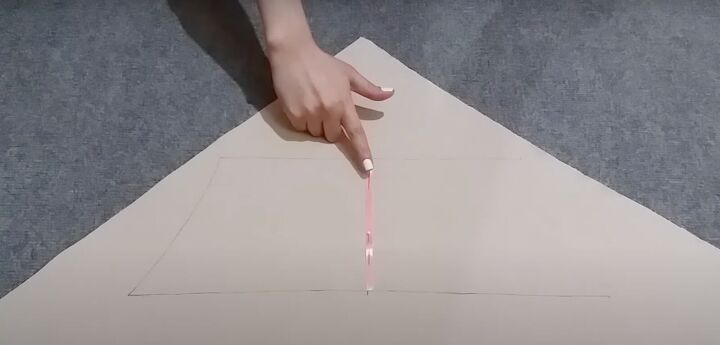
Connect the neckline and under the bust measurement with a slight diagonal line.
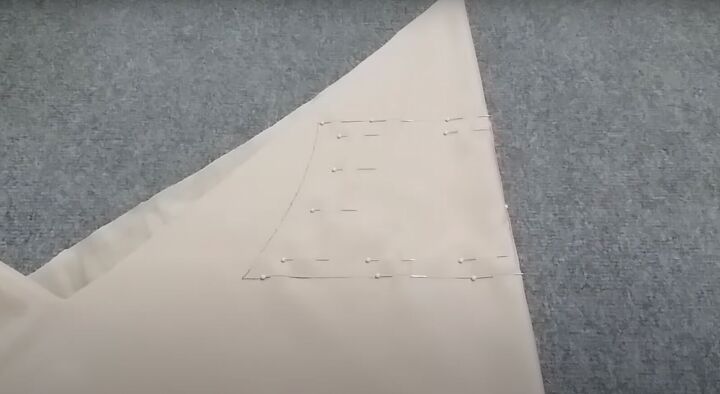
Fold from the center. Pin in place. Cut out with ½ inch seam allowance.
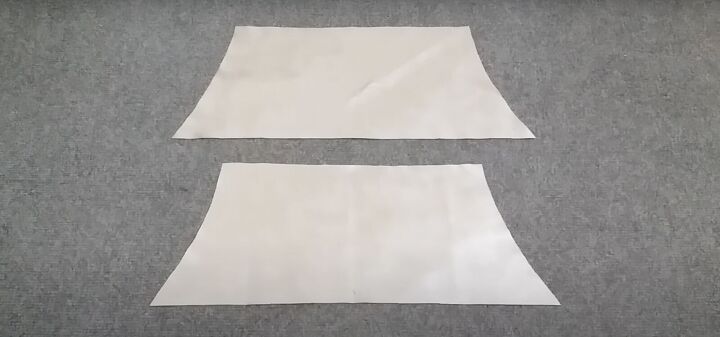
Cut 2 pieces.
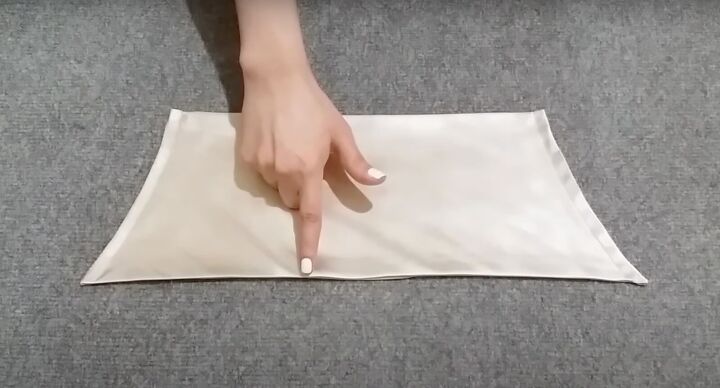
4. Sew the top
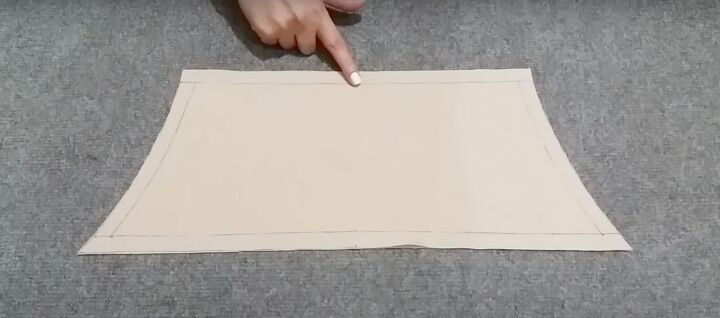
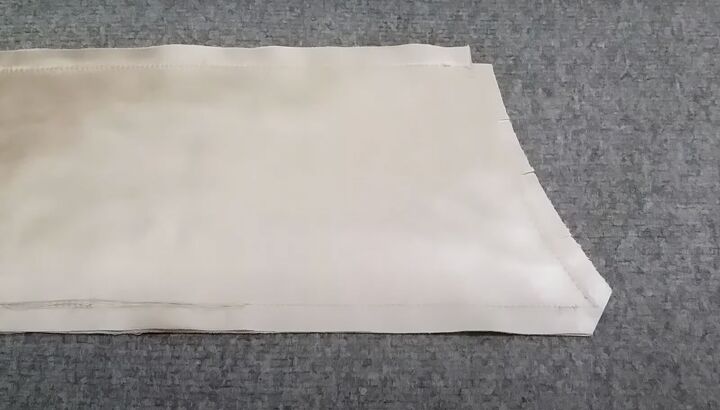
Lay the two pieces right sides together. Match the centers at both the top and bottom. Pin them together.
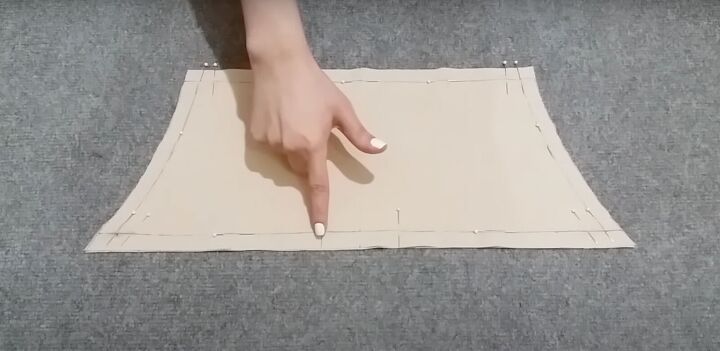
Sew across the top, sides, and bottom leaving a 1 ½ inch opening at the bottom. Leave a ¼ inch unsewn at each of the 4 corners.

Cut 3 notches on both sides seam allowance.

Cut a ¼ inch square off of both top corners.
Cut a slant on both bottom corners.
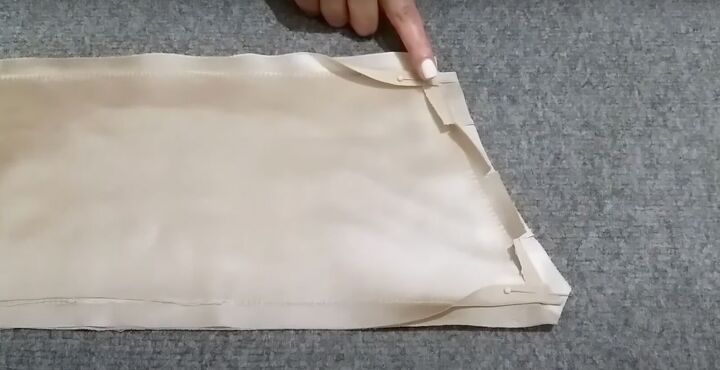
If you have hemming tape, cut a few pieces. Open the seam allowance on top and along the sides. Tape the seam allowances down at the top and bottom of each side on both sides of the top.
If you don’t have hemming tape, you can use pins or a small basting stitch to hold the seam allowance open. Press with the iron to flatten.
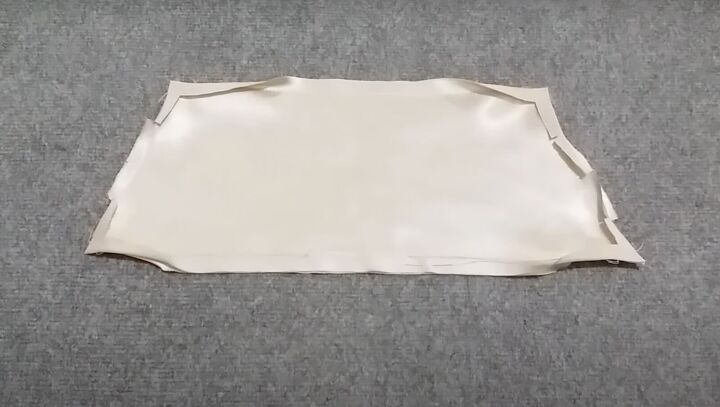
This helps keeps the corners beautifully neat and professional looking. Turn the top right side out from the unsewn space at the bottom.
Press the entire top nice and flat. Topstitch along both sides about ½ inch from the edge.
Sew the bottom space closed.
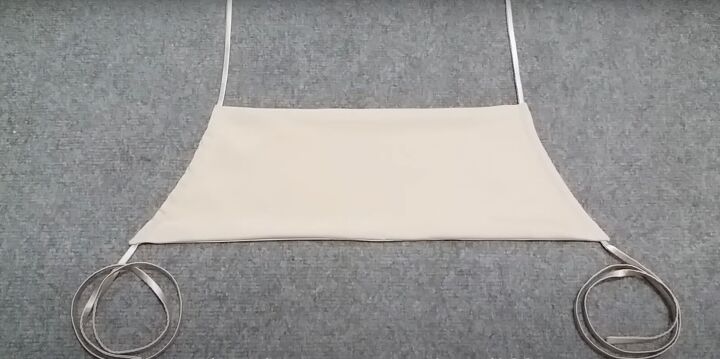
5. Finish the top
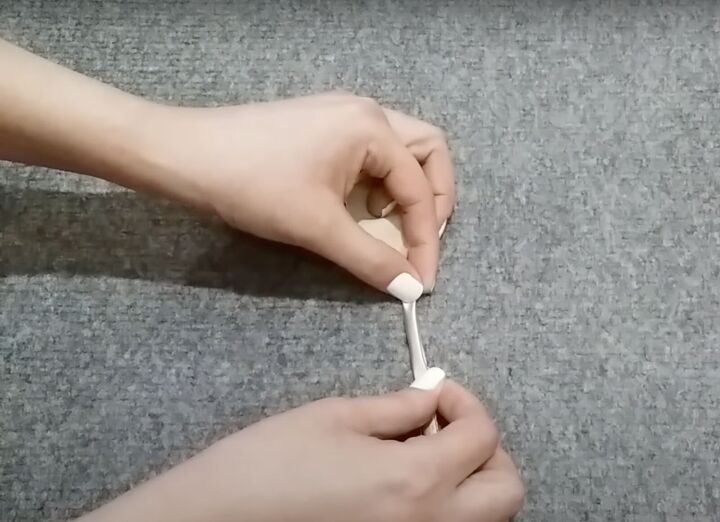
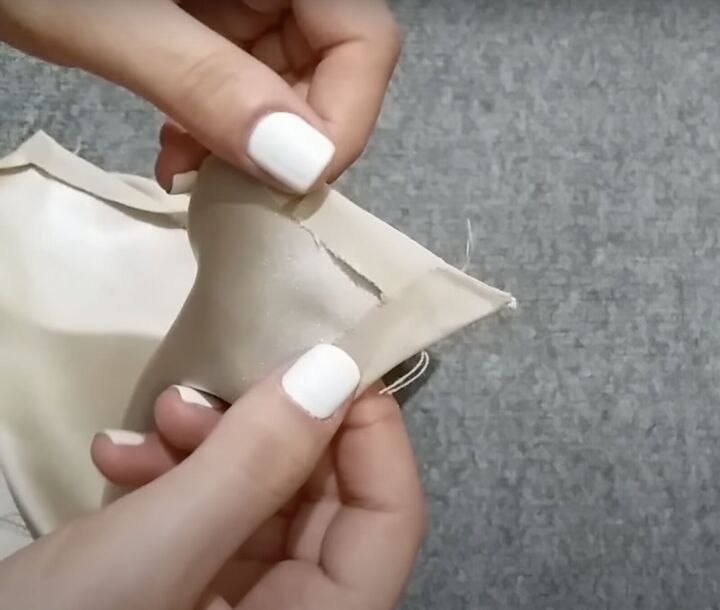
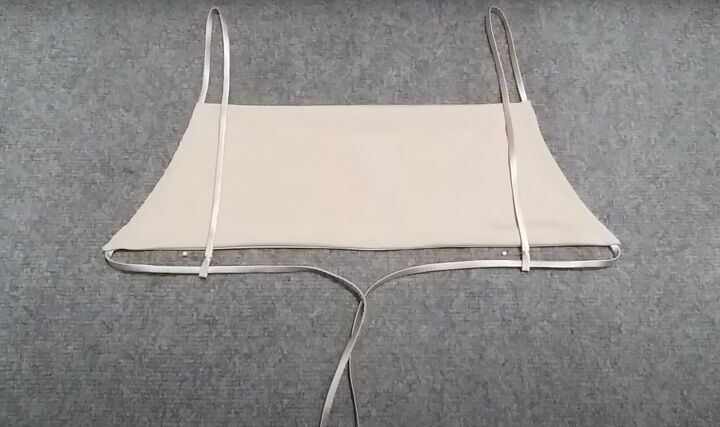
Insert the straps through the side channels with a safety pin.
Here are a few different ways to style the top:
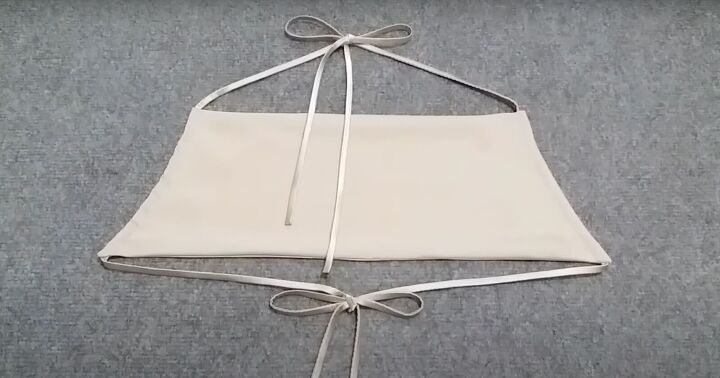
Halter: Tie the top string around your neck. Tie the bottom string across your back.
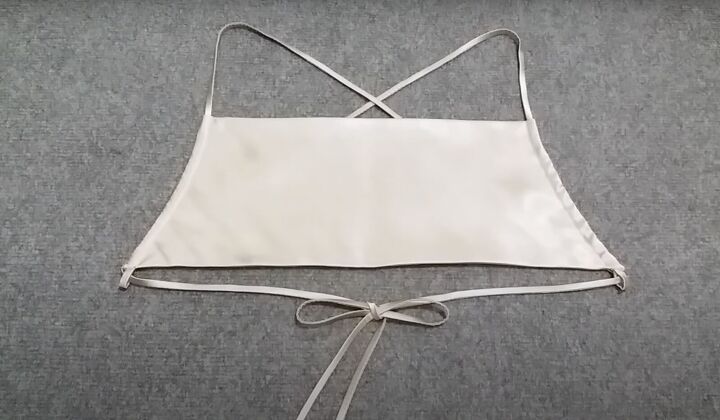
Bra-style: Fold down the top straps down. Fold up the bottom of the top strap make a ½ inch opening.

Pin and sew the loops into place. Insert the bottom straps through the loops and tie closed.
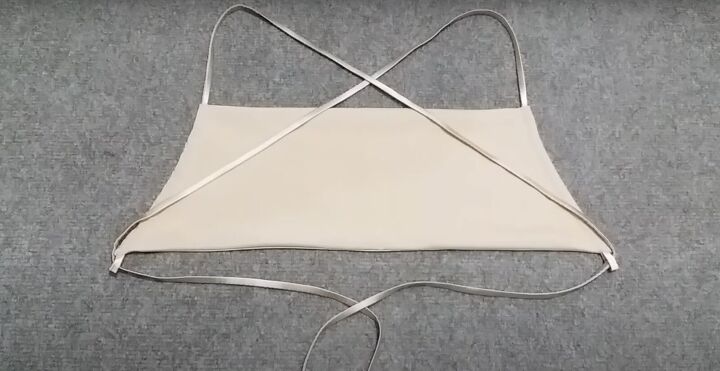
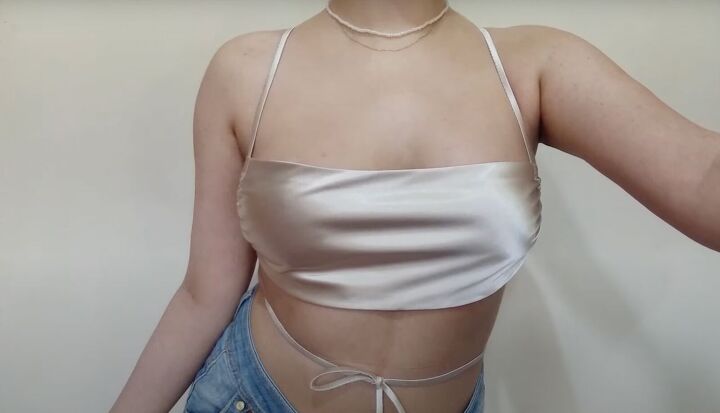
Criss-Cross: Pull the strings up leaving about an inch at the bottom.
Fold this up to make a ½ inch loop. Pin and stitch to secure. Pull the strings through in an X pattern.
You can either tie across the back or wrap around the waist and tie in the front.
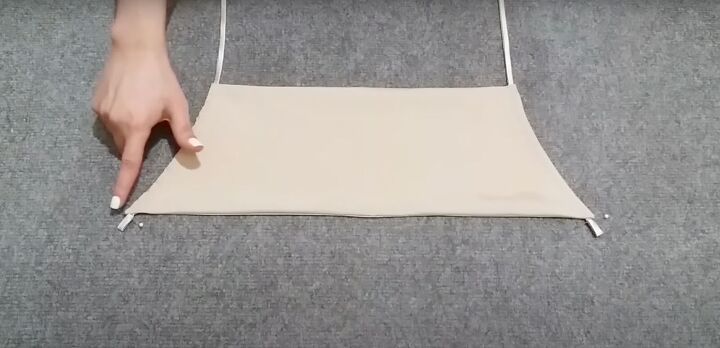
Before wearing or while you put it in on, slightly gather in the sides to adjust for a better fit.
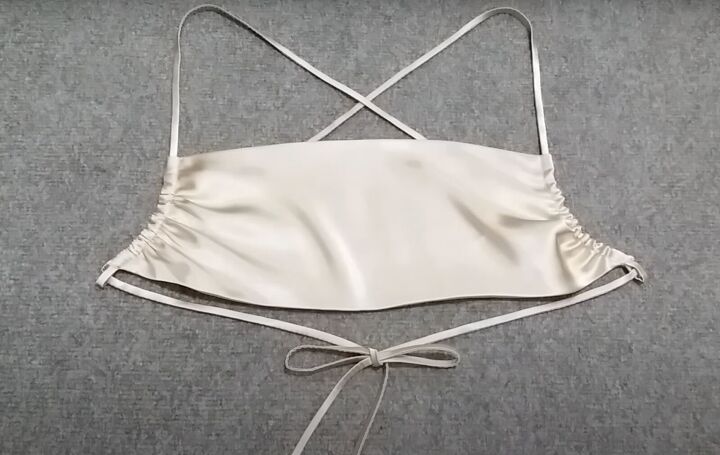
DIY backless top tutorial
You’ve just made a sexy DIY backless satin top. Please let me know in the comments how easy it was for you and how many compliments you got when wearing it.
The author may collect a small share of sales from the links on this page.


Comments
Join the conversation