2 Super-Cute DIY Halter Tops to Make For the Perfect Summer Vibes

Looking for a great way to make something stylish in the summer? We have the perfect DIY halter top for you! Learn how to sew a halter top in two different styles. Sewing a halter top is fairly easy, though it does require basic sewing skills. It’s also quick and cheap to make. Let’s go!
Tools and materials:
- Spandex fabric
- Fabric
- Pins
- Sewing machine
- Scissors
- Marker
- Paper
- Tape
- Iron
- Thread
- Measuring tape
- Safety pin
Cropped DIY halter top
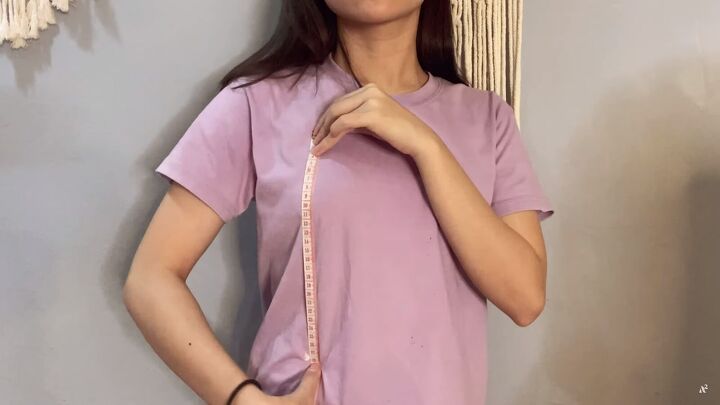
1. Measure and make the pattern
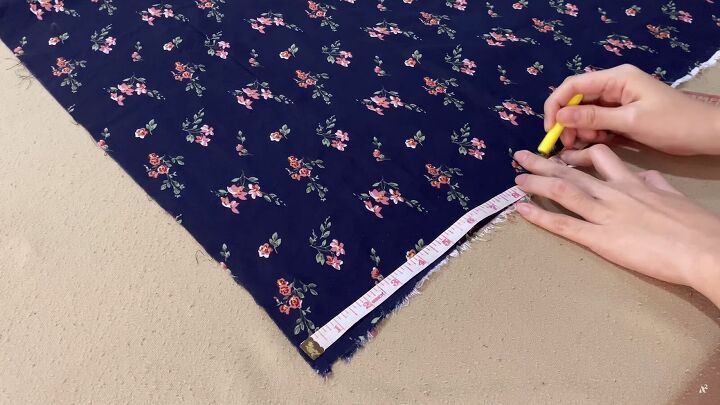
To begin, measure yourself from the chest to your belly button. Ours was around 28cm (11.02”) + ½“ seam allowance.
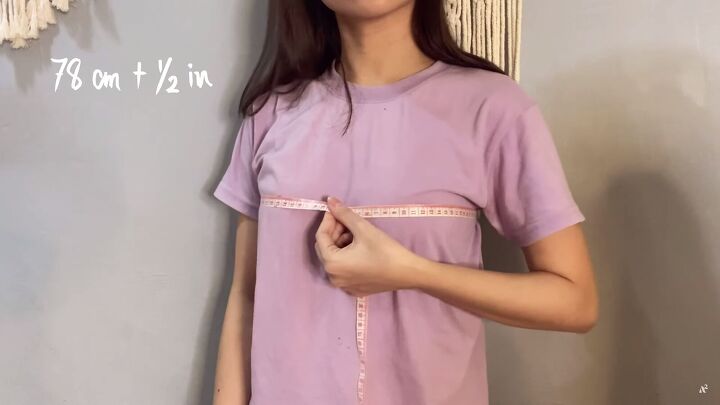
Also, measure your bust by placing your measuring tape around your chest area. Ours was 78cm (30.70”) + ½“ seam allowance.
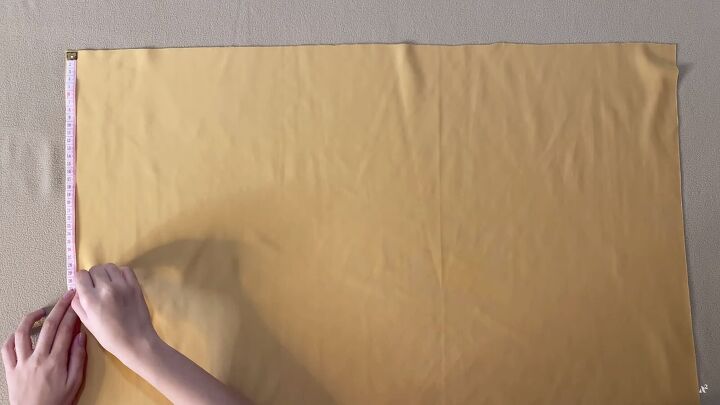
Mark all these measurements onto your fabric with a marker.
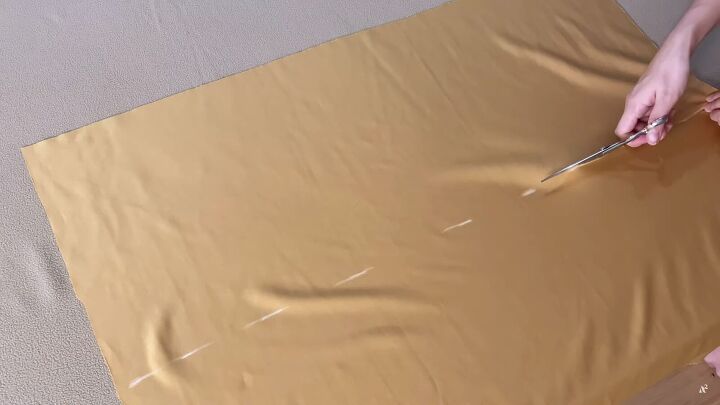
Next, cut out the DIY halter top pattern, which should be a long rectangular shape.
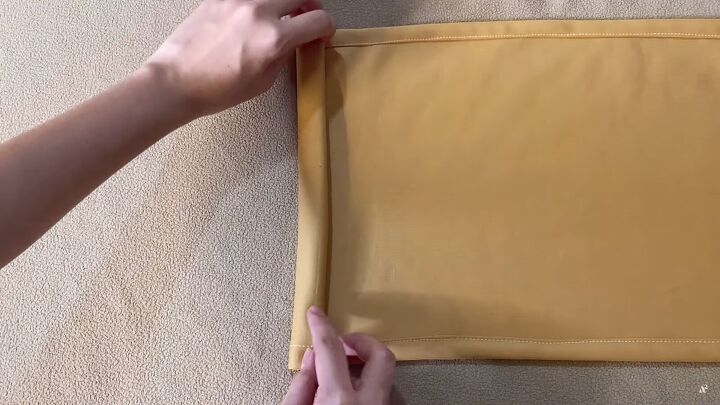
2. Hem the edges
Hem the raw edges with a double fold. This will give a clean finish and prevent the fabric from unraveling.
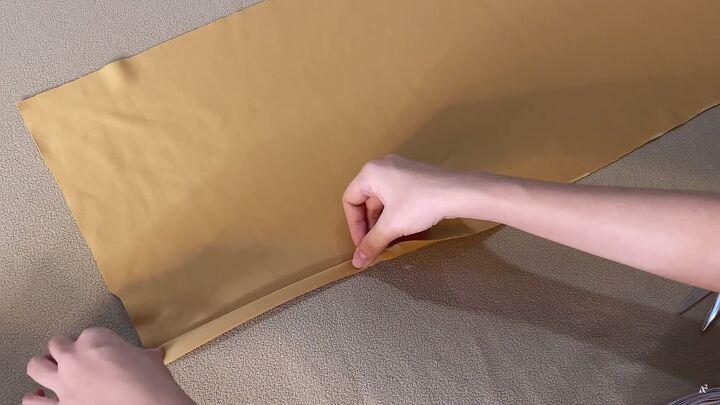
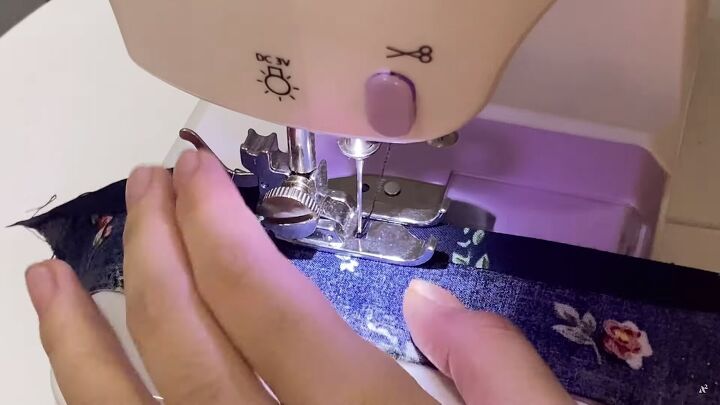
3. Make a tunnel
The next step is to make a tunnel for the drawstring on both sides. Fold each short end over twice and pin it to secure. Then, sew along the edge of the fold with a straight stitch.
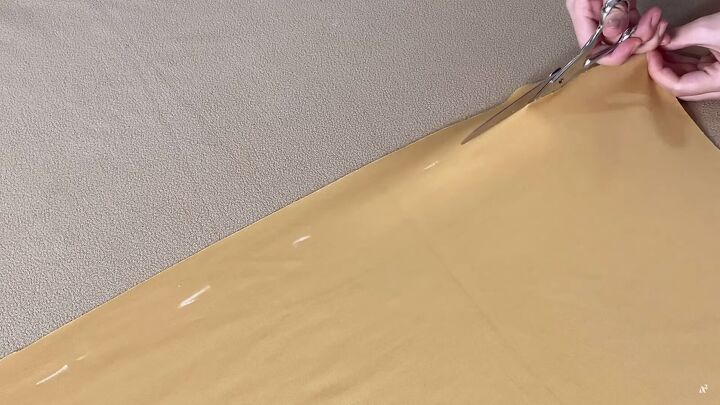
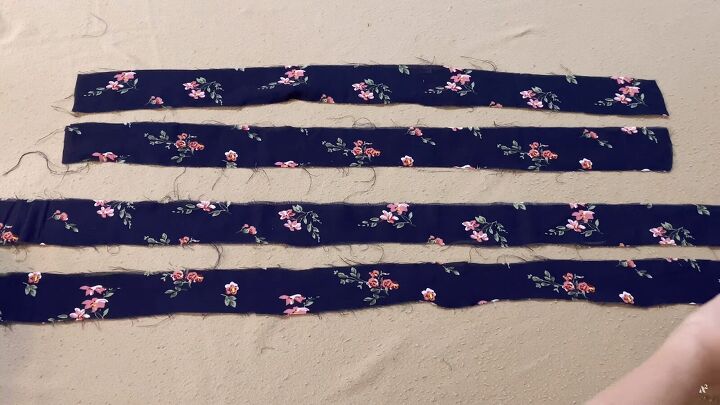
4. Make the drawstrings
Measure 1” x 50” (seam allowance is already included) and cut. You’ll need two pieces for this.
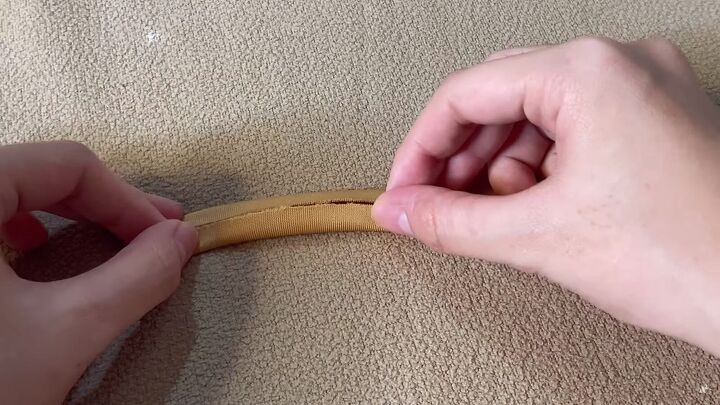
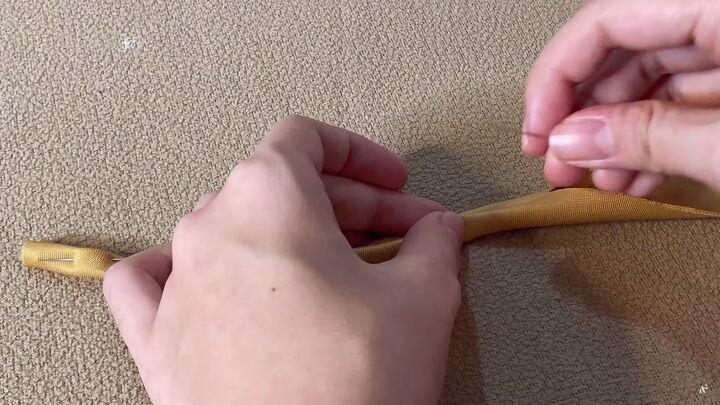
Fold the raw edges toward the center and fold the whole strip in half, lengthwise. Press and pin the fabric, so it stays in place.
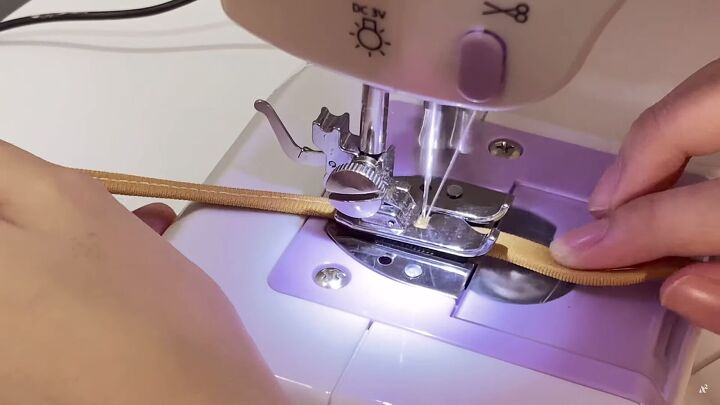
Then, sew to secure.
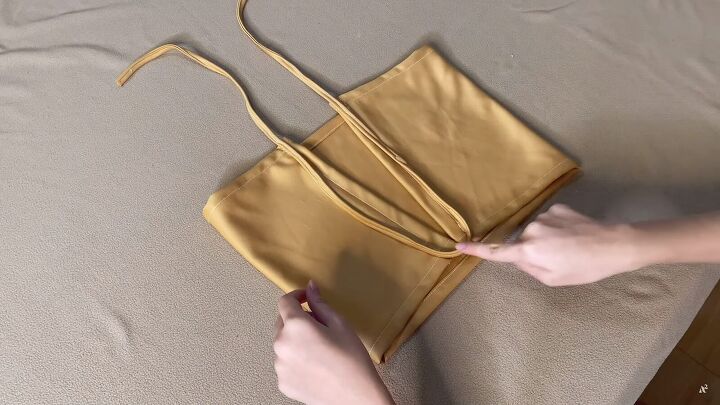
5. Insert the drawstring
Insert the drawstring through the top tunnel’s edge, as shown.
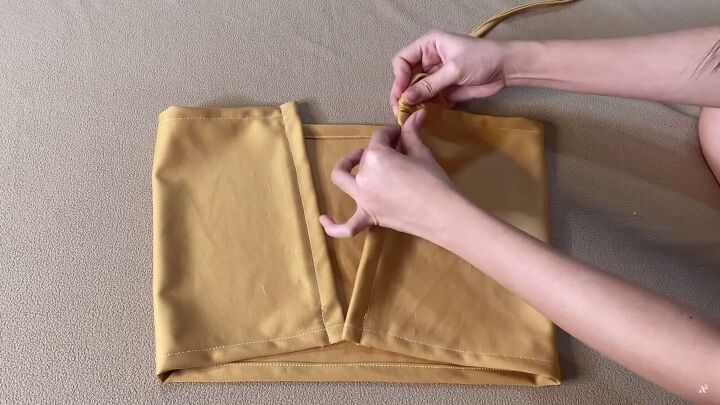
Insert the drawstring with the help of a safety pin. Insert it through the top opening and once you reach the bottom, insert the end through the other side going up.
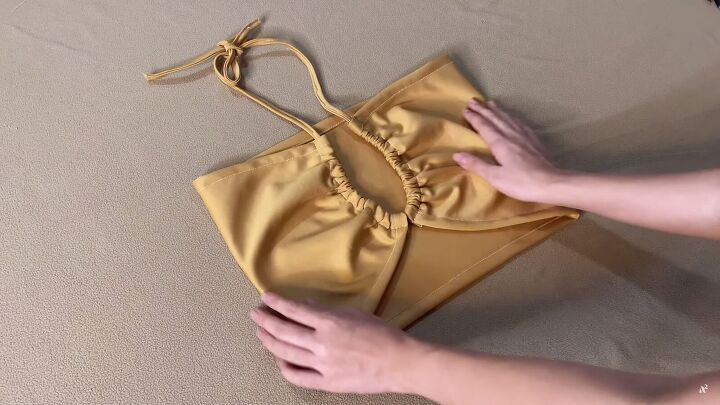
When you pull on the string, it will cinch the tunnel, like so.
The cropped DIY halter top is complete! As we promised, it’s easy and can be done really quickly!
Deep V-neck DIY halter top
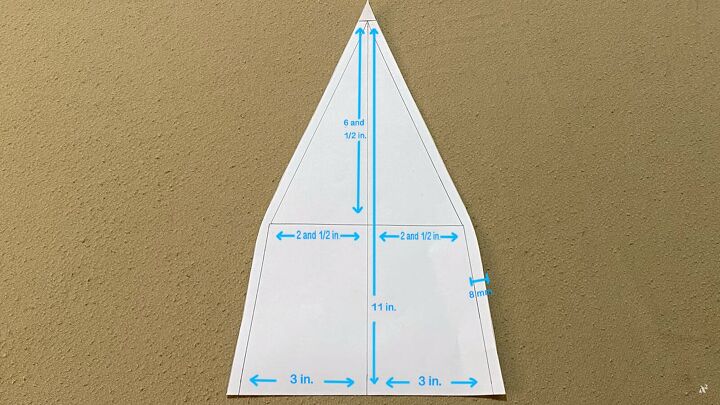
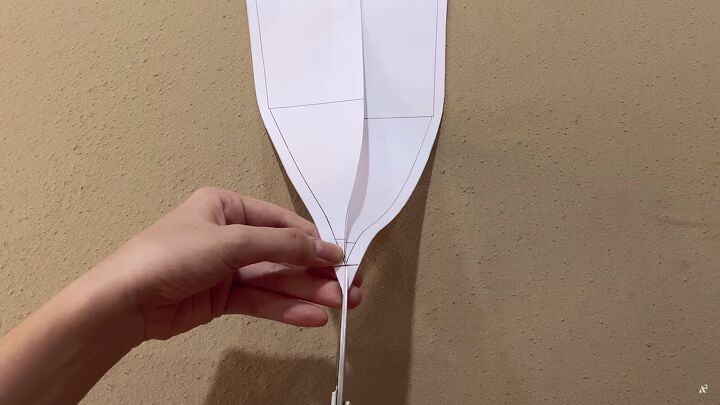
1. Make the pattern pieces
This is the DIY halter top pattern we will use for this top. Feel free to adjust the size and shape accordingly.
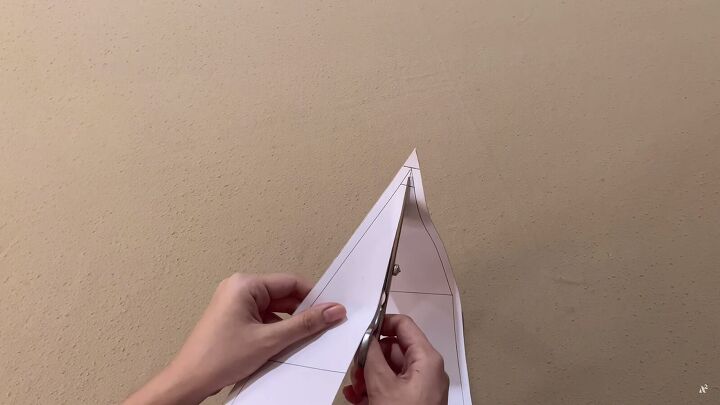
Next, we are going to use a slash and spread method. Simply cut the center line but don’t go all the way through the paper; instead stop at the seam allowance.
Cut through the tip, leaving a tiny bit attached.
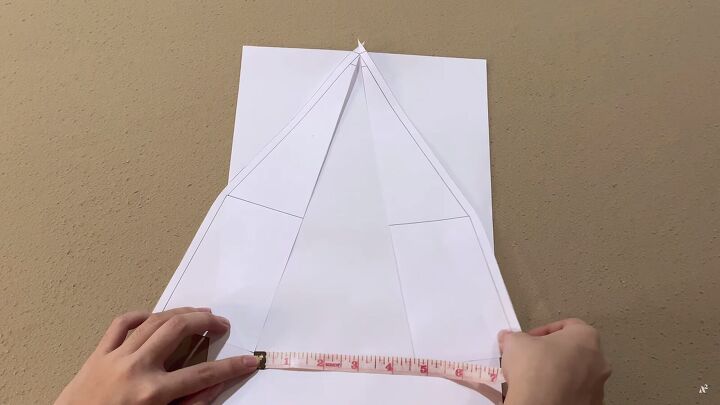
Spread the pattern piece apart to add fullness; we added around 6 ½“.
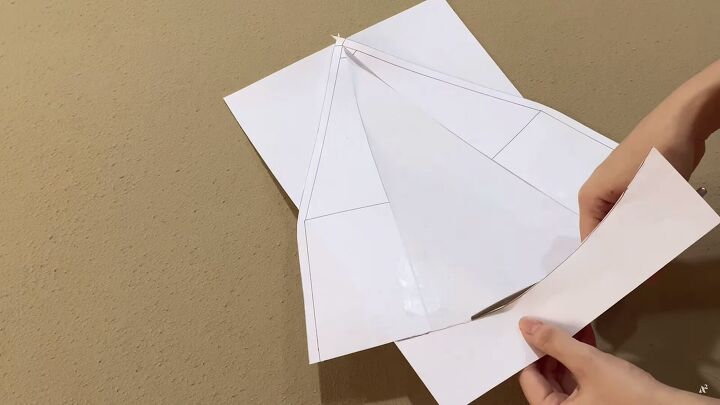
Tape the pattern, so it stays in place, connect the pattern, and cut the excess.
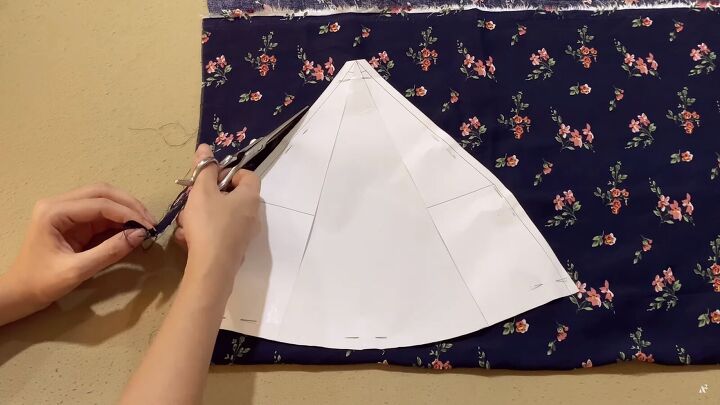
Pin the pattern to the fabric and cut out two pieces. These will be the cups
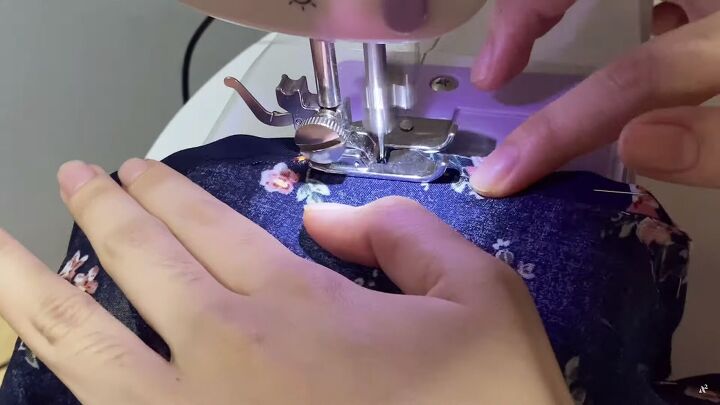
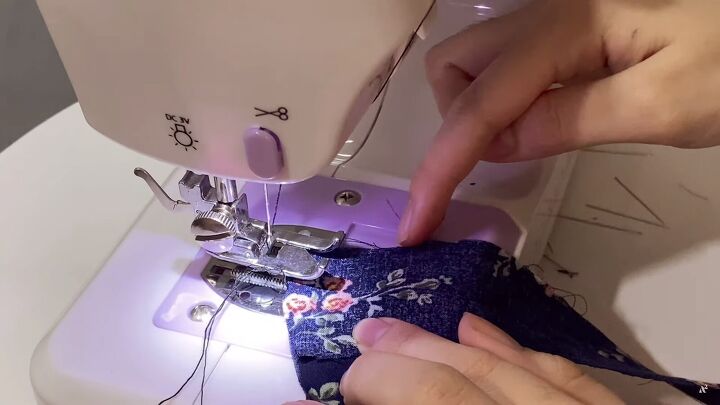
2. Hem the cup’s edges
Fold over the raw edges once, pin, and sew. Also, do a topstitch at the bottom edge of the cup.
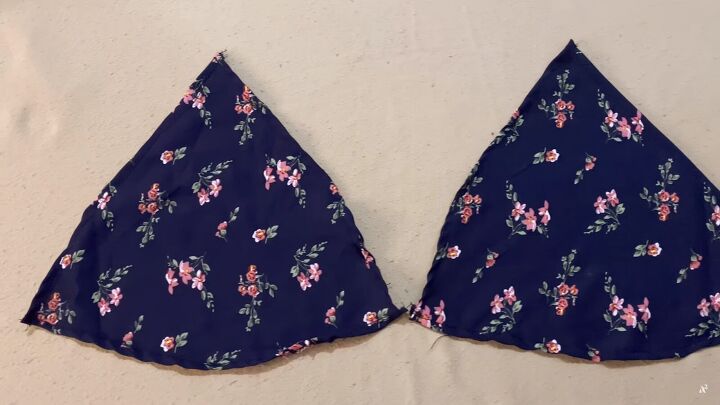
You should have something like this.

Take the cup and mark where the underbust meets the hem. Ours was around 2½“ above the hem.
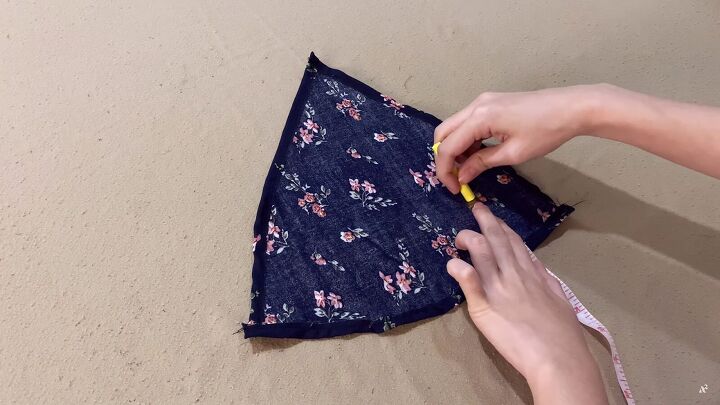
Follow the bottom curve of the hem to mark this measurement across the cup.

We measured the line, and ours is 10” long.
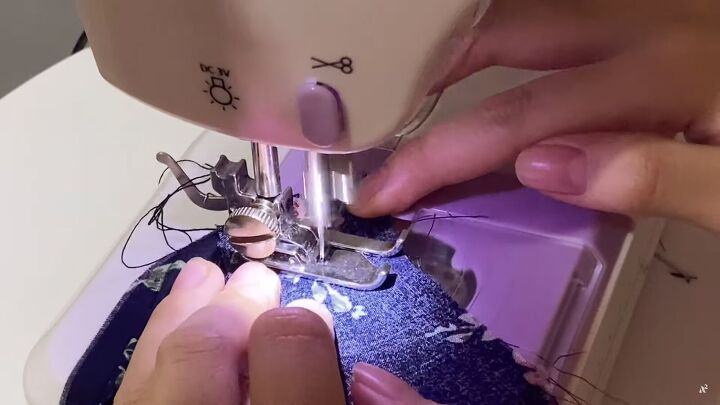
3. Make the tunnel
Cut a 2” x 10” piece of fabric. Make two pieces.
Fold the edges over and topstitch to give it a cleaner appearance.

When complete, pin it on top of the underbust line.
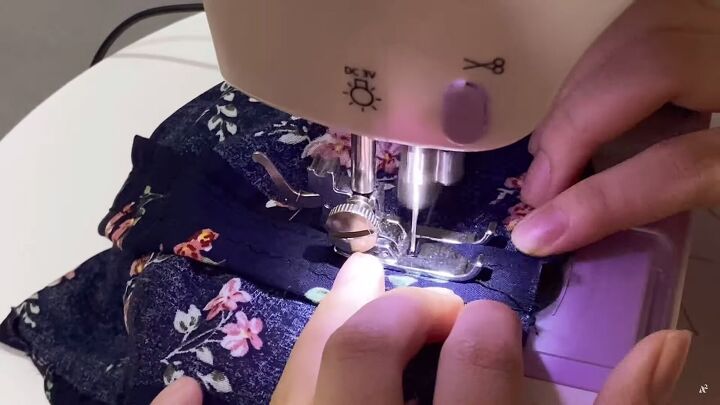
Then, sew it down.
4. Make the drawstrings
You’ll need two separate straps; one pair for the halter that measures 21” and another pair for the underbust that measures 54”. Both sets with a width of 1½ “.
Attach the two underbust straps (54”) together at a 90-degree angle and sew these two pieces diagonally.
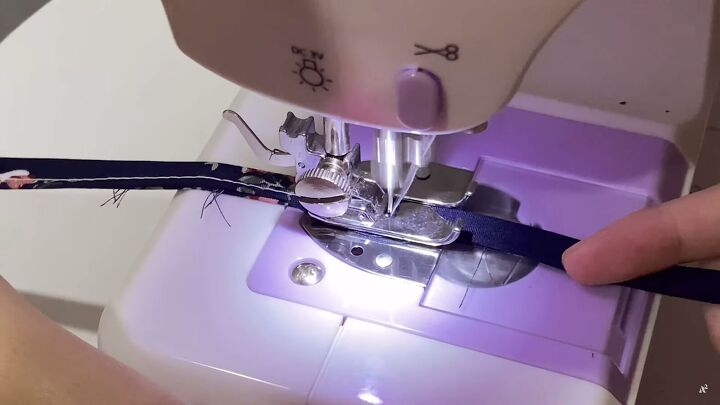
To make the string, follow the same steps we did for the first DIY halter top tutorial.
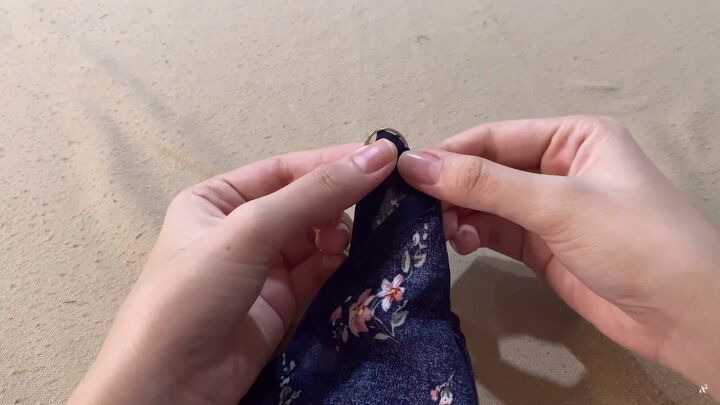
5. Attach the straps
Loop the pointy part of the cup over the ring (the ring is optional).
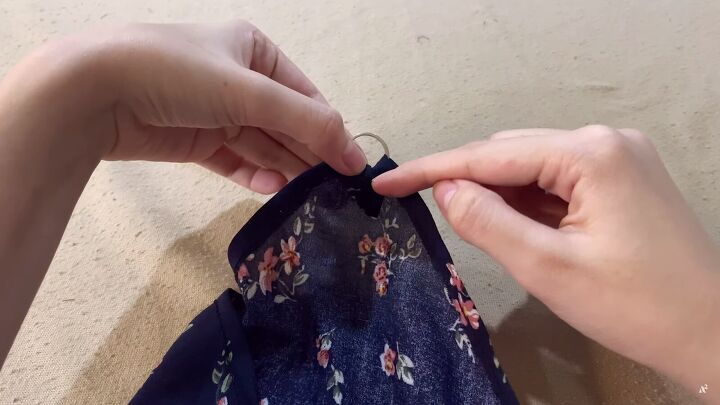
Then, sew along the area.
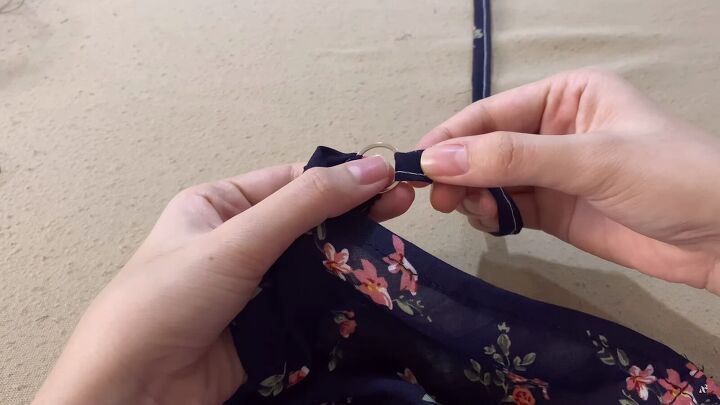
Grab the drawstring, loop it around the ring, and topstitch it in place.
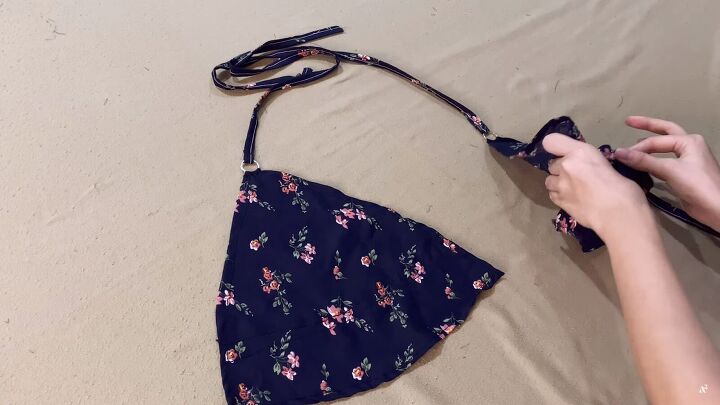
Place a safety pin on one end of the underbust drawstring and feed it through one of the cups. Feed it toward the center front of the top so you can tie it in front.
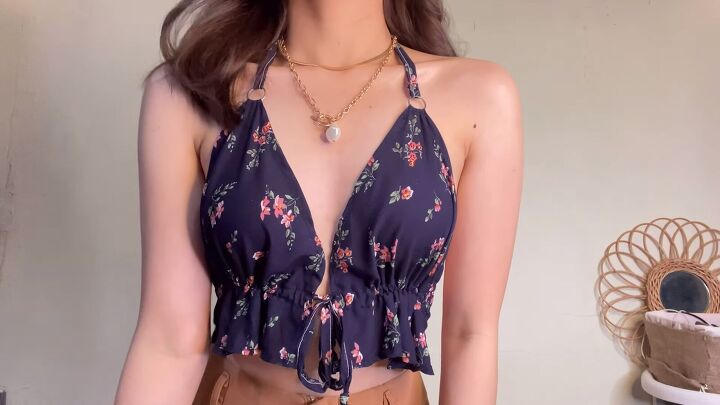
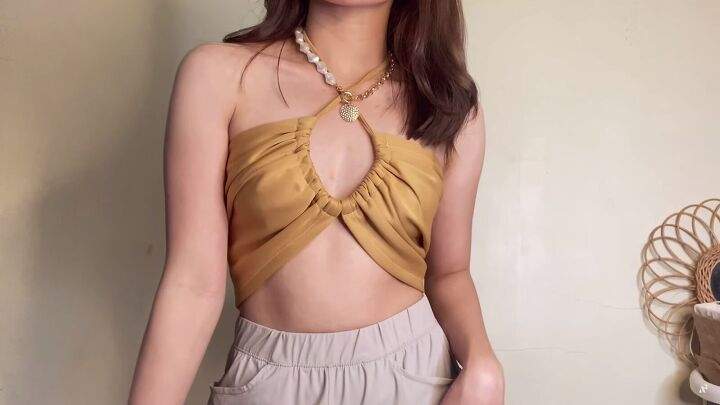
How do you like this deep V-neck halter top? It’s so quick and simple, and the result is just breathtaking!
DIY halter top tutorial
Thanks for joining us on this DIY halter top tutorial; we hope you learned a lot about how easy it is to sew a halter top. You don’t have to spend much money on a top when you can simply make it yourself, right?
The author may collect a small share of sales from the links on this page.


Comments
Join the conversation