DIY Shirt in Six Steps

Today’s tutorial is all about those round neck tops! I love this neckline, I find it so flattering and I wanted to share with you guys how I make my shirts with this cutout. So, without further ado, let’s get into the steps.
Tools and materials:
- Tape measure
- Fabric
- Pattern
- Shirt
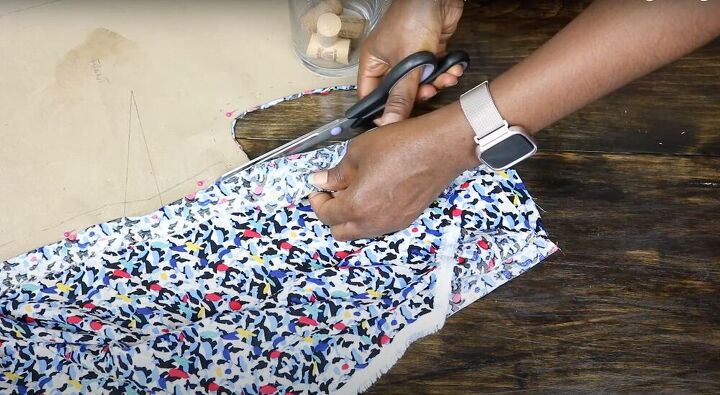
Prepare your fabric
The first thing to do is fold the fabric over so that the right sides are together. Then, place your fabric onto the folded fabric, right along the folded edge. Use pins to keep your pattern secure and in place. Next, cut the fabric out. Repeat these steps for the back pieces, checking with a tape measure that the size and length remain the same. Finally, remember to transfer all the notches and markings from your pattern onto your fabric for later use!
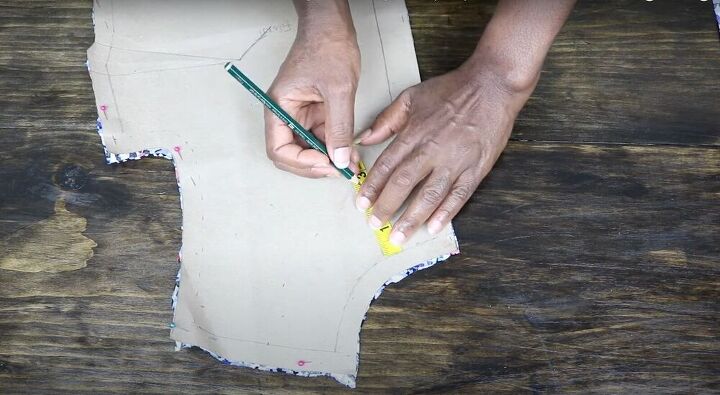
Make the facing
Using a shirt that I already love, I decided to make my facing. I turned the shirt inside out and used a tape measure to find the measurements for the facing. Mine was two inches for the front and four inches for the back. I transferred these measurements onto my pattern - making sure to measure from the seam line and not the seam allowance. Next, I will trace cut out the facing; one for the fabric and the other for the interfacing.
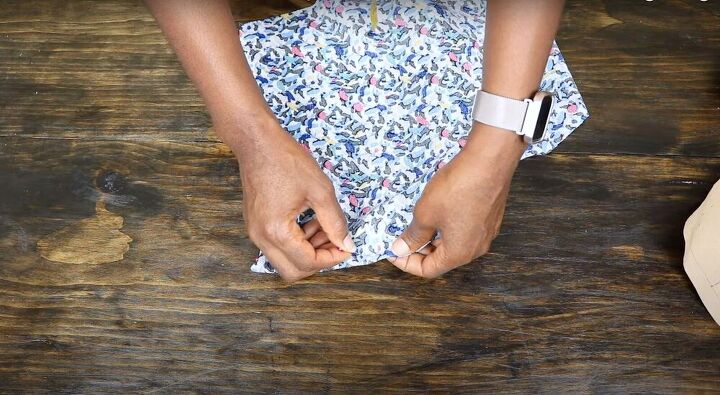
Make your darts
The next step is to stitch the darts together. I start by finding the dark point and snipping them. Then I fold and sew together. Then, I stitch the back pieces together, starting with the basting stitch for the first four to five inches before proceeding to use normal stitches.
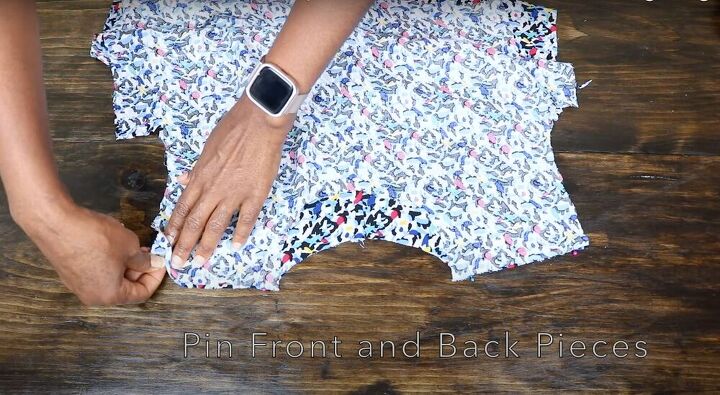
Connect the front and back pieces
Take your front and back pieces and place them together, right sides together. Pin to secure. Next, stitch the pieces together.
Make your sleeves
Place your sleeve pieces together, right sides together, and pin. Next, sew using basting stitches along the top to help ease the sleeve into the armhole.
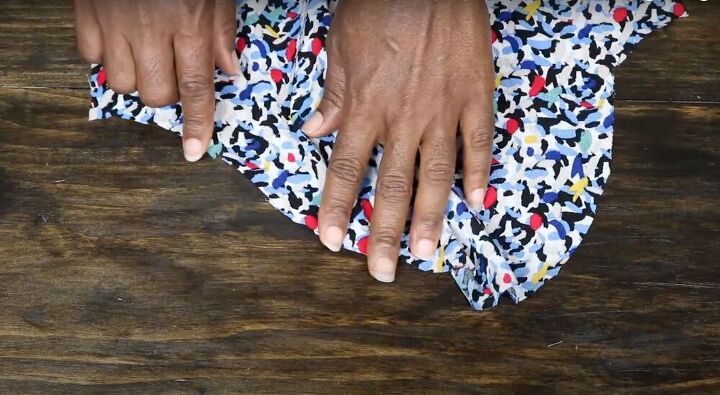
Make the neckline
Fuse the facing and interfacing together using an iron and then stitch the two together. Next, attach the facing to the top and the neckline and stitch them together. Trim the seam allowance. Finally, make small snips in the neckline to allow the neck to relax on the body and prevent bunching.
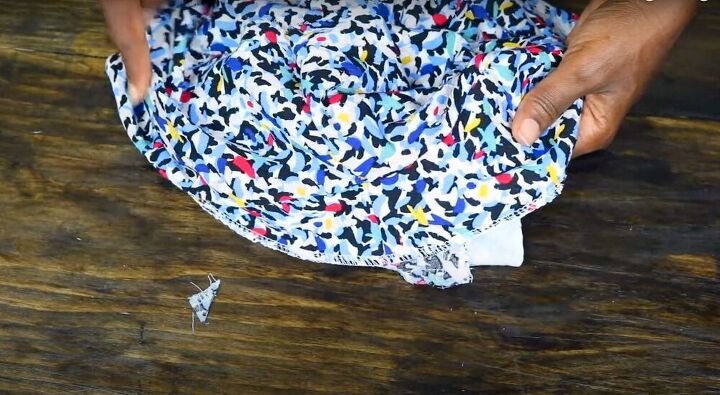
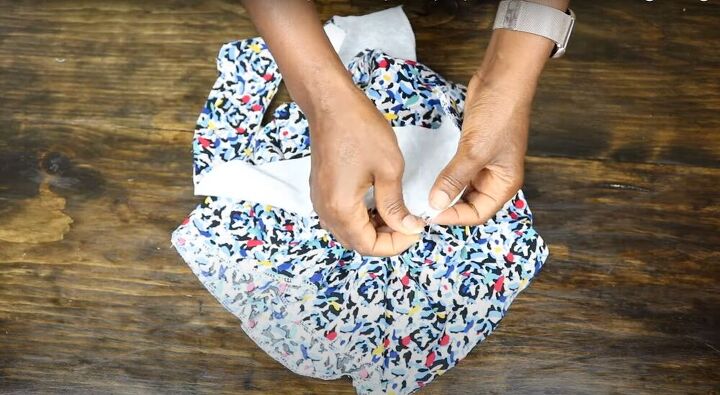
Secure the back facing to the top, snip off the corners and turn the neck right side out. Then, push the seam allowance into the facing to ensure a clean finish. Next, sew your neckline and back opening with a top stitch to keep it secure.

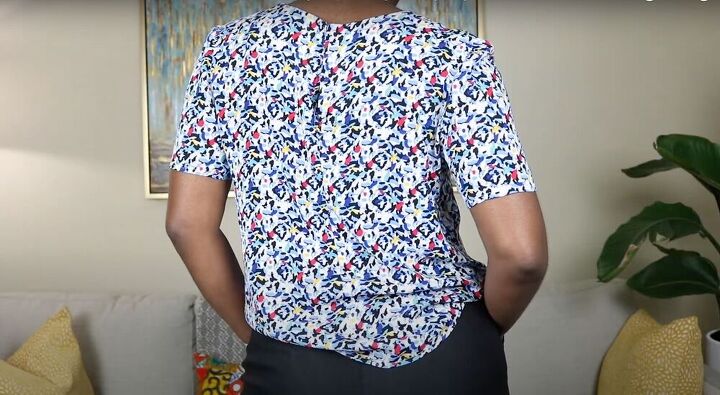
To finish the top, add a hook and eye to the back and hem the sleeves and bottom - it’s that easy! And there you have it, a basic DIY shirt with a round neck. I hope you guys like the shirt and make more of your own!
The author may collect a small share of sales from the links on this page.


Comments
Join the conversation
Thank you so much I so appreciated your very helpful instructions. I am looking forward to making myself a new top!
I really like the neckline, too. So many in the stores are too low-cut and look a bit trashy (in my opinion!). Thank you for your easy step-by-step instructions!