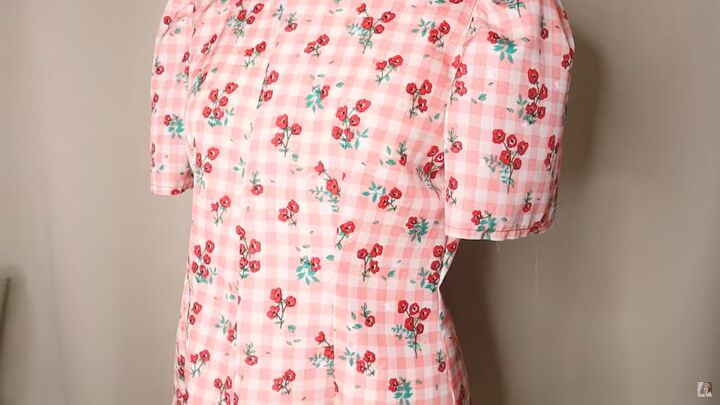
How to Make a DIY Statement Collar Blouse With Beautiful Embroidery

This beautiful cottagecore blouse features an oversized embroidered statement collar and cuffs. This DIY statement collar blouse can be worn for work or a special occasion with its gorgeous construction and delicate floral embroidery. Here's how to make it!
Tools and materials:
- 2 yards of fabric
- 24 inches of white fabric for the collar and cuffs
- Interfacing
- Embroidery kit: needle, hoop, threads
- Sewing machine
- Scissors
- Pins
- Water-soluble pen for embroidery design
- Blouse pattern
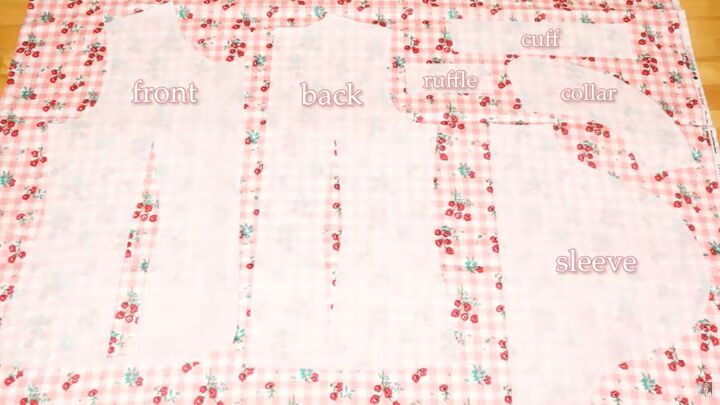
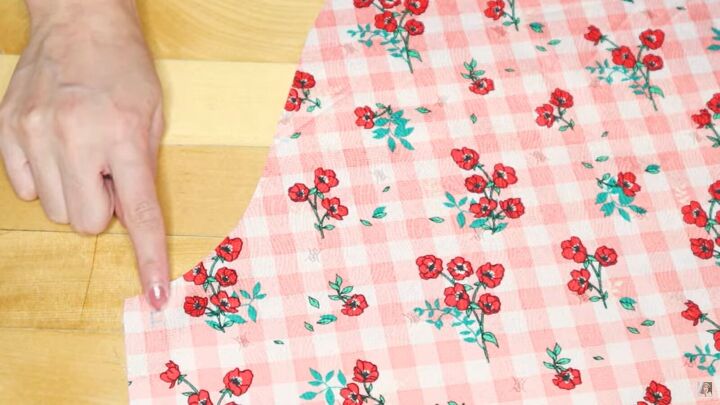
1. Cut out the pattern
Print the pattern. Lay the main fabric on a flat surface and pin it to the paper. Fold the fabric for cutting the back and sleeves to ensure symmetry.
Cut out:
- 2 front pieces
- 2 sleeve pieces
- 1 back piece
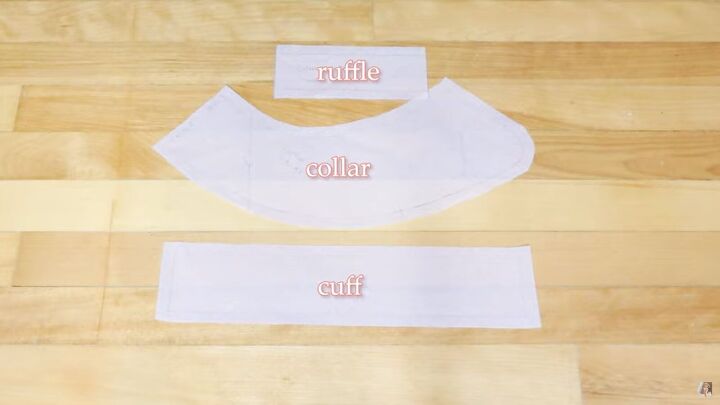
In the white fabric, cut out:
- 2 collar pieces
- 1 ruffle piece (70 inches long)
- 2 cuffs
- 1-inch bias tape the same length as the collar
2. Transfer the markings
Transfer the front and back markings for the sleeves.
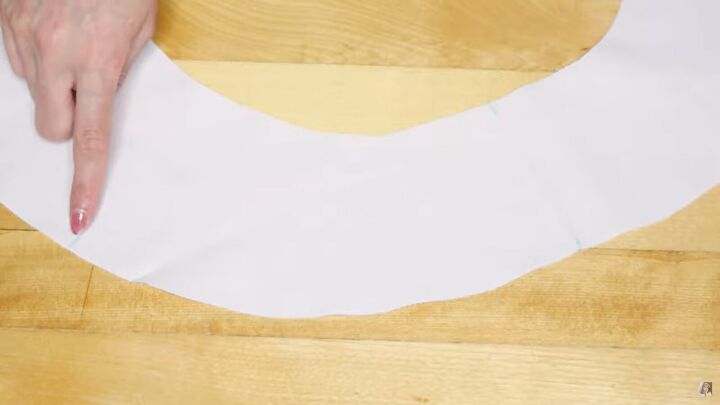
Mark the notches on the collar.
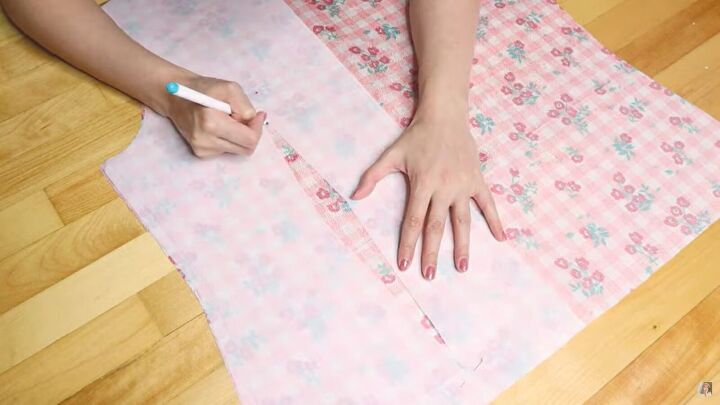
Mark the front and back darts.
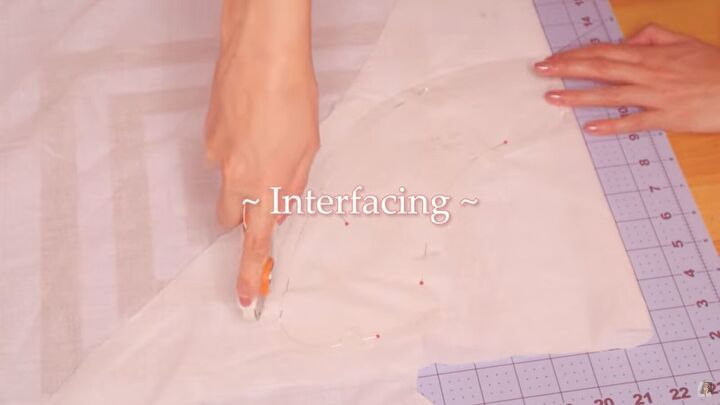
3. Add interfacing
Cut out interfacing for the button plackets, collar, and cuffs.
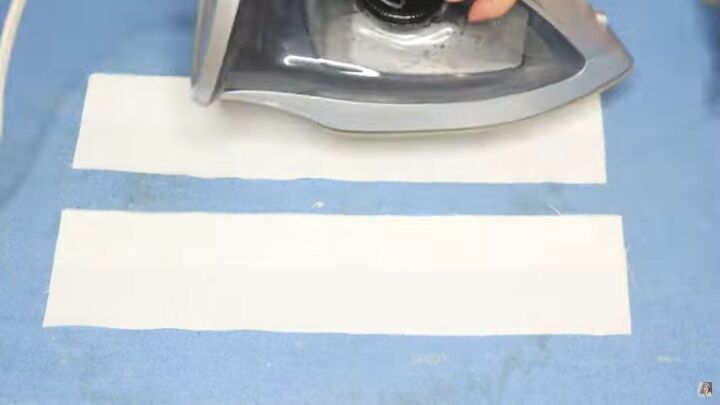
Iron the interfacing to the button plackets and fold it to the inside. Iron interfacing to the collar and cuffs. Fold the ruffled collar strip in half lengthwise.
4. Sew the darts
Fold all the darts and pin. Sew using a straight stitch.
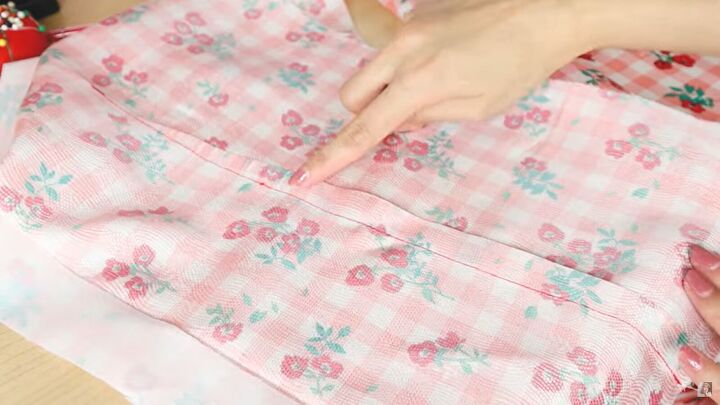
5. Sew the shoulder seams
Place the back and 2 front pieces right sides together. Sew the shoulder seams. Always backstitch to lock in the seams. Add a zigzag stitch to prevent fraying.
6. Sew the sleeves
Sew a basting stitch to the top of the sleeve cap and the bottom of the sleeve. Use the notches as a guide where to sew. Gather the threads to make a puff sleeve.
Align the sleeves to the bodice. Place them right sides together and pin those points first.
Pin the center and adjust the ruffles to fit the armhole. Then pin down the rest of the sleeve.

Sew it down at ½ an inch. Finish the raw edges with a zigzag stitch. Add a topstitch.
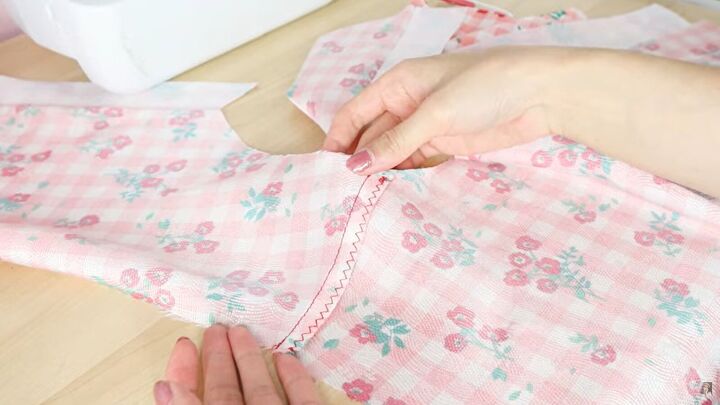
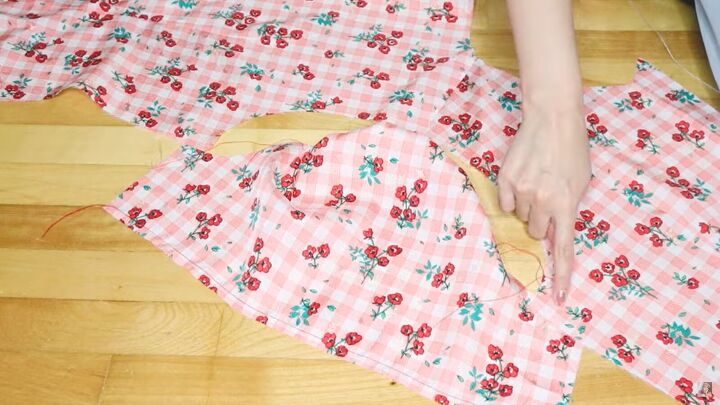
7. Sew the side seams
Place the front and back right sides together and sew up the side seams.
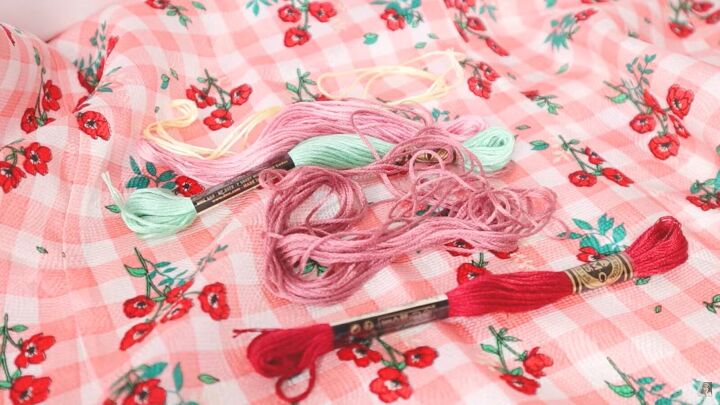
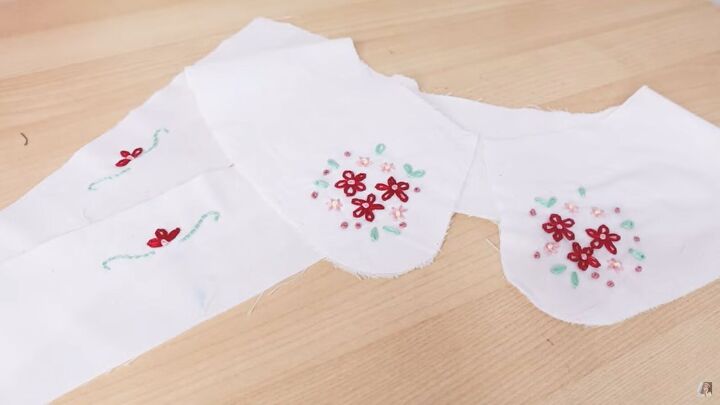
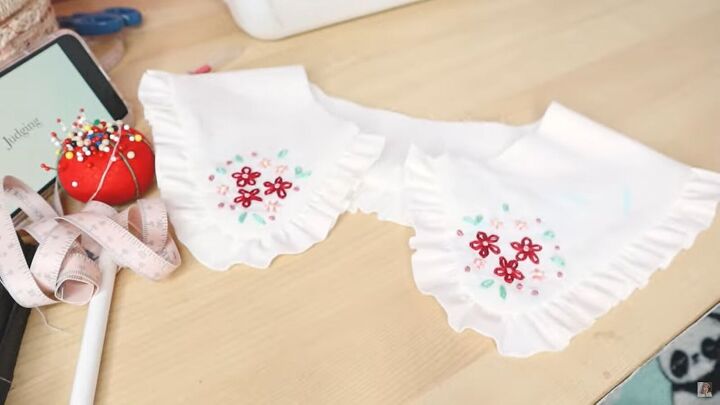
8. Embroidery
Choose the colors you want on the collar and cuffs.

Draw the design on the collar piece that has the interfacing with a water-soluble pen. I added embroidery to the cuffs as well.
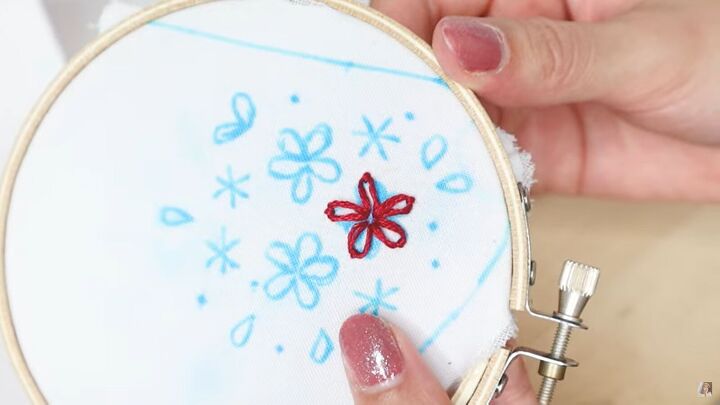
Secure the embroidery hoop. Watch the video starting at 5:36 all the way through to 8:27 where I give you extremely detailed directions on how I did the embroidery.
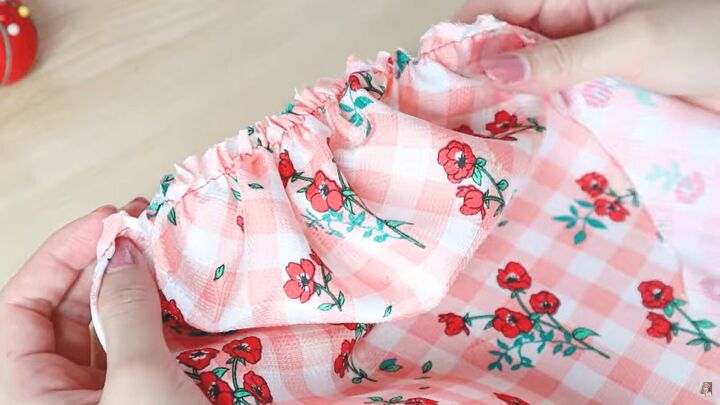
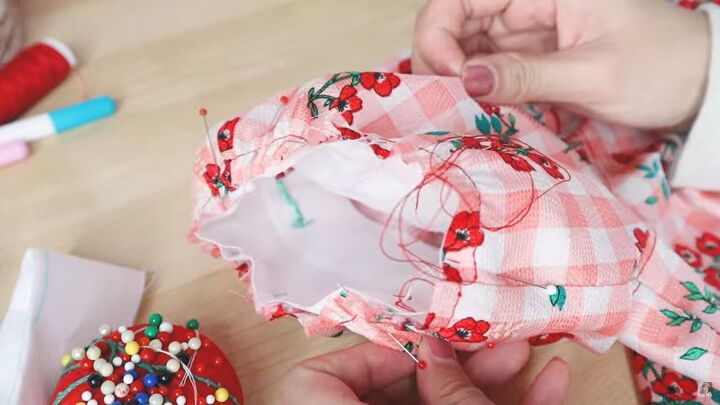
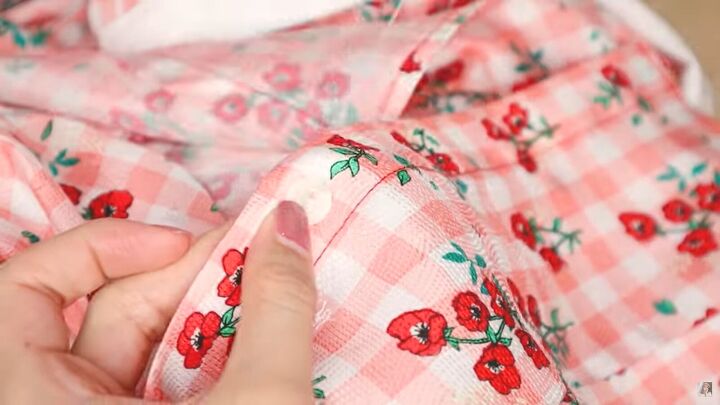
9. Make the collar
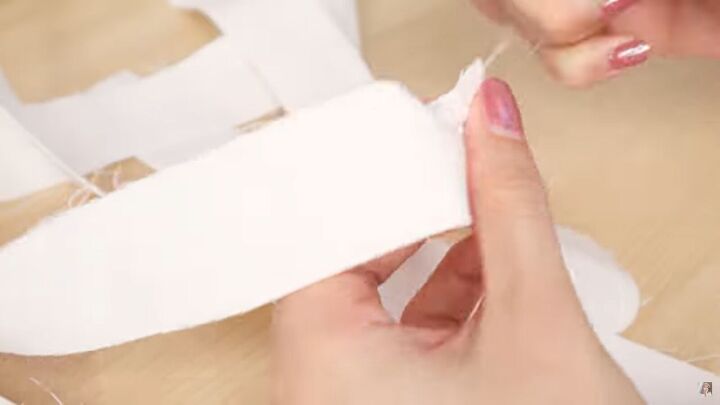
Sew a basting stitch to the edge of the strip of the ruffle. Hold the thread and gently pull the fabric until it starts ruffling.
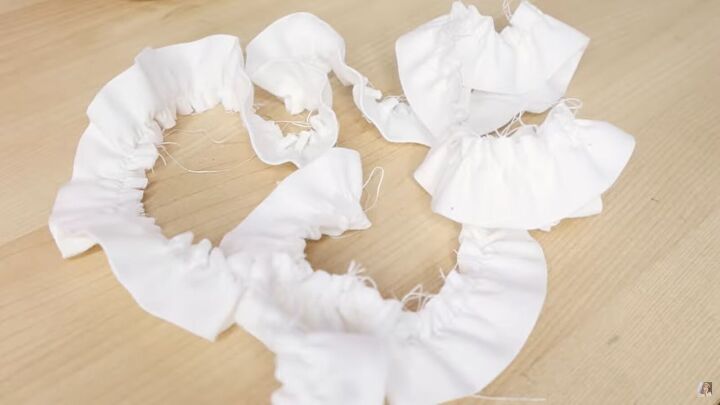
It is harder to ruffle because of the folded fabric, but take your time. It will come together!

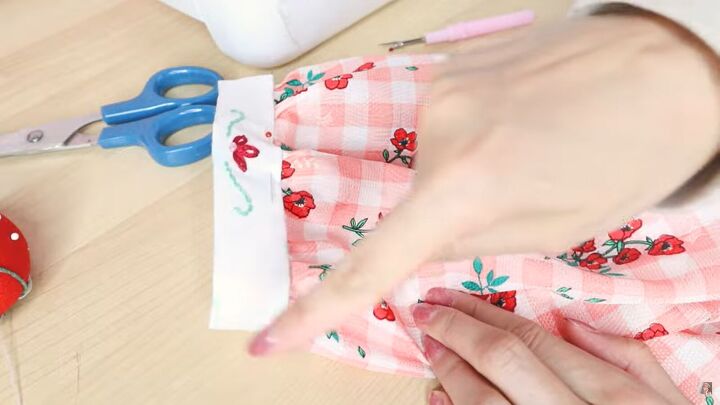
Pin the gathered ruffle evenly to the collar and sew it down.
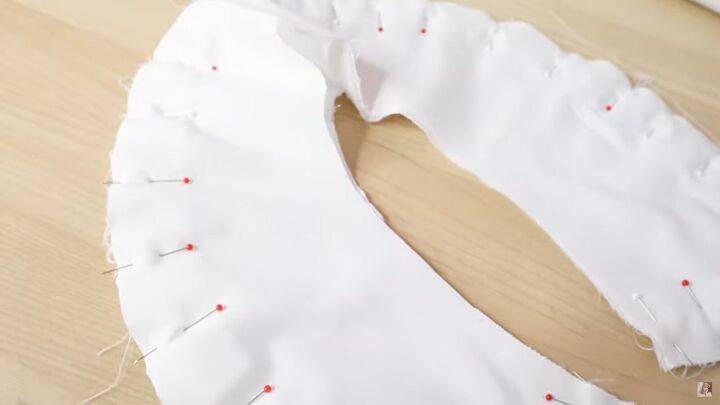
Once the ruffles are placed, add the second collar piece. Pin it down and sew it at ½ an inch.
Flip it inside out.
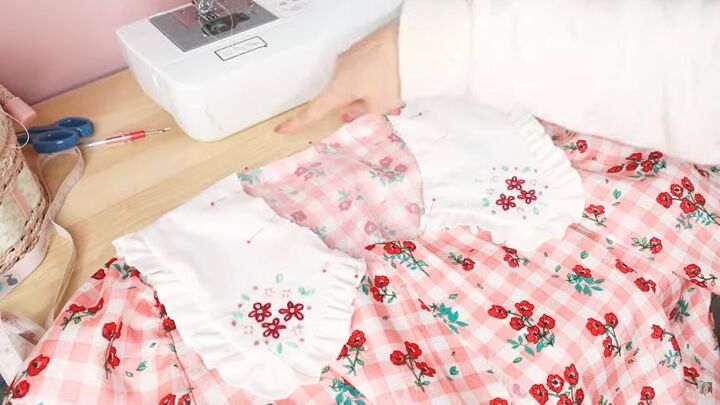
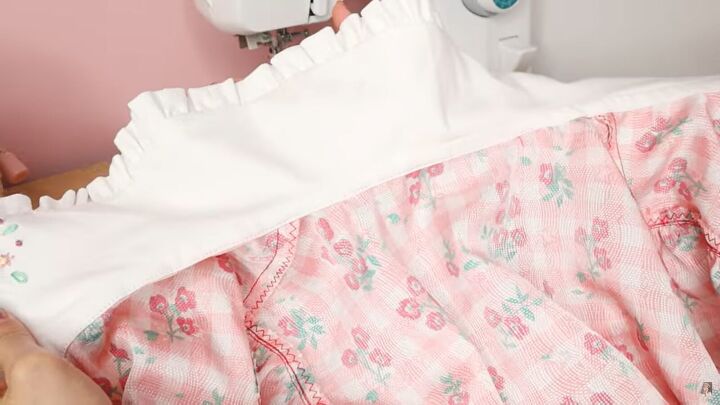
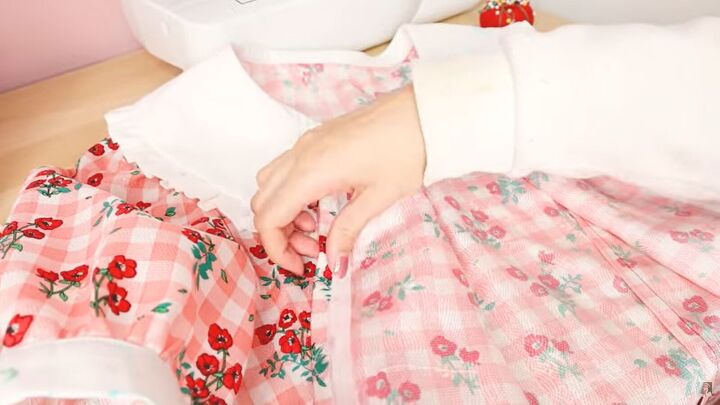
10. Attach the statement collar to the blouse
Place the collar on top and pin it in place. Baste stitch it down.
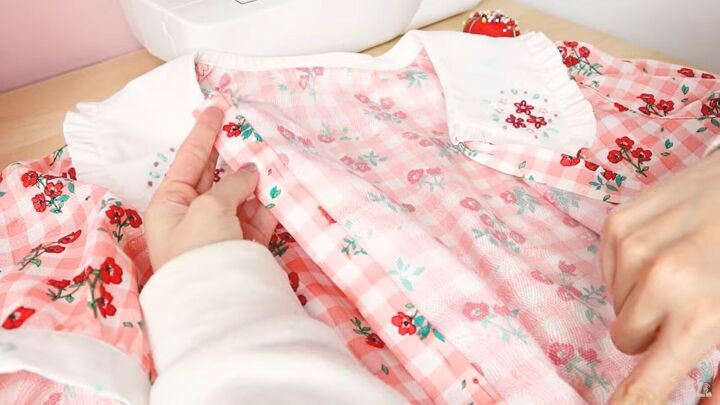
Pin the bias tape to the right side. Sew it at ¼ inch.
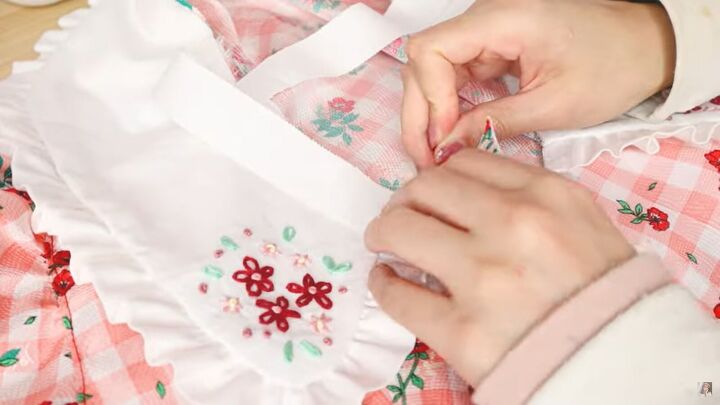
Bring the bias tape up and fold the button placket right sides together and sew the top edge to look like this.
Then flip it inside out to give this clean, professional finish.
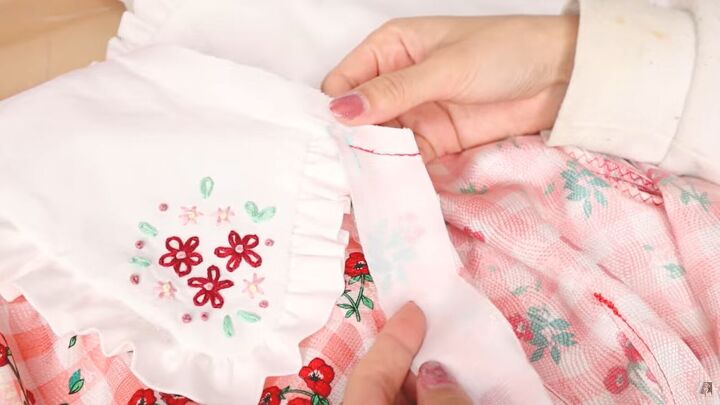
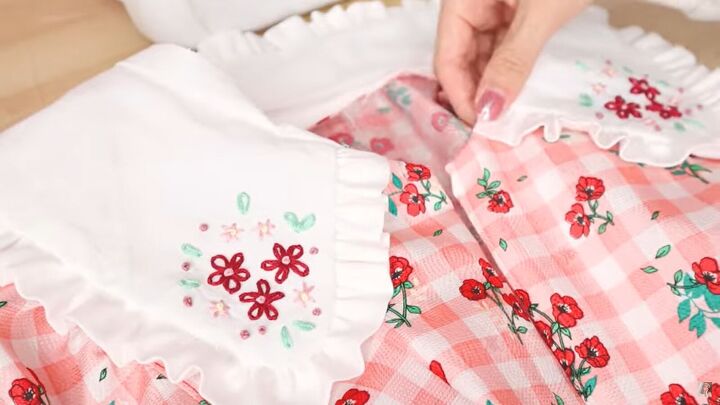
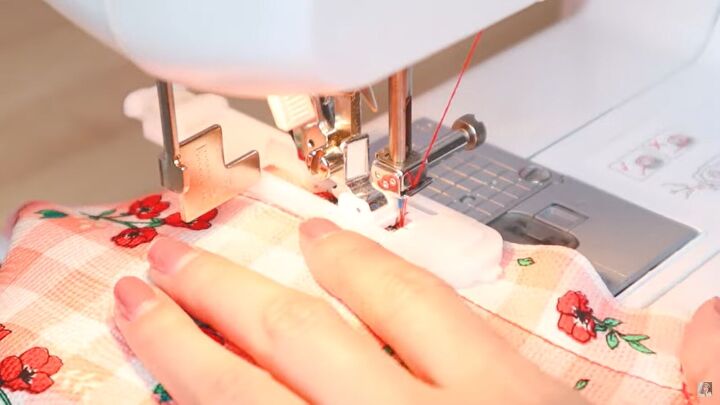
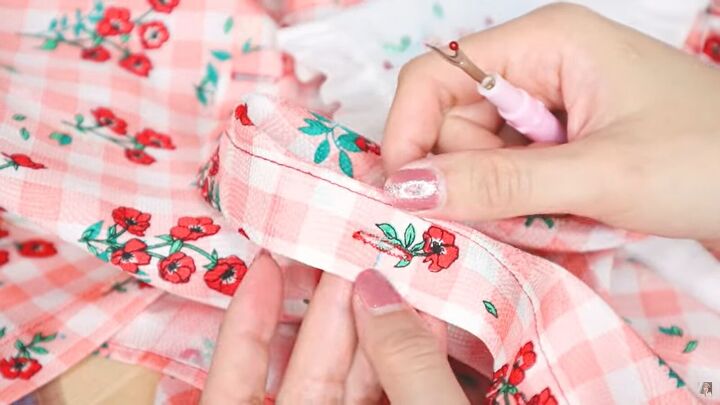
Fold the bias tape in. Fold the seam allowance down and pin it to the fabric. Once it’s pinned, sew it down to finish the edge of the collar.
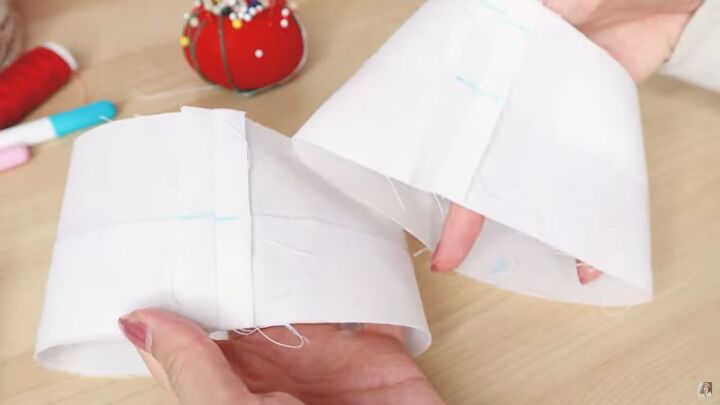
11. Make the cuffs
Fold the cuffs in half. Sew the edges together to create a loop.
Pull the basting stitch at the end of the sleeve until it fits the cuff. Align the non-interfaced part of the cuff to the inside of the sleeve so the right side of the cuff is pinned to the wrong side of the sleeve. Sew them together.
Bring the cuff up. Fold the edge, fold it again, and pin it down. Sew the edge on the sleeve so the cute embroidered cuff is showing.
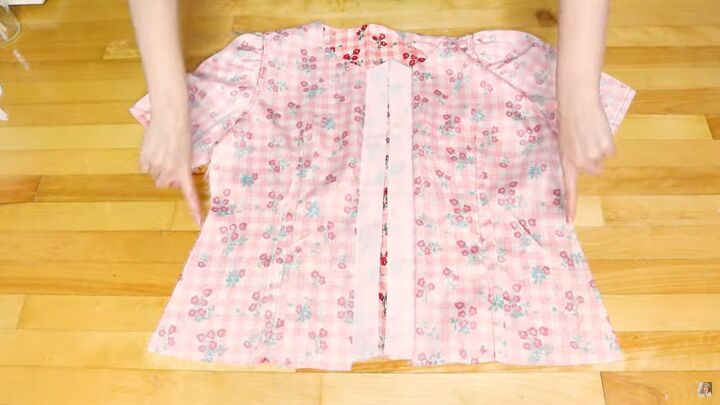
12. Make the button plackets
To make the button plackets, fold the fabric out ¼ inch, then fold it down one inch.
Pull the top edge inside and pin it. Sew the edge with a straight stitch.

Double hem the bottom by folding the edge in twice, pinning, and sewing in place.
Mark where you want the buttons to go. I used 5 buttons, 3 inches apart. Sew the button holes on the left button placket, placing them with a buttonhole stitch.
Use a seam ripper to cut them open.
Align the buttons to the holes and hand sew them in.

DIY statement collar blouse tutorial
How beautiful is this statement collar blouse? Let me know in the comments what you think about this classic blouse with its beautiful beautiful embroidered collar and cuffs.
The author may collect a small share of sales from the links on this page.


Comments
Join the conversation
super cute! Thanks for sharing.
Too Cute !