How to Make an Elegant Circle Vest You Can Wear 3 Different Ways

In this tutorial, I'll show you how to make a circle vest. Vests are at the height of fashion now! Here’s an easy circular vest that can be worn in several different stylish ways.
Tools and materials:
- Knit stretch fabric 120 X 120 cm (48 X 48 inches)
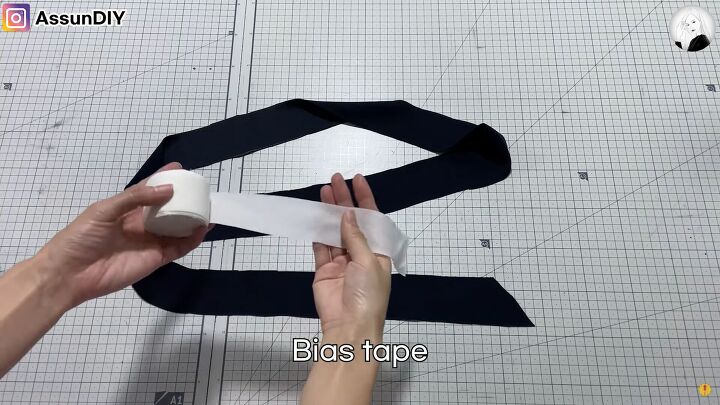
- Bias tape
- Pins
- Ruler
- Marker
- Scissors
- Sewing machine
- Large roll of tape
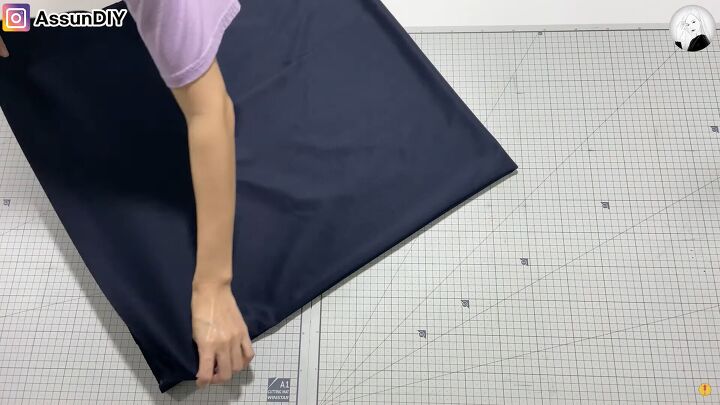
1. Fold the fabric
Fold the fabric in half. Then fold it in half again.
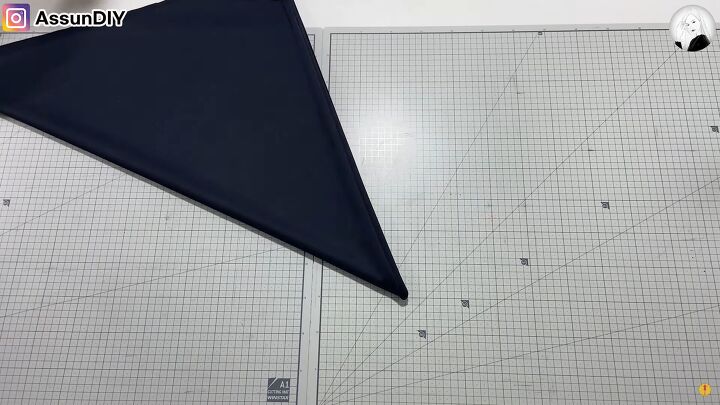
Then fold it into a triangle.
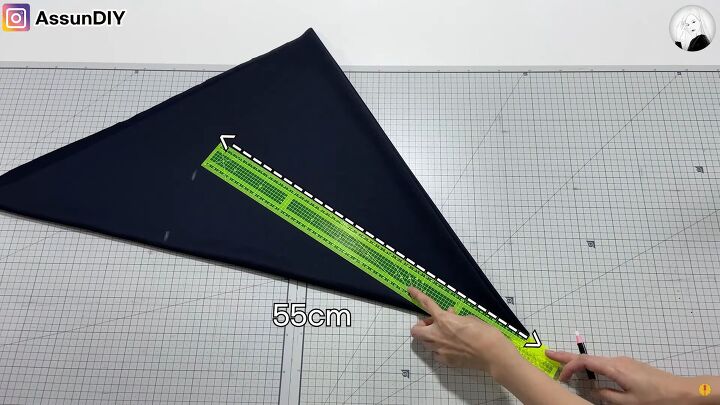
2. Mark and cut the fabric
Start at the point where the fabric is folded. Measure out 55 cm (22 inches) up towards the top of the fabric. Mark that spot.
Rotate the ruler from that point, keeping it on the fabric, and measure 55 cm across the top of the fabric, marking at each point. Keep going until you reach the other side.
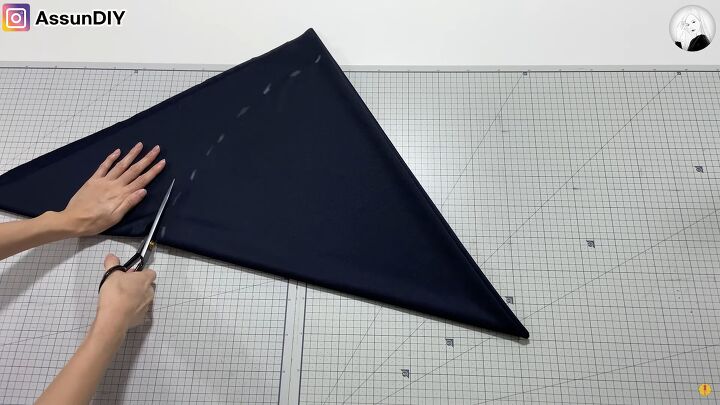
The marks will have a slight curve. Cut through all the layers of fabric on the marked area.
3. Mark and cut the armholes
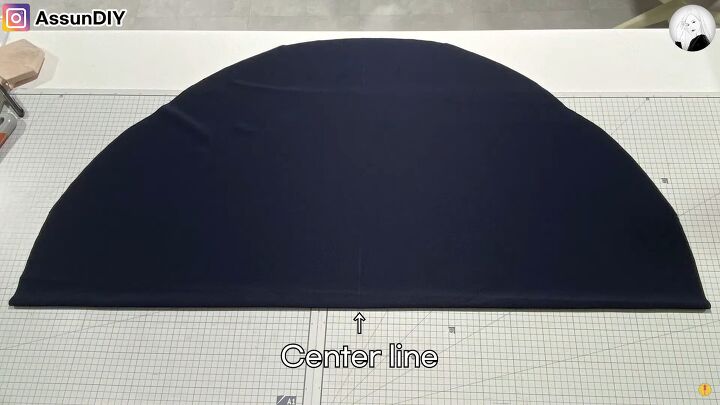
Unfold the fabric twice so it resembles a half-moon. Mark the bottom center with a line.
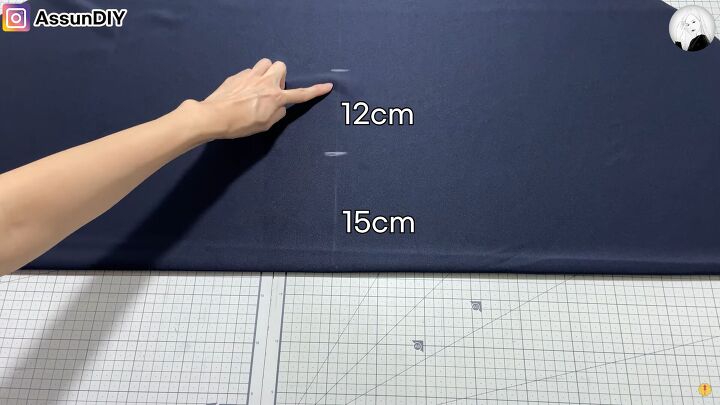
From the flat bottom measure upwards 15 cm (6 inches) and then 12 cm (5 inches).
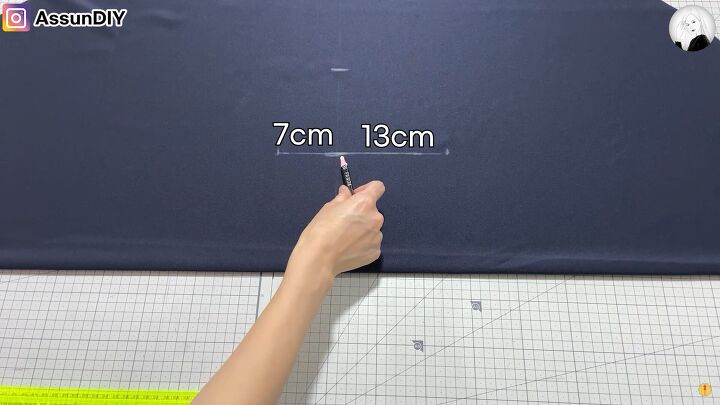
Lay the ruler flat. From the first line, measure 7 cm (2 ¼ inches) to the left of the center and 13 cm (5 inches) to the right for a total of 20 cm. On the second line do the same.
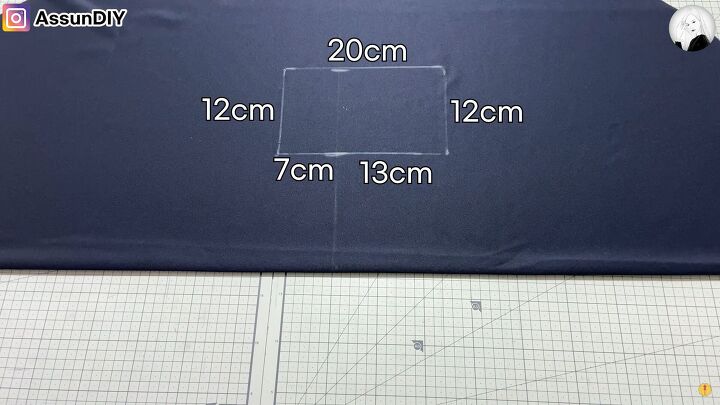
Measure 12 cm (5 inches) to make a rectangle.
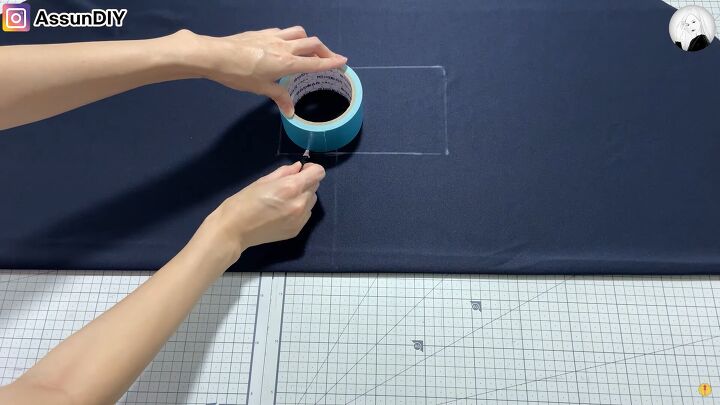
Use a large roll of tape to mark a rounded edge inside of the marked rectangle by all of the edges.
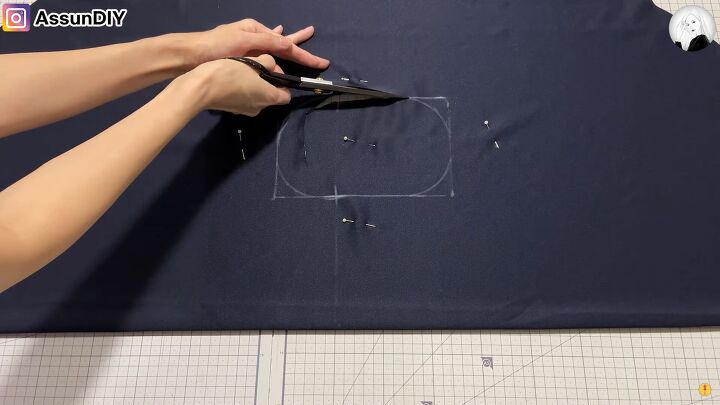
Insert a pair of scissors inside of the rectangle and cut both layers of fabric together only following the rounded markings.
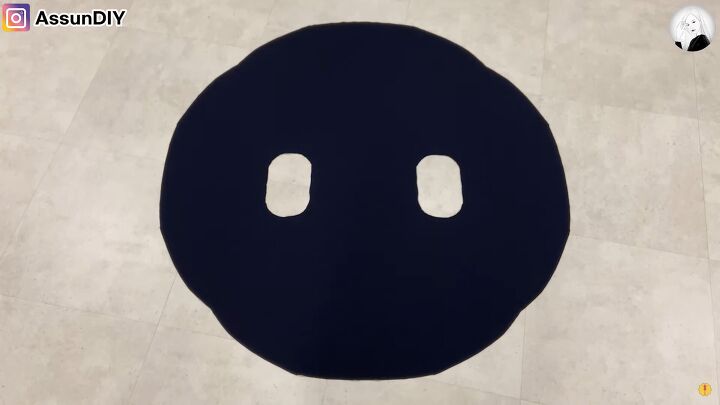
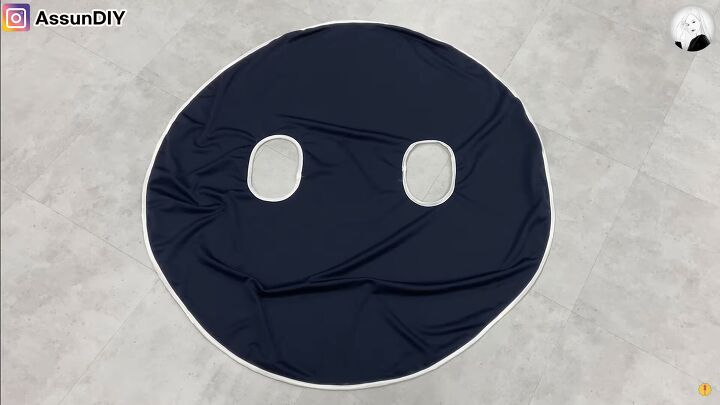
Open the fabric. You’ll have 2 circles in the center of the fabric.
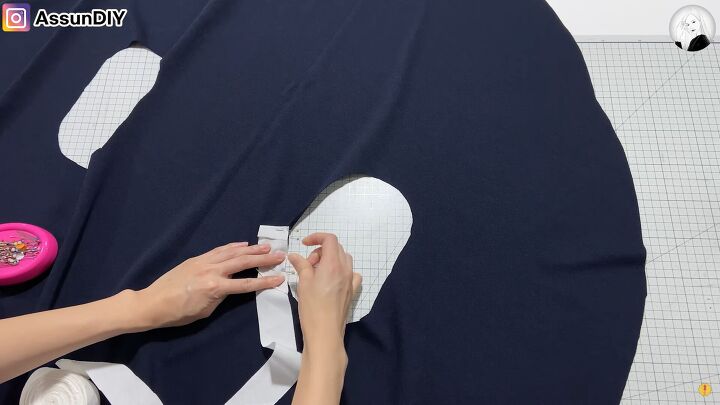
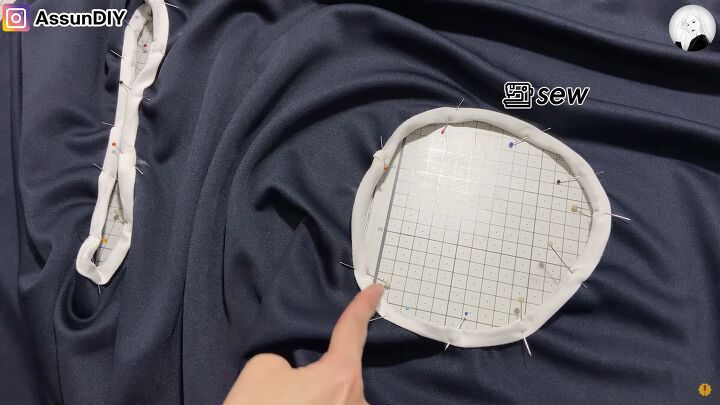
4. Pin and sew the bias tape
Take the bias tape and pin it midway in place following the circle, folding and pleating the tape to maintain a circle shape. There should be an overlap of the tape.

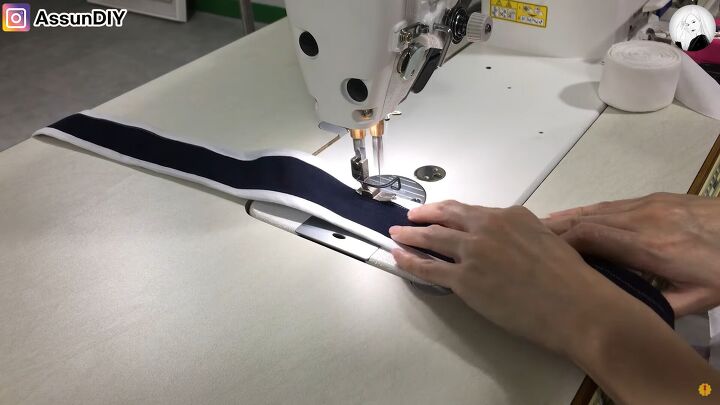
Sew the tape to the circle. Do the same to the other armhole.
Turn the fabric over. Fold the bias tape down on the other side of the circle, pin it down, and sew it into place.

Run the bias tape on the edge of the entire outside perimeter of the circle, leaving an overlap to sew on the other side. Pin it into place and sew it down.
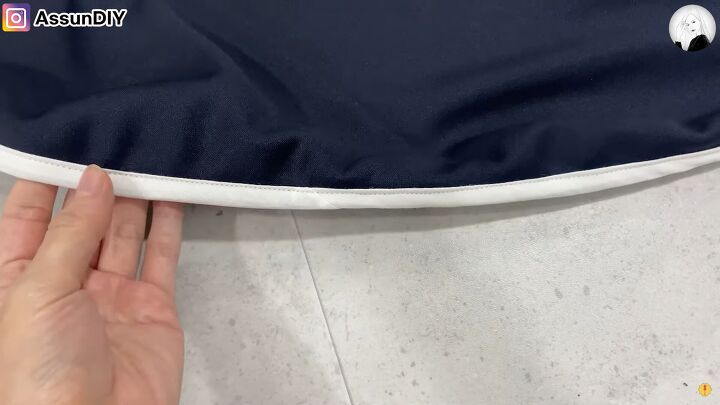
Then fold the overlap on the other side, pin in place if you need to, and sew it down.
It should look like this.
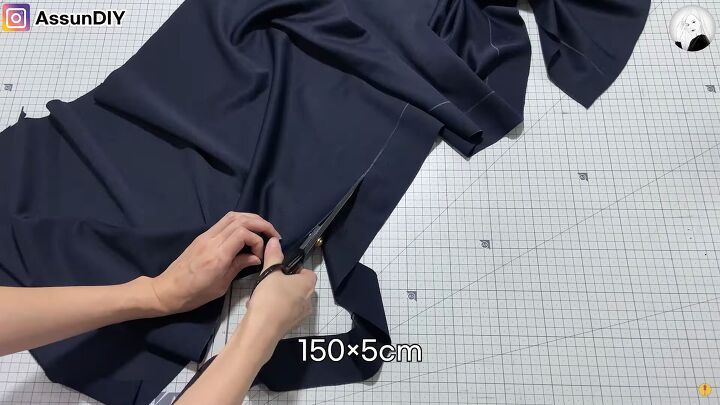
5. Make the belt
Cut from the extra fabric a belt that is 150 X 5 cm or about 60 X 2 inches long.
6. Pin and sew the bias tape to the belt
Cut the ends at an angle. Lay the bias tape half in the center. Pin into place and sew.
Fold the bias tape over and sew it down the other side. Do the same for the other side of the belt.

DIY circle vest tutorial
This fashion-forward, multi-way circle vest is complete! There are several ways you can wear this circle vest. Wear it loose for soft folds (pictured above).
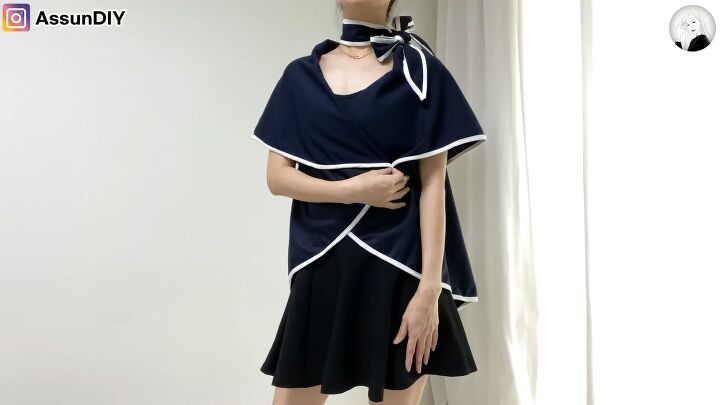
Wear it with a capelet effect with the belt at the neck for a jaunty look.
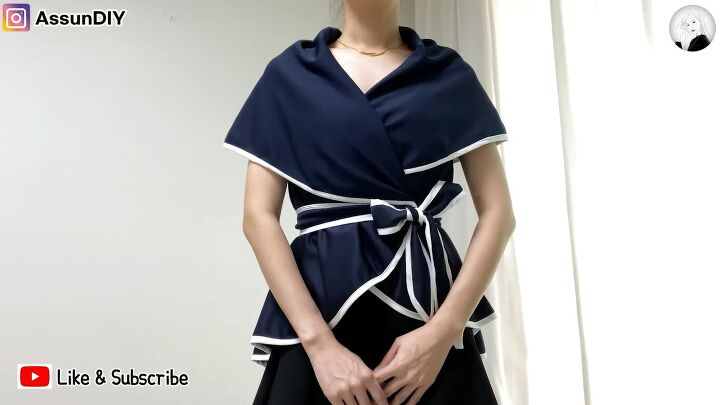
Fold the top halfway down to create a capelet effect. Wear with a belt to cinch in the waist.
I hope you found this DIY circle vest tutorial helpful. Let me know your thoughts in the comments.
The author may collect a small share of sales from the links on this page.


Comments
Join the conversation
INGENIOUS! ♥️
This looks SO cute and super easy!!