How to Make Puff Sleeves That Are Giant, Floaty & Super Comfortable

DIY puff sleeves are the in thing this season. I’m going over the top and showing you how to make puff sleeves from scratch. You’ll adore this DIY puff sleeve top and how easy it is to actually sew.
So, get your materials ready and follow me as I show you how to make a puff sleeve crop top with my easy-to-follow DIY puff sleeve pattern. Let’s get started!
Tools and materials:
- Fabric
- Elastic
- Safety pin
- Pins
- Thread
- Sewing machine
- Ruler
- Scissors
- Paper
- Pen
- Chalk
- T-shirt as a guide
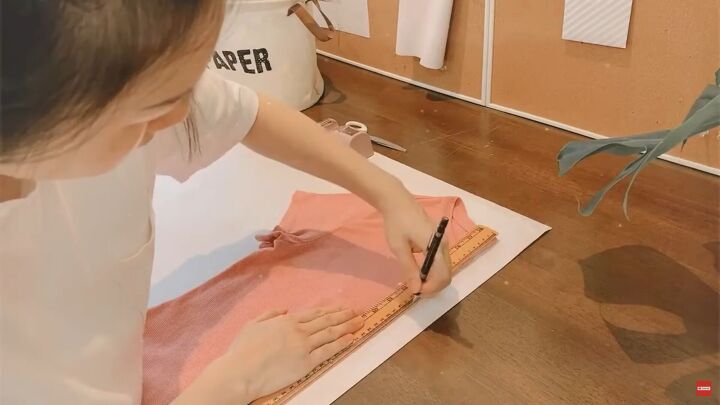
1. Make the pattern
Pick a shirt that fits you well and trace the upper shape on a piece of paper.
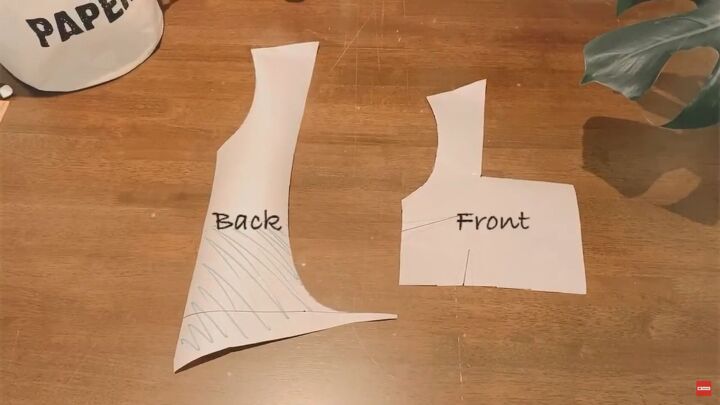
This is what the front and back should look like.
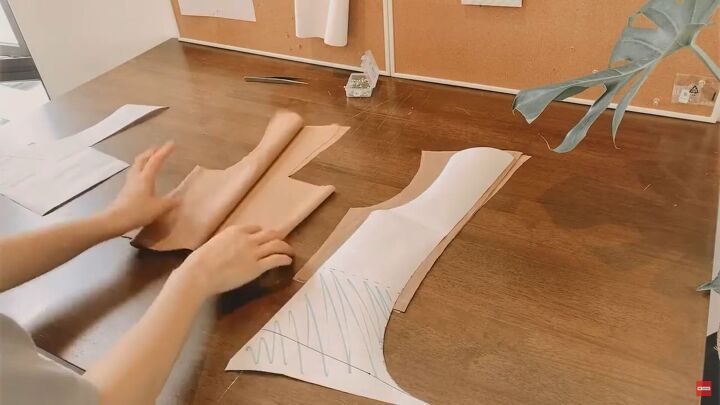
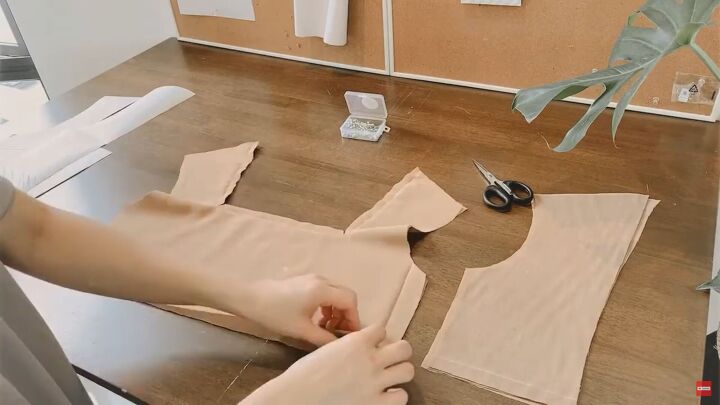
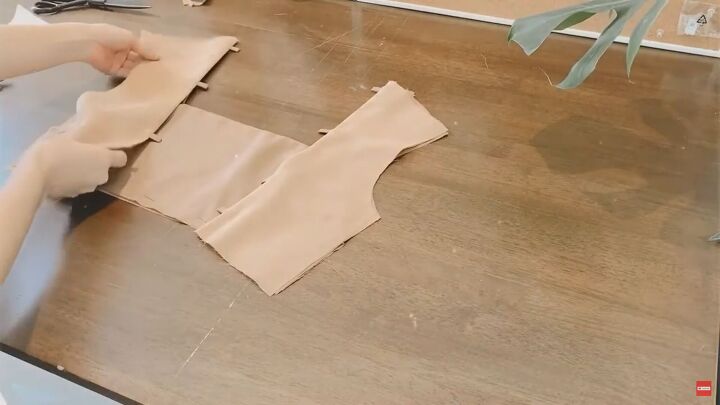
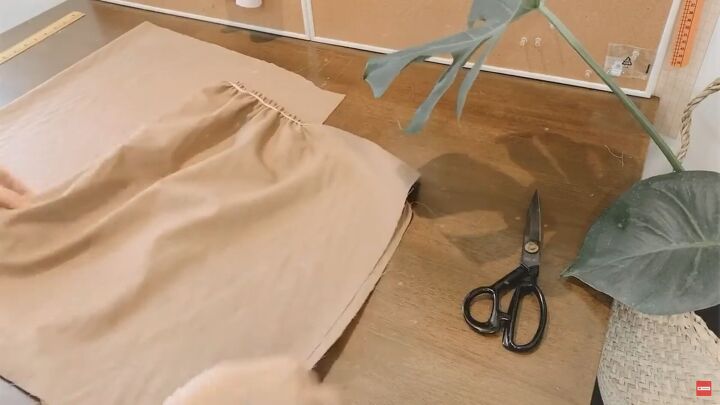
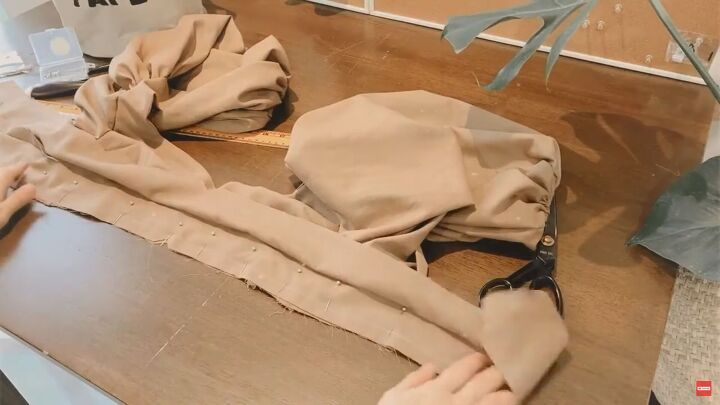
2. Cut the pattern
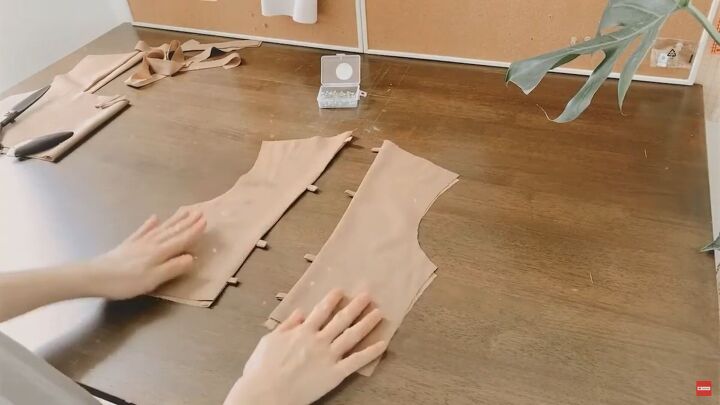
Now, cut two pieces of fabric for the front sides and two for the back, as shown.
3. Sew the top
Now, layer the front pieces together, with the right sides facing. Then, sew the neckline and the inner sleeves together.
Make a small snip on the inner corners of the neckline so that it folds in easily when the whole piece is right sides out.
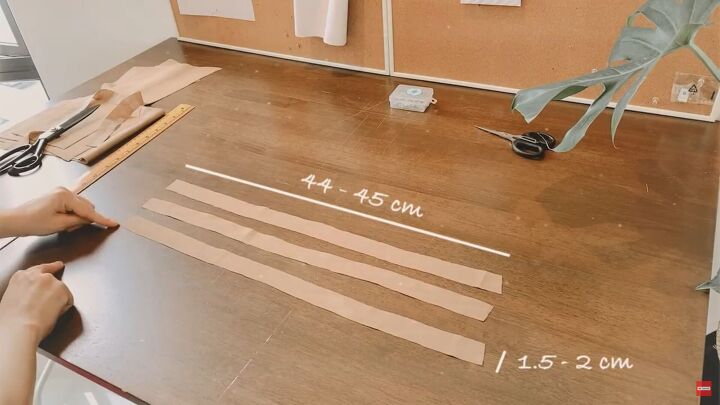
3. Make the back bodice
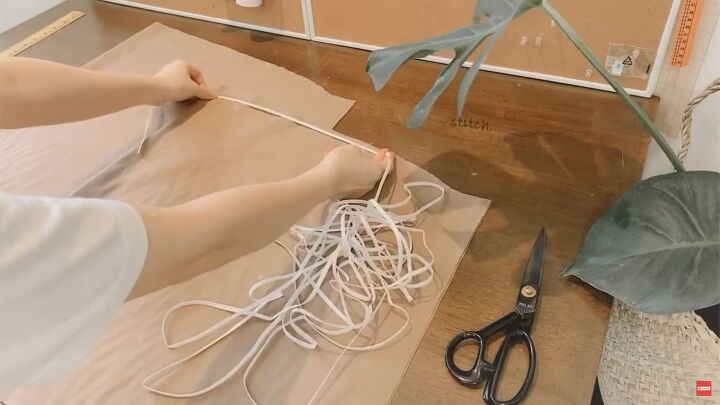
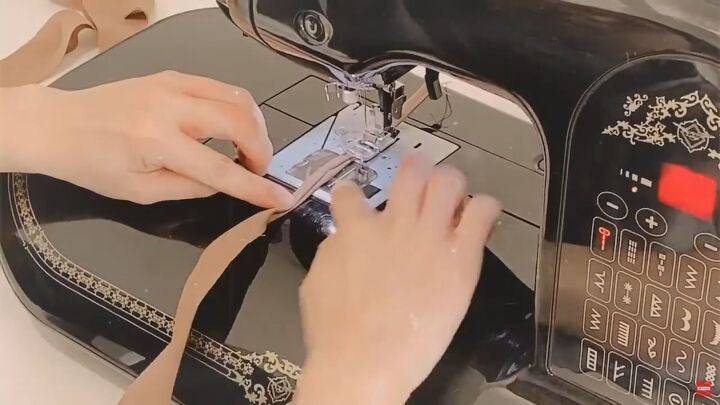
Next, cut three strips that measure around 45cm (17.7 inches) in length and approximately 2cm (0.8 inches) wide.
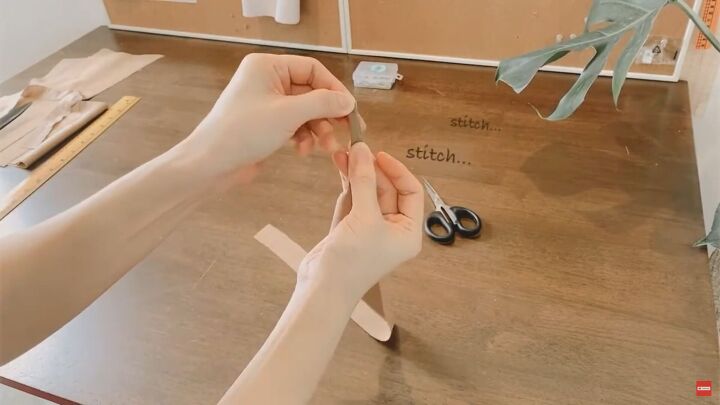
Fold the strips in half, with the one edge folded inside, and sew along to secure.
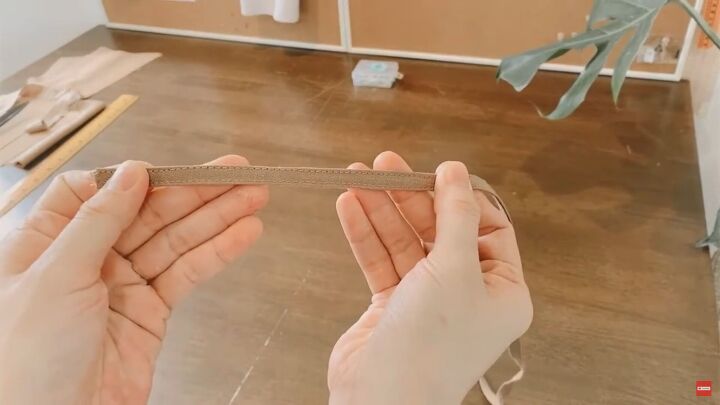
This is what it should look like.
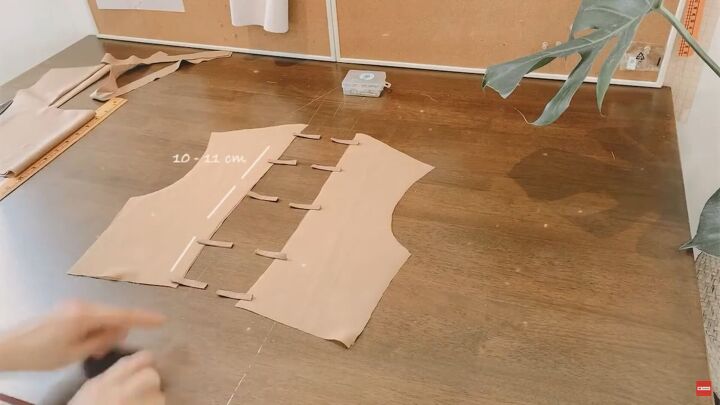
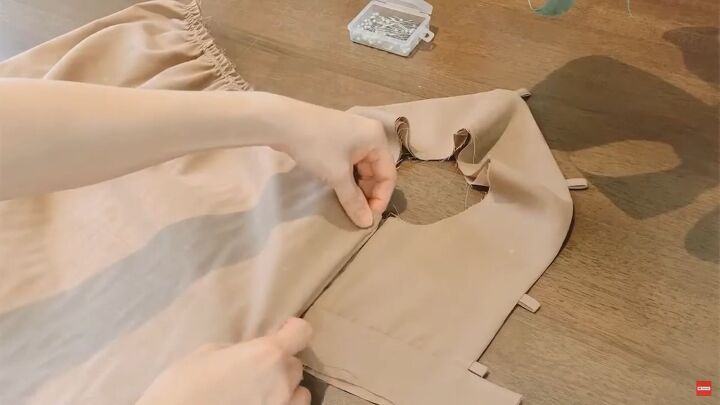
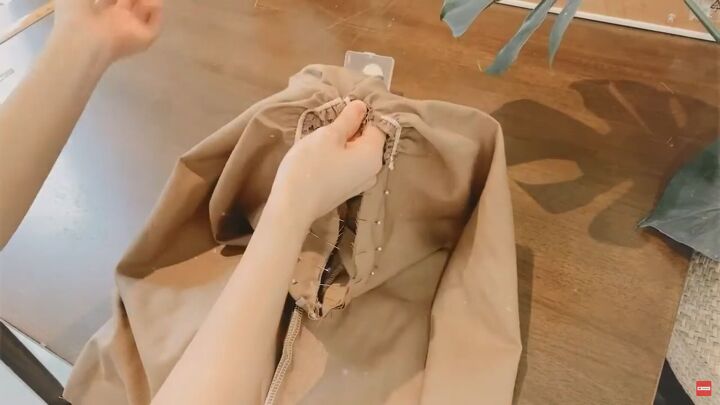
Now, cut one of the full-length strips in shorter, equal pieces and attach each piece to the back opening of the top, along each side. Make sure to attach them every 10cm (4 inches) or so. These will be the holders for the other strips.
Loop each piece by about 1cm (0.4 inches) and sew to secure. This is how the loops should look on the right side of the top.
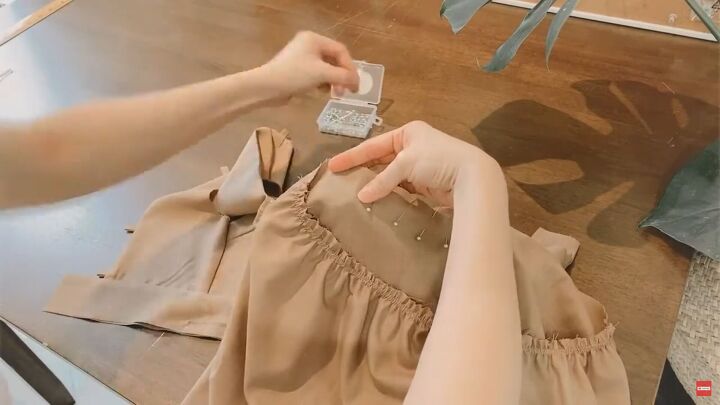
4. Make bust darts
Before assembling the top, make two side bust darts, as shown.
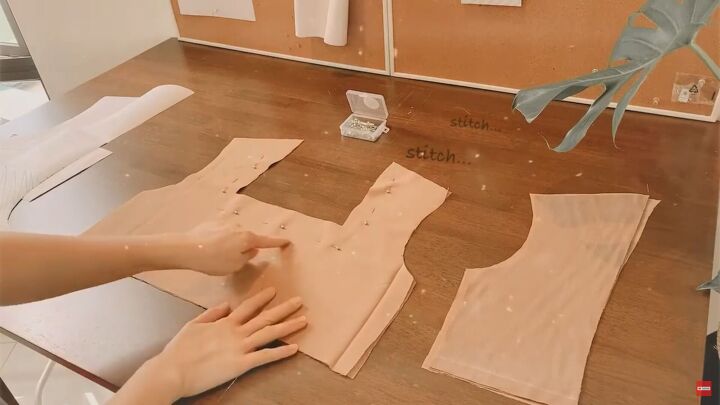
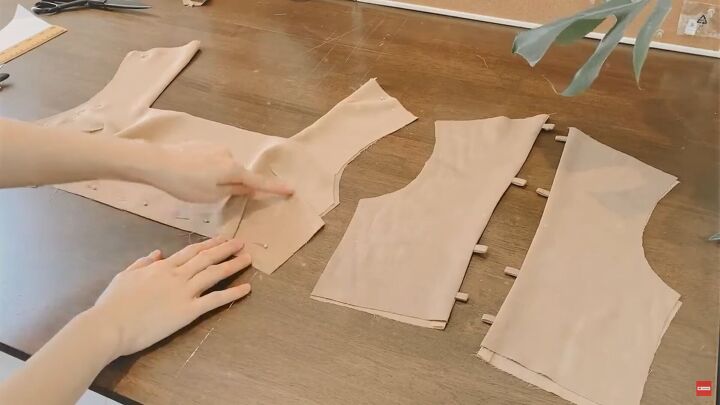
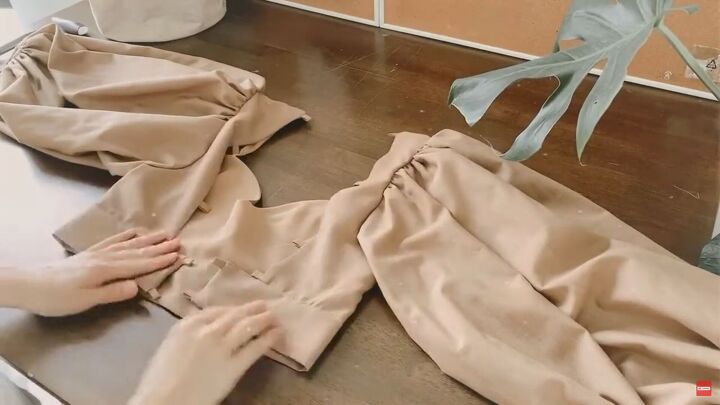
5. Attach the bodice pieces
Now, it’s time to attach the back bodice pieces to the front bodice piece. Start by stitching the shoulder seams and then the side seams.
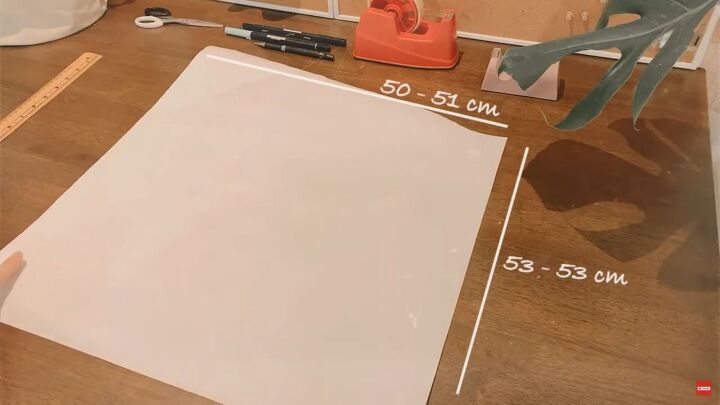
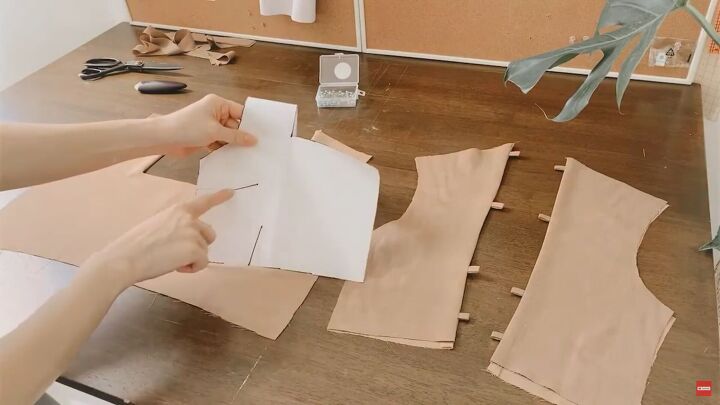
6. Make the puff sleeves
Ok, now for the exciting part! To make the DIY puff sleeve pattern, simply cut a paper around 51cm (20 inches) wide and 53cm (21 inches) long.
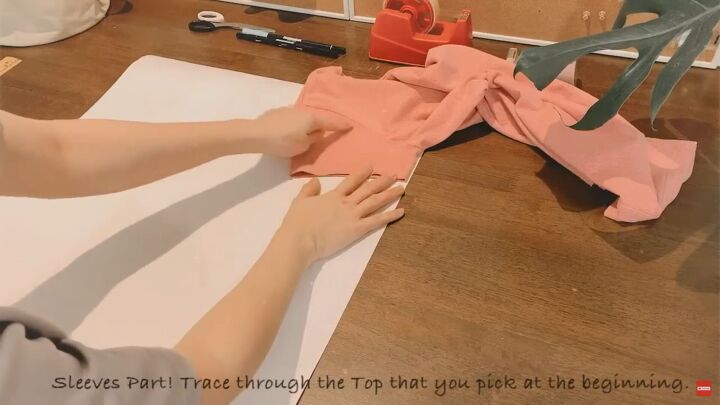
Then, trace the sleeve part as shown using the original shirt you used as a guide at the beginning of the tutorial.
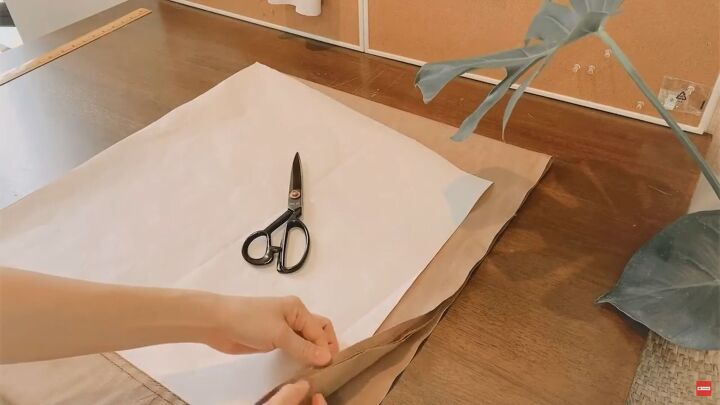
Fold your fabric in four so that you get two sleeves in one go! Add the paper with the puff sleeve sewing pattern on top and cut out the fabric accordingly.
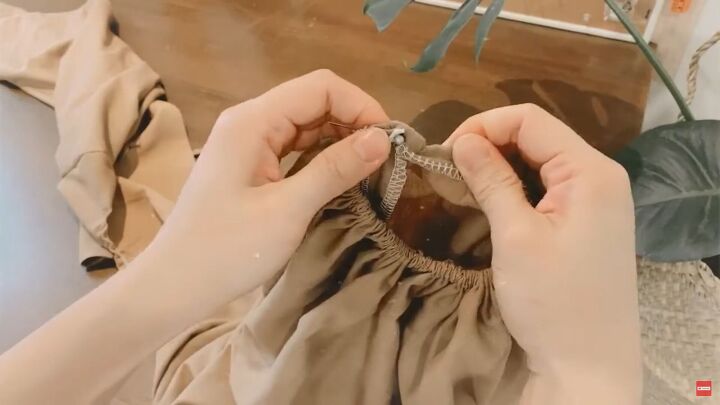
Sew elastic to the center of your top sleeve area. Be sure to stitch the elastic as close to the raw edge as possible and stretch the elastic while stitching to attain a ruffled look.
Now fold your sleeve in half, widthwise, and make sure the right sides of the fabric face each other. Then, stitch the side seam to secure it in place.
Turn your DIY puff sleeve right sides out and pin it to the armhole of the top. Remember to align the seams where necessary.
Take your time on this step; make sure that the fabric is not out of place, and all layers are attached and aligned correctly.
You’ll notice that you need to bunch the fabric around the ruffled sleeve area, but that’s how it should be! So, don’t worry if it may seem like you have excess fabric. After you’re done stitching, repeat the same process on the other sleeve.
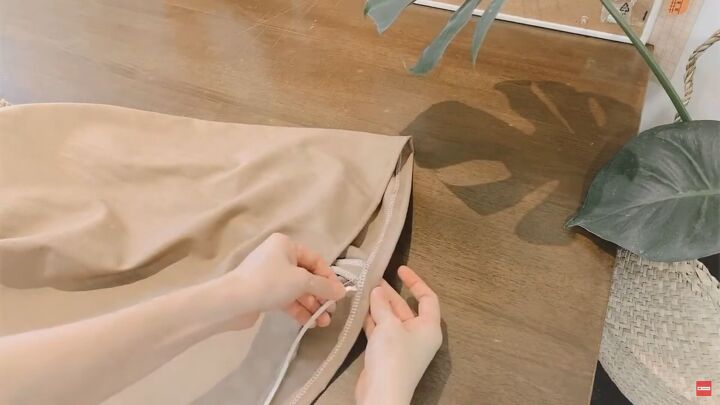
Next, add elastic to the cuffs. Sew a tunnel around the lower sleeve part so that you can feed through the elastic. Then, cut a strip of elastic that measures the same as the circumference of your wrist and feed it through the opening of the tunnel.
When this part is complete, sew the ends of the elastic and the opening of the tunnel.
Tip: Use a safety pin to feed the elastic through; it helps a lot!
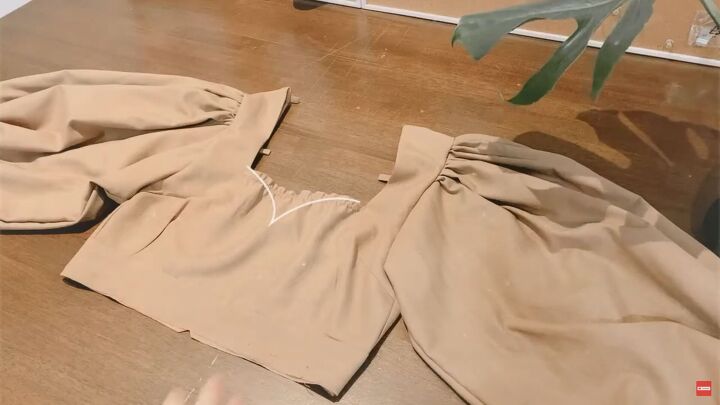
7. Modify the front bodice
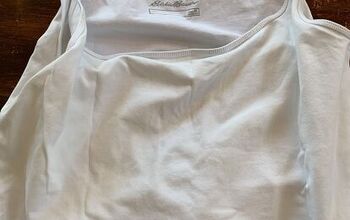
Shape the front bodice with a sweetheart neckline to add a little extra edge to your puff sleeve top.

8. Add a band
For me, the top was a little on the short side, so I decided to add a band to the bottom of the top. To do this, simply cut two strips of fabric that is around 7cm (2.75 inches) wide.
Then, attach the strips to the raw edge of the top, as shown.
Then, add extra loopholes to the bottom piece, too.
9. Add the finishing touch
Now, cut two strips of fabric that measure around 3cm wide (1 inch). Fold the edges to the center and sew to secure. Then, loop the strips through the loops to secure the back bodice piece.

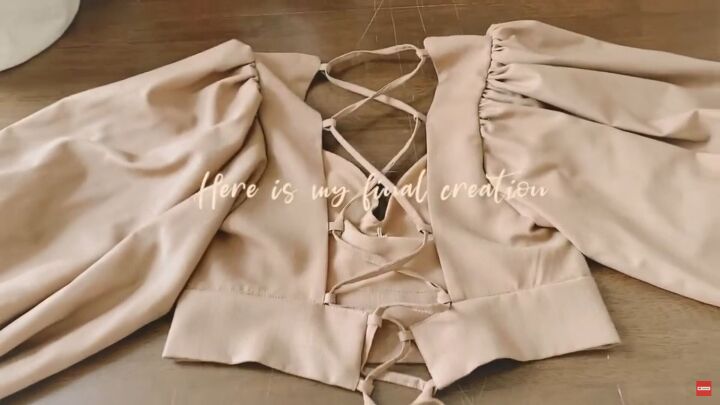
How to make puff sleeves tutorial
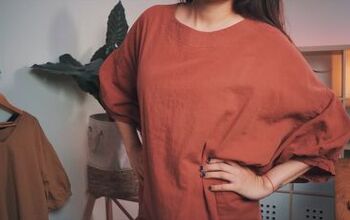
Yeah! The DIY puff sleeves tutorial is complete, and the result is this puff sleeve top. It’s so unique and comfortable to wear, too. I love how the DIY puff sleeves flow over the shoulder area; it gives the whole top a lovely, classic vibe. Thanks for joining me, and good luck!
The author may collect a small share of sales from the links on this page.


Comments
Join the conversation
Very nice & very well explained!...
I've always adored puff sleeves, but your guide just took it to a whole new level. Honestly, I've been looking for a puff sleeved top like this. The fact that you've prioritized comfort without sacrificing style is amazing. What's more is that you made patternmaking for fashion design of that top on your own! I'm excited to create a top with perfectly floaty sleeves like yours.