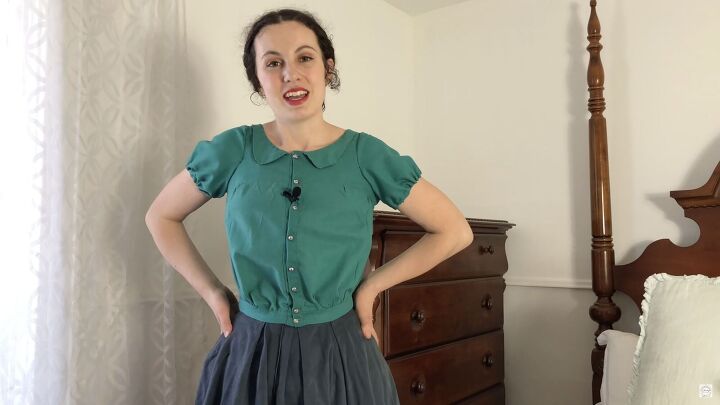
One Yard Project - Silk Noile Blouse

Designing the blouse sewing pattern was easy and fun, with the notable exception of the collar portion. I had never sewn or drafted a collar before, apart from a basic straight collar. Tracing off my close-fitting bodice block, I moved the bust dart position before drawing the line for where the front and back yoke would be, and cutting them apart. In the lower portion, I slashed and spread to make width for the gathers, then added
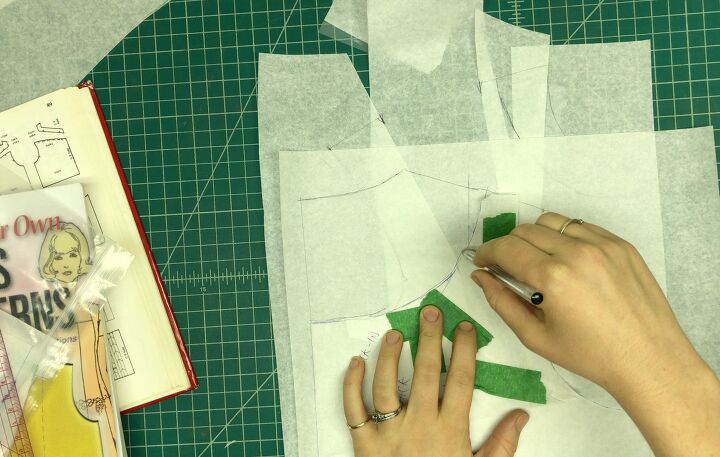
the separate button-stand, as well as the waistband at the bottom of the blouse. I opted to have the waistband sitting just below the waist line on the pattern block, to allow for that ‘blousy’ effect of having some extra length. I created some mildly puffed short sleeves as well as the rounded peter pan collar. The collar took some trial and error, and I had to consult my two pattern drafting books to get a proper concept of how to draft it. In the end, the process of sewing the collar taught me more about drafting collars for next time.
One-Metre Cutting Shenanigans

When ordering my silk noile fabric online, there was sadly only one metre available of the turquoise colour that I loved. Normally I would have ordered two metres of fabric for a project like this, but I took a chance on being able to smoosh all the pattern pieces into half that amount.
So how did it work out?
It took some doing to get all the pattern pieces situated onto the fabric, and sacrifices had to be made. I felt like a sailor tossing cargo off of a sinking ship. For instance the sleeves were supposed to be gathered onto a narrow cuff, but, being strictly unnecessary, the cuff idea was tossed. The collar was an irregular shape and I decided to cut it in half at centre back to fit the pieces onto the fabric.
One mistake I made was not noticed until later, and that was that I’d forgotten that the collar was comprised of two layers. Having only cut one, and there being none of the silk noile fabric left by the end of the cutting, I came up with the solution of using two layers of silk organza as the under-layer of the collar. This would only work if the underside of the finished collar was never seen, of course. This being a flat collar, I decided it would be fine and forged ahead.
Hand Sewing it Up: How did I finish the Seams?
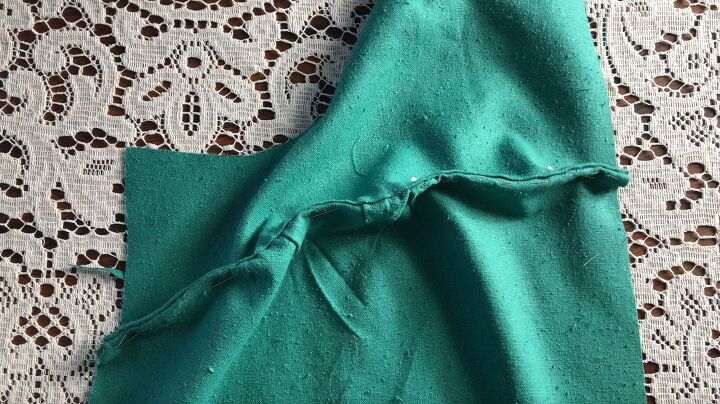
I was halfway through another project when I began sewing this one, needing a change. I began by hand-sewing the back collar pieces together in the centre, then added gathering stitches to the front and back body panels, where they would be gathered and attached to their respective yokes. To attach them, I used a running back-stitch, first with wrong-sides together. I then trimmed the seam allowances and resewed the seam with right sides together, creating neat french seams. This is a classic way of hiding the raw edges without resorting to a serger or zig-zag stitch. After the yokes were attached to the gathered body sections, I sewed the side seams and shoulder seams using the same french-seam method.
Next I pieced together the entire waistband, which was interfaced with silk organza. Next I had to tackle the collar . . .
Sewing the Collar and Sleeves
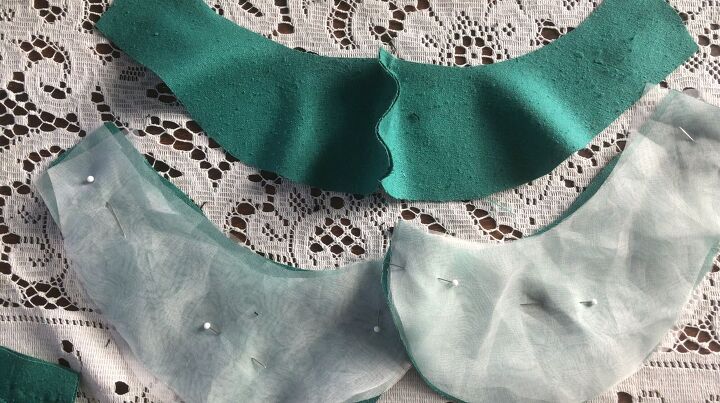
The front silk noile portions of the collar had to be stitched to the under-layer of silk organza, then turned right side out and top-stitched. Deciding that my hand sewing would create wonky looking collars once stitched and turned, I used my machine for this portion. Upon clipping the seam allowances and turning the collars right side out, I pressed them with my iron before hand top-stitching them around the edges. Next I pinned the collar to the neckline of the blouse and hand-sewed them together.
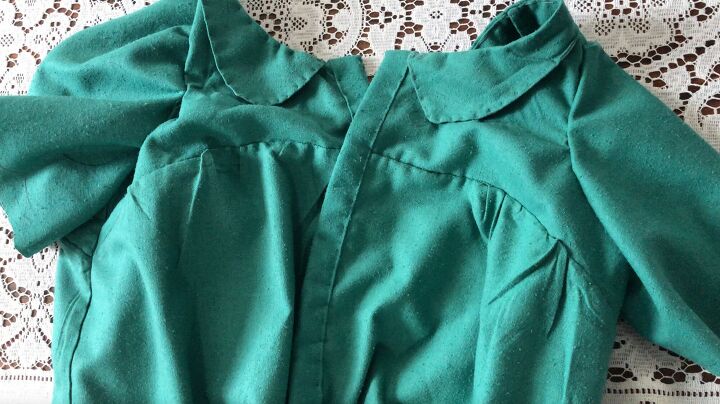
I prefer to attempt new techniques on my own the first time without doing a bunch of prior research which can take the fun out of it. As such, I had no idea how to hide the edges from the collar-shirt seam, and there was no extra fabric to create bias binding. So, I did what was no doubt an improper way to sew a collar and simply trimmed the edges before top stitching around the top neck-edge of the collar. This also helped the collar to lie flat against the blouse, while before it had almost looked like a neck ruffle. I would do this differently next time, having learned drafting techniques to avoid this collar problem. I allowed myself to use these unorthodox collar sewing techniques in the interest of ensuring the white silk organza on the bottom of the collar would remain hidden. I later even had to resort to stitch-tacking down the collar *gasp*.
Finally, I sewed a gathering stitch onto the shoulder-side of the sleeves before attaching them to the blouse with french seams. Having no cuff at the bottom of the sleeves to gather them onto, I resorted to first hemming the sleeves and then sewing a hidden gathering stitch on the inside of the sleeve hems. I pulled on these thread tails to achieve the proper amount of puff-sleeve gathers at the bottom, and then knotted the gathering thread. Very unorthodox, I know.
Buttons and Hand-Finished Buttonholes
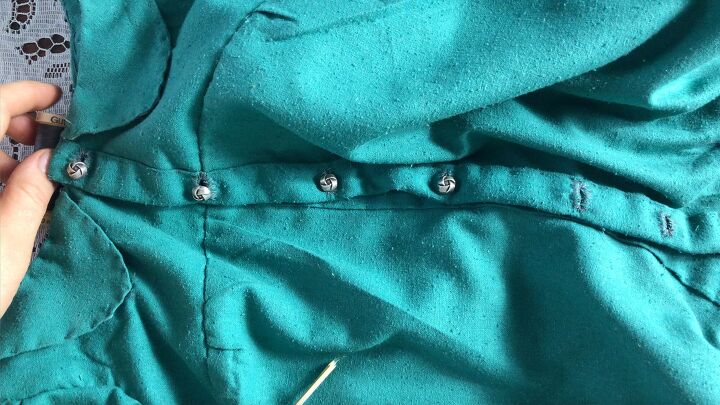
I’d found some delightful silver buttons which were almost as thick as they were wide. The instructions on the package said to calculate the buttonhole width by adding the measurement of the button’s diameter to the button’s thickness, and then adding 1/8”. This seemed excessive to me, and would have been too wide for my button stand anyway, so for each buttonhole I would simply snip the buttonhole a little wider until I could get the buttons to fit through, before hand stitching them using a buttonhole stitch. After sewing one buttonhole which looked so messy it nearly brought me to tears of frustration, I turned to Youtube for help. My spirits bolstered, I finished the rest of the buttonholes which were much easier than the first. This became a calming, meditative process. After sewing on my silver buttons, the blouse was finished!
What Did I Learn?
Throughout this project I had an inner conflict. This is taking so long, I would think. Why don’t I just machine-sew the rest? A few factors prevented me from doing this, however, and by the end of it I was so glad I’d hand sewn it. There isn’t much I would change about this pattern for the next time I make it, which is a first for me. I have since learned a slightly new drafting technique for collars to help them lay flat, so I would alter that, and I might remove some length so the blouse is a little less “pouffy”.
What About You?
Have you ever hand-sewn a project, or squeezed a pattern into a tiny amount of fabric? Let me know in the comments below!
The author may collect a small share of sales from the links on this page.


Comments
Join the conversation