Sewing a Crop Top: 2 DIY White Crop Tops to Make at Home

We have another DIY for you! This time, it involves sewing a crop top in two fashionable ways. These lovely DIY white crop tops can be paired with many colors, like brown, red, black, etc. We hope this DIY crop top tutorial will help you in some way, and we can’t wait to show you the results. Let’s begin!
Tools and materials:
- Fabric
- Sewing machine
- Pins
- Scissors
- Marker
- Thread
- Measuring tape
- Elastic thread
- Fitted tube top
- Scissors
- Safety pin
- Iron
Pleated tube top
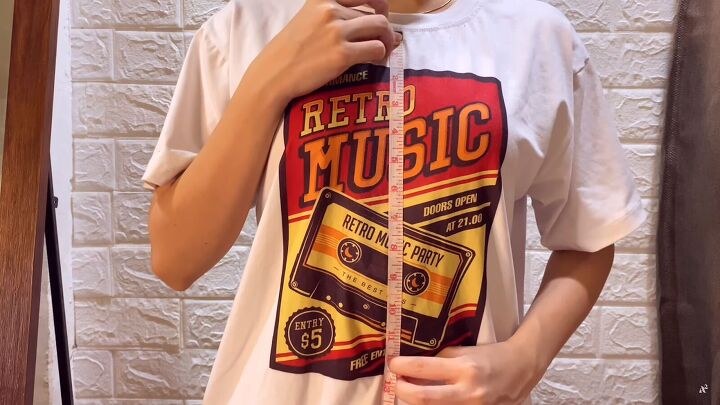
1. Measure
To begin, measure the chest area to your belly button to determine the length of your top.

You’ll need a curved top line and a straight bottom line for the front piece. These are our measurements; feel free to adjust them as needed.
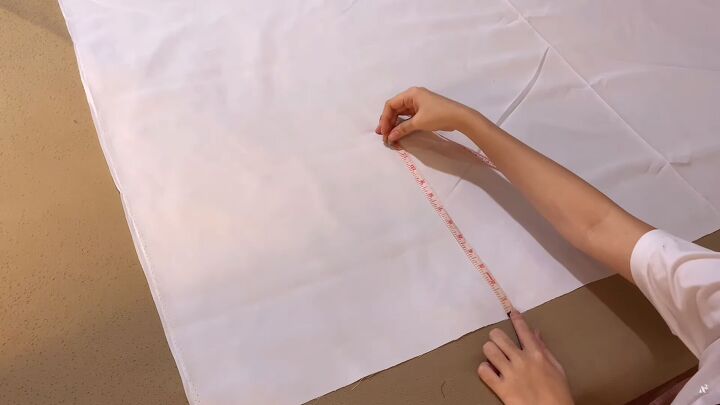
2. Make the pattern
Now, transfer the measurements onto the folded fabric. You’ll need two front pieces. Fold the fabric to make such the cure is symmetrical.
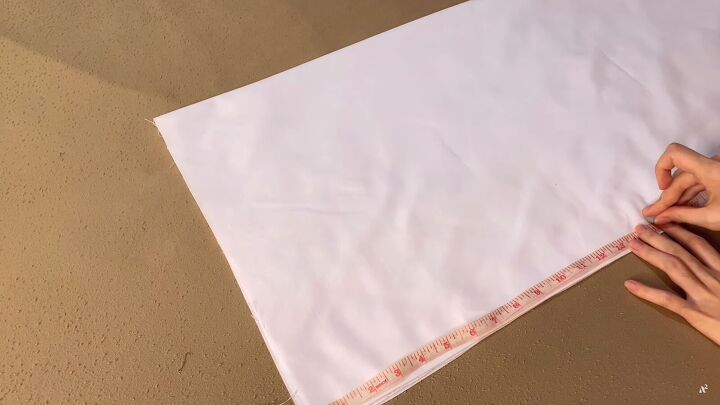
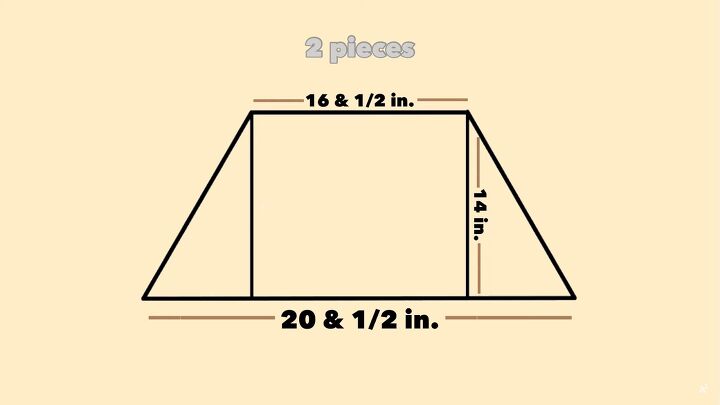
Now, measure and cut 4 back pieces 11” wide and 15” long.
3. Sew the DIY white crop top
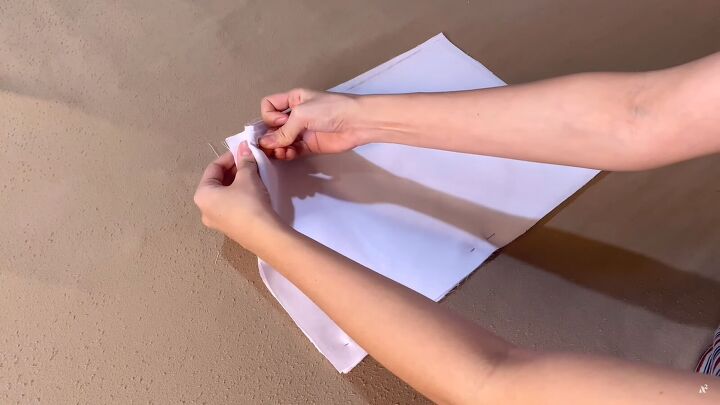
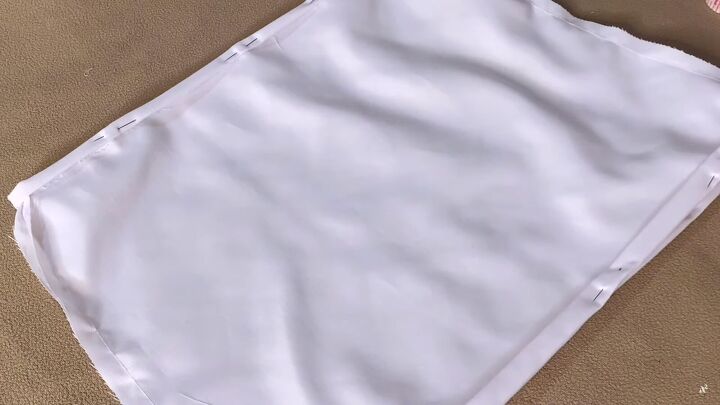
Pin the four back pieces together.
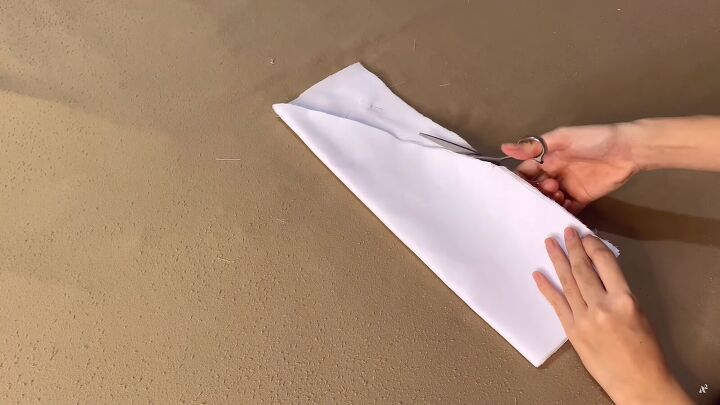
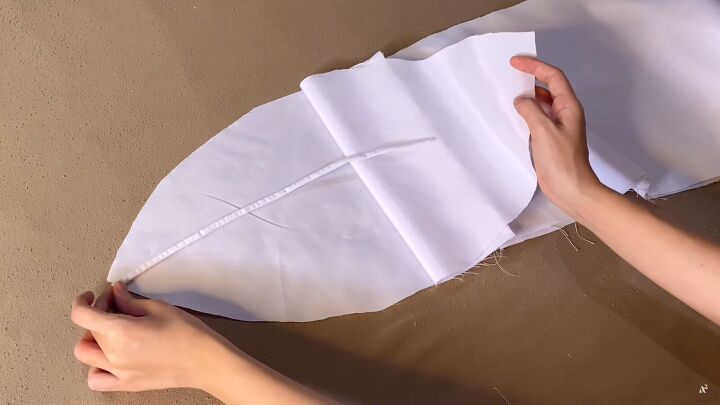
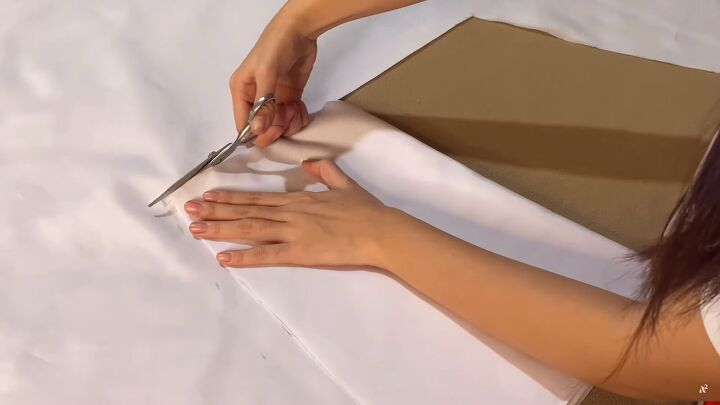
Fold the fabric in half lengthways and cut a curved line from the center to the end of the fabric, as shown above.
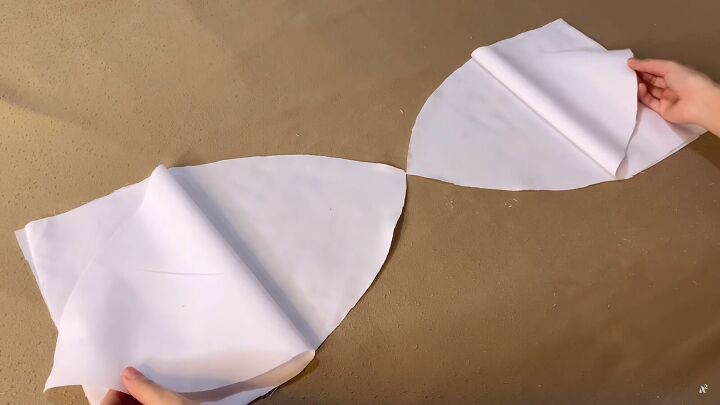
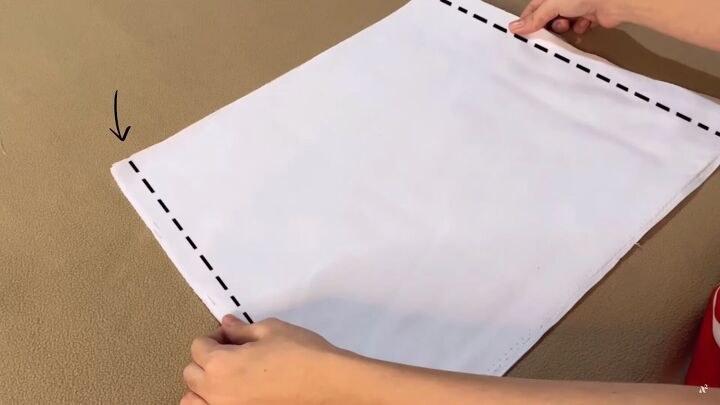
This is the shape you should have when you unfold the pieces.
Pin the back pieces to the front pieces, connecting them at the short ends, as shown. Sew the seams.
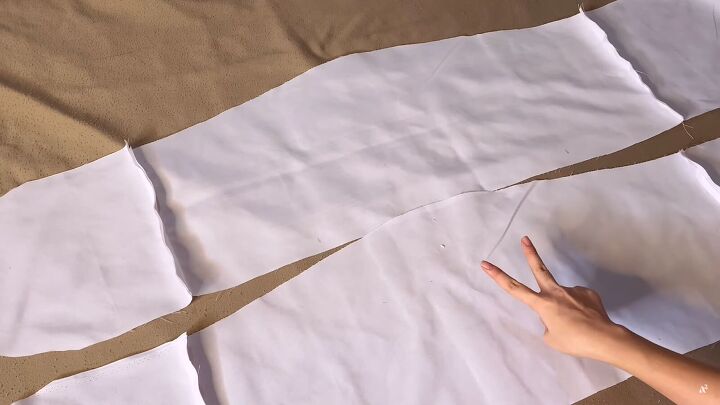
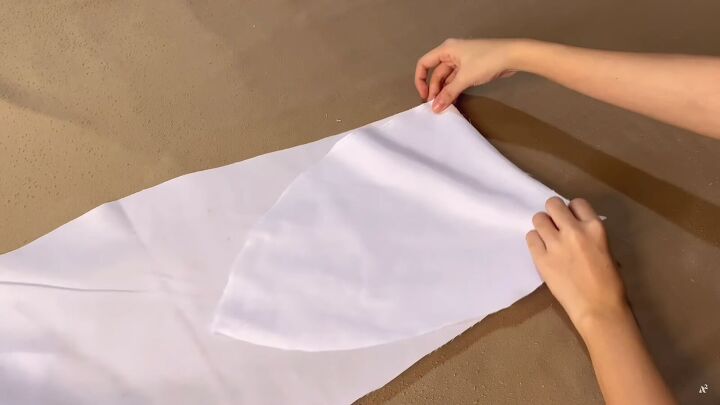
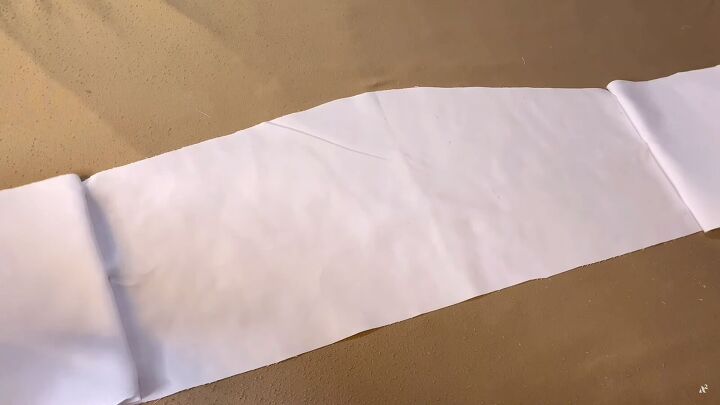
Now you should have two pieces.
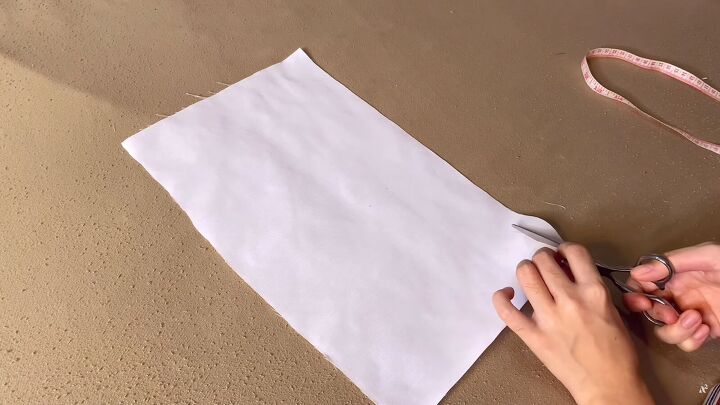
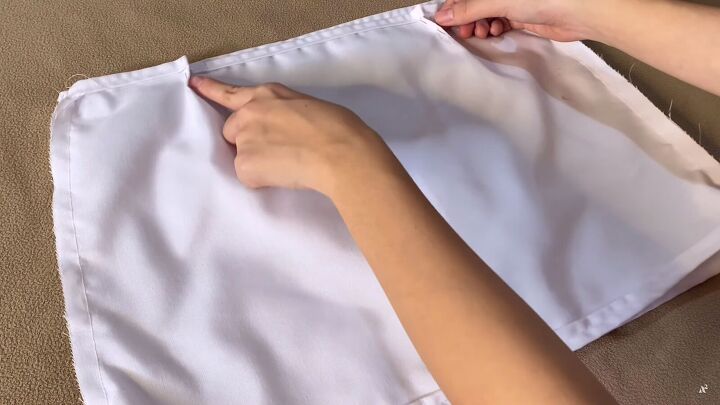
4. Cut the strips
Cut out two strips measuring 1” x 15” each.
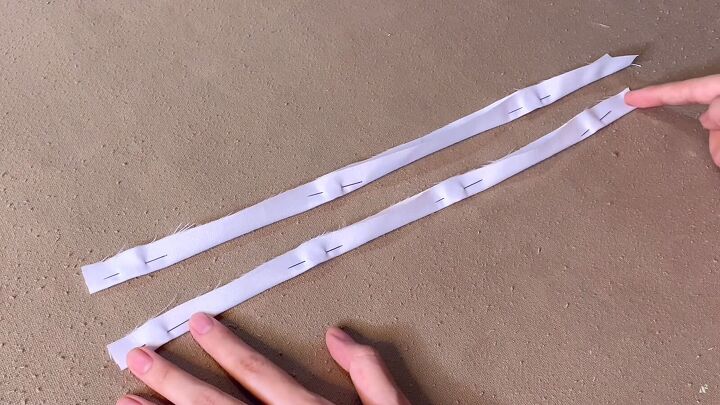
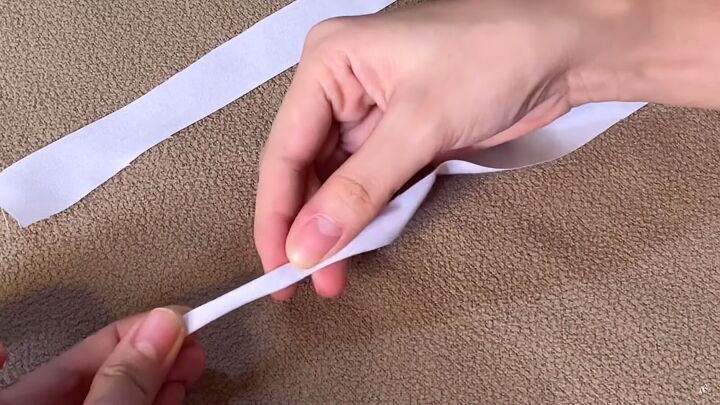
Fold the fabric in half (right sides facing) and pin along the edge. Sew to secure.
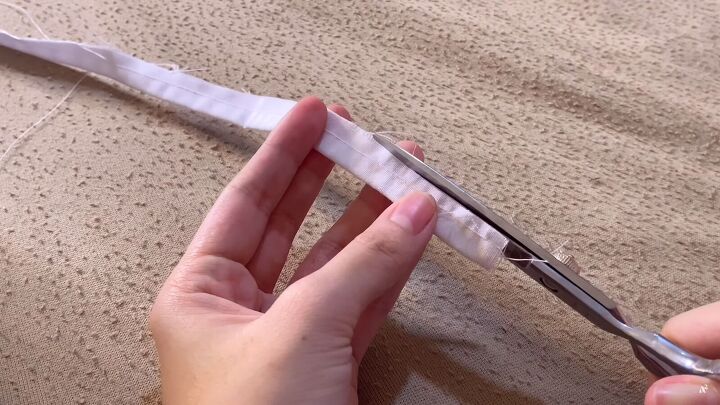
Cut off the excess.
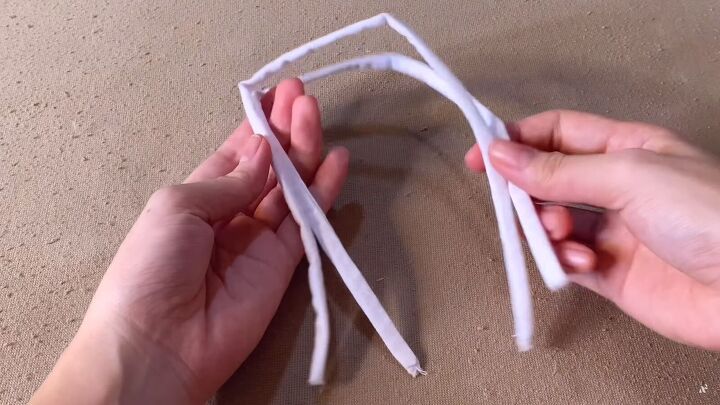
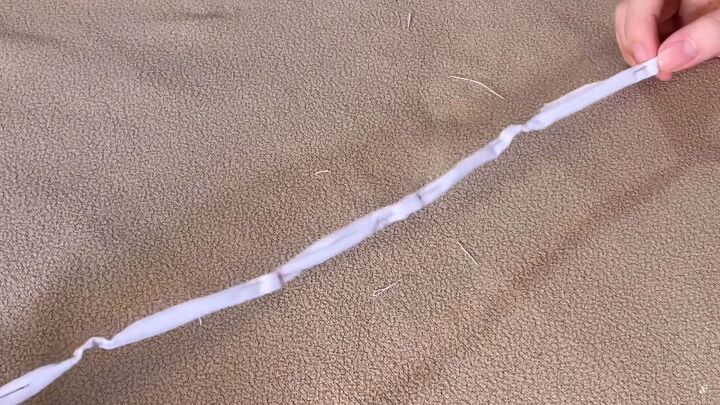
Use the safety pin method to turn the fabric right sides out.
5. Assemble the crop top
Sandwich the straps between the layers, right sides facing. Do this on both sides and pin around the whole piece.
Sew around the whole piece, but leave a tiny gap to turn the top right sides out.
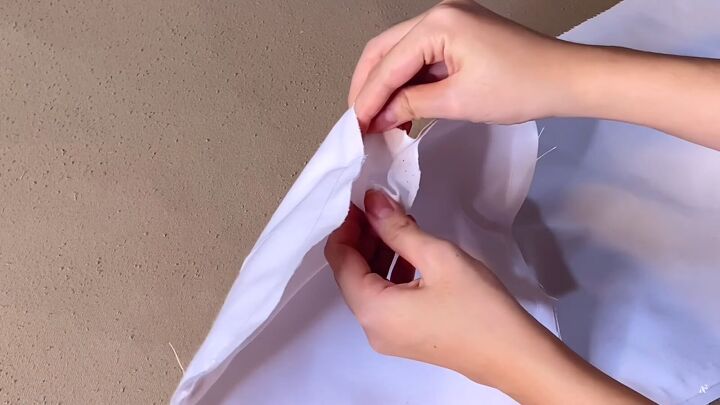
Once everything is sewn, turn the DIY crop top right sides out.

Iron out the wrinkles on the fabric.
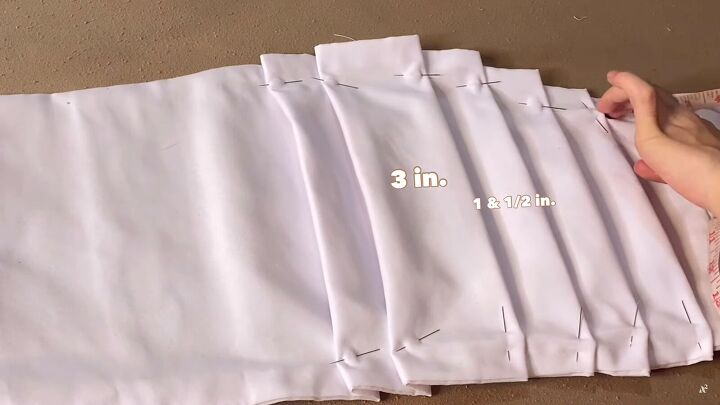
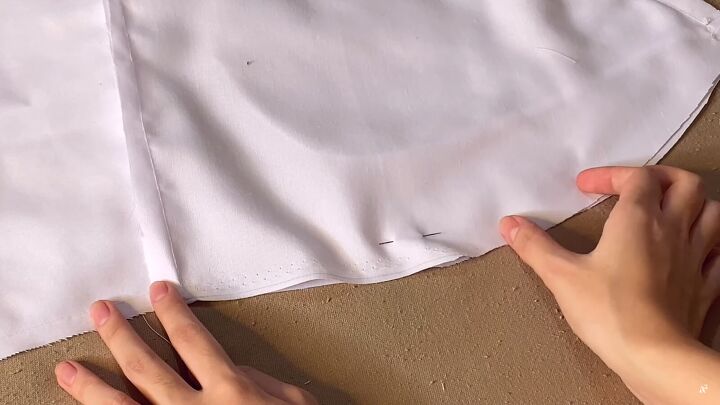
6. Make the pleats
Measure 3” in the middle and pin. Then, measure and fold every 1½“ increments on each side.
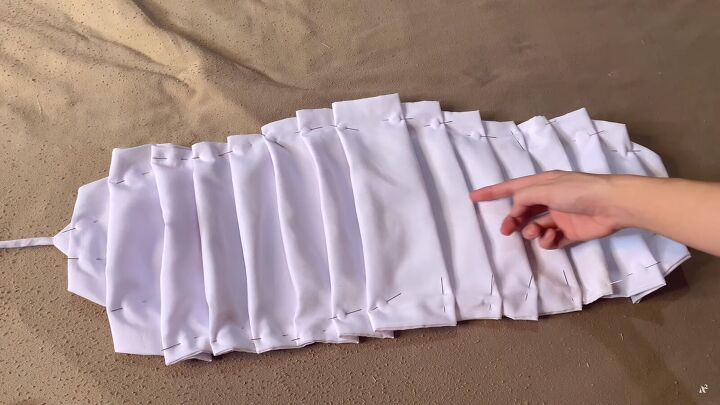
Sew or handstitch two lines 5mm (0.19”) apart in the center of the top.
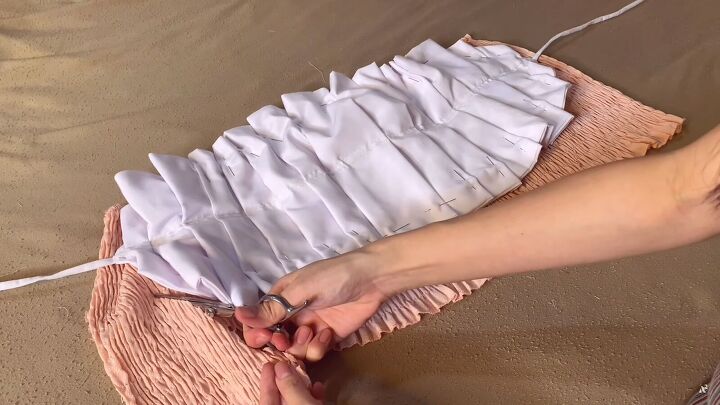
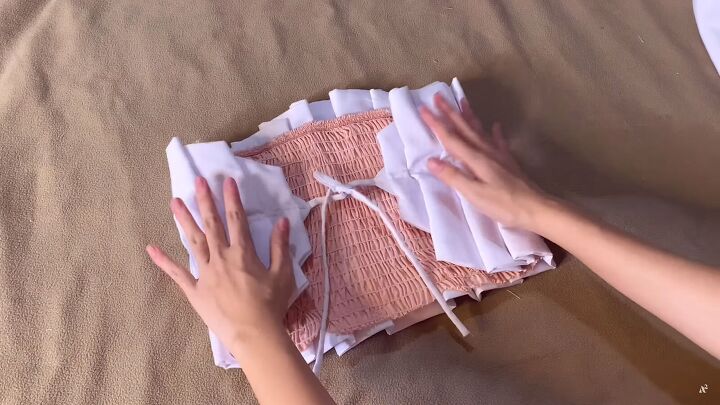
We wanted the top to be stiff on top, so we pinned it to an existing tube top. Then, we cut around the excess, visible fabric.
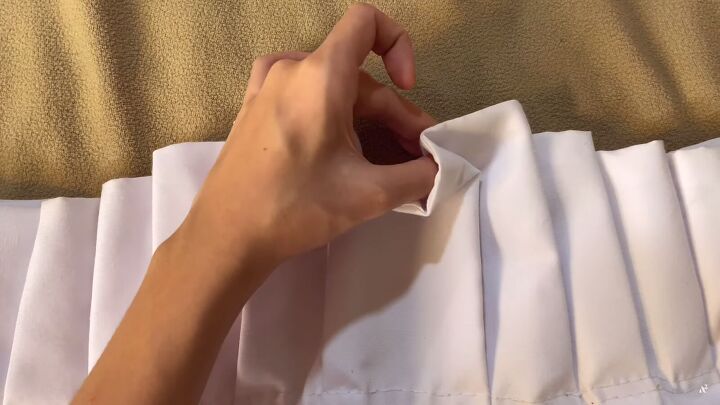
To sew the pleats in place, sew each fold as pictured.
We’re done!


So, what do you think of this cute and elegant DIY white crop top with pleats?
Ruffled DIY crop top
1. Make the pattern
Use your bust size and desired length to make the main bodice measurement.
Cut out two pieces.
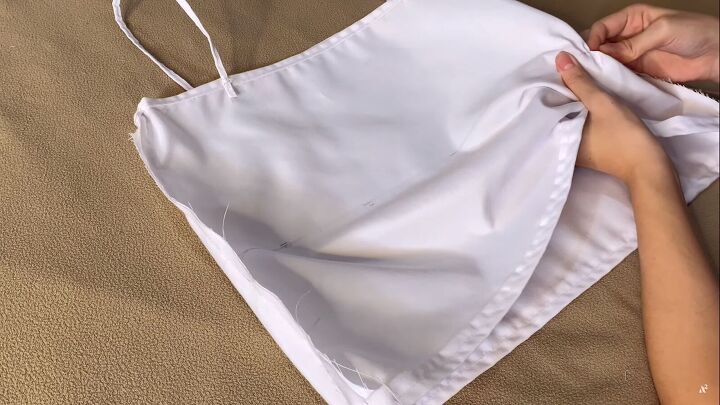
2. Assemble the crop top
Place the pieces right sides facing and sew the sides with a ½“ seam allowance.
Sew a double hem on the top and bottom edges.
3. Sew darts
To make the crop top fit perfectly, sew darts on either side of the top edge. Our darts measure 3” from each side.
4. Sew the straps
For this top, the thinner the straps, the better! So, cut two strips measuring 13½“ x 2cm (0.78”). Fold the raw edges into the center, and fold the whole strip in half lengthways.
Pin the fabric to keep it in place and sew.
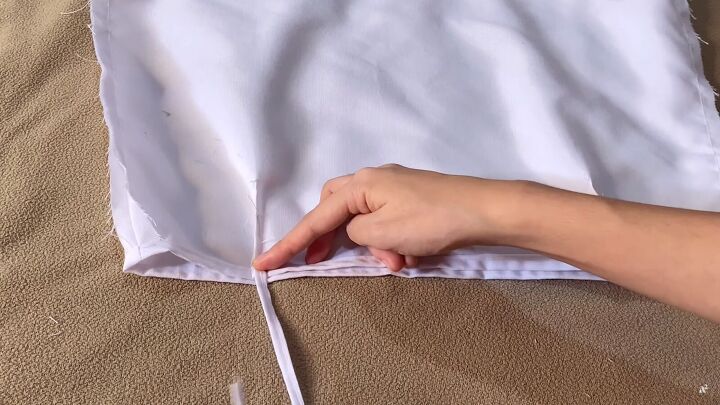
Sew the straps on the inside of the top, 2cm (0.78”) away from the edge.
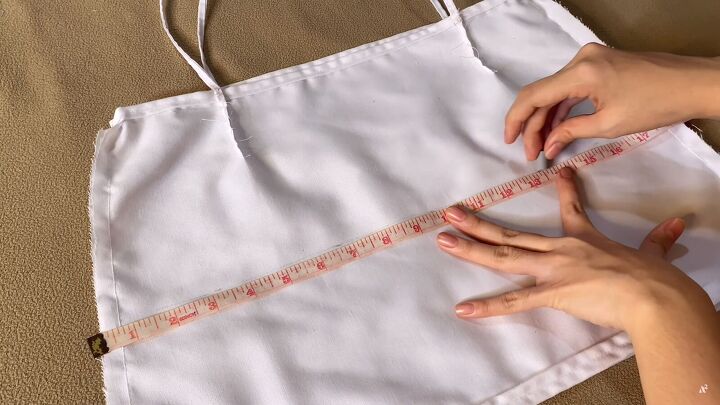
5. Make the center ruffle
Mark the middle of the top from side to side.
Sew along this line (through one layer) with elastic thread. Unfortunately, our sewing machine was acting up, so we did this by hand.
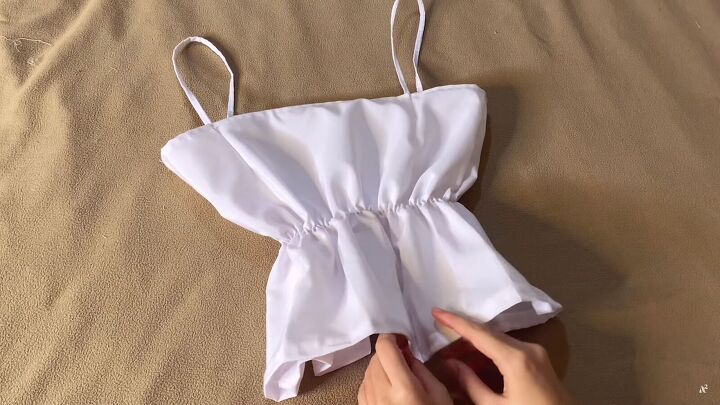

Here’s the result! Quite a stylish DIY white crop top, don’t you think? It was super easy to make, too.
Sewing a crop top
We’ve come to the end of our tutorial on how to sew a crop top with two stylish variations! As you can see, sewing a crop top is super easy and a fun process, too. Thanks for joining us, and happy sewing!
The author may collect a small share of sales from the links on this page.


Comments
Join the conversation