Sewing an Oversized T-Shirt That's On-Trend for Summer

One of the hottest looks this summer is an oversized t-shirt with jeans or a skirt. If you’ve been wanting to learn how to make an oversized t-shirt, this boxy t-shirt sewing pattern will show you exactly how to sew one that is fashionable and extremely comfortable.
Sewing an oversized t-shirt isn’t that difficult and I’ll show you how to do it in simple easy steps. Let’s get started making your DIY oversized t-shirt so you can wear it today!
Tools and materials:
- Teddy t-shirt pattern
- 1.65 yards (1.5 meters) stretch knit fabric
- 0.4 inch (1 cm) wide twill tape (optional but gives a gorgeous professional finish)
- Sewing machine
- Stretch needle (jersey, ballpoint, or twin)
- Matching or contrasting thread
- Pins
- Scissors
- Measuring tape
- Iron
- Clapper
- Water-soluble marker
Use a light to medium weight knit fabric like ponte knit, ITY, brushed poly, French terry, or jersey. In this tutorial, I’m using ponte knit because it’s a stable stitch knit with some weight to it. It’s also light on the body and very comfortable to wear.

1. Make the pattern
Cut out the pattern pieces. Your fabric layout will depend on your pattern size. The pattern booklet has detailed instructions and examples.
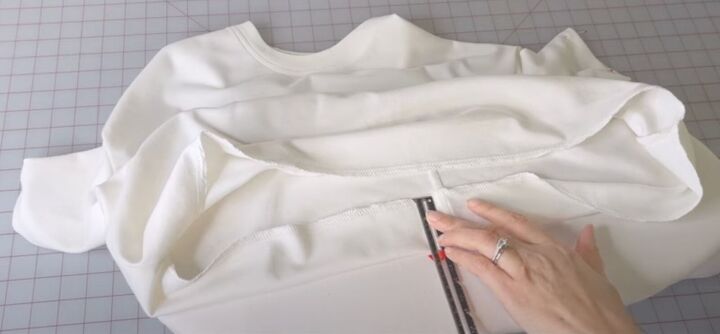
2. Sew the center back seam
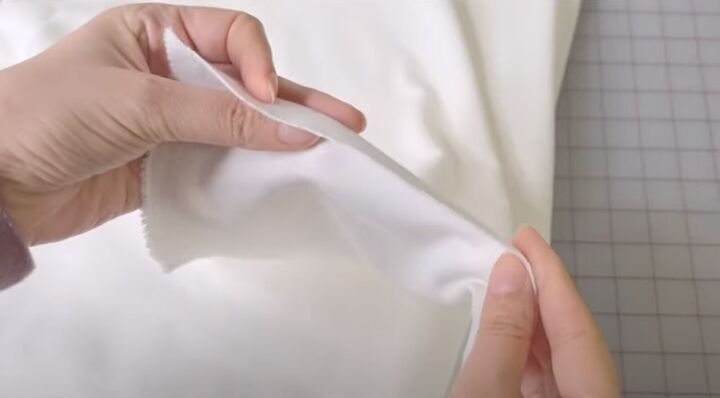
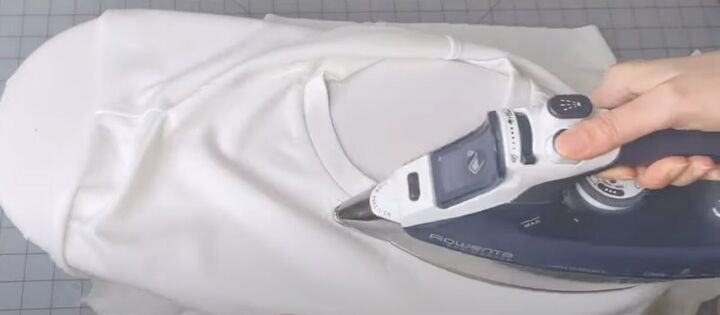
Pin the back piece right sides together and sew. Press the seam to get rid of any waviness.
Turn the seam to one side and topstitch the seam from the right side right at the edge about 0.2 inches (4 mm).
It should look like this.
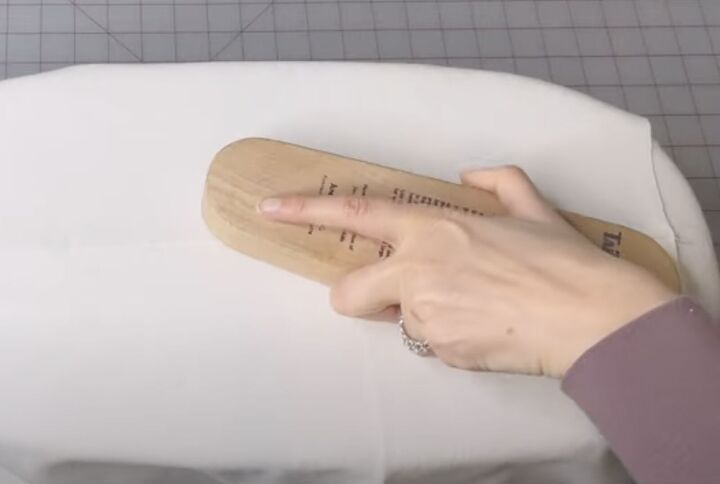
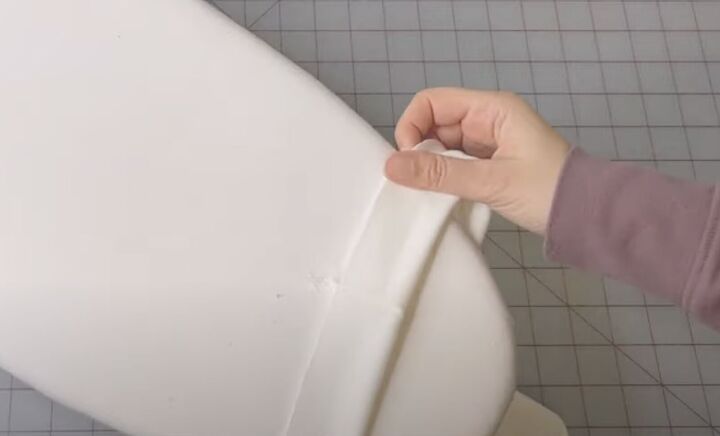
Press the center seam again and cool with a clapper for a smooth, professional finish.
3. Make the pocket
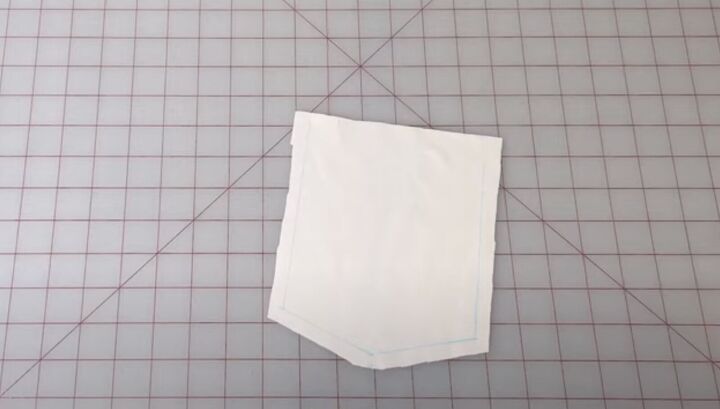
On the cut-out pocket, mark 0.4 inches (1 cm) seam allowance on all sides except for the top. Serge the top edge.
Fold the top edge at the notches in the pocket, right sides together.
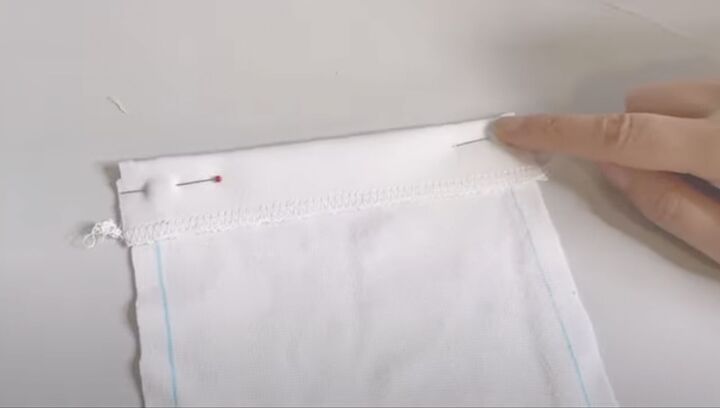
Pin in place.
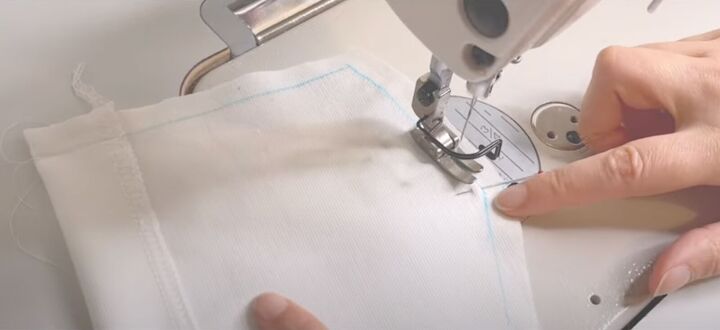
Sew the corners of the pocket and staystitch following the previously drawn guideline.
If using a water-soluble marker to mark the lines, simply dab with a wet cloth to remove the markings. Turn out the corners of the pocket.
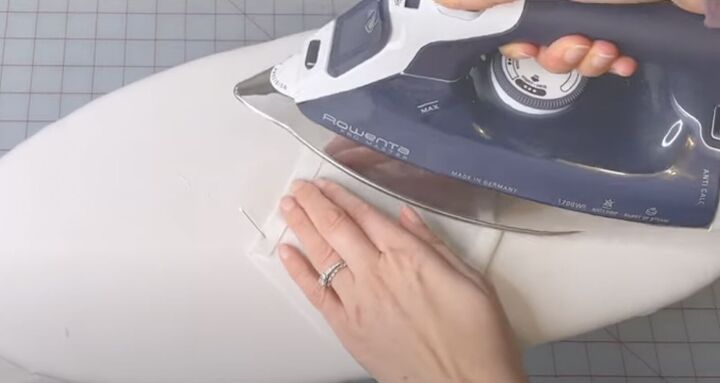
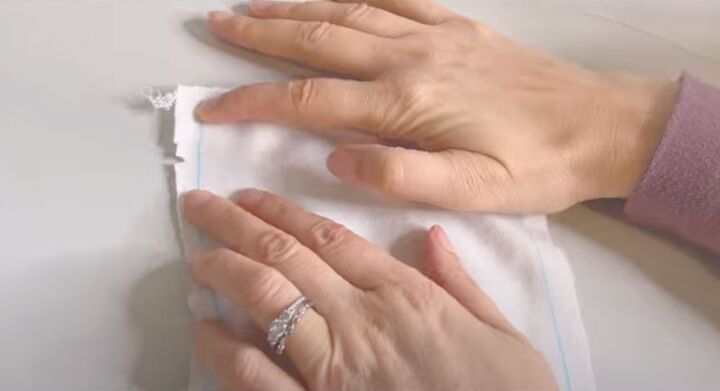
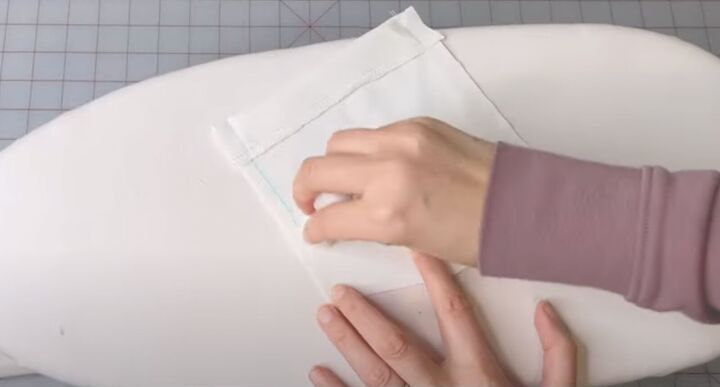
Press the top edge of the pocket and sides, following the staystitch guidelines for folding the seam allowance to the wrong side. Cool with the clapper.
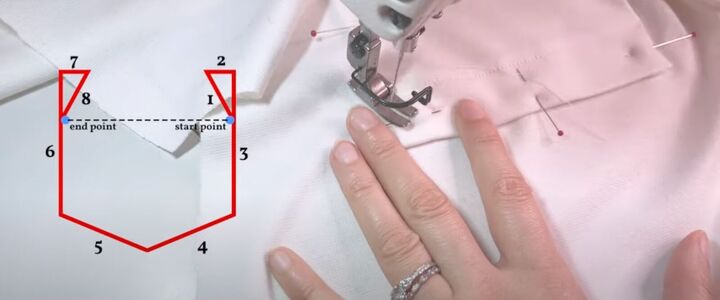
Topstitch the facing of the pocket on the right side about 1 inch (2.5 cm) from the edge, forming a triangle at the corner. Press the top edge of the pocket to get rid of any waviness on the topstitching.
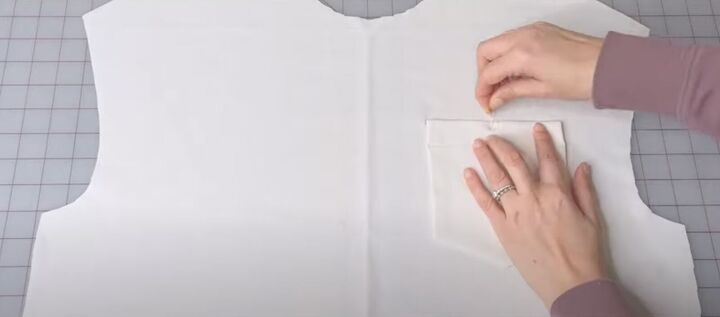
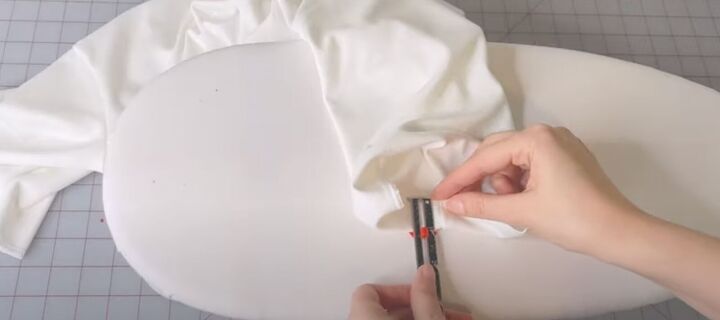
4. Attach the pocket
Pin the pocket to the right side of the bodice, following the mark on the pattern (it’s a little circle). Topstitch the pocket ⅛ inch (2 mm) from the edge. Press for a smooth finish and cool.
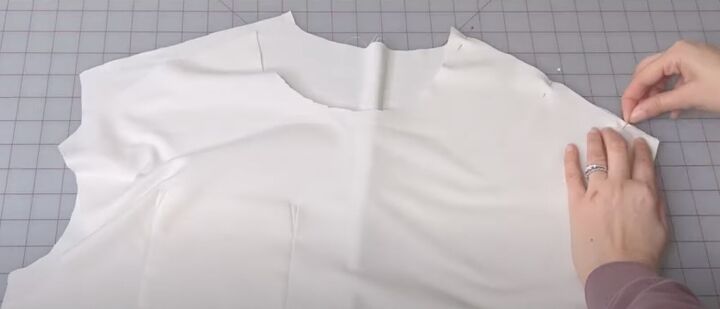
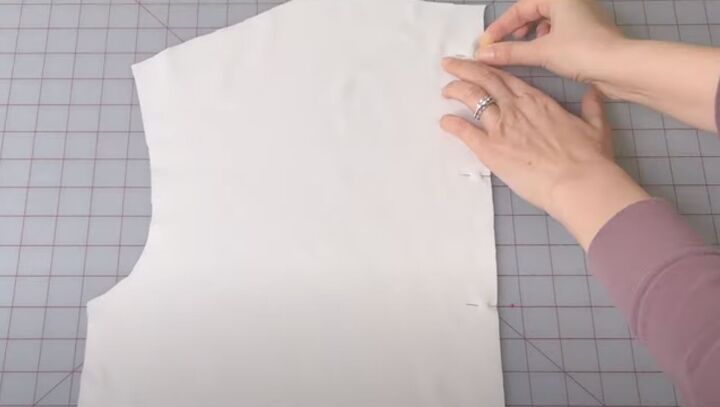
5. Attach the shoulders
Pin the front and back right sides together at the shoulder seams. Sew or serge together.
Turn the seam allowance towards the back and topstitch from the right side 0.2 inches or 4 mm from the edge. Press and cool.
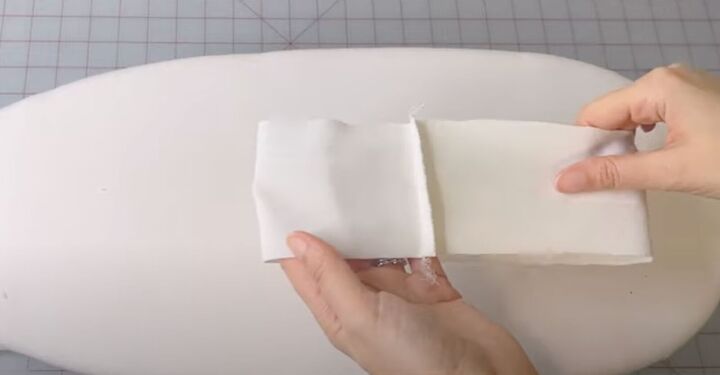
6. Make the neckline
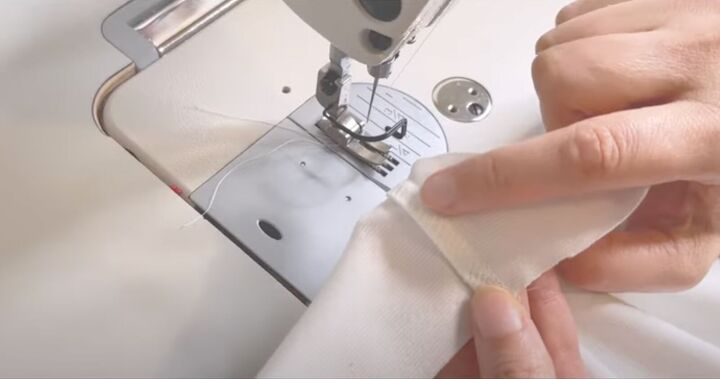
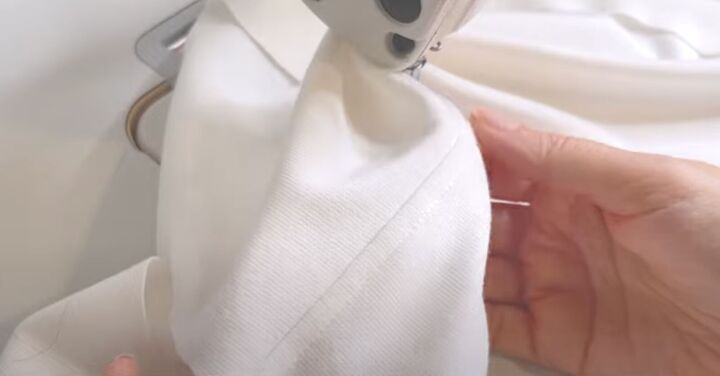
Sew the short end of the neckline band to make a loop.

Press the seam allowance facing different directions so it won’t be bulky when you fold it. Cool with the clapper.
Fold the loop wrong sides together in half so the right sides are facing out. Press the entire neckline band.
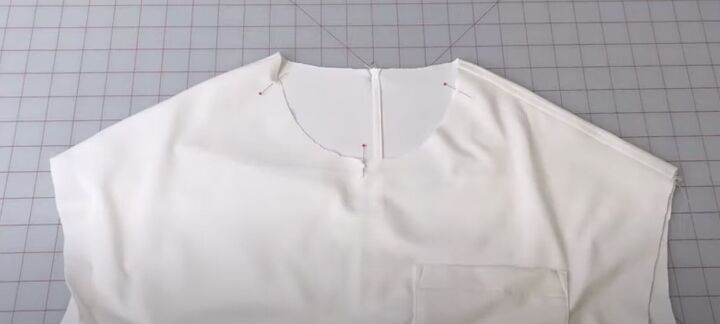
Mark the quarters of the neckline.
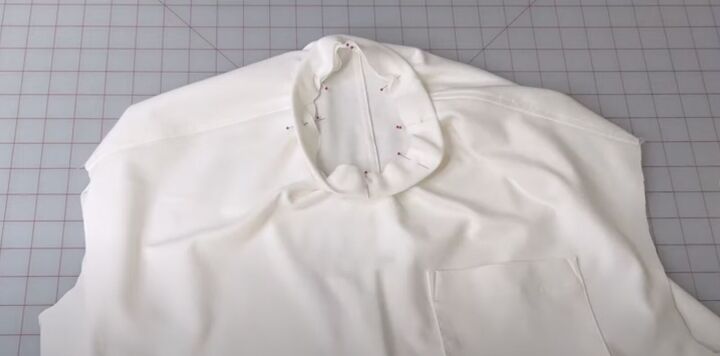
Mark the quarters on the neckband so you can easily attach it. Pin the neckband to the neckline matching up the marks. Pin in between as well. Sew them together, slighty stretching the neckband to match the neckline.
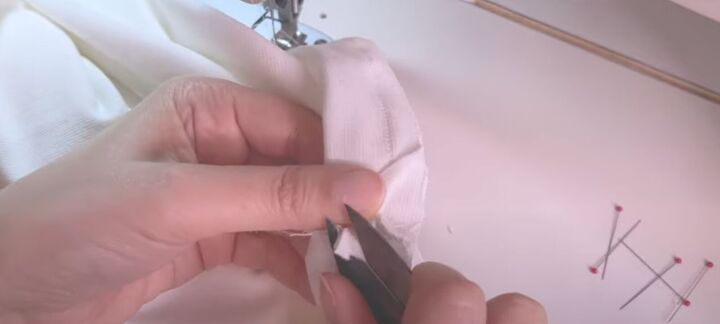
Clip the corners of the seam allowance to minimize the thickness.
Serge the edge of the neckline. Press the neckline, forming it into the classic round shape with the seam allowance pressed towards the bodice. Cool with the clapper.
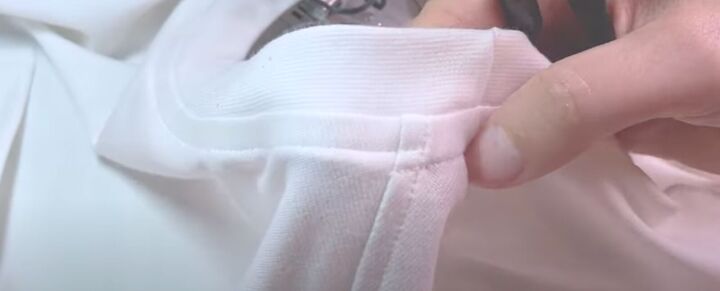
You can topstitch the entire neckline about 0.2 inches (4 mm) from the edge.
As an optional step, you can use the twill tape for a more stable neckline and a professional look. Watch the video from 6 minutes to see how to do this.
7. Attach the sleeves
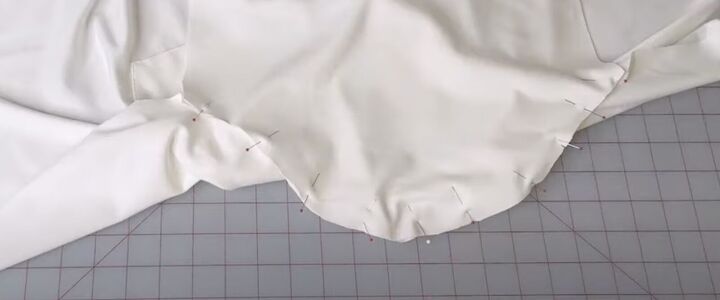
Pin the sleeves to the armholes, matching the marks of the sleeve and bodice with the center sleeve mark at the shoulder. Sew.
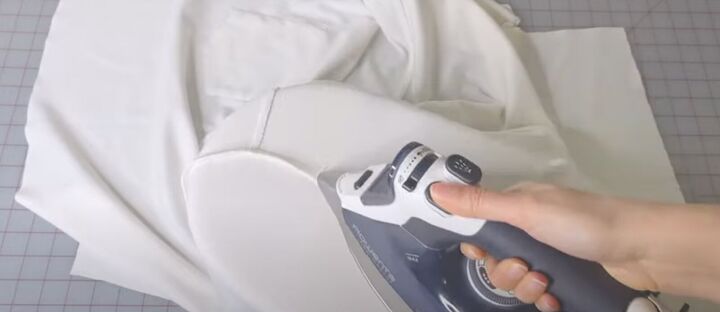
Press the sleeve seam towards the sleeve. Cool.
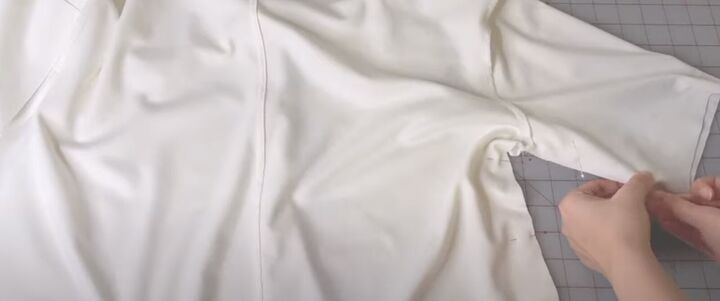
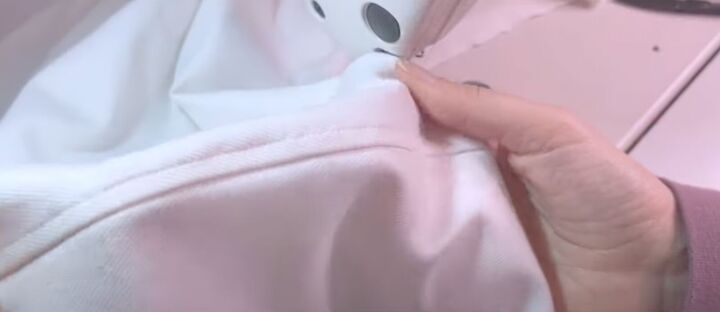
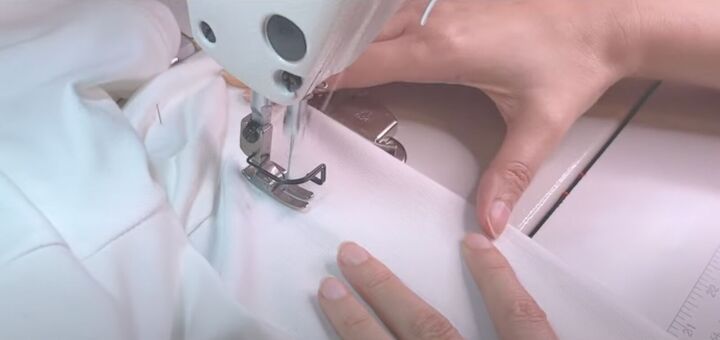
8. Finish sewing
Place the t-shirt right sides together. Pin the side seams on the sleeve and the t-shirt. Sew into position.
Serge the sleeve and bottom hems. If you’re using a cover stitch for the hems, don’t bother serging.
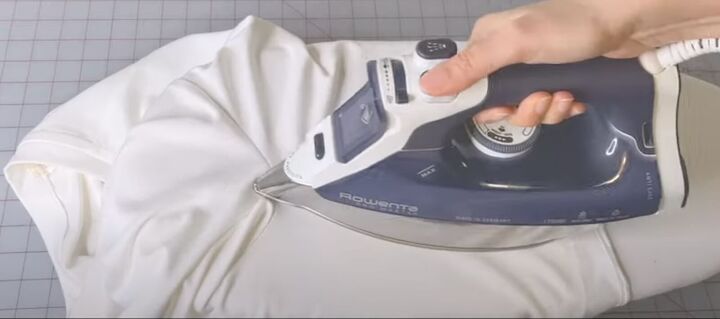
Press the side seams and serged edges.
Try on the t-shirt to choose your preferred hem width. This pattern shows a 1-inch sleeve hem. Fold the edge of the sleeve up to your preference to the wrong side.
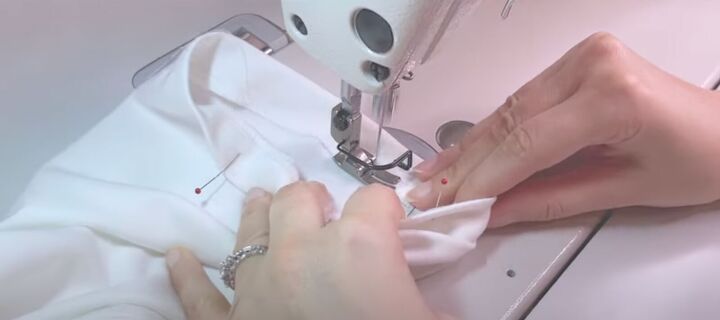
Pin, sew, press, and cool.
For the bottom hem, you can fold it up 2 inches or more depending on how wide you want the hem to be.
Pin, sew, press, and cool. Topstitch all the hems. Give a final press.
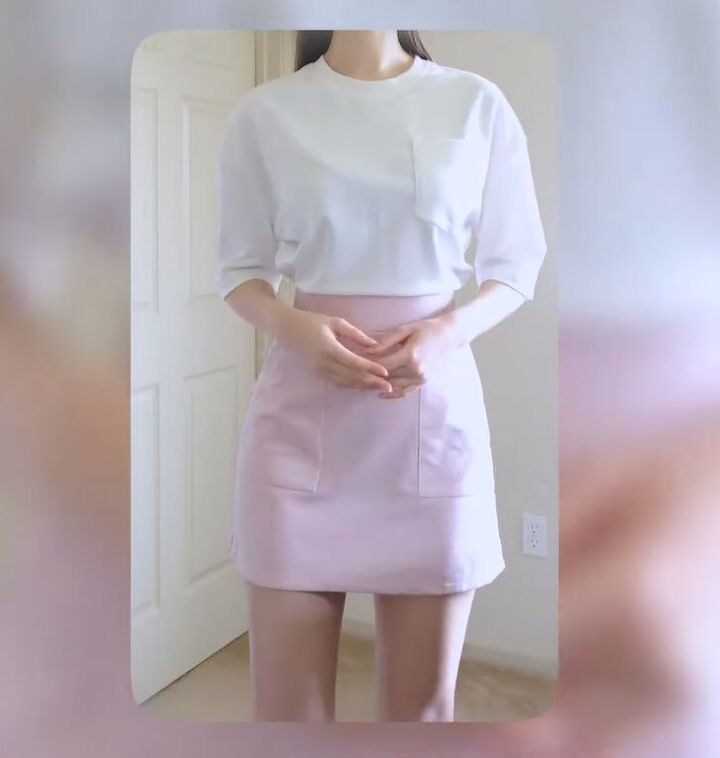

Sewing an oversized t-shirt
I hope my tutorial on sewing oversized t-shirts inspires you to sew a DIY oversized t-shirt for yourself. I love the loose fit for the hot summer weather.
Let me know in the comments if you made it and how it came out.
The author may collect a small share of sales from the links on this page.


Comments
Join the conversation