Sew a Fun and Simple Summer Shirt

I wanted to make myself a really fun and light summer shirt that I could tie around my waist. I played around with a few designs and when I found the right one I realized how simple and easy this sewing DIY actually is. I chose a gorgeously bright summer fabric and got to work. If you want to learn how to make an amazing new shirt to rock this summer, my tutorial is definitely for you! You can use a shirt you already own as a pattern which makes this project even easier. Follow my simple, step-by-step guide and get started!
Tools and materials:
- Shirt
- Paper
- Pins
- Scissors
- Fabric
- Buttons
- Sewing machine
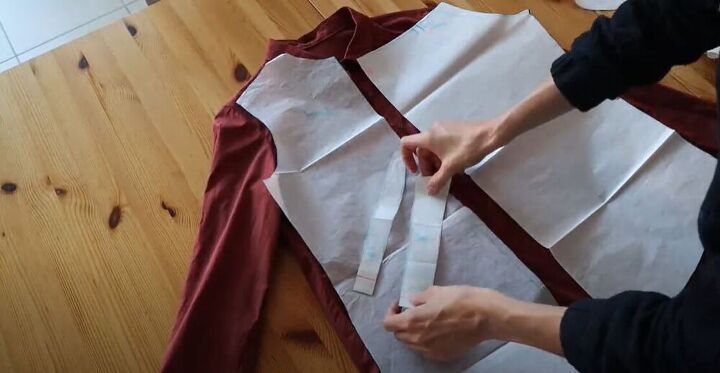
To begin working on this awesome project I used a shirt pattern I already had. If you don’t have a shirt pattern at home you can use a shirt you have in your closet which is perfect because it means your new shirt will definitely fit you properly. You will need to copy the front, back, and two pieces for the collar.
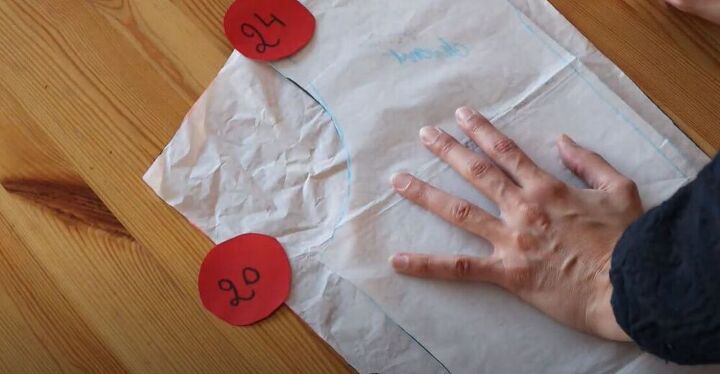
The few changes I made to the pattern were that I extended the line from the base of the neck to the shoulder seam so that it was 24 cm (9.4-inches). For the arm opening, I measured a line that was 20 cm (7.9 inches) long. I drew a small curve from the arm opening and continued the line to the lower part of the original pattern.
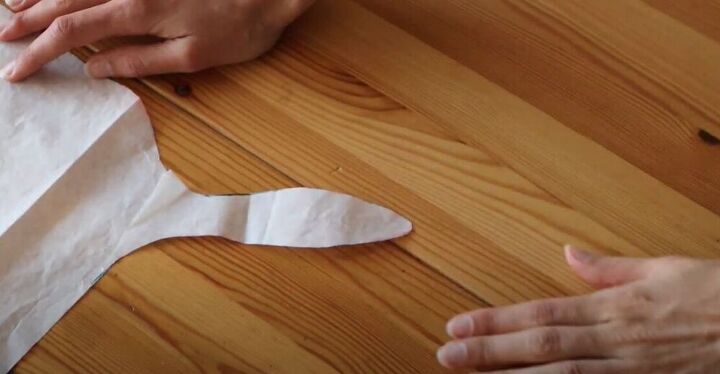
I added this weird and wonderful shape to the front piece which would become the tie for my new shirt. I also added 1 cm (0.4-inches) along the side for the buttons.
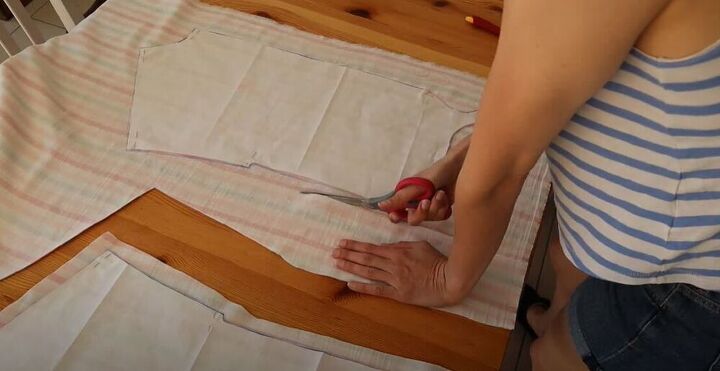
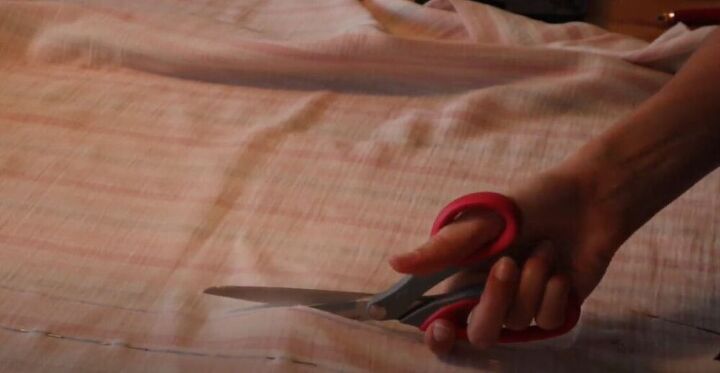
I made the measurement alterations on the back and then worked on cutting out my fabric pieces.
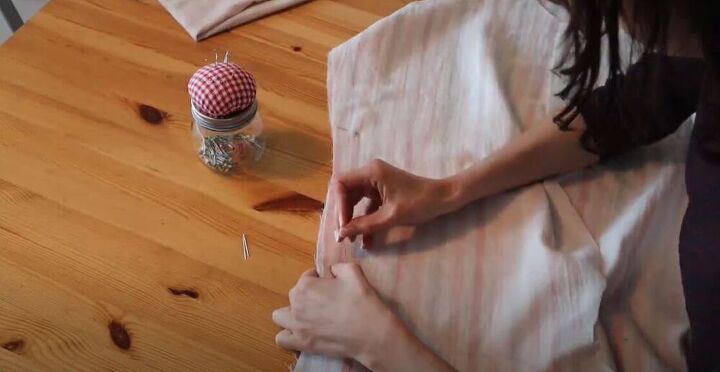
Once my fabric was cut out I placed the front and back pieces, right sides together, and aligned the shoulder seams. I used a striped fabric so I made sure the stripes lined up properly. I sewed the shoulder seams and side seams together.
For the sleeves, I cut two rectangles, 24 cm (9.4-inches) by 40 cm (18.8 cm). I folded the fabric in half, right sides together, and sewed along the open side.
I turned half of the sleeve, right side out and pinned the two lines together.
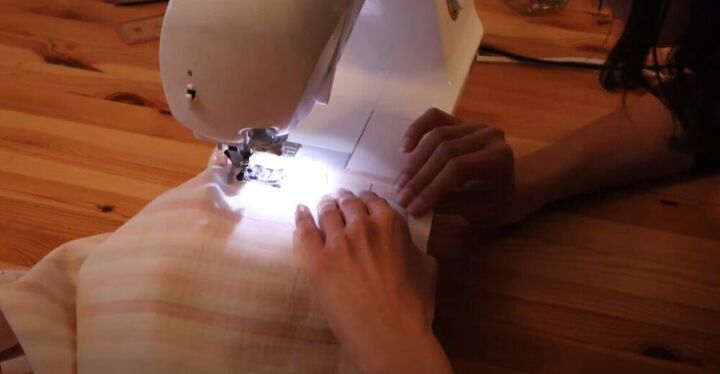
I pinned the edge of the sleeve along the armhole opening and sewed the sleeve in place.
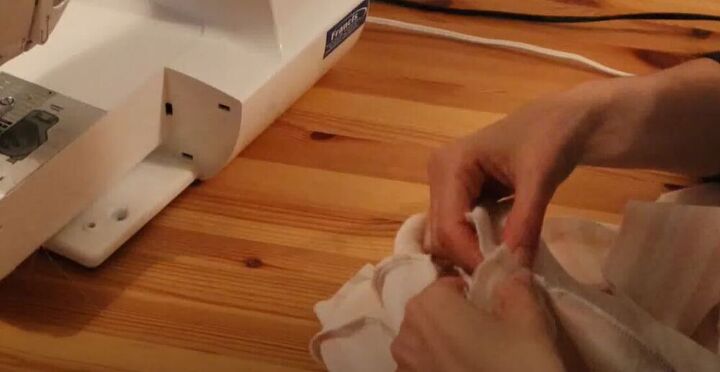
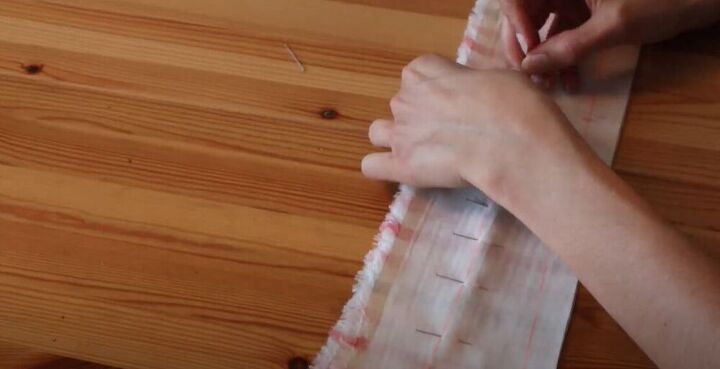
For the buttons, I needed to cut strips of fabric to add to the front of the shirt. I followed the shape of the shirt and cut strips a few cm wide.
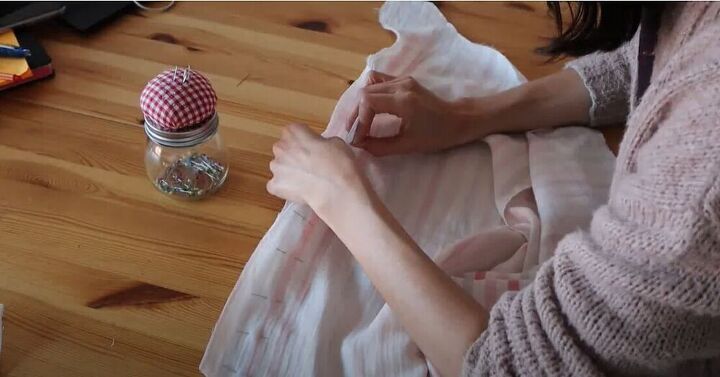
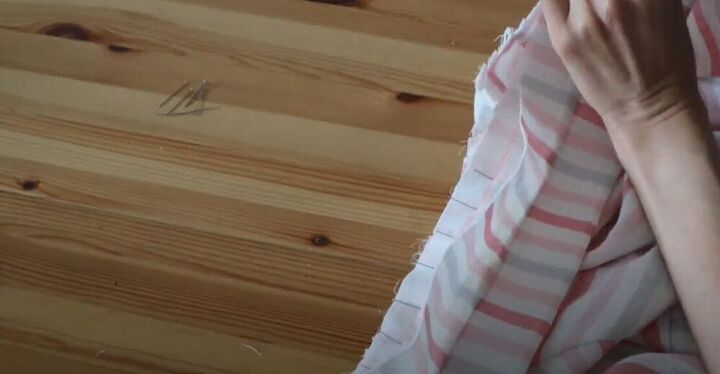
I pinned the strips onto the shirt, right sides together. I sewed the pieces together, cut off the excess fabric, and flipped it back to the right side.

I folded the hem of the shirt twice and then sewed it in place to get a neat and clean finish for the piece.
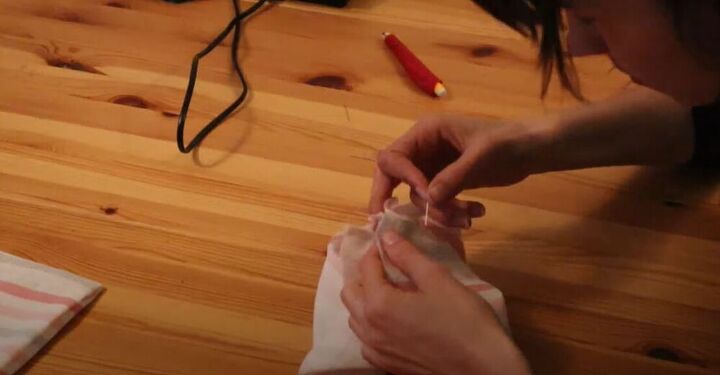
Next, I cut the collar pieces from the fabric and started constructing the collar. I placed the pieces, right sides together, and sewed. I then cut off the excess fabric and turned the collar right side out.
I then pinned one side of the collar onto the fabric, right sides together, and sewed the pieces in place. I wanted this shirt to look professional, so I hand sewed the other side of the collar so that there would be no visible seams. Lastly, I sewed the buttons and buttonholes and my amazing shirt was ready.
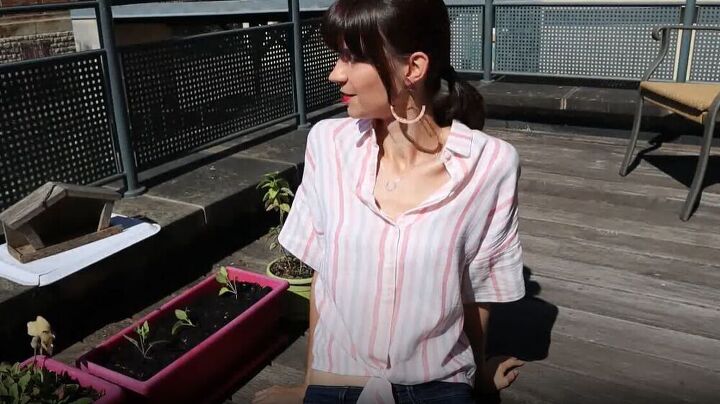
This fun summer shirt is everything! What fabric would you use to make this piece? Let me know in the comments below!
The author may collect a small share of sales from the links on this page.


Comments
Join the conversation