Easy Blow Dry Waves Tutorial

In this tutorial, I’m going to show you how to get these beachy blow dry waves. I’m going to show you step-by-step how I blow dry my hair.
To prep my hair, I shampooed and conditioned my hair and did a hair mask as my usual wash routine.
Then, I applied a cream-based thermal protector so my hair is 100% ready to be styled. Let’s get to it!
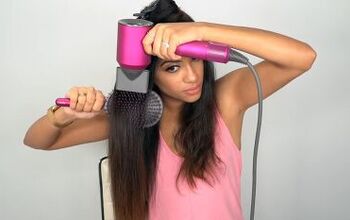
Tools and materials:
- Blow dryer
- Round brush
- Paddle brush
- Clips
- Hairspray
- Texture spray
- Thermal protector
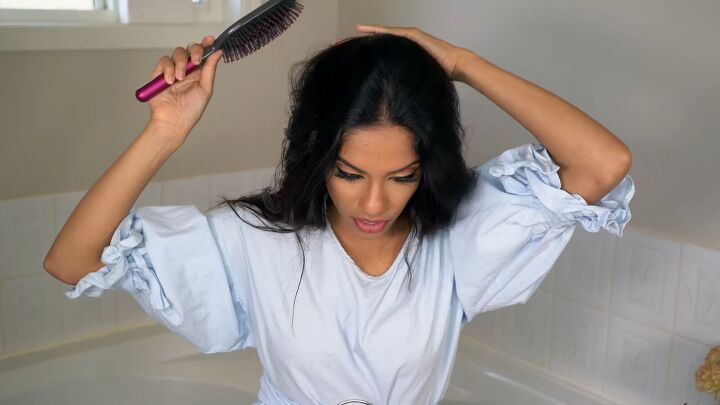
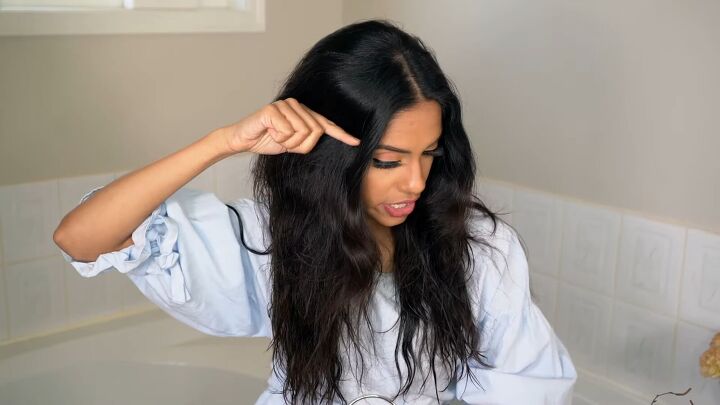
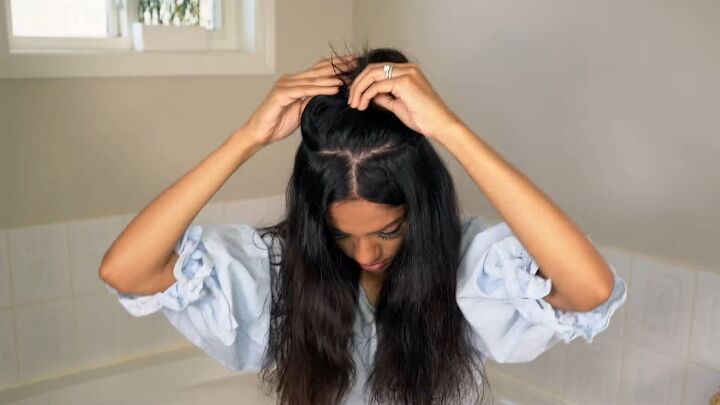
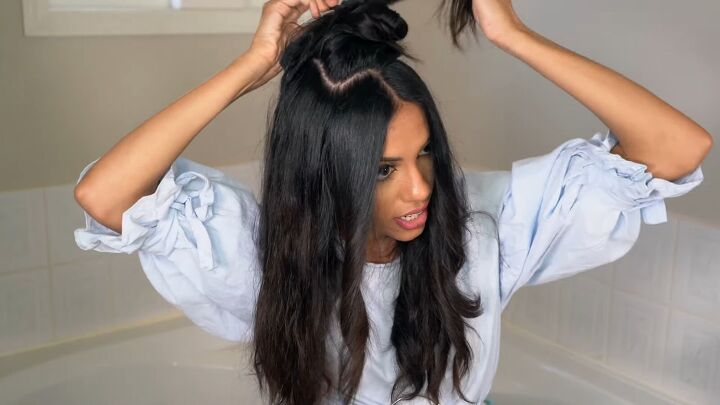
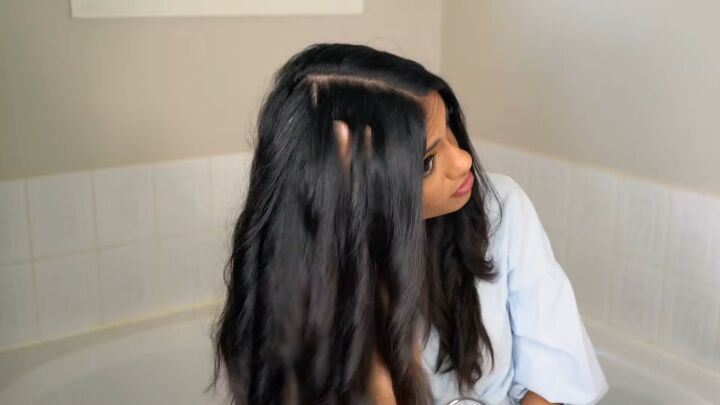
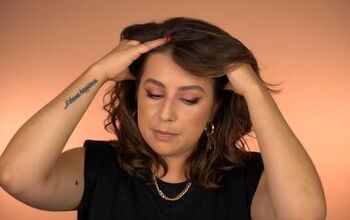
1. Part your hair naturally
Find your natural part by brushing everything back, and then give it a gentle push. Wherever it falls is your natural part.
2. Blow dry your roots
Grab your paddle brush. We’re going to dry all of our roots down here with high heat and high air.
The goal of this pre-drying is to remove as much moisture as you can from the roots and to smooth them out a little bit.
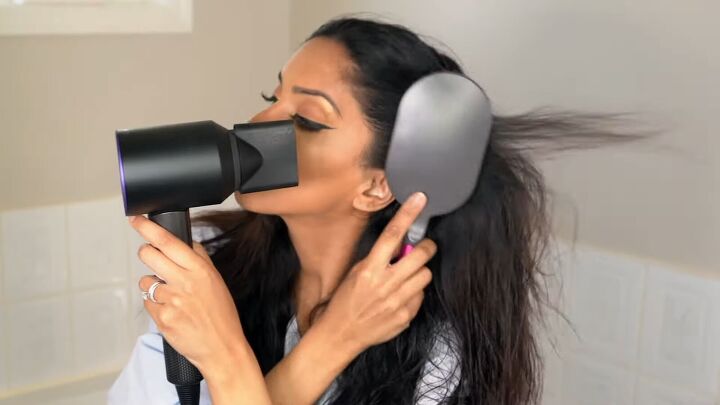
Take your paddle brush in every direction, and focus the heat directly onto your roots.
Do this from the front of the hairline all the way to the back.
If your hair is dense in the back, take your time and make sure to get all the moisture out.
You want to make sure your ends and the middle are about 50% still damp. If you dry them out too much, you’re not going to get any shape.
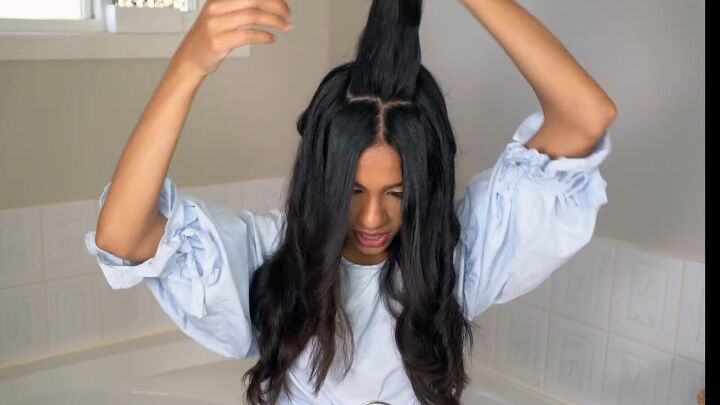
3. Clip away the crown
Create a round part all the way in your crown and clip it completely away.
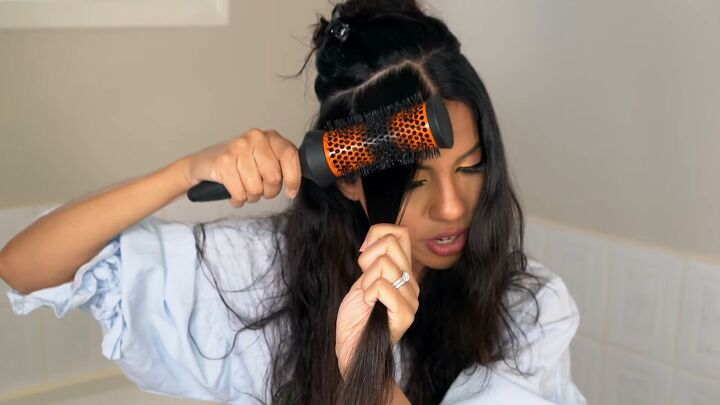
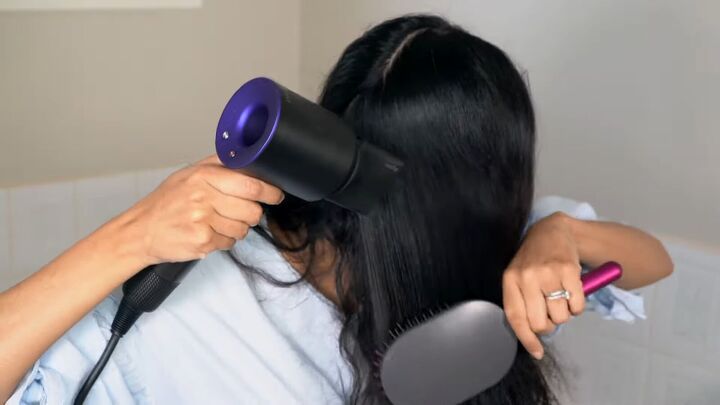
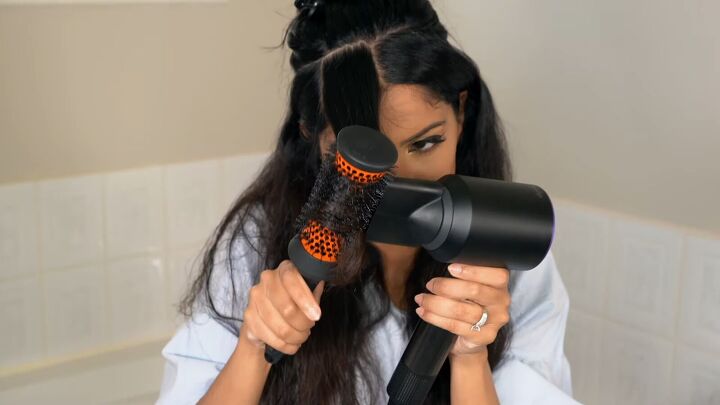
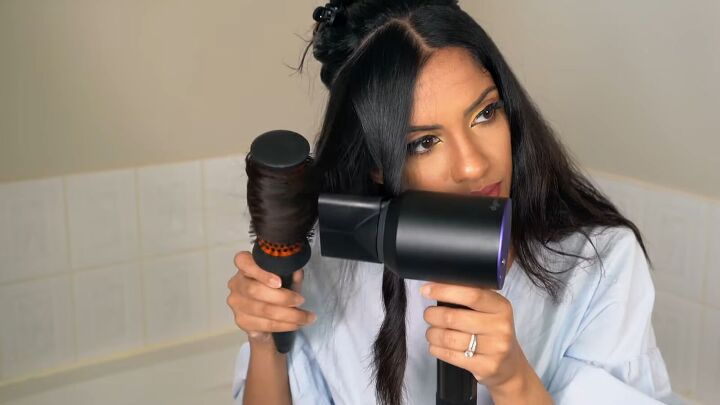
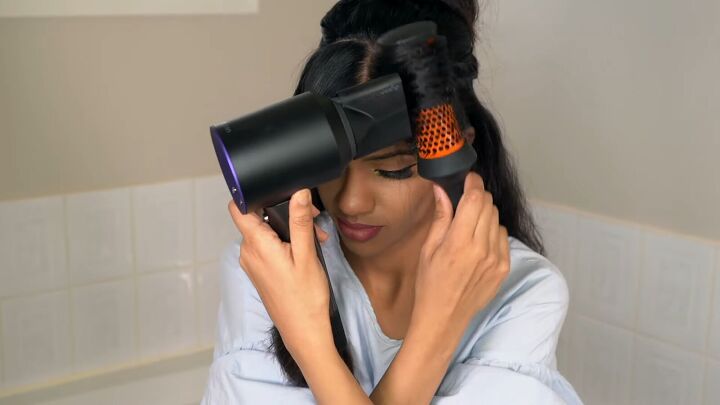
4. Place the brush on your hair
Grab your first section of hair around a couple of inches wide and flatten your brush on top.
If you find it harder to manage, get a smaller section.
Loop your hair around the brush once, so you have a nice, solid grip.
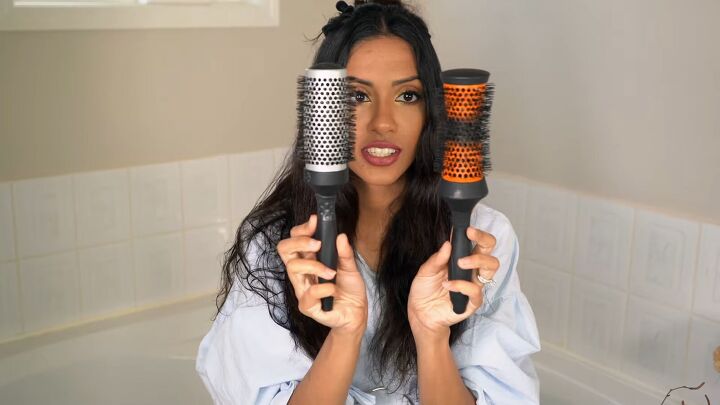
For this step, I like to use a concave round brush with a pinch in the middle but you can use a regular round brush if you like.
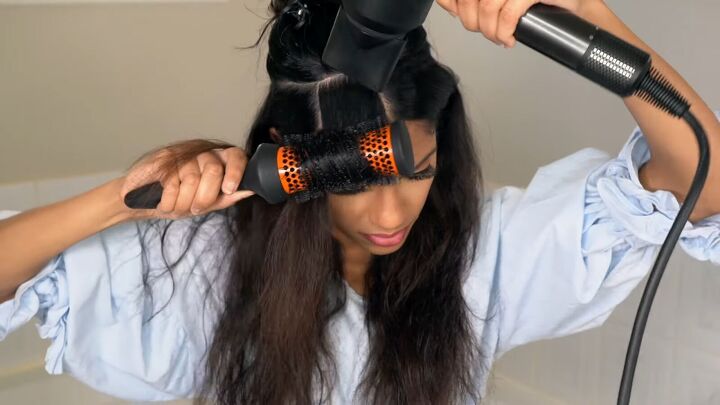
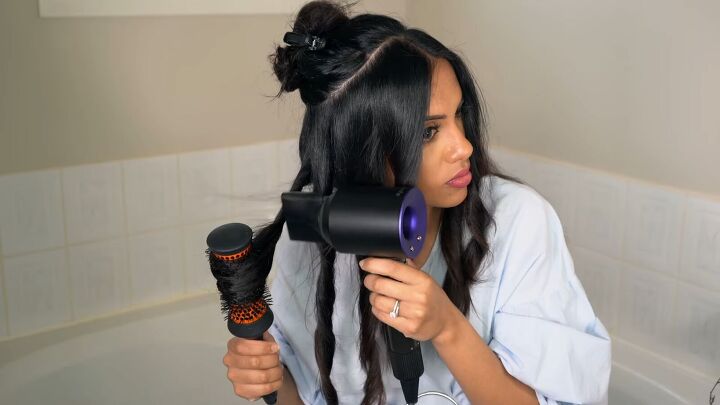
5. Blow dry the looped and twisted hair
Start blow drying. Keep the blow dryer on high heat and low air, so the air doesn’t blow aggressively and you can control your hair better.
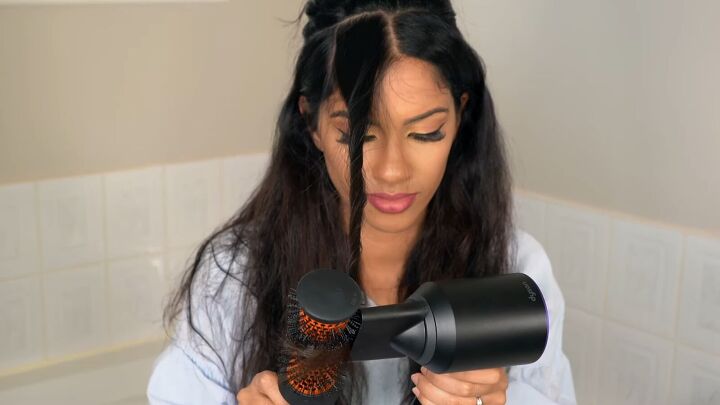
Start twisting the hair at the root. Apply the heat to the twisted areas, and this is what’s going to create your beachy texture.
Once you get to the ends, glide the brush down so they’re not twisted.
Once you’re done, don’t open or touch it and just leave it alone.
6. Blow dry the front of your head
For the first couple of sections around the front, blow dry them away from your face so they’re blown out back.
This should also be the same direction you’re twisting your hair. This way your hair doesn’t get frizzy.
If you blow dry it in the opposite direction, you’ll get a lot of frizz.
If you’re right-handed like me, cross your left hand over your right hand when you’re blow drying the opposite side, so the air is still being blown in the correct direction.
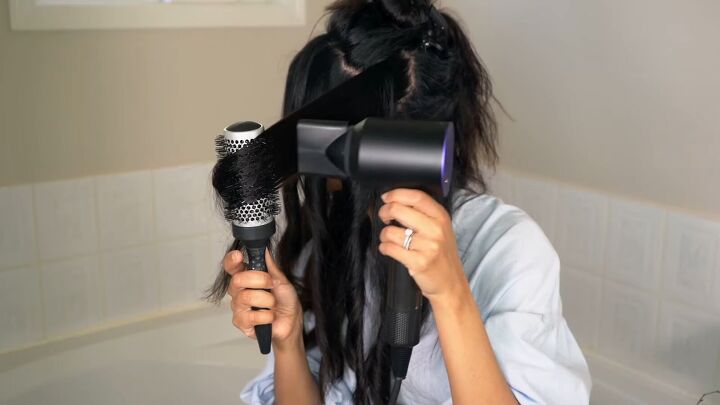
7. Blow dry the back of your head
For the back section, alternate each section.
Twist and blow dry one section forward, and then twist and blow dry the next section backward.
This is what your sections should be looking like.
7. Blow dry the crown
When blow drying the crown, you want to focus on texture, not volume.
Just like in the back sections, continue rotating everything forward and backward to create as much texture as you can.
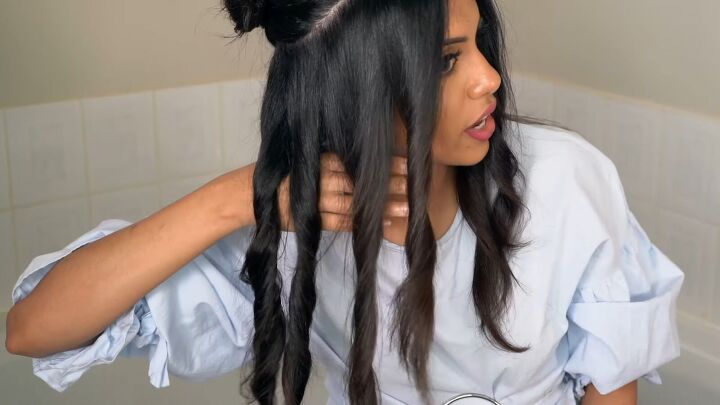
Make sure you’re keeping the dry hair and the damp hair separate from each other.
If your sections aren’t clean and put away properly, the hair starts getting mixed in and you’ll get frustrated quickly.
When creating new sections, always clip away any damp pieces you aren’t working on so they aren’t lying on already-styled hair.
For this final section, you can blow dry this however you want.
You can blow dry it back for a bit more volume and shape, or you can blow dry it following your natural part. I decided to go with the latter.
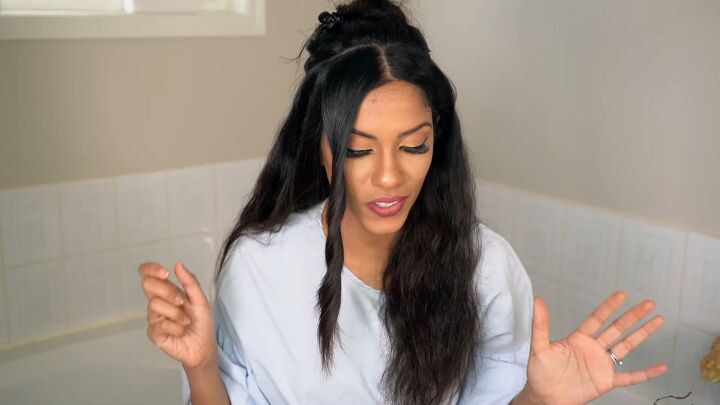
8. Shake out your curls
Give your hair a nice shake to loosen up those curls, and then spray down your hair with texture spray and a light-hold hairspray for a bit more definition
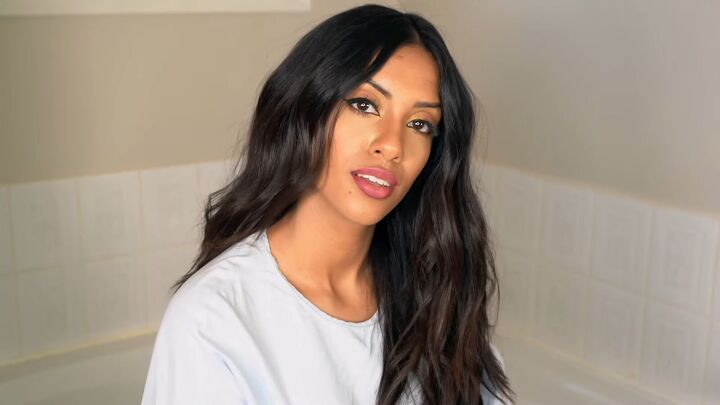
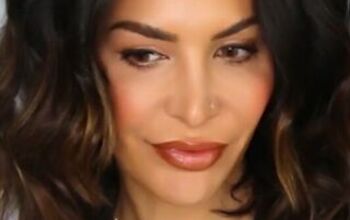
Easy blow dry waves
Here are the finished blow dry waves!
The difference between using a flat iron or curling iron versus doing a blow dry with waves is that you can dry and style your hair at the same time.
I also found that the texture I get with a round brush and a blow dryer is more natural and fluffier.
If this beach curl hair is the vibe you like, try out this technique at home and let me know what you think in the comments!
Next, check out my post on How to Clean Hair Brushes With Vinegar.
The author may collect a small share of sales from the links on this page.


Comments
Join the conversation