Easy Tutorial on How to Make a Pencil Skirt

If you love wearing a classic pencil skirt and are looking for a simple easy pencil skirt pattern, my DIY pencil skirt tutorial is perfect for you. I’ll show you how to make a pencil skirt you can make in minutes. I’ve made this Ankara pencil skirt but can use whatever stretchy fabric you have like Lycra, scuba, or poly stretch.
The fabric must be very stretchy as there’s no zipper, so you’ll have to pull it on and off. Ready to learn how to make a pencil skirt? Let’s get started.
Tools and materials:
- Stretchy fabric 1 to 1 ½ yards
- Ruler
- Measuring tape
- Tailor’s chalk
- Scissors
- Sewing machine
1. Make the pattern
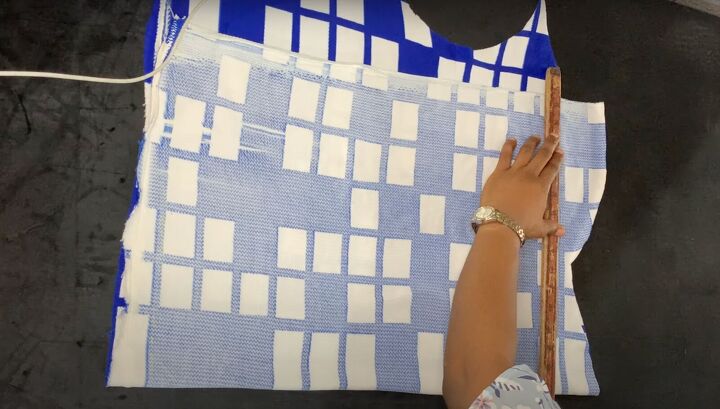
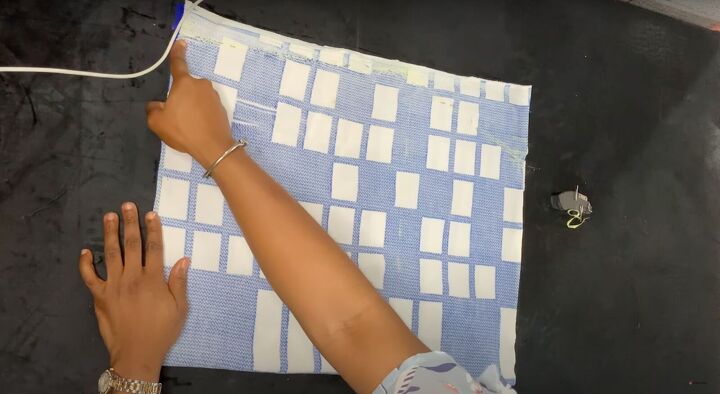
Fold the fabric so the right sides are together. If your fabric is uneven like mine, draw the hemline (bottom) and baseline (top) with the chalk to make sure everything is nice and straight.
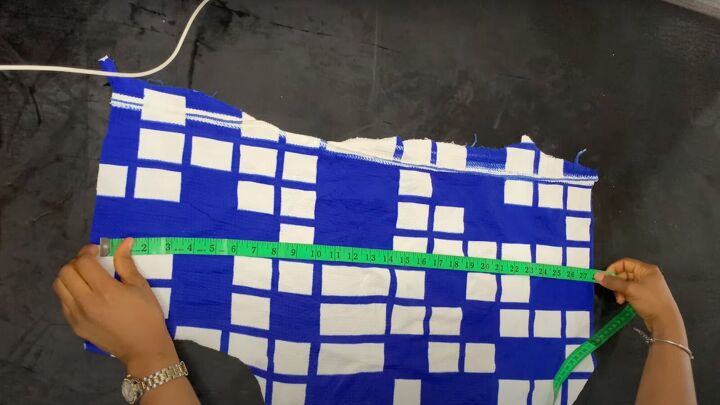
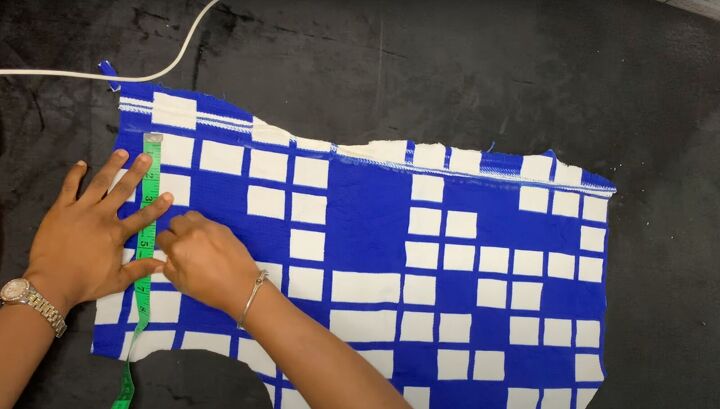
Mark your length measurements parallel to the fold. I made my skirt 21 inches.
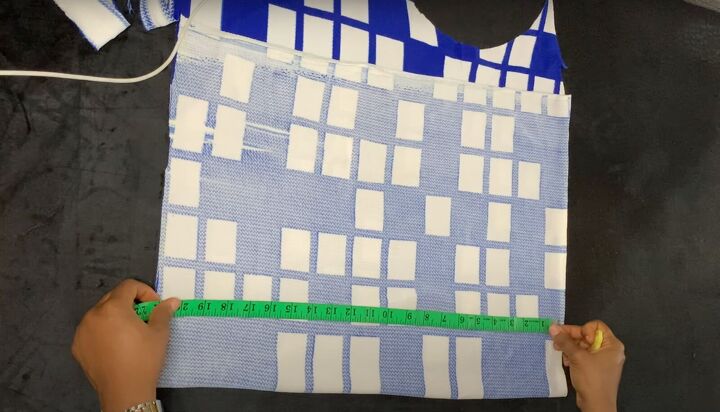
Mark your hip width about 8 inches down from the baseline. Mark all the way across the width of the fabric to the unfolded edge.

Measure your waist. Divide your waist measurement by 2. Mark the divided waist measurement along the baseline less two inches.
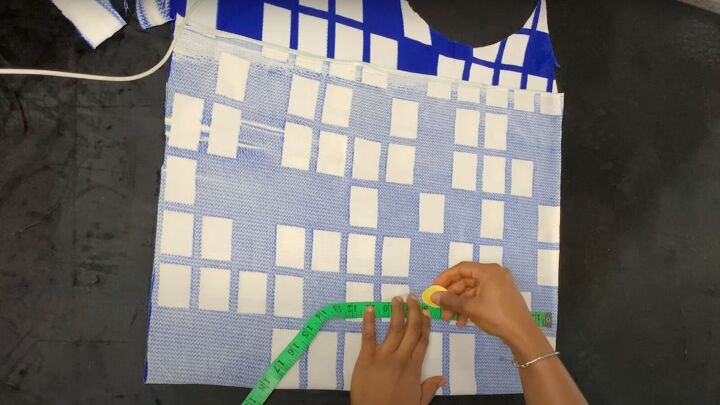
Measure your hips. Divide your hip measurement by 2. Then mark the divided hip measurement less three inches towards the open edge of the fabric. Join the hip and waist points with the chalk.
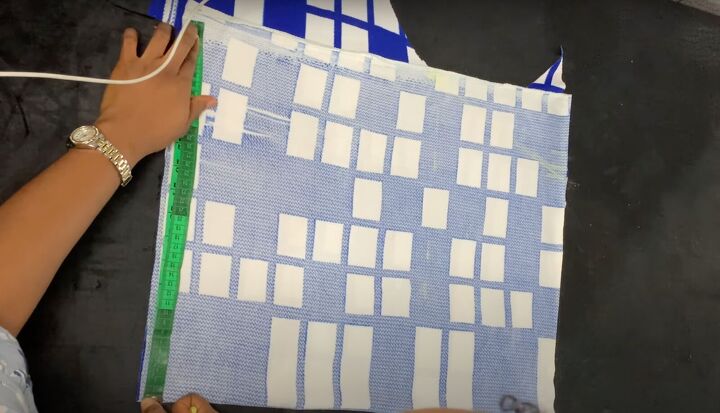
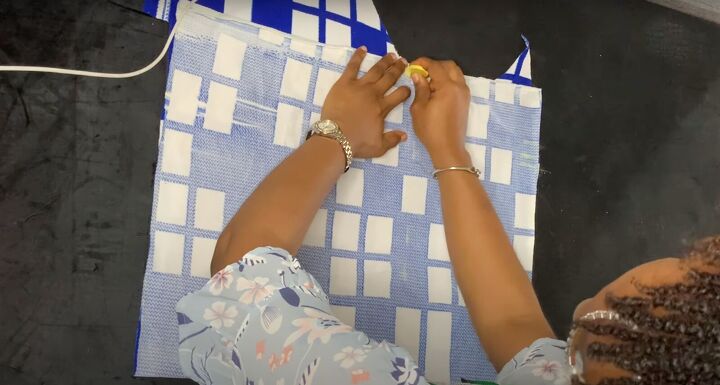
Mark the width along the length of the fabric of your hip measurement less 5 inches. Mark this measurement along the unfolded edge. Trim any excess fabric.
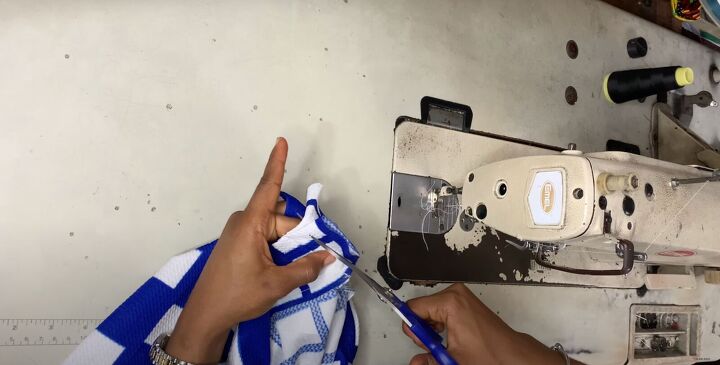
2. Sew the single seam
Pin all along the back center seam.
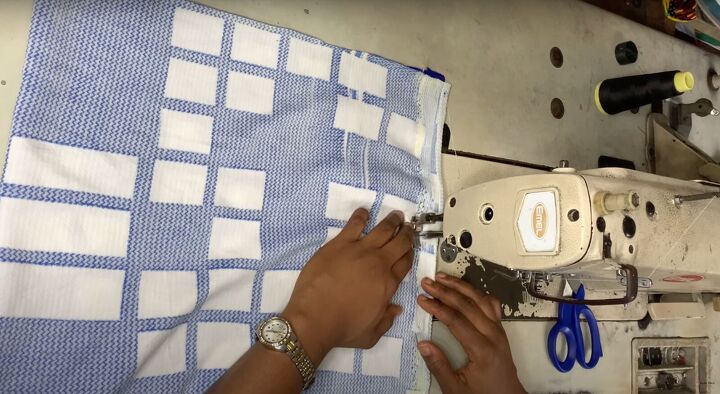
Sew the seam with a stretchy or zigzag stitch. Turn the skirt to the right side.
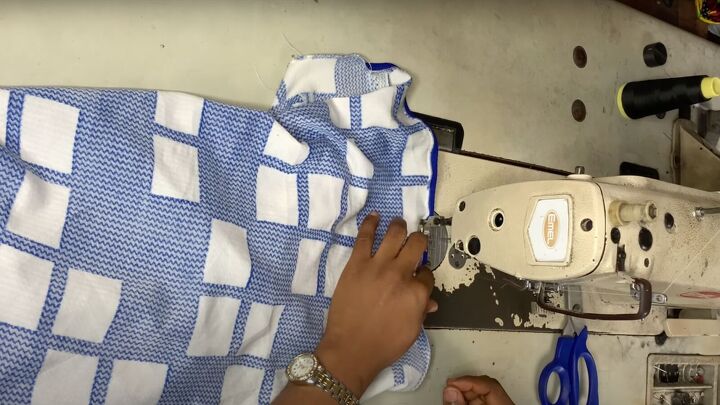
Serge the hemline if your fabric frays easily. Then fold the hemline in once and sew the hem.
3. Make the waistband
Use your waist measurement for the width plus an additional 2 to 3 inches. Mark on the fabric.
Decide on the length of the waistband. For this high waisted look, I made my waistband 5 inches. Mark across the fabric.
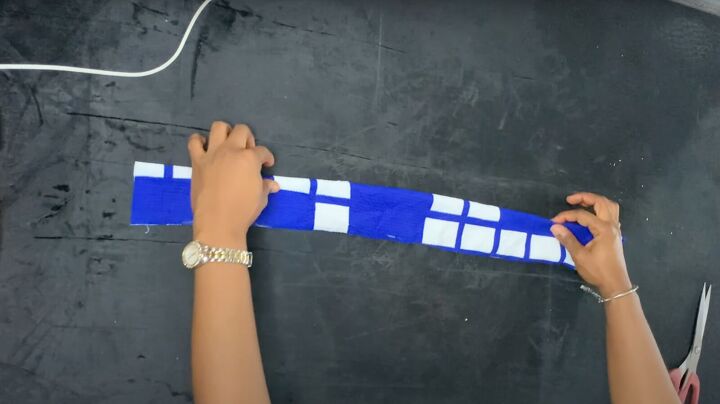
Cut out the waistband. Fold the waistband in half.

4. Attach the waistband
Have the waistband folded so the right sides are showing. Have the skirt's right sides showing.
Place the unfolded edge of the waistband along the top of the skirt. Start at one side of the center seam. Pin in place. Sew all across to attach with ½ inch seam allowance.
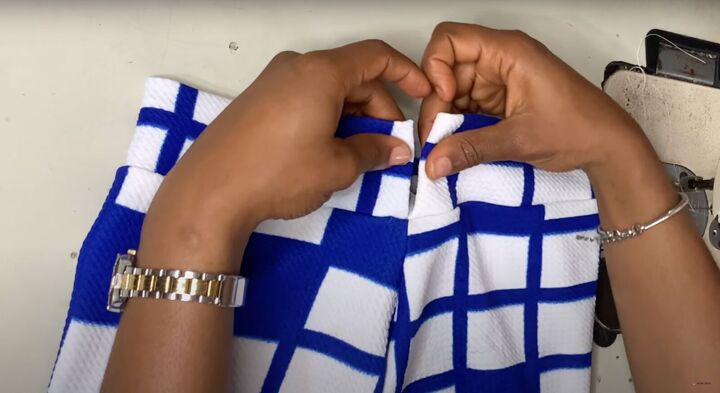
You’ll have a bit extra when you come to the other side of the seam. Fold the excess in.
Join the waistband with a seam to close. Trim the excess.

How to make a pencil skirt
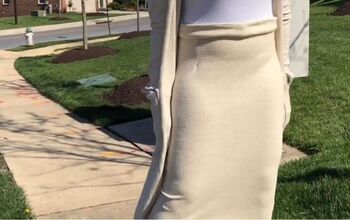
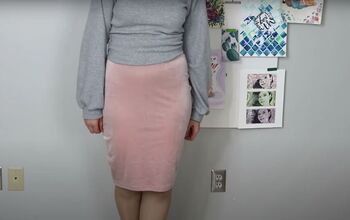
The DIY pencil skirt is done.

I got lots of compliments when I wore it with a white top or a circle top I made to match.

Let me know in the comments if you made this skirt and how easy it was for you.
The author may collect a small share of sales from the links on this page.


Comments
Join the conversation
I love the pattern. Now you have to share how to make the matching top!