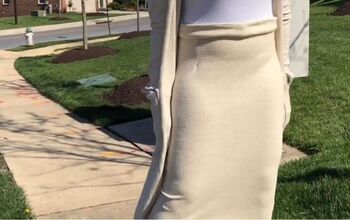
How to Make a Pencil Skirt With a Front Slit

Pencil skirts are totally sexy, especially with a slit. Though we’ve all gotten used to wearing leisure and lounge-type clothes there is something so sophisticated and so feminine about a pencil skirt.
If you know how to install a zipper and sew bias tape, you can whip up this ultra-chic DIY pencil skirt in a short afternoon. Perfect to wear pretty much anywhere, this skirt will really take you places. Let me show you how to sew a pencil skirt.
Tools and materials:
- 2 yards of stretchy scuba-type fabric
- Measuring tape
- Ruler
- Scissors
- Pins
- Zipper
- Matching bias tape
- Iron
- Sewing machine
- Invisible zipper foot
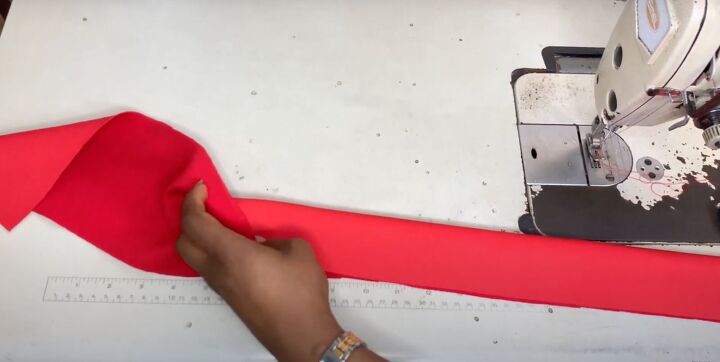
1. Make the pattern
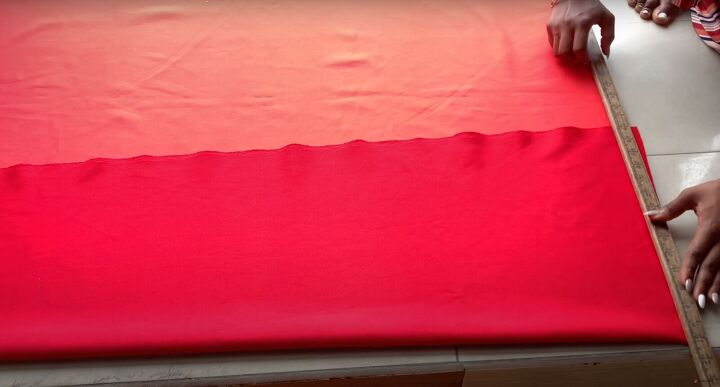
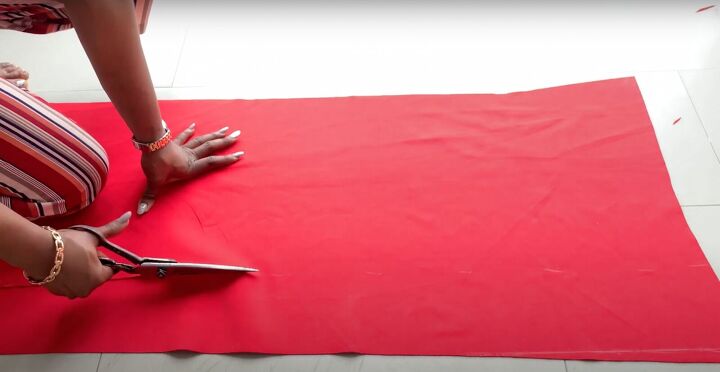
First, make the front panel. Fold the fabric along the length right sides together. Mark the baseline.
From the baseline, mark down 8 inches for the hipline. Mark your desired skirt length.
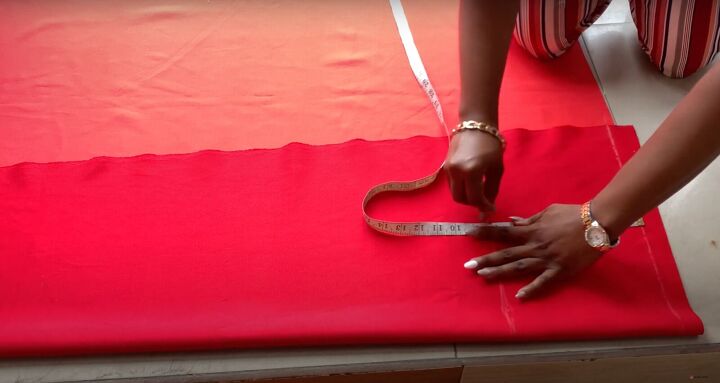
Go back to the baseline and mark your waist measurements divided by 4 with a vertical line.
Mark your hip measurement divided by 4 with a vertical line. Add some seam allowance.
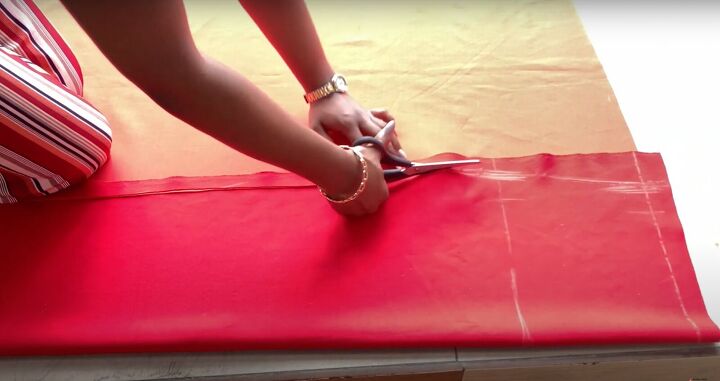
Mark the line connecting the waist and the hip. At the bottom, remove 3 inches from the hip measurement as this is a pencil skirt to get the perfect pencil shape. Cut out the pattern.
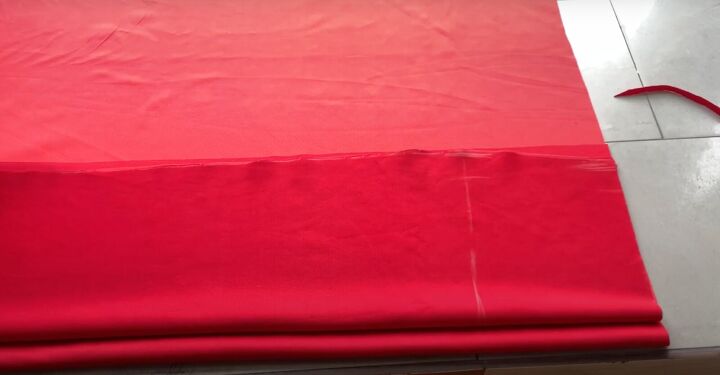
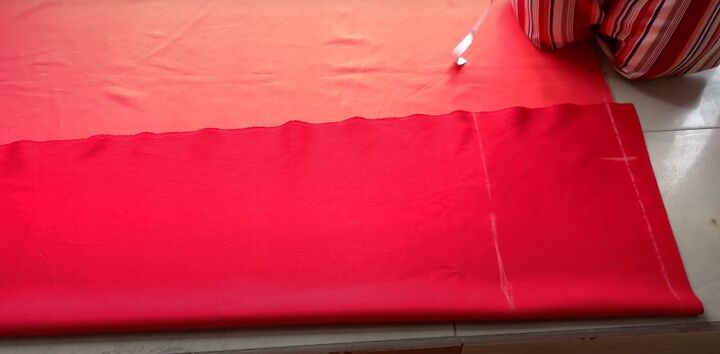
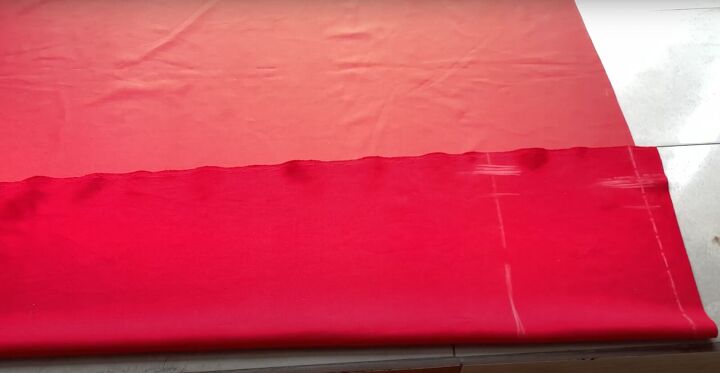
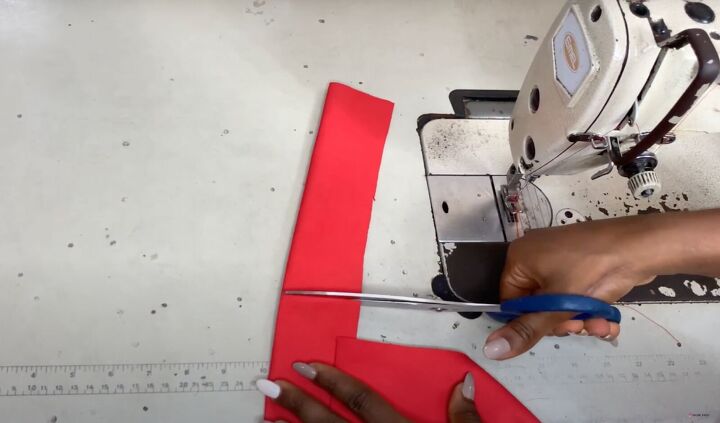
Fold the fabric again. Use the front panel as a template but add an additional inch to the width of the back piece for the zipper allowance. Cut out the back panel.
Cut along the fold on the back for the zipper and back center seam.
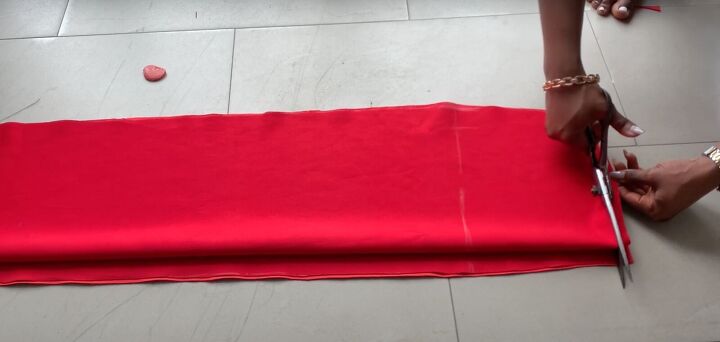
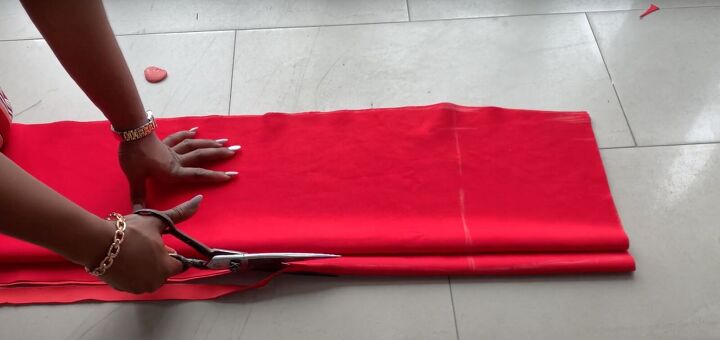
Curve the top of the front panel.
Cut a waistband 40 inches long by 4 ½ inches wide. Set aside for now.
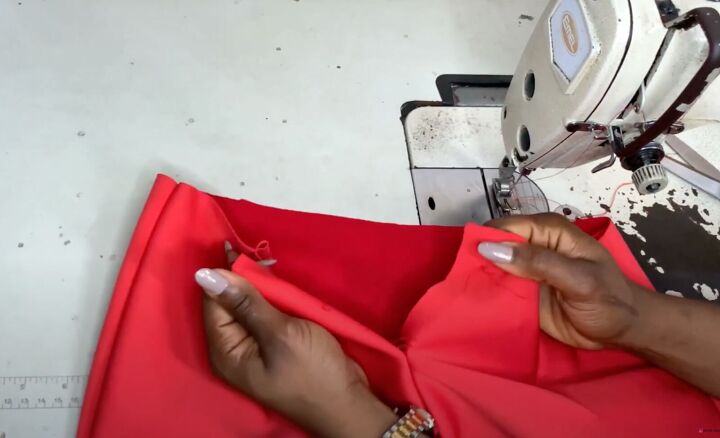
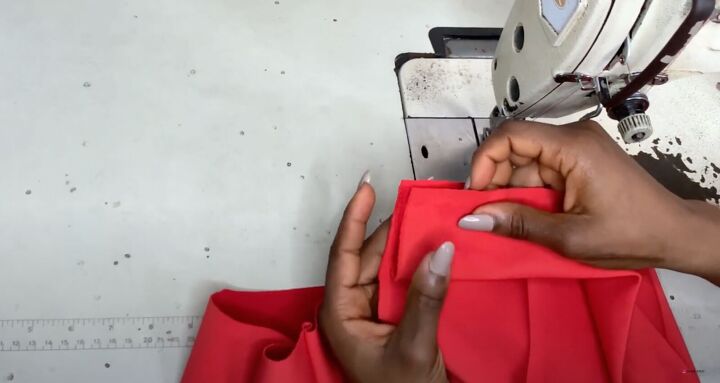
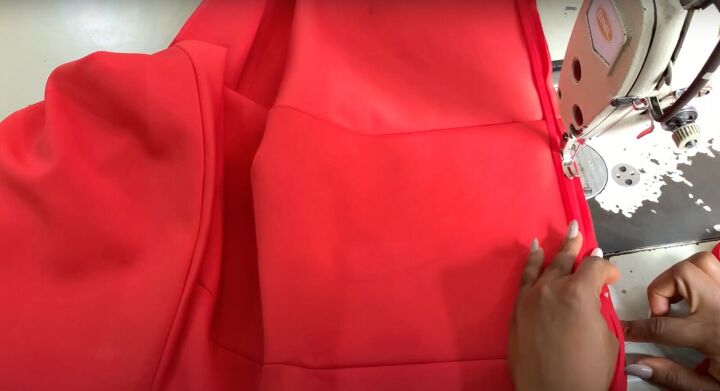
2. Sew up the back panel
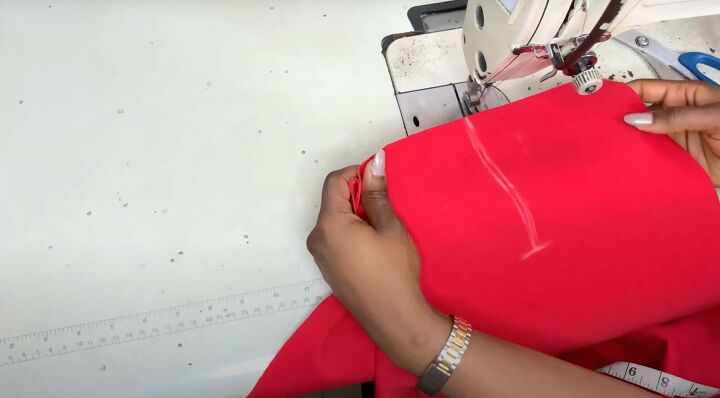
Sew the entire back along the center seam right sides together but don’t backstitch or tack at the top or bottom. Use your ruler or measuring tape to mark the darts on the wrong side. Mark 4 inches on either side of the center seam. The dart length is 5 inches. Mark with a straight line so you know where the dart starts and ends.
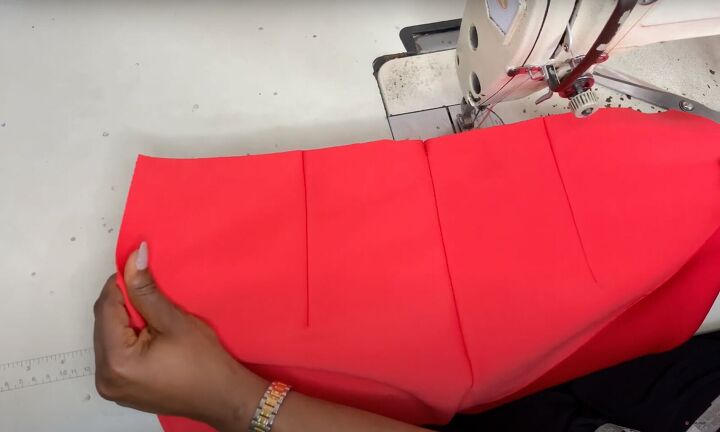
Fold the fabric along that line. Start sewing about ½ inch away from the top of the marked line, working your way diagonally to meet the bottom mark. Backstitch or tack the dart at the bottom. Repeat for the second dart. It should look like this on the right side.
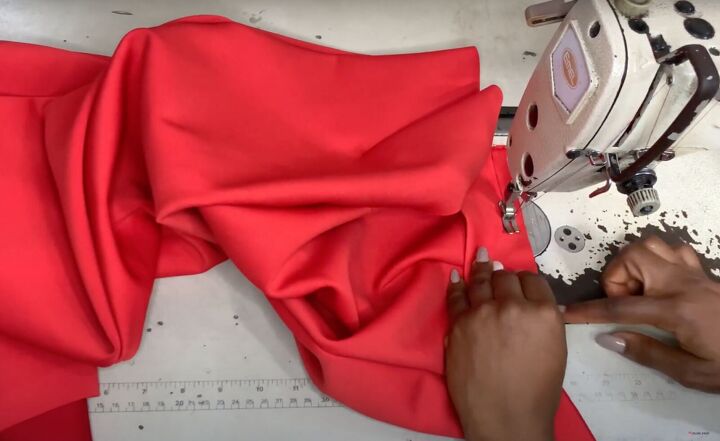
3. Sew the skirt
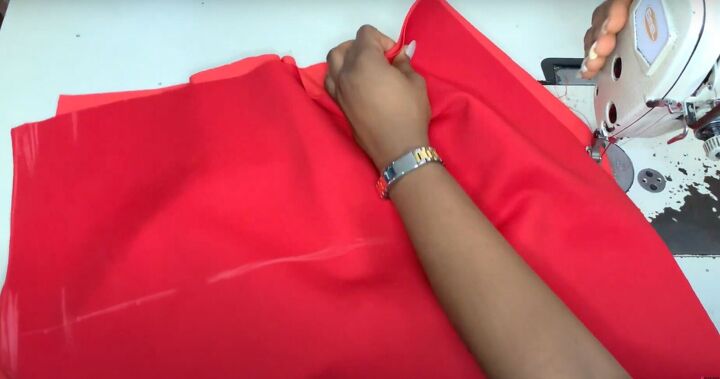
Place the front and back panels right sides together. Sew both side seams.
Fold the waistband in half right sides together and press to flatten.
Open the back center seam a few inches.
Place the unfolded edge of the waistband along the raw edge of the waist. Pin.
Sew about ½ inch away from the edge at the top.
Once it’s sewn, cut off the excess, leaving about 2 inches of the waistband.

Push the seam allowance of the waistband down towards the skirt. Topstitch across.
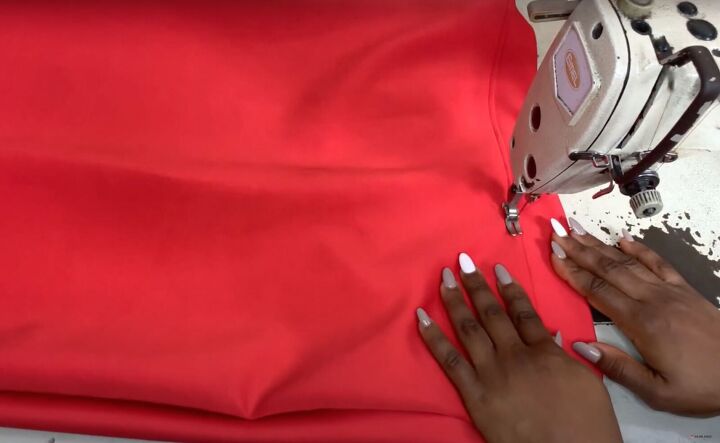
Keep the skirt as flat as possible while sewing for a smooth professional finish.
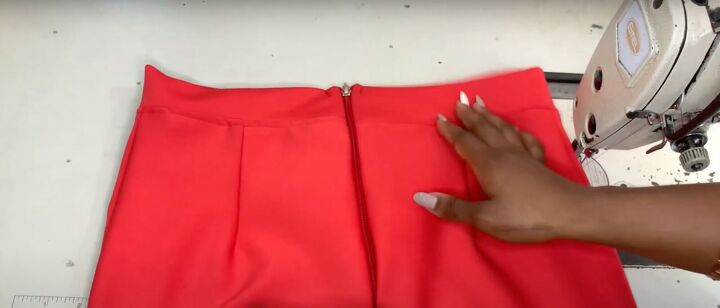
4. Attach the zipper
Though this tutorial doesn’t show a beginner how to install a zipper, watch from 9:00 to 11:40 in the video to see how I do it. Once the zipper is sewn, trim any excess waistband. Make sure the waistband and zipper align.
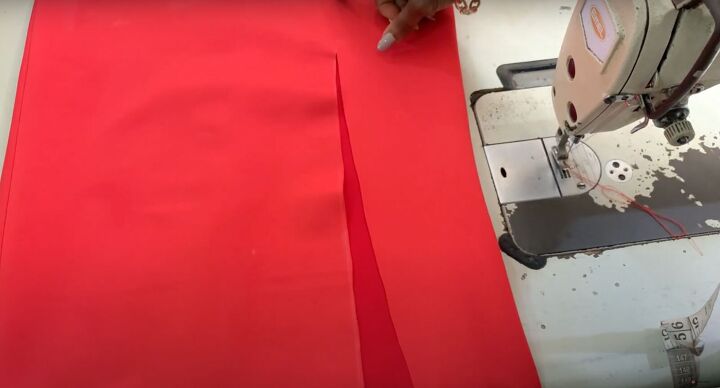
5. Make the slit
You could make the slit in the back or the front based on your preference. Decide how high you want the slit to be. Cut the slit.
Attach bias tape to the slit and the hem on the right side. Sew.
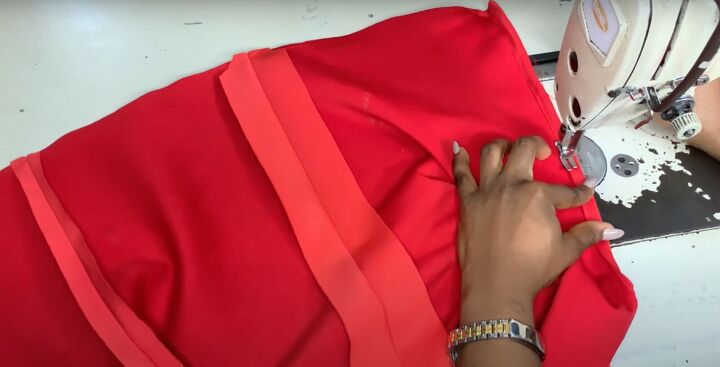
Then turn the fabric to the wrong side. Fold the bias tape over. Sew into position.

How to make a pencil skirt with a front slit
That’s it! It’s so simple to make this beautiful DIY pencil skirt with a slit. I added a small bow right at the top of the slit to make this chic stunner even prettier.
Let me know in the comments if you made this and how lovely it turned out.
The author may collect a small share of sales from the links on this page.


Comments
Join the conversation