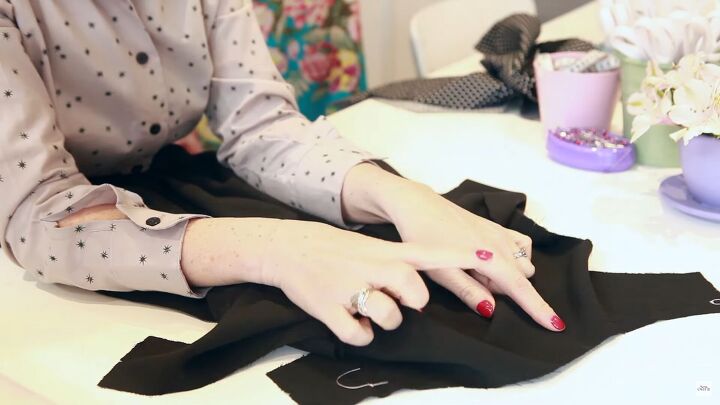
Sewing Skills: How to Line a Dress Properly, Just Like a Seamstress

Want to learn a fantastic sewing skill? Learn how to line a dress with this amazing tutorial. This is great for beginners to learn the ins and outs of how to sew a dress lining.
Also, for those who have an idea on how to do this, it’s always great to brush up on your skills- who knows, you may learn some extra tips. Let’s get started!
Tools and materials:
- Dress
- Lining
- Scissors
- Pins
- Thread
- Sewing machine
1. Prep your dress
I will be working with one of my dress patterns, called the Betty. I left the top neckline and shoulder line unstitched.
2. Make the lining
For the lining, make another bodice using the exact pattern as the dress. Be sure to do the seams and darts the same as you would on your main fabric. Also, keep the neckline and shoulder seams open.
Tip: I’m using lightweight cotton fabric as my lining. Be sure not to use anything too heavy.
3. Line the lining
Start by joining the neckline of the lining and outer fabric. Make sure both fabrics are right sides facing.
Next, line the rest of the upper edge, and pin to secure. It’s best to line up the seams first and then go ahead and pin everything in between.
Tip: Ensure to line up your notches, too.
As you can see, the lining is all “viciously” pinned, so be careful when sewing!.
Before sewing, make sure the seam allowance is accurately aligned with the shoulder seam. The way you’ll be sewing the shoulder seam calls for accurate alignment between the lining and outer fabric.
Fold back the lining of the center-back section when stitching, as we need to prepare this area for the zip. The lining needs to sit just inside of the folded edge where the zip starts. So, go ahead and pin accordingly and repeat on the other side.
4. Sew the layers
Now, sew the layers together. Go all around the armholes, center neckline, and center-back neckline. While sewing, be as accurate as possible with the seam allowance measurement, and mine calls for 1.5 cm (0.59 inches).
Tip: Remove the pins as you go along.
5. Trim the seam allowance
Now, carefully trim down the seam allowance to 5mm (0.19 inches) and clip the curves, as well. When you clip the curves from the inside, both layers will be able to retain a curvy, non-rigid shape along the curves.
6. Press the seam allowance
Next, press the seam allowance toward the side of the lining.
7. Understitch the seam allowance
With your sewing machine, understitch a couple of millimeters (0.1 inches) away from the main seam and onto the lining’s side. You may not be able to understitch all the sections but do as much as you can.
Next, press the seams again, with the main seam rolled in slightly on the inside.
8. Stitch the shoulder seams
Take one front shoulder seam, and tuck the raw edges neatly inside. Then, take the back shoulder seam and slide it into the folded shoulder seam.
From underneath the fabric, pinch the open shoulder seam, and pull it through.
Now, line both shoulder straps up so that they sit flush with one another.
Make sure the seam for the front strap is sitting right up against the seam of the back strap. Use a pin to straighten the layers.
Sew across with your seam allowance; for me, it’s 1.5 cm (0.59 inches).
Trim away some of the bulk from the sewn shoulder seams, and this will ensure a smoother finish. Then, give the shoulder seams a good press.
9. Attach the rest of the lining
Now, press the seam allowance of the lining over, on the center-back sides, and the bottom of the lining.
If you want to learn how to line a dress with a zipper, this step is crucial! Turn the dress inside out and start pinning the center-back sides.
The lining should be a couple of millimeters away from the teeth of the zipper (0.1 inches). If it’s right on the zipper’s seam, it could easily get caught between the teeth.
The bottom lining is going to sit right on the edge of the outer fabric seam. So, the folded edge of the lining will sit just on that. Next, slip-stitch the lining to the back of the zip and the seam allowance at the bottom of the lining.
How to line a dress tutorial
Now you know how to line a dress with a zipper, and it’s so easy, don’t you think? I hope you found this tutorial useful and you have the know-how on how to line a dress seamlessly.
These are really fantastic tips for your next DIY project, so be sure to keep them in mind the next time you line a dress. Thanks for tuning in!
Enjoyed the project?
The author may collect a small share of sales from the links on this page.


Comments
Join the conversation
Yes👍👍👍