How to Sew a Rolled Hem
With homecoming and holiday formal season just around the corner, it’s time to start planning out sewing your dress – and when it comes time to hem your dress, there’s no hem more perfect than a tiny, rolled hem!
This little hem looks ultra-professional and sleek. You may be thinking it will be a huge challenge to sew – but it’s actually pretty simple. With a little patience and a bit of practice, you’ll be confidently sewing a beautiful, rolled hem on your dress in no time!
What is a rolled hem?
A rolled hem is a hem that is rolled to the inside of the garment twice. Since it’s rolled twice, the raw edges are hidden away inside of the hem, resulting in a clean and professional finish.
What fabric is a rolled hem best for?
While you can make a wider rolled hem, which works for a variety of different types of fabrics, the kind of rolled hem we’re talking about today is a “baby hem” – meaning it’s a rolled hem that is only ¼ inch wide or less.
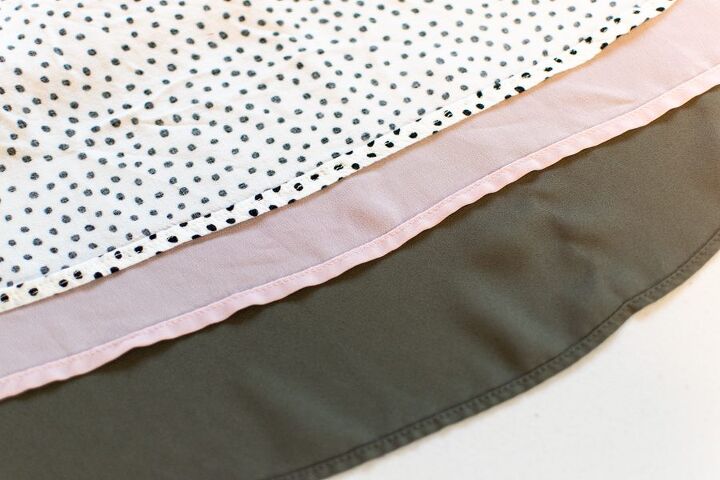
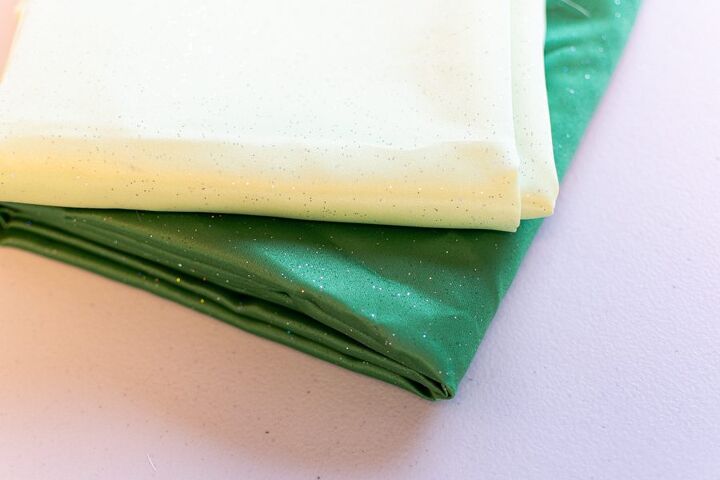
This type of tiny, rolled hem works best for lightweight, silky, and sheer fabrics. For example, silk, satin, chiffon, and organza are all ideal candidates for a rolled hem. This type of hem results in a clean finish that doesn’t weigh down a lightweight fabric and cause it to lose its beautiful drape.
A medium or heavy weight fabric with any amount of thickness is likely too bulky for a baby hem.
Preparing your project for marking the hem
Before we get into the details of how to sew a rolled hem, you’ll need to prepare your project for hemming.
First, always steam or press your dress or skirt before marking the hem. This is particularly important because wrinkles can impact how evenly the hem falls, resulting in potentially marking the hem unevenly.
If you’re sewing a bias-cut garment, make sure to hang it overnight before marking or cutting your hem. Bias-cut dresses and skirts need time to stretch out and settle into their final position before hemming. If you were to cut your hem before allowing the garment to hang, it might stretch out your hem unevenly the first time you hang it.
Marking the hem on your dress or skirt
Once you have your garment ready to mark and cut the hem, you’ll need to try on the dress. Make sure to wear the shoes that you intend to wear on the day of your event while marking the hem. You don’t want to mark your hem in flats only to find out that when you wear heels to your event, the dress is too short!
Next, marking the hem works best if you have someone to help you. Stand up straight in your dress and have your helper measure up from the ground to your desired hem length with a yard stick or hem gauge. Have them mark this measurement all the way around the hem. This will ensure that even if you have uneven hips or a spinal curve, your hem will be perfectly even and customized to you!
How to sew a rolled hem with a rolled hem foot
First, the fastest way to sew a rolled hem (once you get the hang of it) is with a rolled hem foot. However, you will likely have to purchase your rolled hem foot individually, since this is not an included presser foot with most machines. Also, using this foot does take quite a bit of practice to get good results.
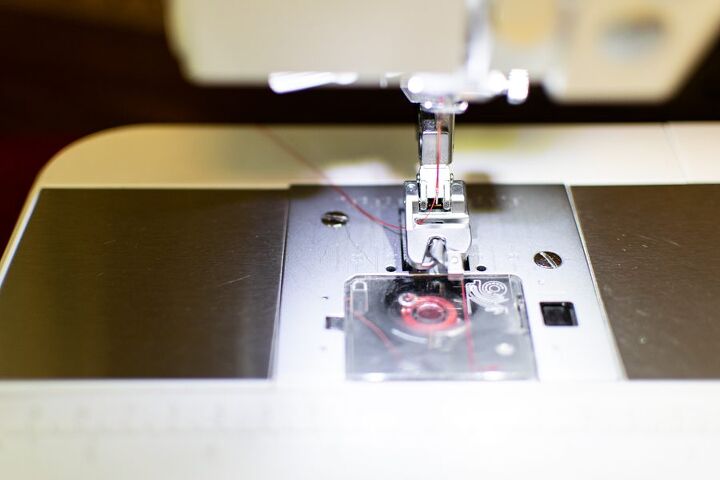
To begin, put your rolled hem foot on your machine.
Next, take your project to your iron and, pressing only about 2 inches at the beginning of your hem, press the raw edge to the wrong side by ⅛ inch, then press it in again by ⅛ inch. This will help you get your hem started in the foot.
Next, place the pressed portion of your hem under the presser foot, lining up the outer folded edge of the hem with the right-hand guide on the foot.
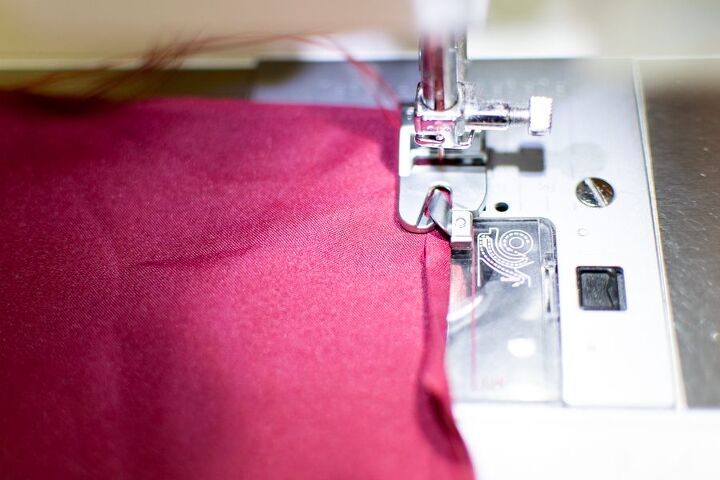
Sew 4 or 5 stitches, then stop with the needle down in the fabric and raise the presser foot.

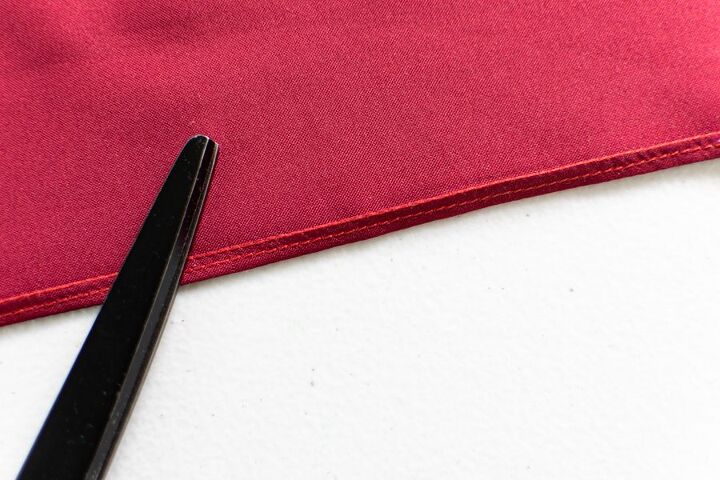
Then, using tweezers or a pin to help you, pull the edge of the fabric up into the spiral of the rolled hem foot.
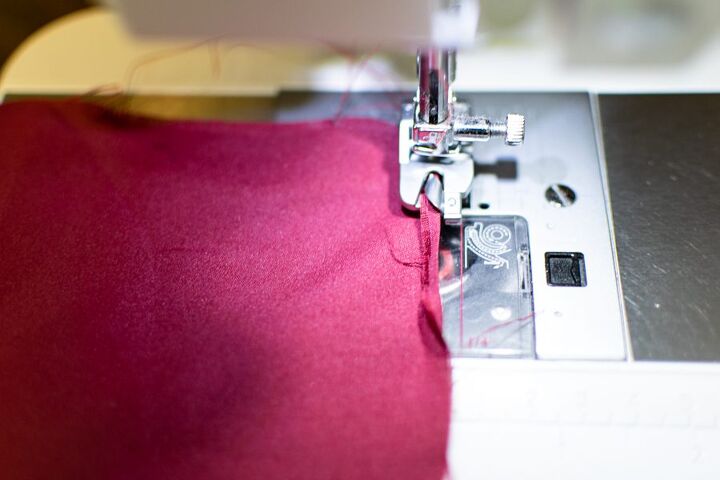
Sewing slowly, continue stitching your hem, allowing the foot to turn the hem through the spiral as you sew. It’s important to guide the fabric into the foot, keeping the folded edge along the right-hand guide and the raw edge at or just past the left-hand guide on the foot.
You will also want to keep slight tension on the fabric as it goes through the foot, but don’t pull on it too much.
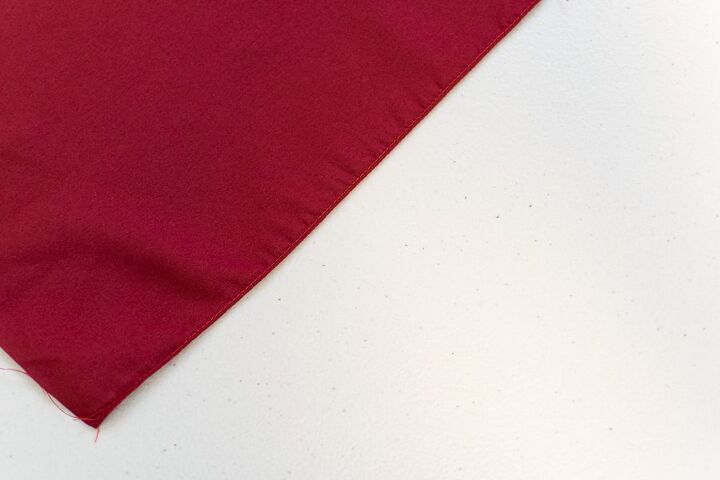
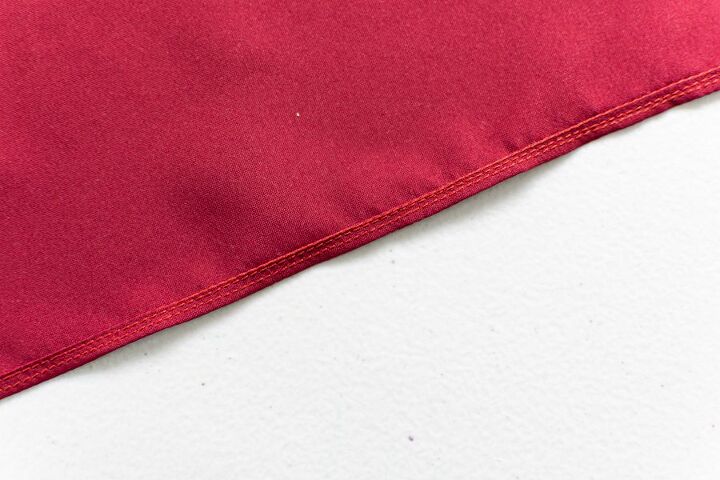
You will now have a tiny, rolled hem! You can trim away any frayed bits of fabric coming out through your hem to clean it up.
Using this foot really does take a lot of patience and practice. The key is to figure out how to hold the fabric as you guide it through the foot – so I would highly recommend practicing with scrap pieces of your fabric before using a rolled hem foot on your project.
METHOD 2:
How to sew a rolled hem with no rolled hem foot
If you don’t have a rolled hem foot, or just prefer not to use one – it’s fairly easy to create a rolled hem with a regular presser foot. It just takes a few more passes of stitching and quite a bit more pressing.
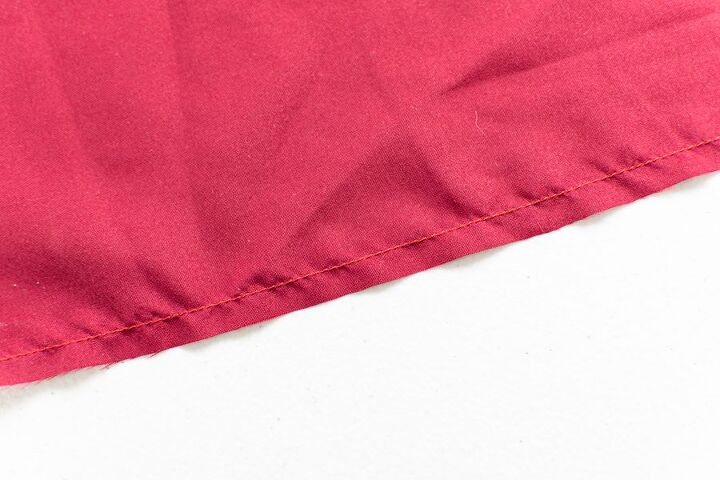
First, sew a line of stitching ¼ inch in from the raw edge all the way around the hem of your project.
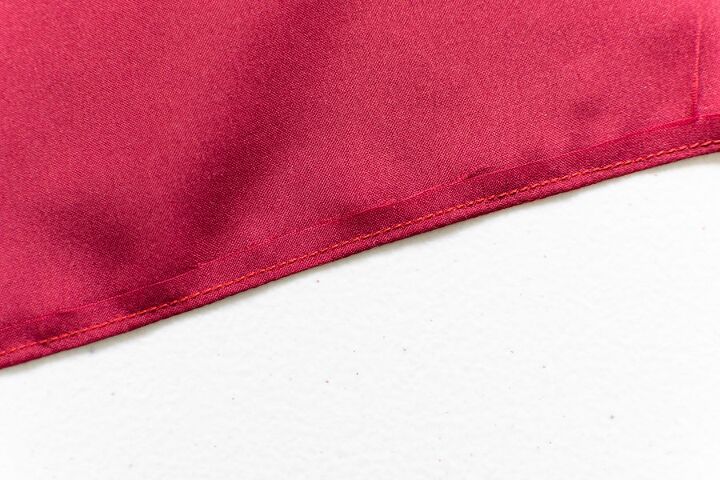
Next, fold the hem to the wrong side of the fabric along the line of stitching you just sewed. Press it flat with your iron.

It’s time for the next pass of stitching! Take your project to your sewing machine and sew another line of stitching ⅛ inch in from the folded edge.
Then, use your applique scissors and carefully trim the raw edge of the hem close to this second pass of stitching. Just make sure not to cut through any of your stitches!
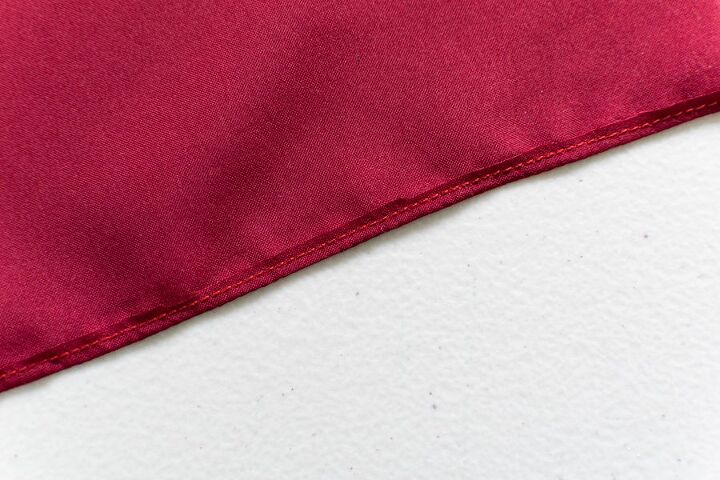
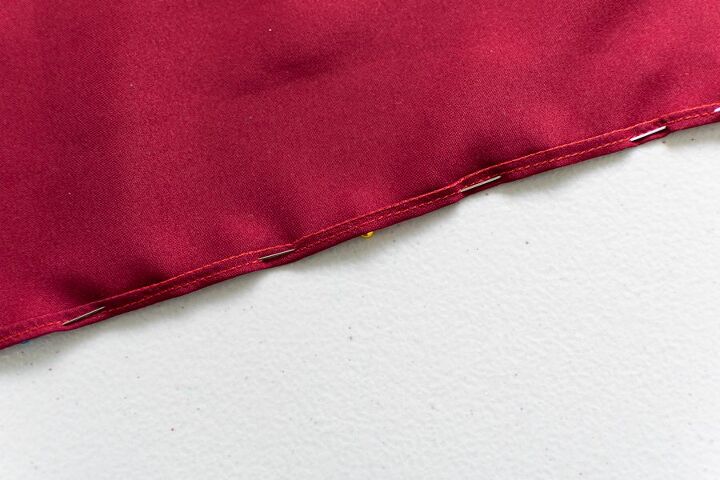
Next, fold the hem to the wrong side again, folding along your trimmed raw edge. Press flat with your iron.
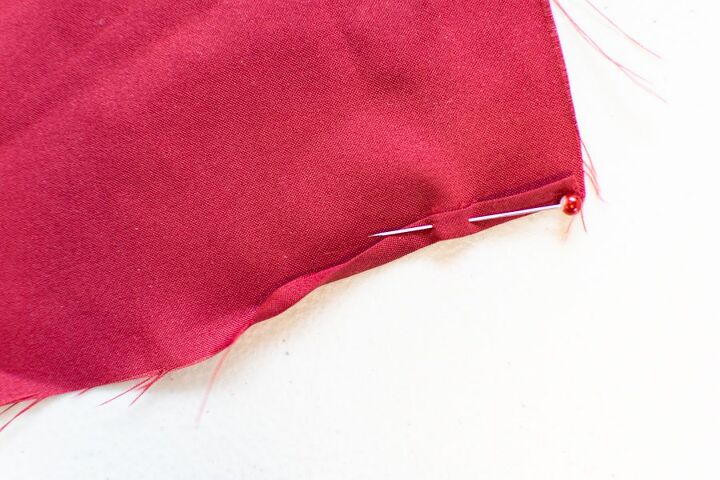
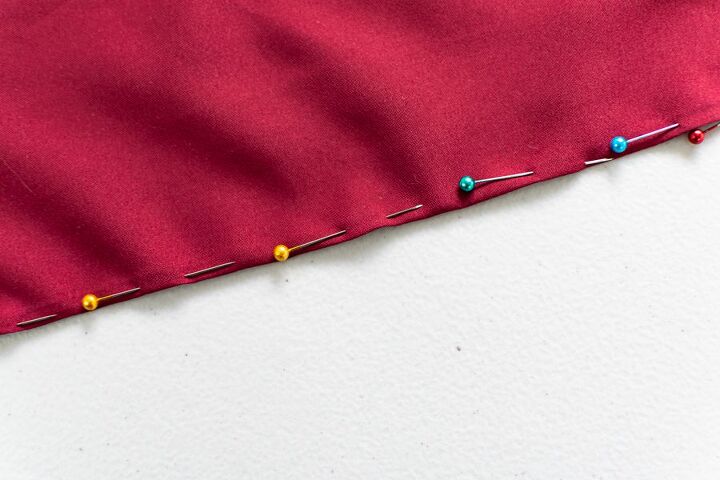
Pin this hem in place, pinning from the right side of the project.
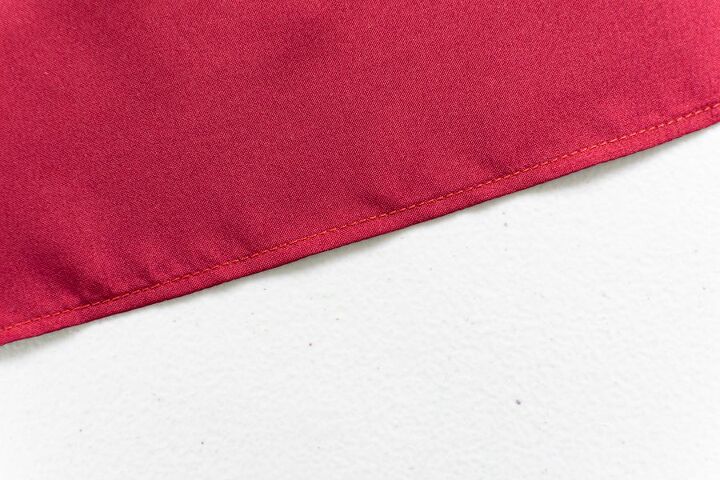
Finally, head back to your machine for the third (and final!) pass of stitching. Sewing from the right side, stitch up the center of your folded hem. You can feel the hem with your fingers to make sure it’s centered or sew just under ⅛ inch from the folded outer edge.
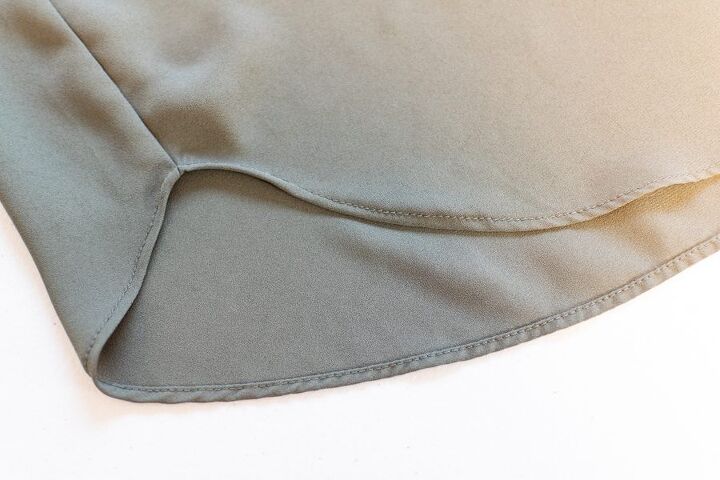
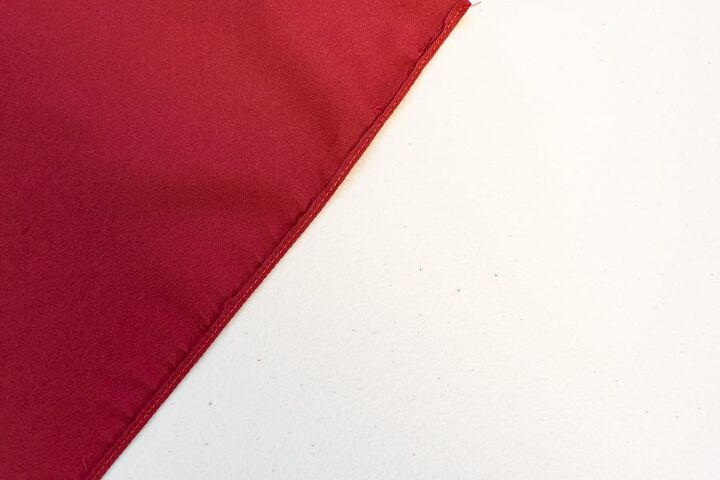
You now have a beautiful, rolled hem!
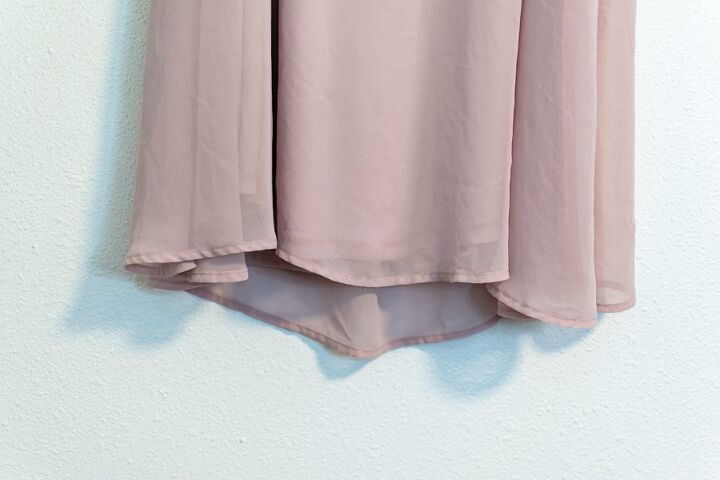
Sewing your rolled hem using this second method is easiest if you are working with a curved hem, or if you just don’t want to figure out how to use the rolled hem foot. However, if you have a lot of dresses to hem or a dress with a very voluminous and long hem, it may be worth it to learn how to use a rolled hem foot for speedier hemming!
Hopefully this tutorial will help you when you are tackling a rolled hemming project. If you have a question or comment concerning this tutorial, please leave them in the comments below. We would love to hear from you!
If you enjoyed this article, please consider subscribing to the email list before leaving. We don’t send spammy stuff—just good sewing content!
The author may collect a small share of sales from the links on this page.


Comments
Join the conversation
Thank you, I paid a small fortune to have someone else do this for me. Always afraid of the "fabric" slipping. Now, I don't need to do rolled hems anymore but I just might try one for the heck of it.
Thank you! I can't tell you how many times I've tried to use my rolled hem presser feet. I got a set of three from Temu, but they didn't come with any instructions.