How to DIY an Elegant Layered Chiffon Skirt

I found this beautiful fabric and wanted to use it to show you how to sew a skirt with a lovely ruffled edge.
This is a super-fast layered skirt pattern that you can cut and sew in well under an hour, even if you're a beginner. The measurements I give are for European size 38 (US size 8) but are easy to adapt for other sizes.
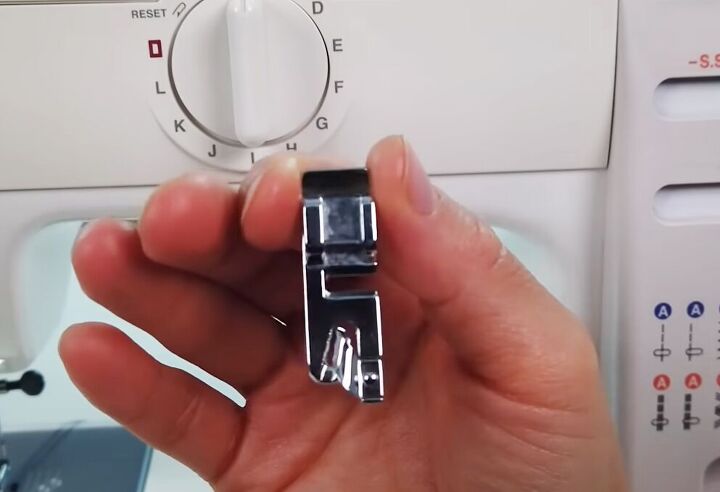
A narrow hemmer foot is well worth getting for the rolled hem and gives a great effect.
Tools and materials:
- 92 inches (230 cm) viscose fabric
- 2 inch (5 cm) wide elastic
- Long ruler or measuring tape
- Large safety pin
- Fabric marker
- Pins
- Scissors
- Sewing machine
- Narrow hemmer foot
1. Cut the top layer
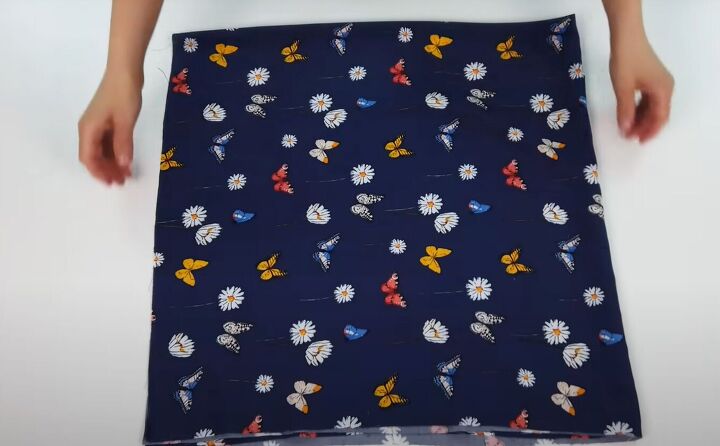
Cut a piece of your fabric measuring 39 inches by 39 inches (1 meter by 1 meter).
Fold it in half. Fold it again, putting the two open corners together.
Lay it on a flat surface with the folded edge to your left and the open edges opposite you and to your right.
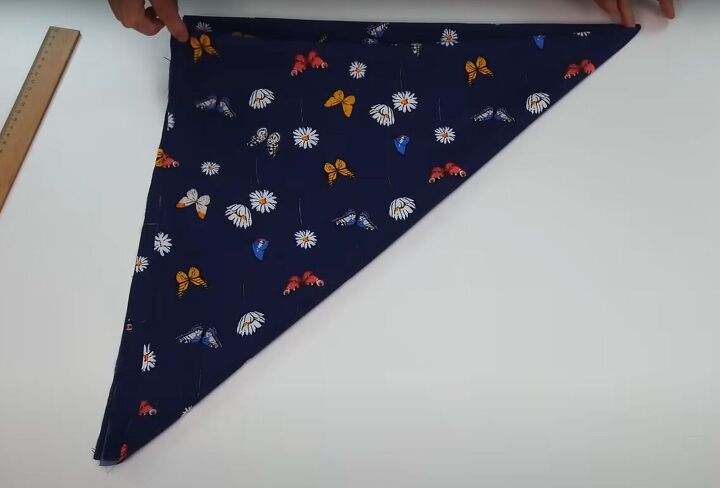
Take the top left corner and fold it diagonally to meet the bottom right corner.
Pin the layers together in a few places to stop them from slipping.
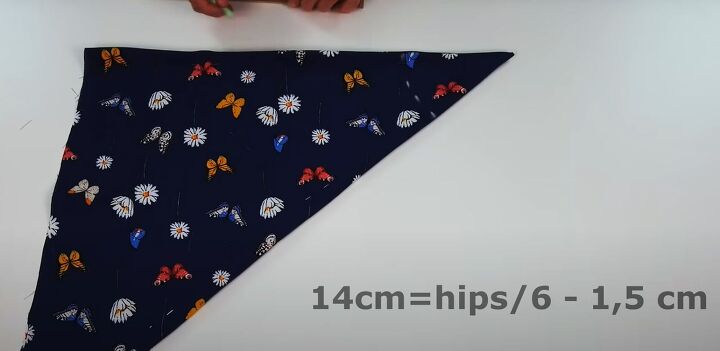
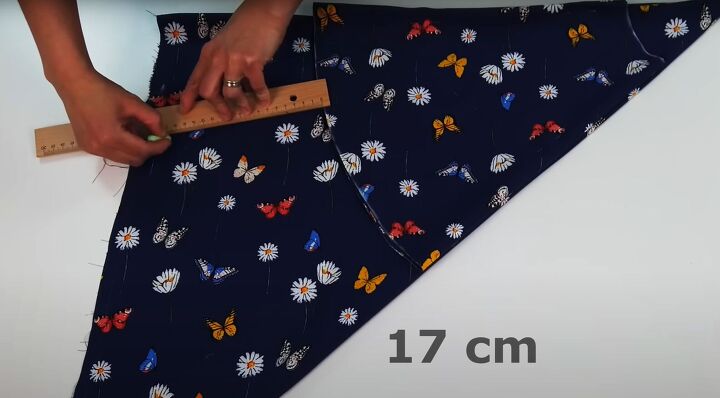
Measure around the fullest part of your hips and divide that measurement by 6. Deduct 0.6 inches (1.5 cm). For me, the final figure is 5.6 inches (14 cm).
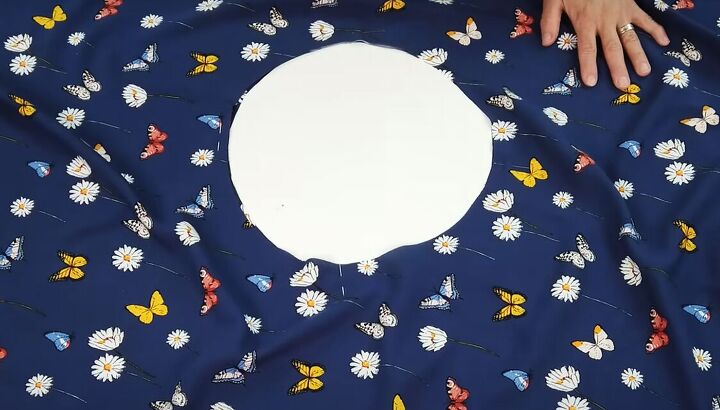
Mark a curve with a radius of 5.6 inches (14 cm), or your calculated measurement, from the lower left corner.
Draw a second curve with a radius of 19.5 inches (50 cm) from the same corner.
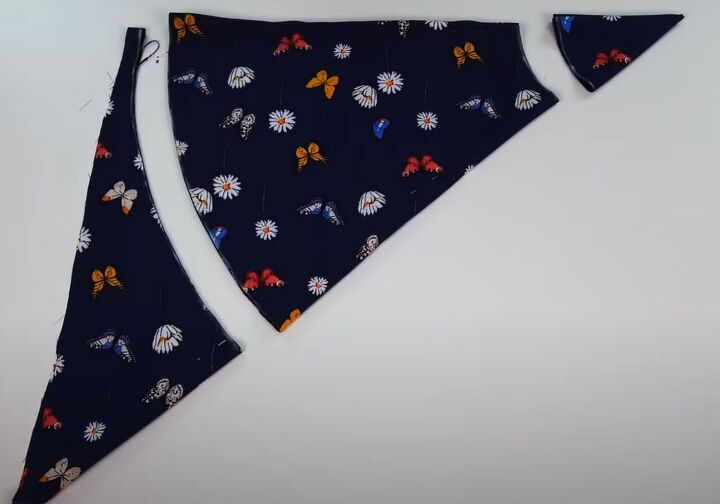
Cut along both curved lines.
2. Cut the bottom layer
Cut a square of your fabric measuring 52 inches by 52 inches (130 cm by 130 cm). Fold it in the same way as in the previous step.
Place the still folded first layer on top of the new triangle, lining up the side edges. Draw a curve 6.8 inches (17 cm) below the bottom edge of the first layer.
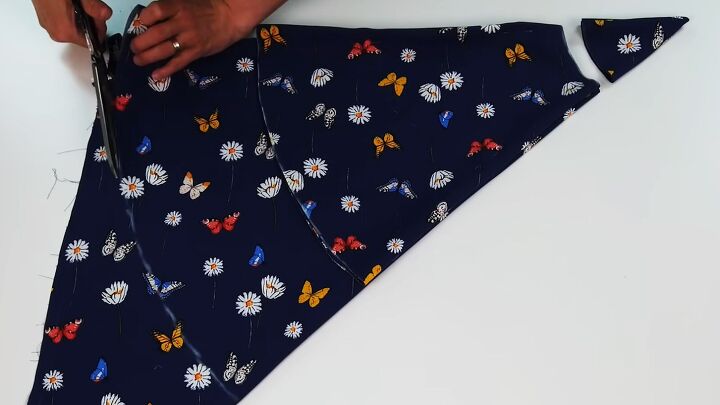
Cut along this curve. Use the first layer as a template to cut out the waist curve for this layer.
3. Attach the waistband
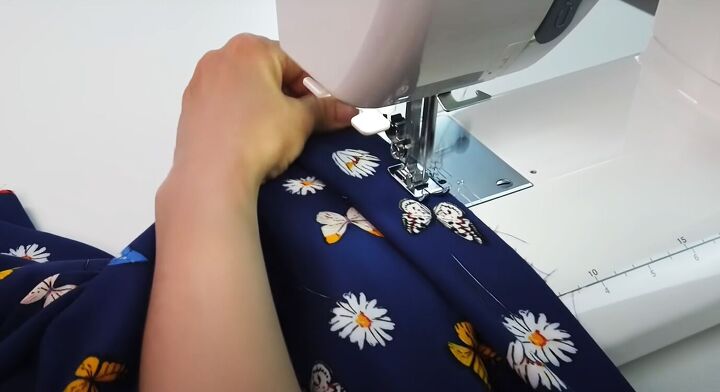
Open out both skirts to full circles and place the top layer over the bottom layer, with the right side of both facing you.
Pin the layers together around the waist edge and sew them together.
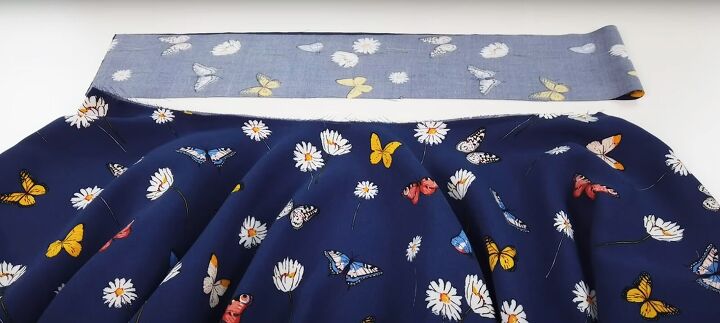
Cut a strip of fabric for the waistband, 4 inches (10 cm) deep and twice the diameter of the waist circle in length, plus a seam allowance.
Join the short ends of the waistband with the right sides together.
Turn the waistband right side out. Fold it in half along its length with the right sides together.
Sew the raw edges of the waistband to the edge of the waist, with the right sides facing.
You can pin the waistband in place first if you prefer. Leave a small opening unstitched for the elastic.
Cut a piece of elastic 25.6 inches (64 cm) long - or to fit comfortably around your waist, plus a 2 inch (5 cm) overlap.
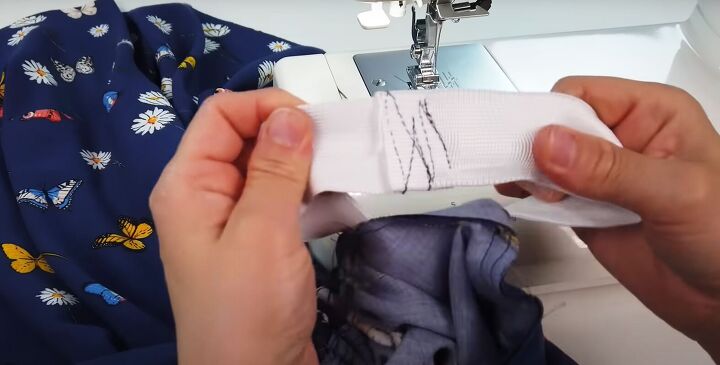
Use a large safety pin to feed the elastic through the opening in the waistband. Make sure to keep the elastic flat and not twist it.
Overlap the ends of the elastic and sew them securely together.
Sew the opening closed, being careful not to catch the elastic in the stitching.
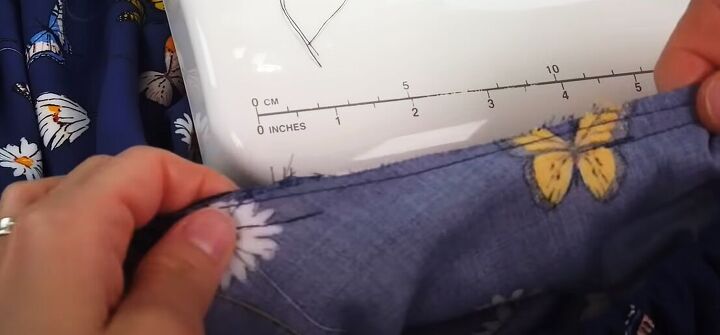
4. Sew the ruffle edging
Swap your usual machine presser foot for a narrow hemmer foot.
Set your machine for a zigzag stitch of length 2 and width 4.

Working on the right side, turn the edge of one layer over to the right side and sew a narrow rolled hem around the layer.
Knot the ends to secure them instead of backstitching.

Repeat with the second layer, for a pretty ruffled and fluted edge.
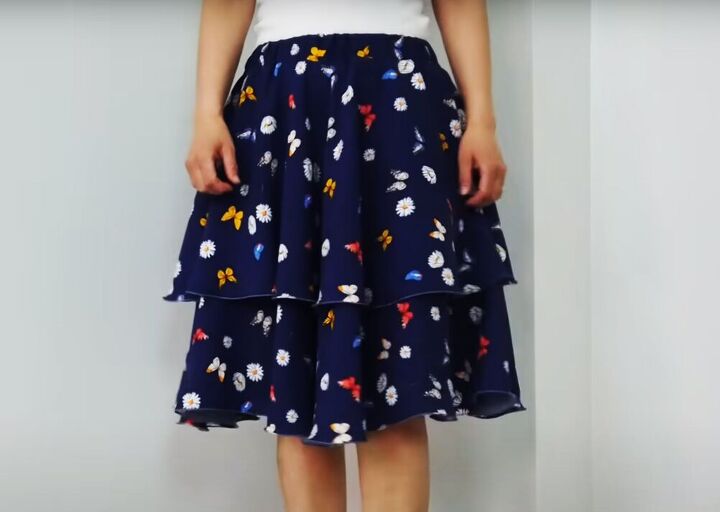
Layered chiffon skirt
And there is your stunning layered chiffon skirt, made to measure in less than an hour!
I love the way this full circle skirt moves. It looks great on the dance floor. If you have more sewing experience, you can add extra layers for even more fullness and movement.
I really hope you enjoy making this pattern.
Follow me on TikTok: @tugbaisler and check out my post on How to DIY a Cute Twist Hair Band.
The author may collect a small share of sales from the links on this page.


Comments
Join the conversation