How to DIY an Elegant Chiffon Maxi Dress

I love the very popular Nap Dress and wanted to see if I could design a version that beginners could make.
I used two techniques that I explain in detail: A 3-step tiny rolled hem and a shirring technique that uses only straight stitches.
The additional presser feet I suggest make shirring and gathering a lot easier but you can still make this chiffon maxi dress without them.
Tools and materials:
- 59" (150 cm) wide polyester chiffon fabric
- Elastic thread
- Pins
- Scissors
- Measuring tape
- Sewing machine
- Gathering foot (optional)
- 1/4" plastic quilting foot (optional)
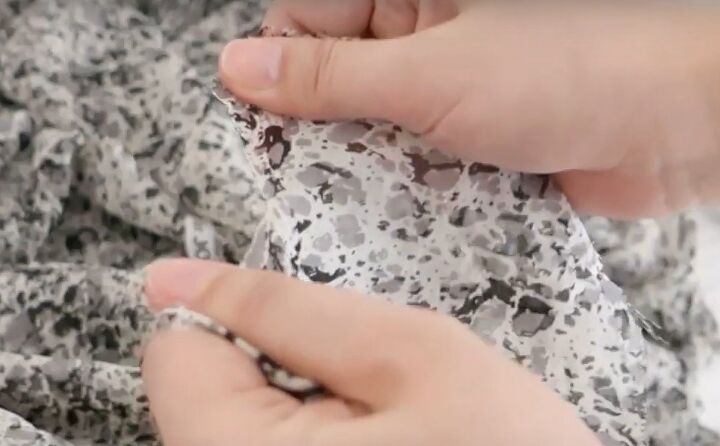
1. Prepare your fabric
Straighten the edges of your fabric by snipping the raw edge close to the end and pulling the fabric either side of the cut.
Polyester chiffon will rip across the width, leaving you with a straight edge to work with.
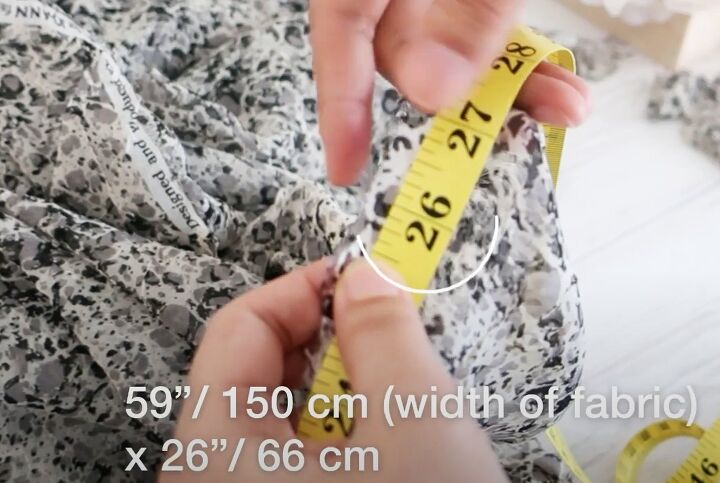
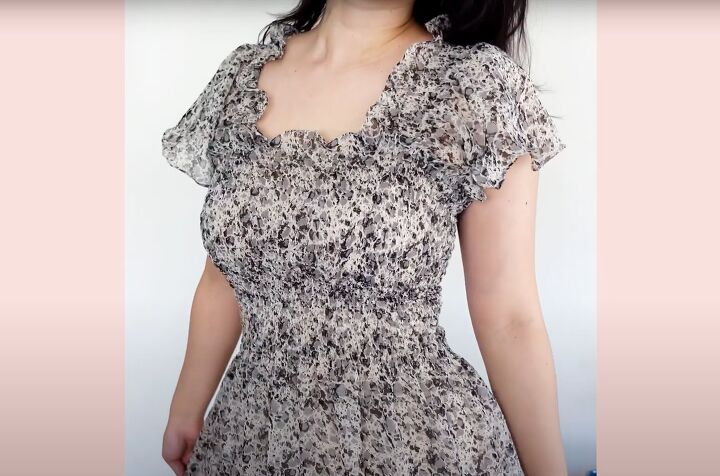
2. Dress bodice
Measure 26 inches (66 cm) down the length of the fabric.
Snip the edge and rip the fabric across the width to the selvedge. Cut through the selvedge.
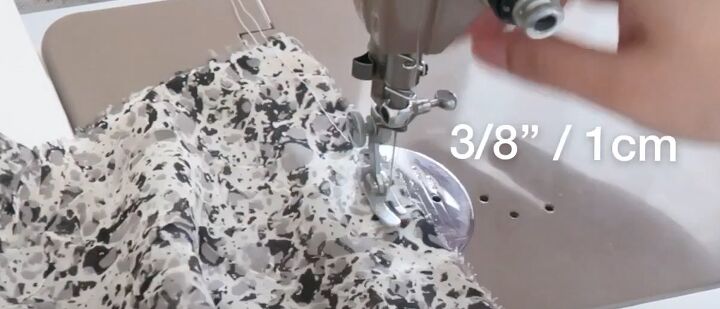
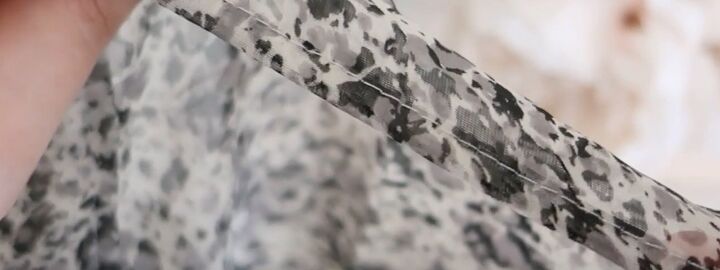
3. Three-step rolled hem
Sew a line of straight stitches 3/8" (1 cm) from the raw edge.
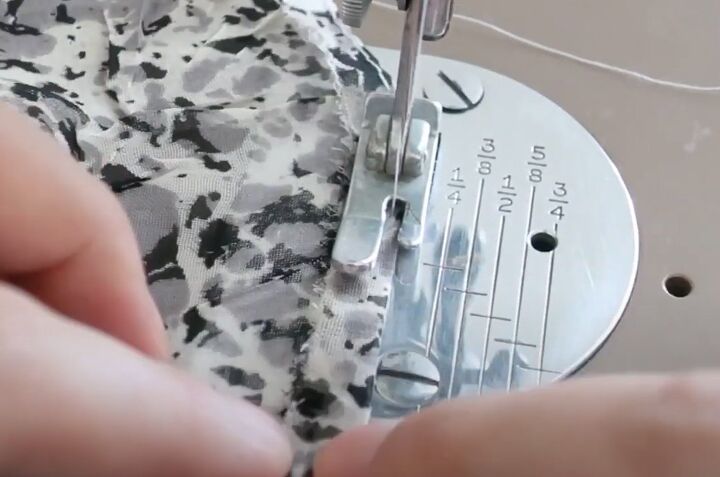
Fold the raw edge to the wrong side along the stitching line and sew close to the fold.
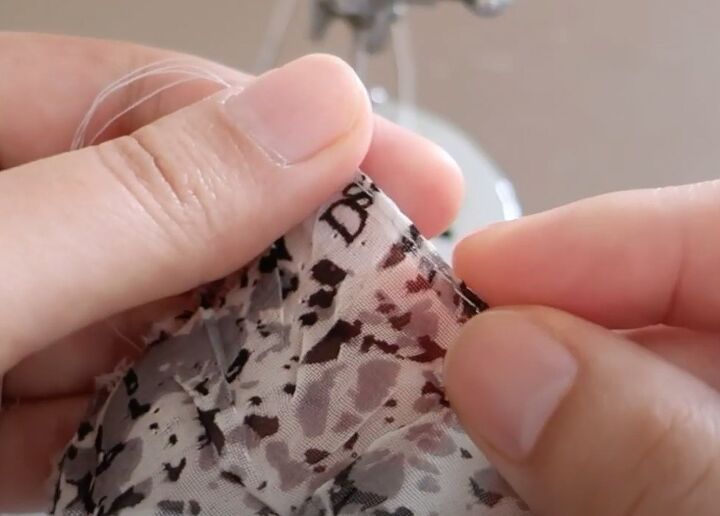
Cut off the excess material.
Turn the hem to the wrong side and sew through the previous stitches, enclosing the raw edge.
Use this rolled hem on all the raw edges. You can make a deeper hem for the lower edge of the skirt by not cutting away the excess fabric after the first line of stitching.

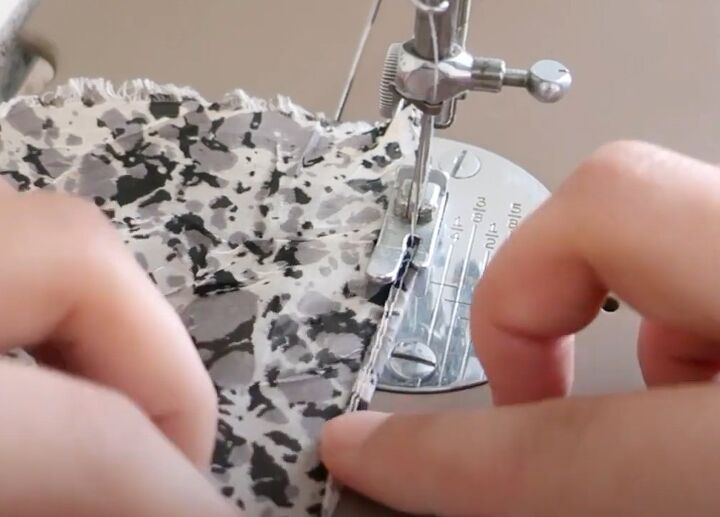
4. Test shirring
Hand thread your bobbin with elastic thread.
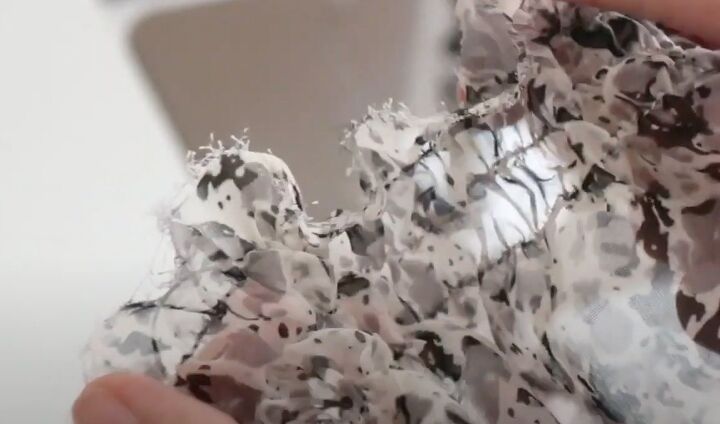
Test the shirring effect on a scrap of fabric, using the longest stitch length your machine has and sewing a series of straight lines across the fabric.
The elastic bobbin thread will gather the fabric automatically without the need for pulling on it.
Measure the width of the fabric, both stretched and relaxed. In my case, the shirring halved the width of the fabric.
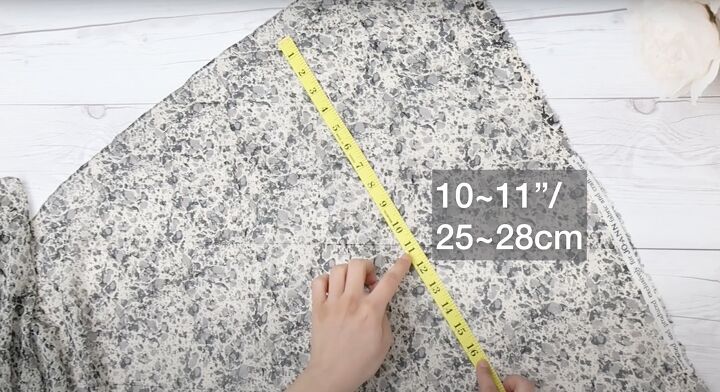
5. Gather the bodice
Starting 1 inch (2.5 cm) from the top rolled hem of your bodice, mark a point 10 or 11 inches (25 - 28 cm) down.
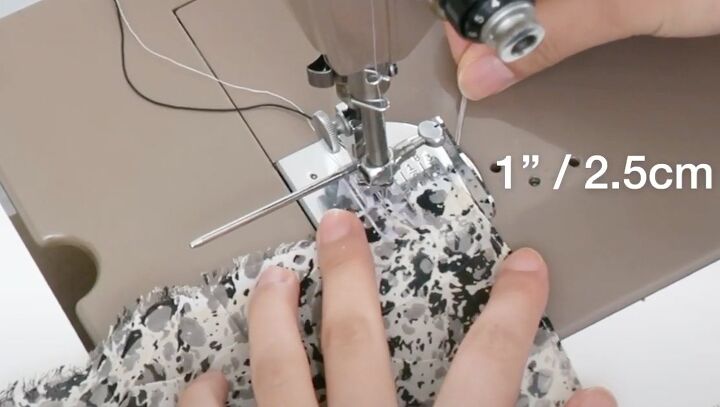
Sew rows of shirring or gathering across the bodice to that depth.
A 1/4" plastic quilting foot will help you keep the rows evenly spaced and make it easier to see your stitching.

Start shirring 1 inch (2.5 cm) from the top edge and make your rows 1/2" (1.2 cm) apart.
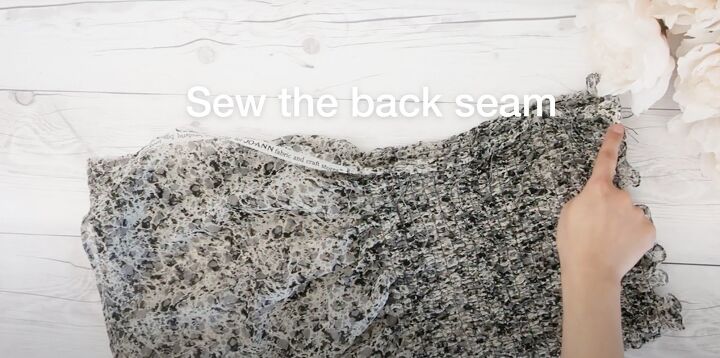
6. Sew bodice back seam
Fold the bodice in half lengthways with right sides together and sew the back seam.
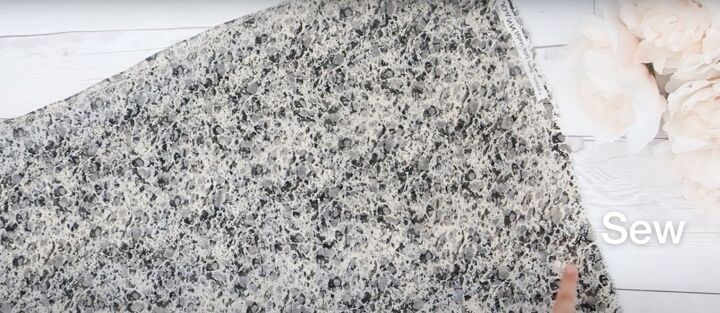
7. Sew skirt
Measure 30 inches (76 cm) along the selvedge. Snip the selvedge and rip the fabric across the width in a straight line. Repeat for the second skirt piece.
Finish the top edge of the skirt pieces with a 3 step rolled hem.
Place the skirt pieces together with right sides facing and sew both side seams.

8. Skirt ruffles
Using a gathering foot if you have one, sew across the width of the skirt approximately 1 inch (2.5 cm) from the top edge.
If you don't have a gathering foot, sew two rows of straight stitches leaving long ends, and pull on the ends carefully to gather the fabric.
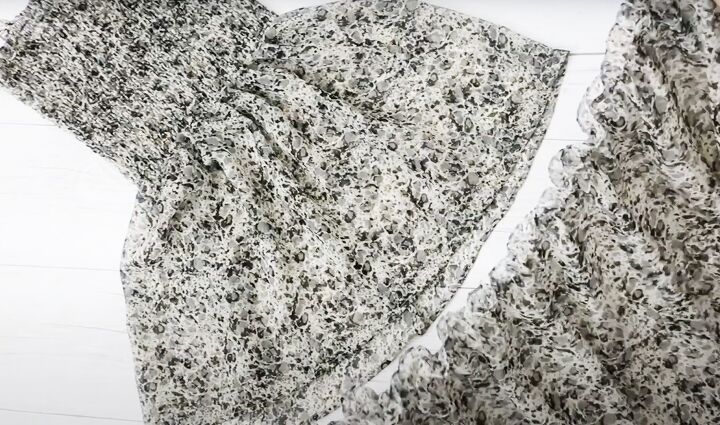
Lay the skirt over the lower edge of the bodice and sew it in place.
Finish the bottom of the skirt with a wide rolled hem.
9. Straps
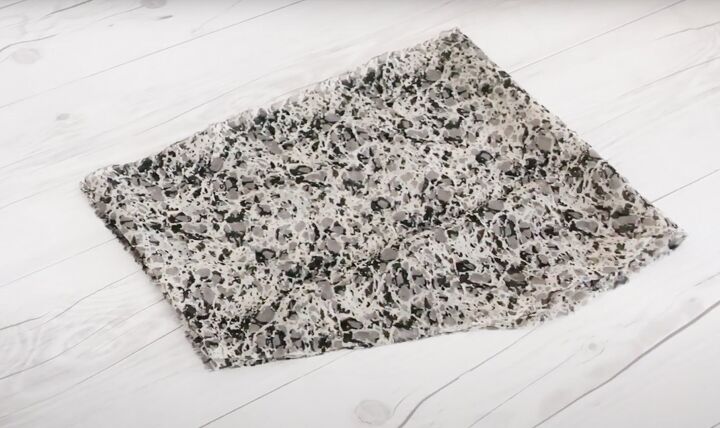
Cut a strip 10 inches (25 cm) long across the width of the fabric. Fold the strip in half widthways twice.
Cut a diagonal line from 3 inches (7.5 cm) up the single folded edge to the lower raw edge. Cut open the fold on the shortest edge.
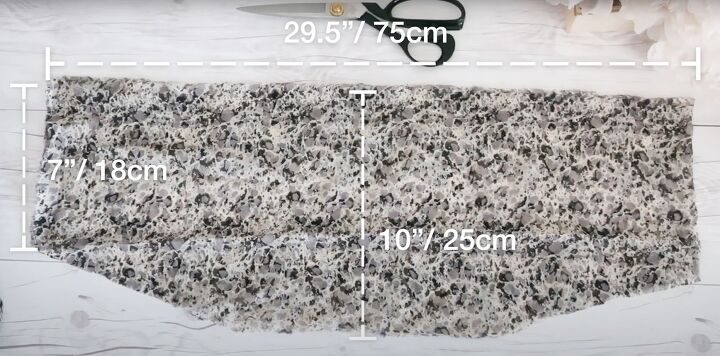
You now have two straps, each 29.5 inches (75 cm) wide and 10 inches (25 cm) long in the center tapering to 7 inches (18 cm) at each end.
Sew a 3-step rolled hem along the two longest edges.
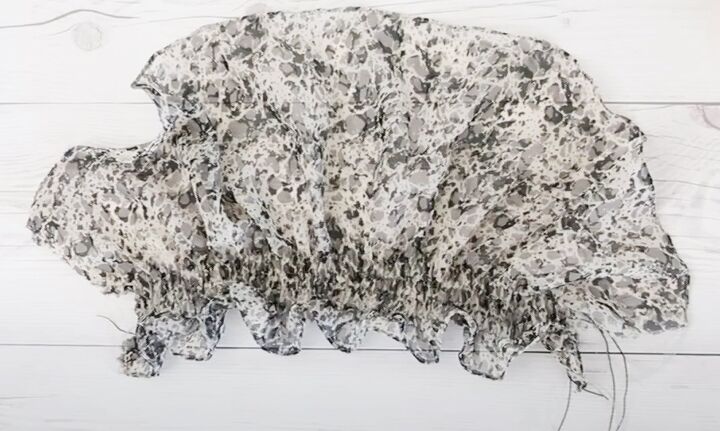
Sew 4 rows of shirring along the long straight edge.

Fold each strap in half widthways with the wrong sides together and sew the raw edges to the top of the bodice.
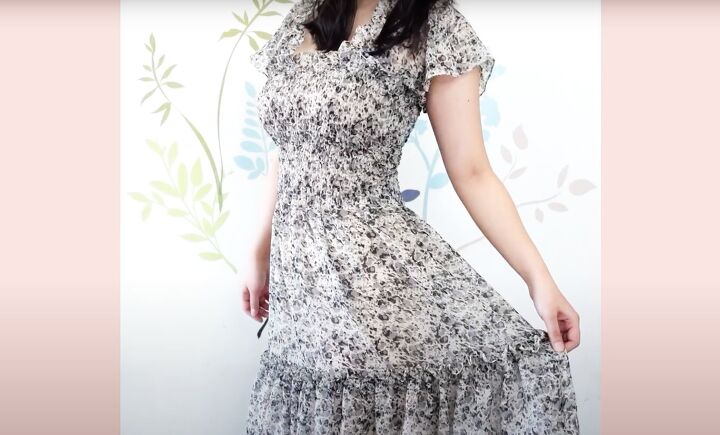

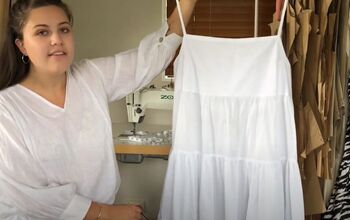
DIY chiffon maxi dress
My long chiffon dress turned out beautifully. It's a perfect floaty summer dress but can also be layered over jeans and a top to wear in spring and fall.
I designed the straps to give a bit more coverage than the original dress but you could make the straps narrower and sew them further apart than I did if you prefer.
If you enjoyed this chiffon maxi dress tutorial, please let me know in the comments below.
The author may collect a small share of sales from the links on this page.


Comments
Join the conversation