How to Sew an Invisible Zipper - Learn With Master Tailor Bonnie Lewis

Whether you are making your self a new garment or upcycling something you found ... if it is fancy it probably has an invisible zipper. With this obsessively clear and step-by-step tutorial you can add a new or move an already-there zipper perfectly every time.

I don't remember what year it was, but I remember that I was tailoring the Diane Von Furstenberg NYFW show. We were in the Meatpacking District of Manhattan at Diane's flagship showroom/studio/home. We were on the 3rd floor just beneath her living quarters. It was the night of show and we were finishing the collection that had been fitted to the models all week. One chiffon gown needed its zipper moved. I was the only tailor with enough steam left in the wee hours to give it a go. Using all of the steps I am going to share with you here, I did it perfectly. I hope you enjoy these tailor's tips!
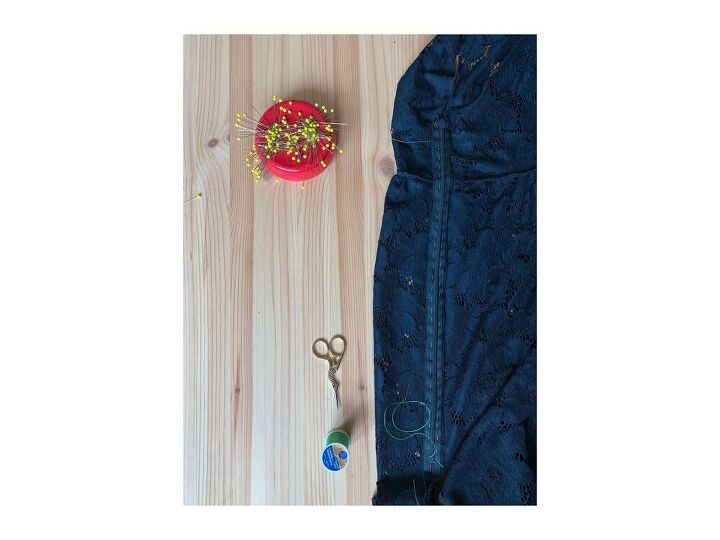
But first things first, your supplies:
- invisible zipper
- zipper foot
- sewing machine
- project
- thread to match
- iron and ironing board
- fusible interfacing (I love pellon easy-knit EK130 for everything)
- ruler, seam ripper, scissors
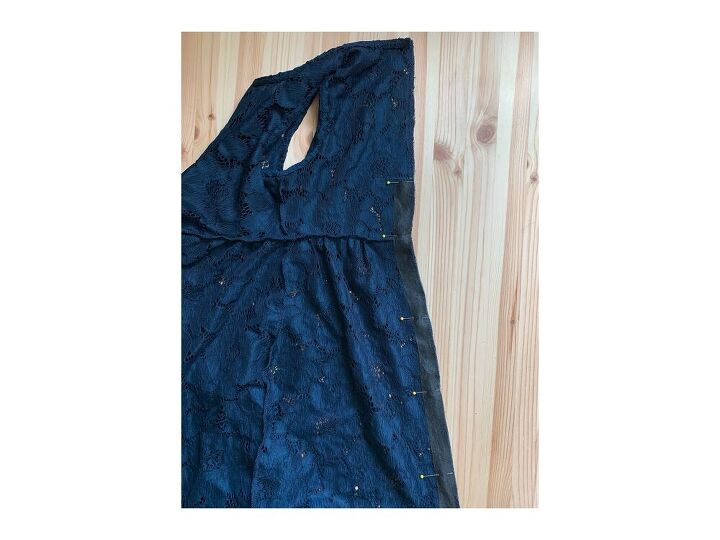
Step 1: Prepare your seam allowance. From the notch at the top of the zipper to the bottom, press a piece of 1" wide interfacing to stabilize your seam allowance. I sew my zippers in first and finish the seam after.
Step 2: Either machine baste or hand baste your seam where the zipper will sit. This is critical, and especially if you have any horizontal seams that need to match perfectly as shown above.
Step 3: Press your invisible zipper flat before you sew it in to your garment. It will not stay flat ... the teeth will roll back toward the tape. But this step eases the zipper so you can stitch closer to the teeth.
Step 4: Hand baste the zipper to the seam allowances. Be careful that your basting does not go through to the face of the fabric. The stitch should only go through the zipper tape and the seam allowance. Check now to make sure that your horizontal seams are matching if applicable. Adjust if necessary.
Step 5: Gently remove the center seam basting from step 2.
Step 6: Put your zipper foot on to your sewing machine. If you learned to sew with me in the Basics Sewing Series, you can use the Singer foot I recommended to you in the Basic #2 'zipper clutch' video workshop. You can also use the zipper foot that came with your machine.
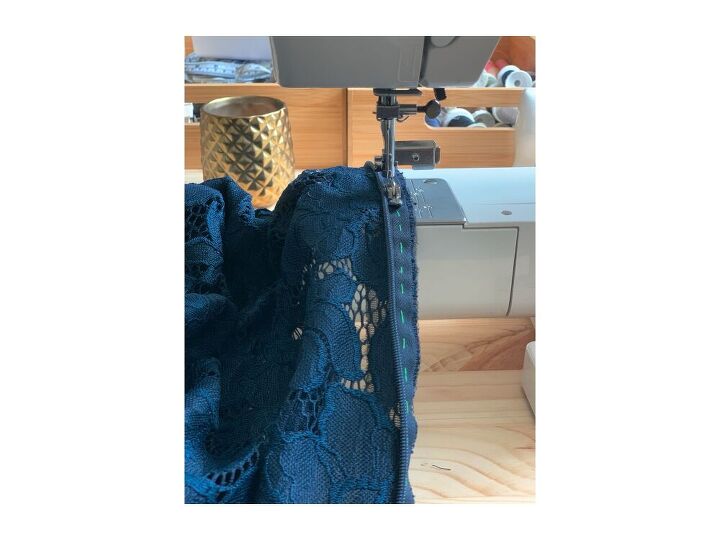
Step 7: Sew your zipper to your garment with the stitch as close as possible to the zipper teeth. Be careful not to stitch on to your zipper teeth. Just very close. Do this on both sides and test that your zipper looks pretty and that the zipper slide moves easily. Adjust if necessary. Once you are happy with your zipper, remove the basting stitches from the seam allowance.
Step 8: Finish your seam above and below the zipper according to your pattern.
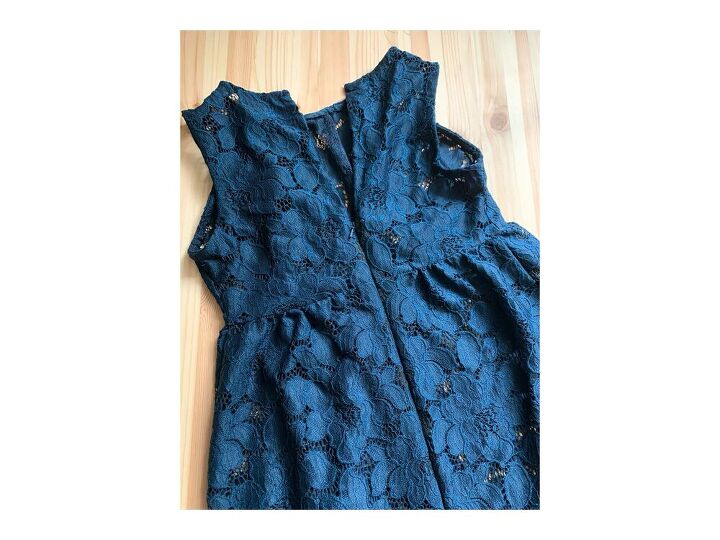
Enjoy your beautiful zipper! Thanks for following along on this tutorial. If you like learning with me, please check out my Basics Sewing Series where you can learn all of the things you need to know to make all of the things you want to make. Happy Sewing! - Bonnie
The author may collect a small share of sales from the links on this page.


Comments
Join the conversation
Wow! Great job!