How to Sew in the Zipper With Underlap (using Stylefix Tape)

In today’s short article, I’d like to show you how to simply sew a zipper with underlap to the jacket. Zipper plackets (upper/bottom) are often not included in the patterns because they are just strips of fabric that you can easily prepare on your own.
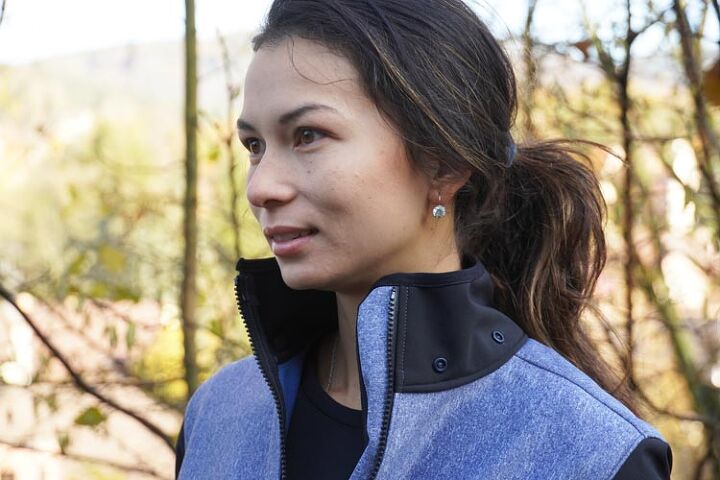
I sewed a simple jacket on the photos using my new pattern.
A kids’ version of this pattern is also available. You can get it here.
Choosing the zipper
It’s very important to choose the right zipper and other accessories when sewing jackets and coats. There’s nothing worse than breaking zipper on a jacket that you spent several hours (often many hours) sewing. I often see that seamstresses buying a beautiful, high-quality fabrics and then choosing a generic and cheap zipper. The problem is that “no name” zippers in stores very often come from the Chinese market and their quality is poor.
“It’s very important to choose the right zipper and other accessories when sewing jackets and coats.”
It’s also very difficult to tell if a zipper is good or not if you haven’t seen a good one yet.
Try to zip and unzip the zipper several times before purchase. A quality zipper should be easy to zip/unzip (should not be too stiff) and it should not get stuck. Do not assume that the zipper will “break-in” over time. In most cases, it will just break much sooner.
Quality zippers run smoothly. Really. They can be easily zipped-up and unzipped and you might be surprised by how smooth they are. Do not worry, a quality zipper won’t unzip on its own. It will just work as it should.
I have been buying only YKK zippers for some time now. Take look at some high-end clothes with zippers – chances are you will find a few pieces with YKK zippers. Large fashion chains (those who care about quality of their products) use YKK zippers often. Until recently, they were only available abroad (not in Czech Republic) and I got used to buying them in Merchant & Mills store.
I always buy in bulk and I love metal YKK zippers. They are very light and smooth, not at all cumbersome.
However, YKK zippers finally appeared in our country and Lenka sells them in her store: Nejlepší zipy.
Unfortunately, this store does not offer the metal zippers, but you will find a large number of plastic zippers, coil zippers and even some “invisible zippers”. YKK Metalux line is great – they are plastic zippers that look like metal ones. They are very lightweight and great for sportswear, they won’t “chew-up” delicate materials, etc. (Metalux zipper is the turquoise one with silver teeth in the photo above).
In order not to deviate much from today’s topic, I will get back to the instructions I have prepared for you today.
Stylefix tape
Besides the zipper sewing procedure I want to show you another thing – double-faced adhesive tape Stylefix. This is a new thing in some countries, so it may be a bit difficult to get. I’ve always bought it for a lot of money from abroad, but now I’m buying it from Lenka’s store: Double-faced adhesive tape Stylefix.
It’s a thin sticky tape which dissolves during the first washing cycle. The tape just disappears. Basically, it’s just glue…
How to sew a zipper (with underlap) to the jacket
Stylefix tape can make things easier for you. Especially when sewing softshell – you should use slips when sewing softshell (instead of pins) and it is sometimes very difficult to attach the zipper to the jacket with slips.
Simply apply a Stylefix tape to the edge of the left front piece.
Then remove the upper paper (non-adhesive) part of the tape – only a strip of glue will remain on your jacket.
Lay zipper over the front piece with Stylefix tape (face side to face side).
In the picture below you can see how the tape connected the zipper to the jacket. Tape holds the zipper in place, so you can easily work on the pieces and sew the zipper in comfortably.
Lay the underlap over the zipper. Zipper is still held in place by the Stylefix tape only. You can use tape again to attach the placket. I did it with clips, so you can see that you can, of course, work without the tape.
Sew the layers. When using Stylefix tape, you will appreciate that the layers do not slide over each other during sewing. This prevents inaccuracies.
Next, I topstitched the front piece along the zipper.
Now lay the other half of the zipper over the edge of the right front piece (face side to face side). You don’t have to worry too much about piercing the softshell with pins when sewing the zipper. But it is still better to use Stylefix tape or clips.
Sew the zipper in and topstitch the front piece.
This is what a zipper with underlap looks like from the face side. Length of my placket is the same as the length of the front piece with the collar. That’s because jacket (incl. the underlap) is lined with the fold-over elastic. You can make the underlap shorter when sewing with double-layered collar.
This is how a zipper with underlap looks like from the wrong side.
If you want to see me sewing the zipper with overlap check out the video above, you can skip to about 5 minutes and 40 seconds.
If you like the women’s jacket BASIC, then you can find complete sewing instructions in this article.
Enjoyed the project?
The author may collect a small share of sales from the links on this page.


Comments
Join the conversation
Using the Stylefix is a great hack!