Pressing Tools 101: Helpful Tips, Easy Tricks and Must Have Tools
Many beginner sewists, and even some non-beginners, skip pressing while they sew. I get it – ironing can be a pain, and all you really want to do is get to the sewing. I mean, how much difference can it really make?
Well, I’m here to say that with the right pressing tools, pressing makes a massive difference in your sewing. It elevates your results from ‘amateur’ to ‘professional.’
Pressing may seem like a waste of time, but trust me, it isn’t. It’s extremely important to set the seams as you progress thru your project’s construction so that fabrics lay flat and meet as the pattern designer envisioned.
How to press while sewing
When pressing seams flat, a safe pressing technique is an up-and-down motion rather than a side-to-side sliding motion. If you slide the iron across your unfinished project, you risk stretching it out and losing its shape. This is especially true for less structured fabrics like knits or areas that are cut on the bias.
The most important thing to remember about pressing is to press each seam as you sew it and before joining or intersecting it with another seam. If you wait until the end to iron everything at one time, you won’t get professional looking seams and some seams will not lay flat despite your best pressing efforts. For example, if you are sewing a shirt, sew the side seams and shoulder seams, then press all four seams at the same time. It saves a trip to the ironing board and allows you to set these seams before sewing in the sleeves (since the sleeve seams will intersect with the side and shoulder seams).
Pressing tools to make your life easier
Now that you have seen the importance of pressing and understand the basic technique, let’s discuss a few tools that will make pressing easier and help you get even better results.
Pressing cloth
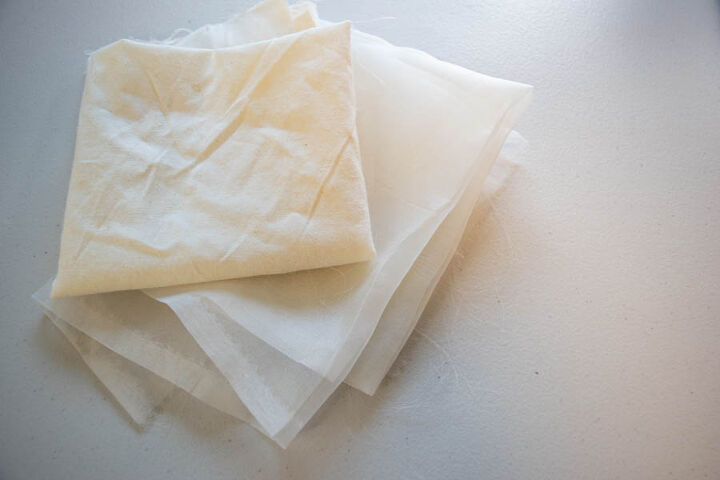
First, if you’re going to get any of the 5 pressing tools on this list, I would recommend starting with a pressing cloth. This fabric, usually cotton muslin or silk organza, is placed between your project and the iron to protect the fabric. It is an especially valuable pressing tool for preventing scorching or discoloration when working with fabrics that don’t handle direct heat very well.
You can purchase a pressing cloth or make your own. If you make your own, choose an undyed fabric that can withstand high heats. You do not want to run the risk of dye transferring to your project and staining!
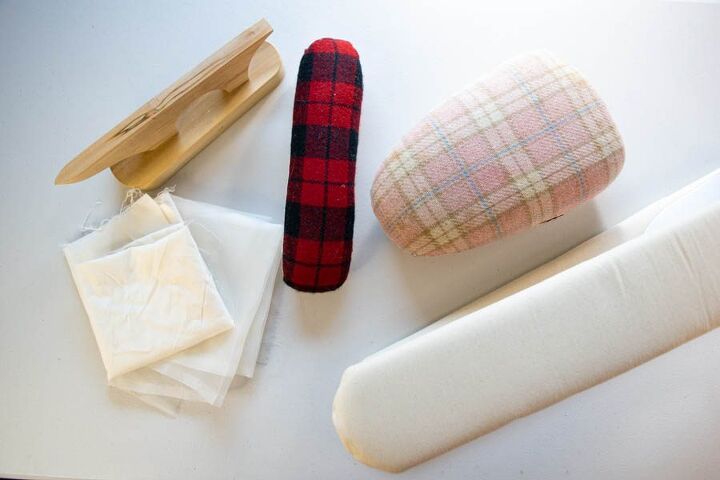
Tailor’s ham
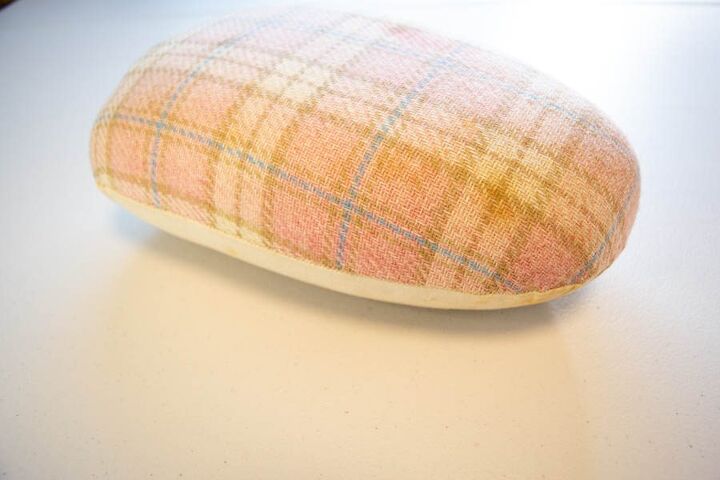
Next, a tailor’s ham is an awesome tool for pressing curved areas like princess seams, darts, and more. A tailor’s ham is a stuffed, oval shaped item that is usually made from wool on one side and cotton on the other. It allows you to shape the curve of the seam over the ham so that it can be pressed without creating creases and puckers that often show up when you try to press a curved seam on your flat ironing board.
The wool side of the tailor’s ham is generally meant for thicker, lower-heat fabrics like wool, while the cotton side is meant for smooth fabrics that can handle high heats.
Seam roll
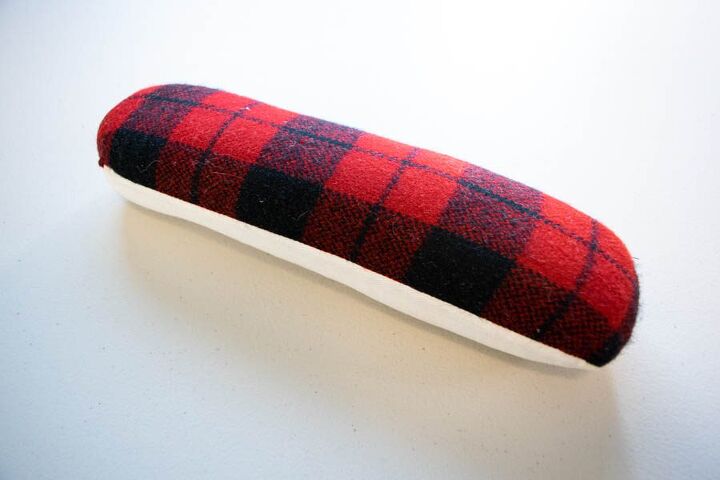
A seam roll is very similar to a tailor’s ham, except that it is smaller and has a more narrow, oblong shape. This tool is great for pressing smaller curves, but the real benefit is for narrow tubes – such as ankle and sleeve cuffs. You can place the tube of fabric around the seam roll and press each side without worrying about creasing or messing up the underside of the fabric as you press.
Tailor’s clapper
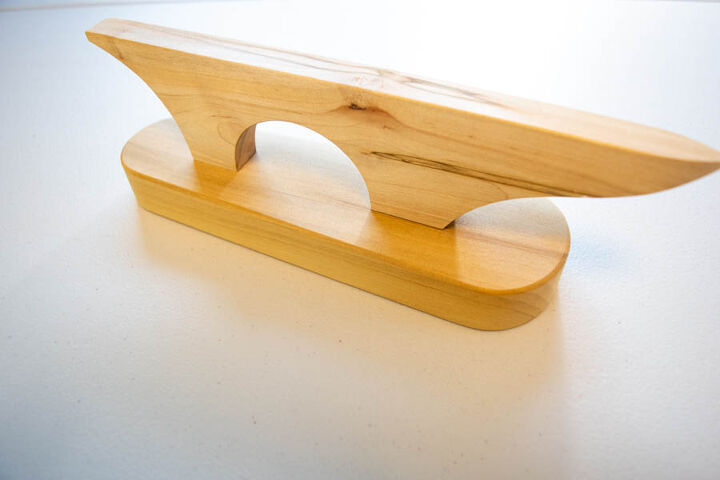
A tailor’s clapper pressing tool is just a block of hardwood – it may seem odd, but this tool can help you get super flat and beautiful seams from textured or lofty fabrics (like some wools) that don’t press very well. To use your tailor’s clapper, first press your seam like normal using the steam setting on your iron. Next, as you remove the iron from the fabric, place the clapper down on top of the seam. Let the clapper sit for 10 seconds or so – the clapper will pull the heat out of the fabric, creating a flatter seam.
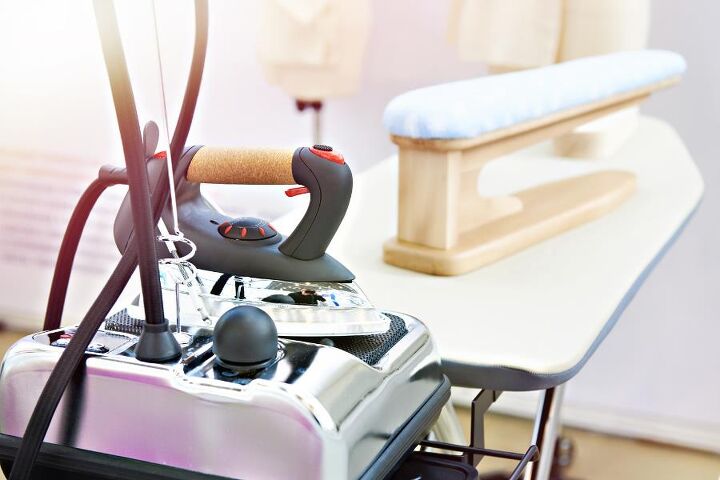
Sleeve board
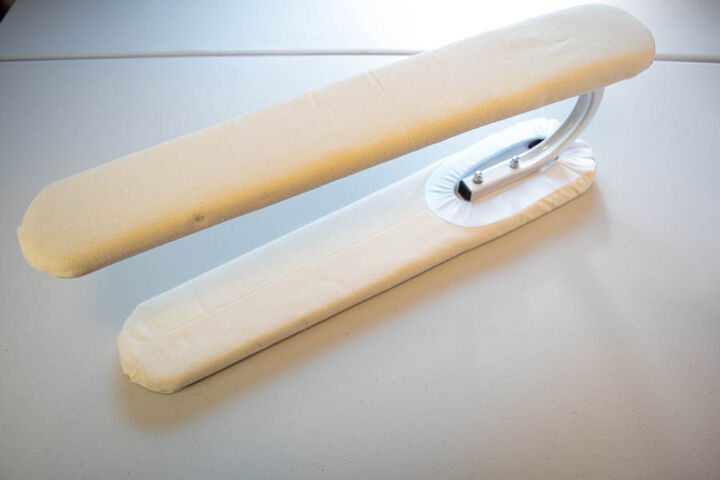
A sleeve board is a very useful pressing tool, especially if you tend to make lots of pants or shirts and dresses with long sleeves. The sleeve board is basically just a smaller ironing board to make pressing sleeves and other fabric tubes easier. Sleeves do not usually fit around the small end of a regular ironing board, which means you generally need to press the sleeves flat on the board. This makes it super difficult to avoid ironing creases into the fabric on the underside of the sleeve. A sleeve board solves this problem because you can fit sleeves and pant legs around the board for easy pressing.
If you are more of a visual learner and would like additional information on these tools, please check out our YouTube video.
I hope you enjoyed this sewing tutorial and found the advice helpful. If you have any questions, please leave questions in comments section below and I will do my best to answer.
Before you go, please consider signing up for the email/newsletter list. We do not send junk—just good sewing information.
The author may collect a small share of sales from the links on this page.


Comments
Join the conversation
I'm curious about the iron you use. I've had 2 Rowenta's and now I'm using Black and Decker that leaks terribly.
Thank you. Amazon has a red one for $102.00. I never understand why the color matters. I save $28.00 by getting the red as opposed to the champagne color.