Flirty Heart Jacket Tutorial

Hey loves! Today I’m going to show you how to create this flirty, heart jacket. Let’s get started.
Tools and materials:
- A jacket from thick material (corduroy)
- Thread that matches the color of the jacket
- Sewing machine
- At least 60 eyelets
- Eyelet tool
- Hammer
- 6 yards of ribbon, ¼” to ⅜“ wide
- Scissors
- Measuring tape
- Sharpie
- Pen
- Piece of cardstock
- 10 Straight pins
- Hardware adhesive (e6000 glue)
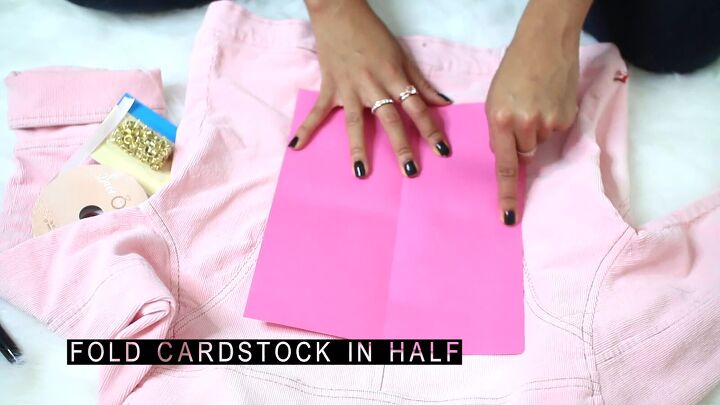
1. Make a heart from your cardstock
Place the cardstock on the back of your jacket and fold it vertically, down the middle. This will allow you to achieve an even heart shape. Placing it on the jacket will help you determine a suitable size for the heart.
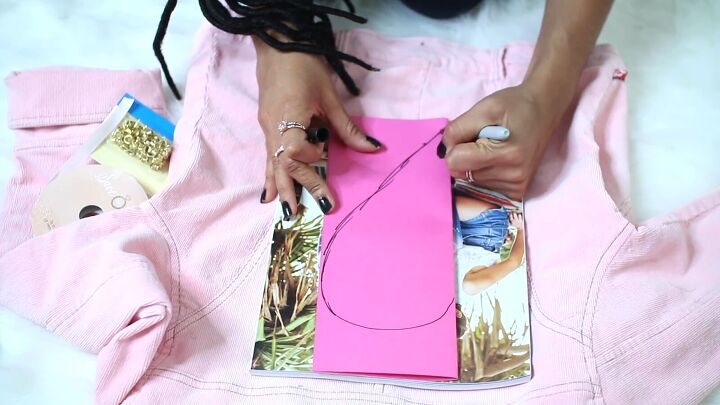
Next, sketch out a half of the heart, like you would to make a Valentine’s Day card. Use an old magazine underneath so that you don’t draw on the jacket.
Open the cardstock and make any adjustments to change the shape, depending on what you like.
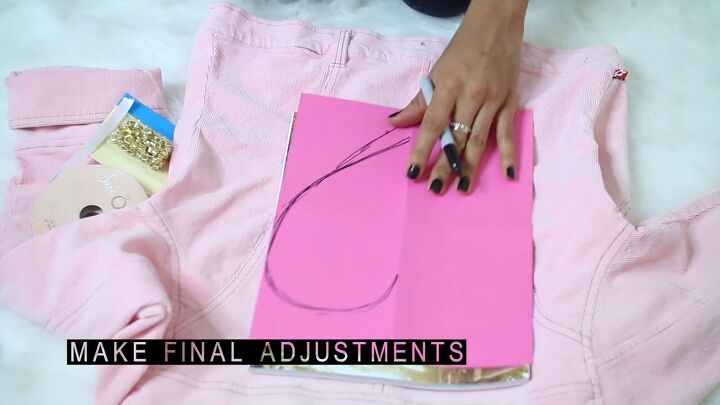
Then, fold the cardstock back in half and cut out the heart.
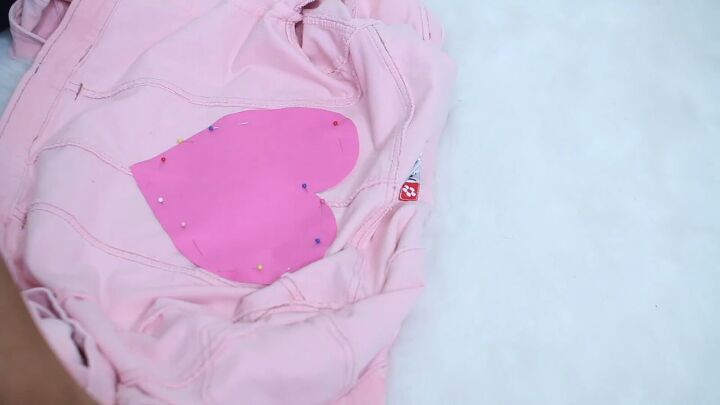
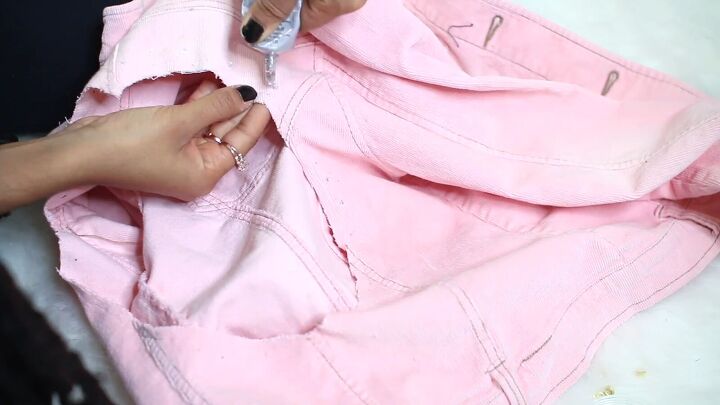
2. Attach the heart pattern
Flip the jacket over and open the front panels so that the inside of the back is exposed.
Using a few straight pins, attach the heart pattern on the inside, making sure it’s centered.
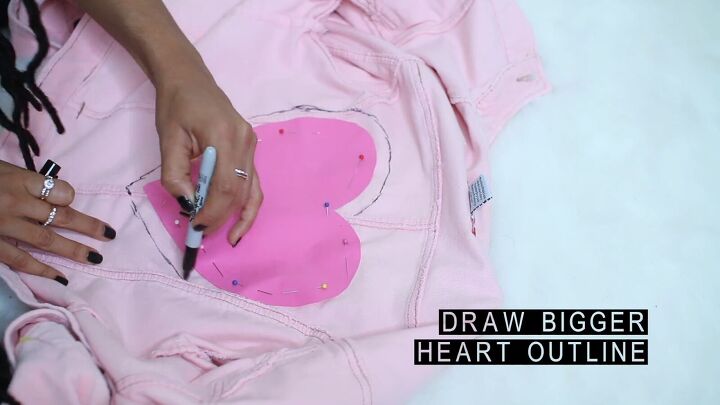
3. Draw, then cut around the heart
Using your marker or pen, outline the heart about half an inch bigger than the cardstock pattern.
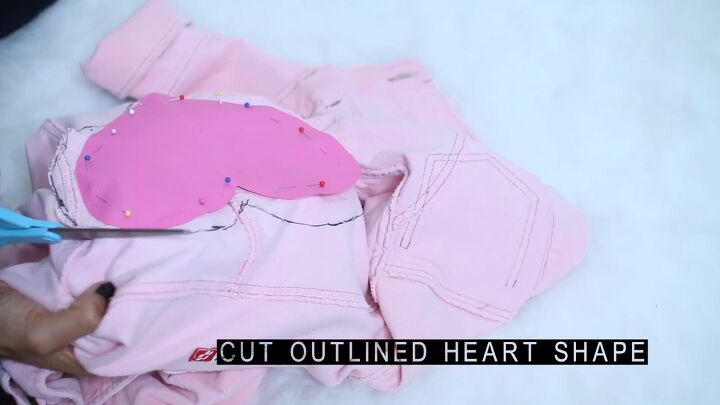
Then poke a hole in the outline and cut, following the heart outline.
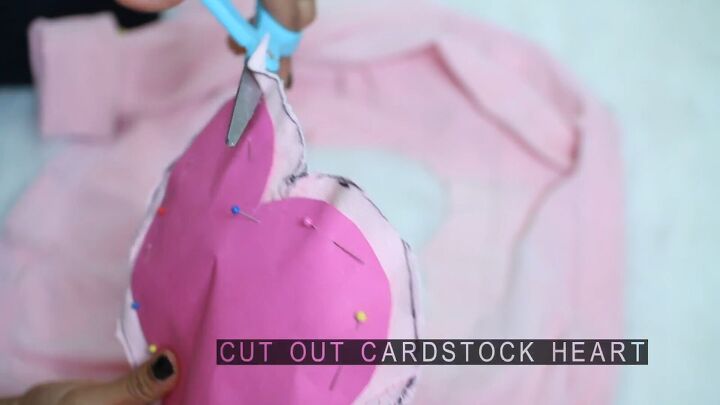
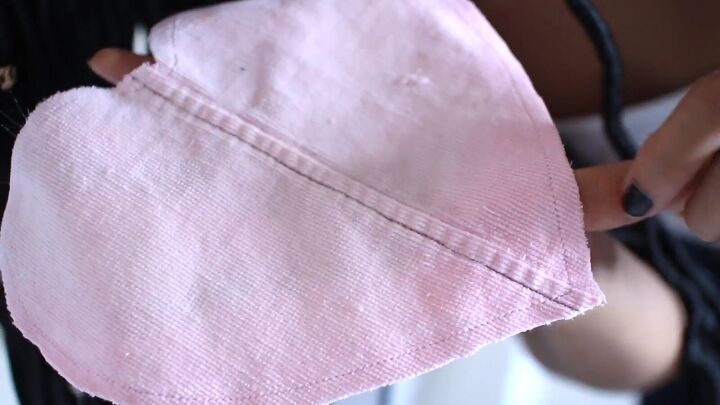
4. Cut around the cardstock heart
Next up, you’ll take the heart piece and cut along the cardstock to remove the excess fabric. This will give you a smaller heart panel.
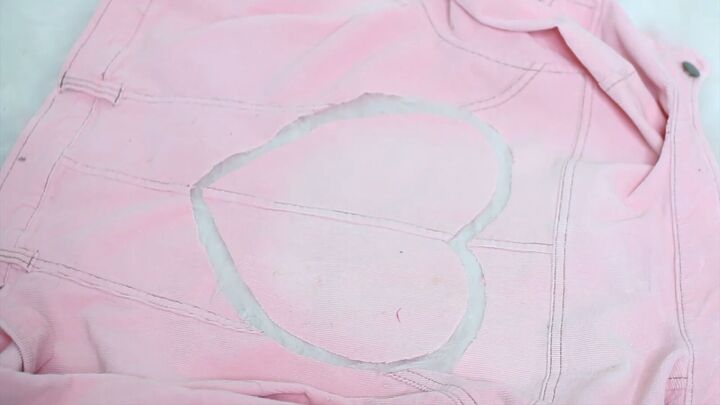
Lay the pieces out and they should look like this:
5. Stitch around the heart
Now, use your sewing machine to stitch around the heart piece, about a ¼” away from the edge, to prevent fraying.
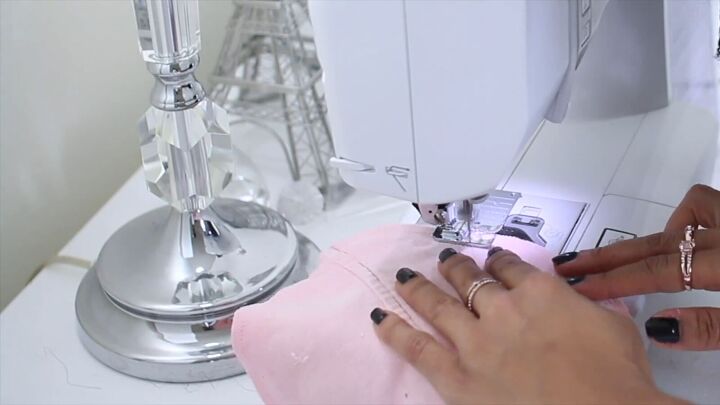
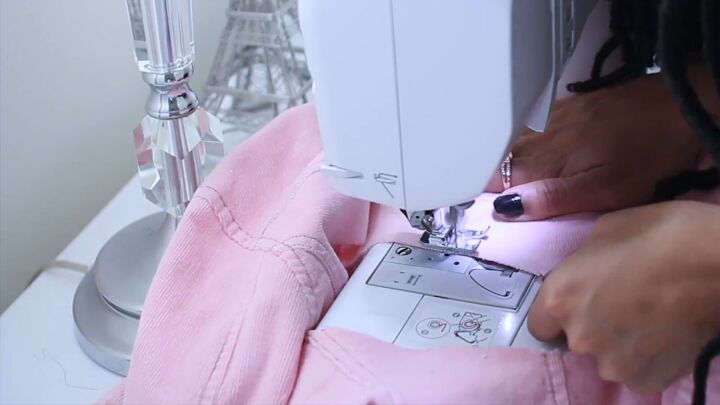
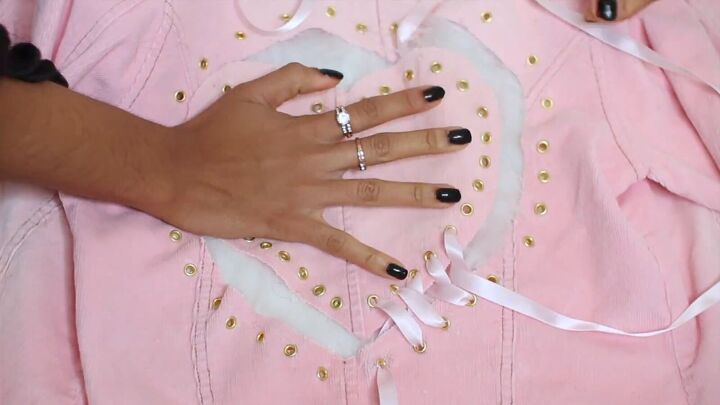
6. Repeat with the edge of the heart window on the jacket
Do the same thing with the jacket, also to prevent the edges from fraying.
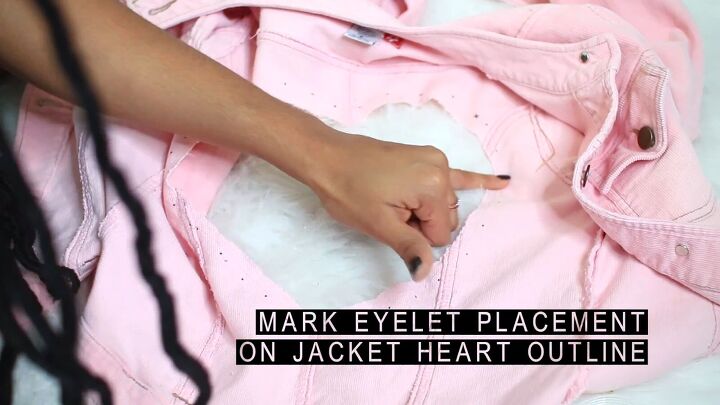
7. Mark eyelet placement
Use your marker or pen to draw dots on the inside of the jacket, around the heart window, to show the eyelet placement.
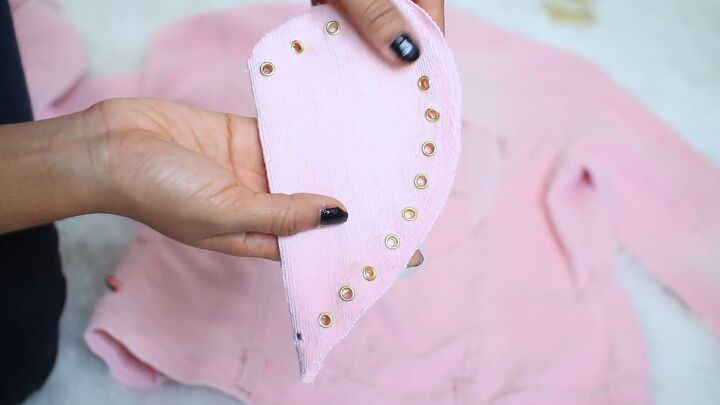
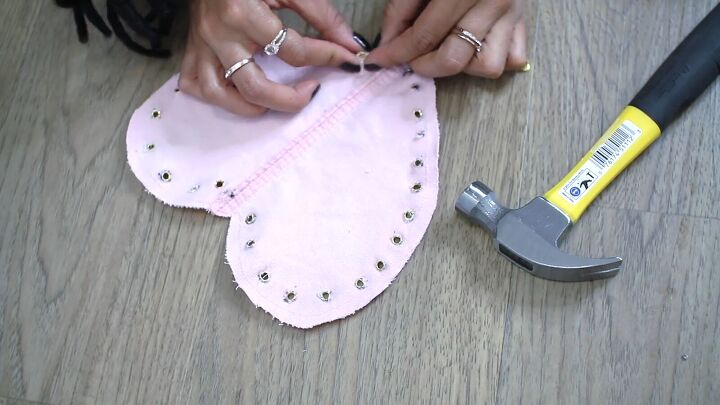
Then, mark the eyelet placement on half of the heart cut-out and attach those eyelets. Be careful not to cut yourself like I did!
You can use hardware adhesive if the holes got too big for the eyelets, before hammering them in. (Read step 11 for more detailed instructions about the eyelet tool)

The half heart with eyelets looks like this:
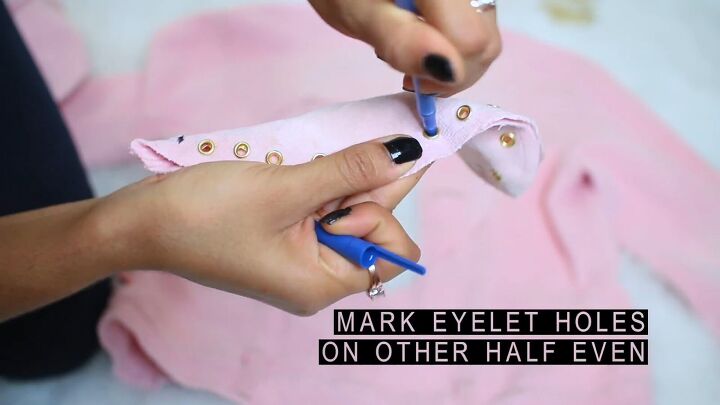
8. Mark the other half of the heart
On your folded heart, mark through the eyelet holes with a pen to the other half of the heart. This way, the eyelets will be symmetrical.
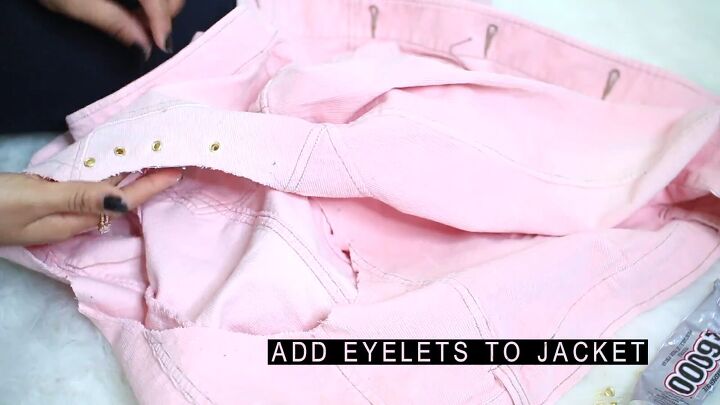
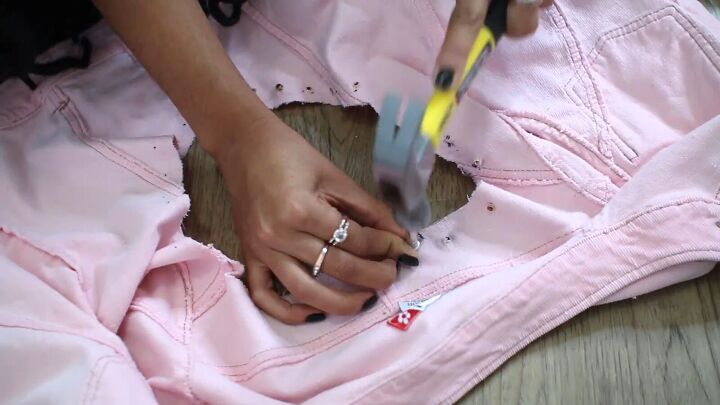
9. Cut small holes for the eyelets
Grab the jacket, fold on each dot that you marked earlier and cut small holes for the eyelets. Keep the holes small so that the eyelets don’t slip through. (See video at 2:40 - 2:50)

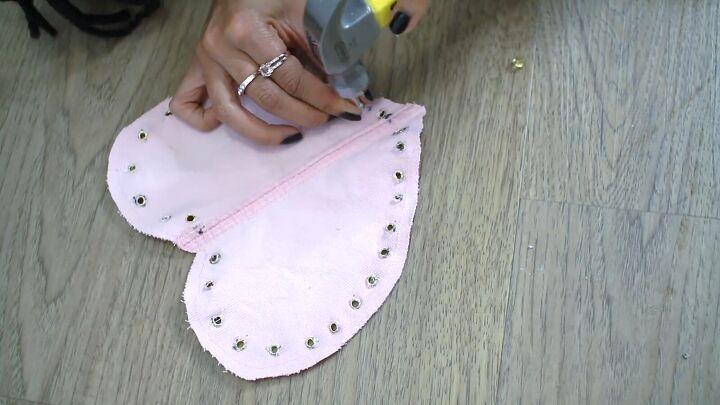
10. Apply hardware glue and affix eyelets by hand
As I mentioned earlier, I used the adhesive here for whenever I accidentally cut a hole that was too big for the eyelet, and to help keep those eyelets in place before hammering them.
11. Hammer the eyelets to the heart
Place the small circular piece of the eyelet tool under the top side of the eyelet.
Then, stick the longer piece of the tool on the bottom side. Now you can hammer each eyelet in place. You’ll notice that the back of the eyelet folds over.
Continue this same process on the back of the jacket.
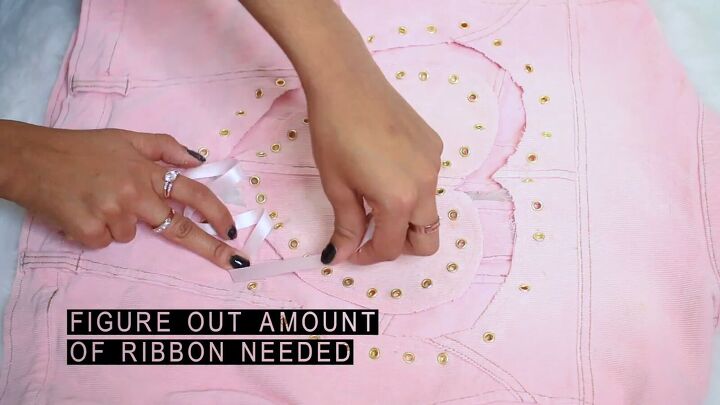
12. Determine the amount of ribbon needed
Line up your heart panel to the heart window. Then, take your ribbon and roughly zigzag it from eyelet to eyelet to see the length of ribbon needed to attach the pieces. I ended up using 6 yards total.
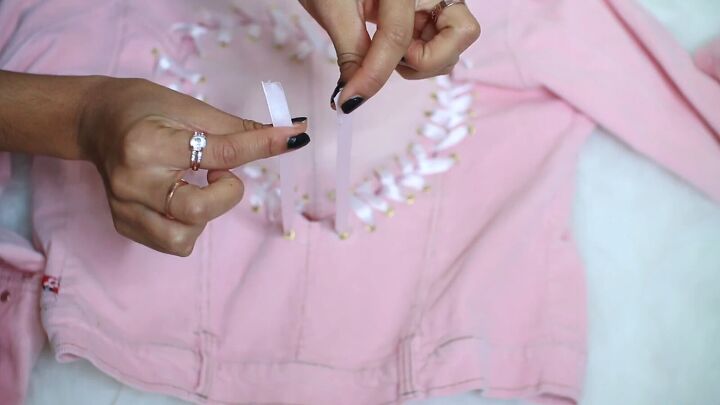
13. Lace your heart
I started at the bottom of the heart, leaving an extra 5” of ribbon in case I wanted to tie a bow at the end. Think about lacing it just like you would a pair of sneakers.
Continue lacing all around the heart until you reach the bottom point.
Option 1: Tie a bow outside of the jacket
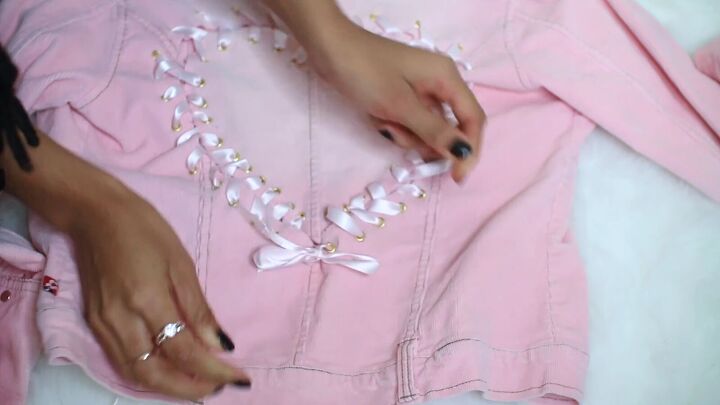
Option 2: Tie a bow inside the jacket
Flip the jacket over and tie the bows inside. This is what I ultimately chose to do.
Here’s the final look of my lace up jacket. All in all, it was relatively simple to make, and the final result is cute and unique. What do you think?

Heart jacket
Now it’s your turn to upcycle a jacket. Show us in the comments below how your heart jacket turned out.
The author may collect a small share of sales from the links on this page.


Comments
Join the conversation
DARLING!! 🥰
Very nice, the mistake you made turned out real good look like part of the design. You did a really nice and neat job.