Want to Spice Up an Old Blazer? Here's How to Make Cute Bell Sleeves

If you’ve been looking for a DIY bell sleeve pattern, look no further. It’s one of the easiest ways to refashion a boxy boring blazer into a fashionable bell sleeve blazer! Let's get started.
Tools and materials:
- Blazer
- Fabric
- Scissors
- Sewing machine
- Marking chalk
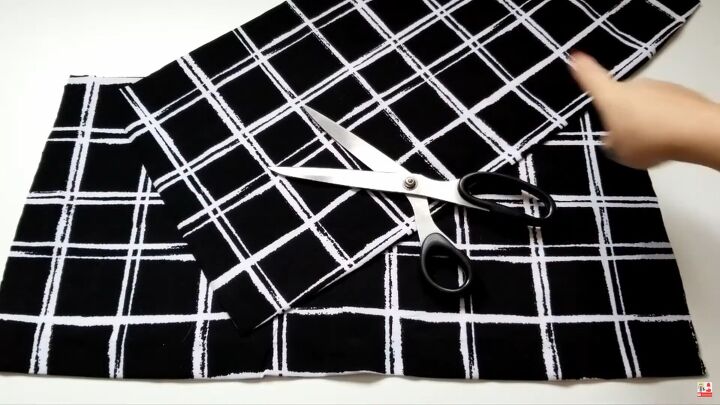
1. Cut the fabric
In this tutorial, I used the fabric I had leftover from a dress I shortened. I cut the fabric into 2 equal-ish pieces.
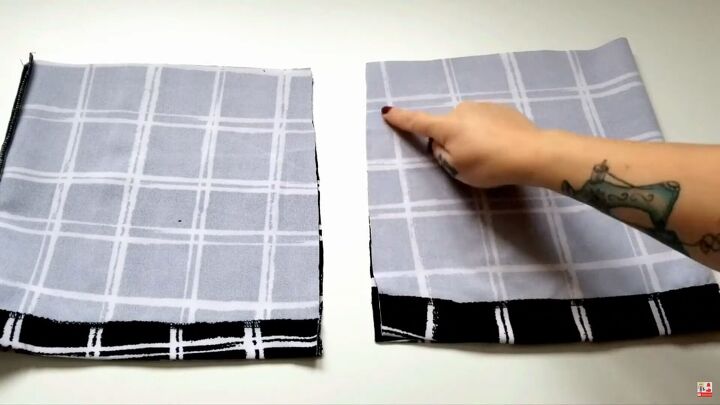
2. Sew the fabric
Fold the cut fabric in half with the right sides facing in. Stitch up the raw sides of the cut pieces. Flip them so the right side is facing outward. They will look like tubes.
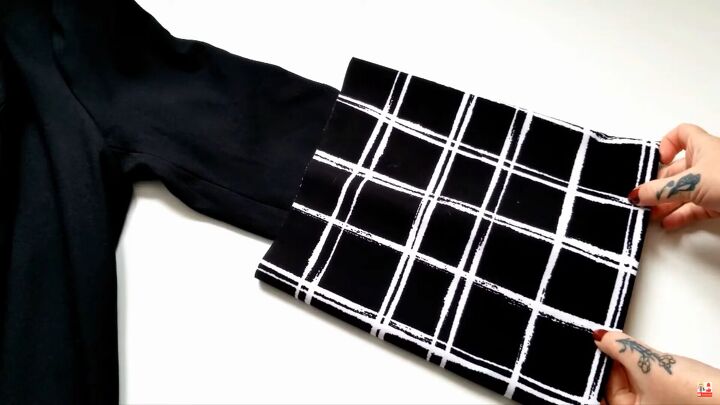
3. Prep the blazer
Lay the blazer on a flat surface. Line up the sewn tube to determine where to cut the blazer and how long the flared soft bell sleeve will be.
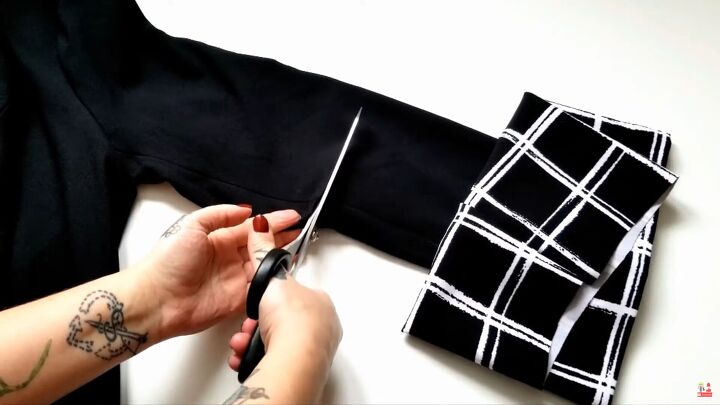
Mark the blazer at the determined spot and cut the sleeves off of the blazer. Depending on the sleeve length of the blazer and the bell portion, you may want to leave some extra blazer sleeve length for seam allowance.
The blazer I used had a lining so I hemmed it to keep the lining threads from fraying.
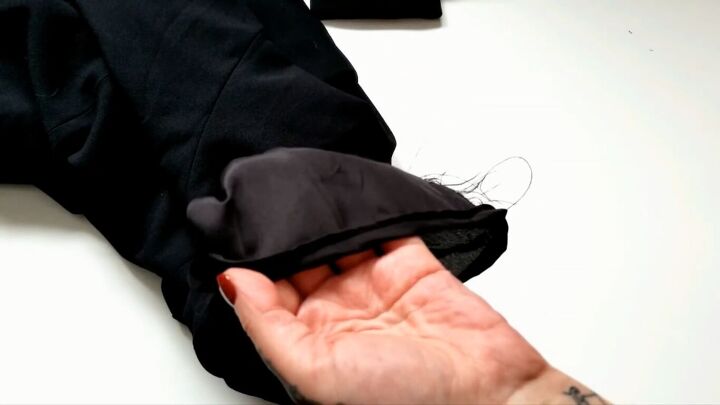
4. Attach the bell sleeve
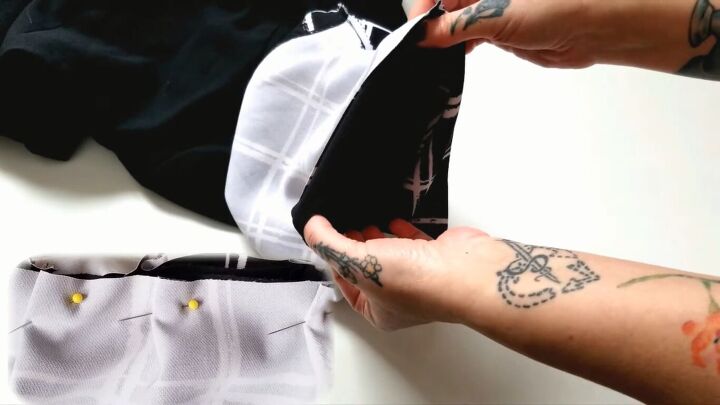
Once the blazer’s sleeves are gone, pop in the bell sleeve tube, right sides facing inward directly into the blazer sleeve.
Gather the fabric in soft, nice pleats and pin in place. Then, sew into place using a straight stitch.
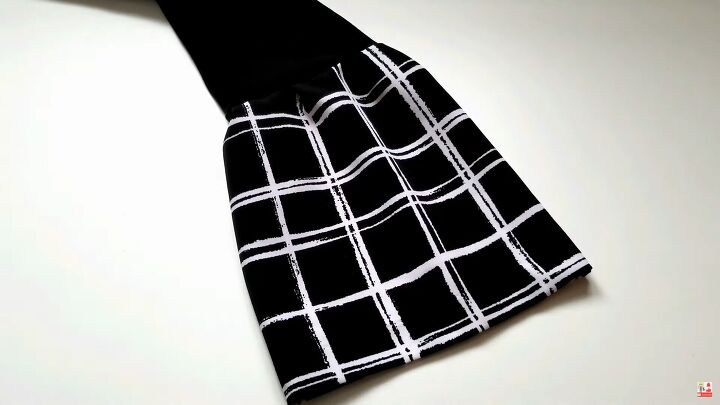
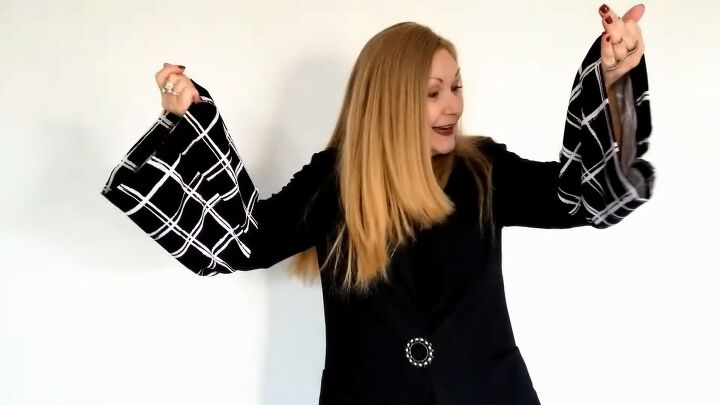
How to make bell sleeves tutorial
How awesome is this upcycle for a women’s bell sleeve blazer? I love this look! If you decide to make this, absolutely share the news with me in the comments here or visit my site. I would love to see how you interpret this tutorial for all your sustainable DIY projects.

The author may collect a small share of sales from the links on this page.


Comments
Join the conversation