How to Make Your Own Cozy, Patagonia-Style DIY Fleece Jacket

Fall is here! If you’ve been looking to make your own DIY fleece jacket or want a fleece jacket sewing pattern, this is the tutorial for you! Follow the steps I used to make this warm, cozy, Patagonia-inspired jacket.
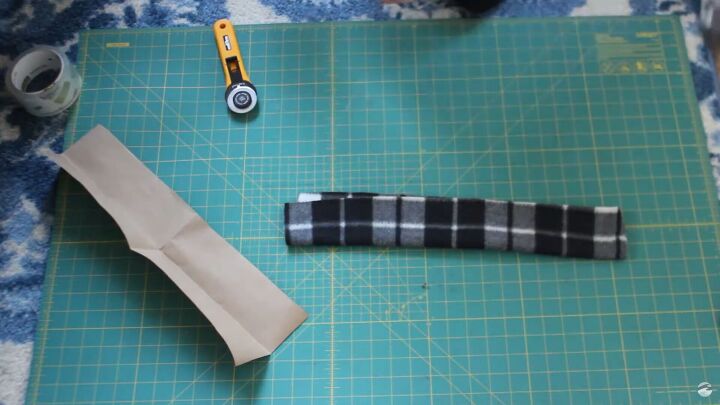
Tools and materials:
- Your own jacket to serve as the pattern
- Fleece fabric
- Pattern paper
- Pen
- Marker
- Scissors
- Rotary cutter (optional)
- Zipper (I used a 6 inch)
- Sewing machine

1. Make the pattern
You’ll need to make the front, collar, back, and sleeves. It’s great using an existing piece of clothing that fits well already as a solid reference.
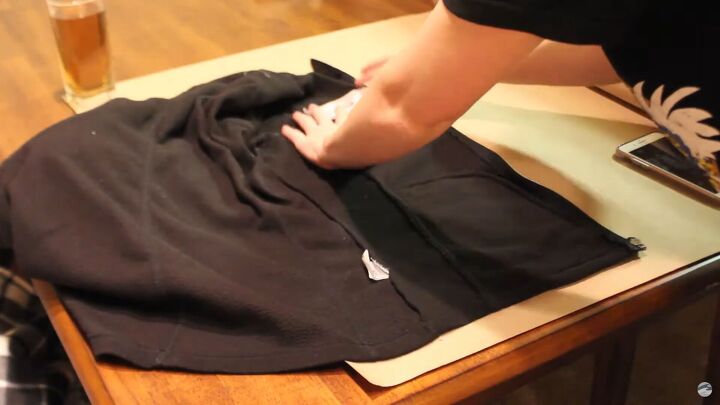
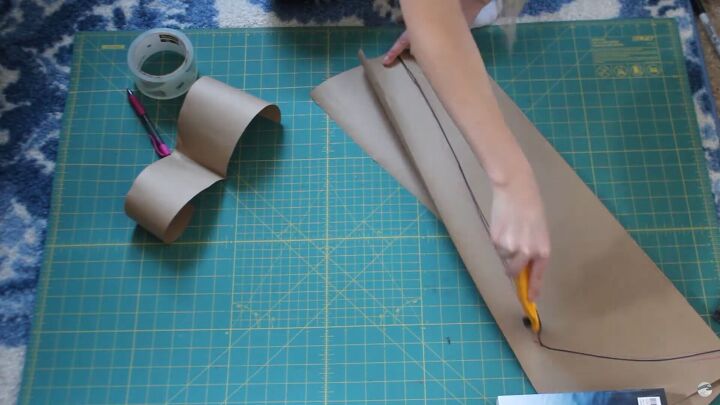
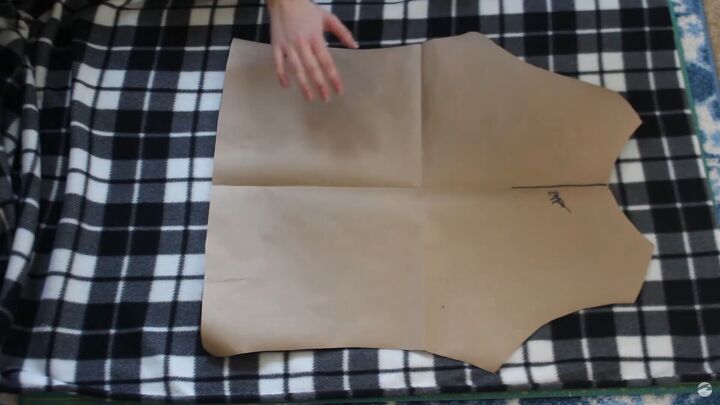
Lay your jacket on top of the pattern paper and trace the front.
Make a steep curve on the front piece for the shoulder. Fold the paper and cut out the pattern.
Mark the spot for the zipper.

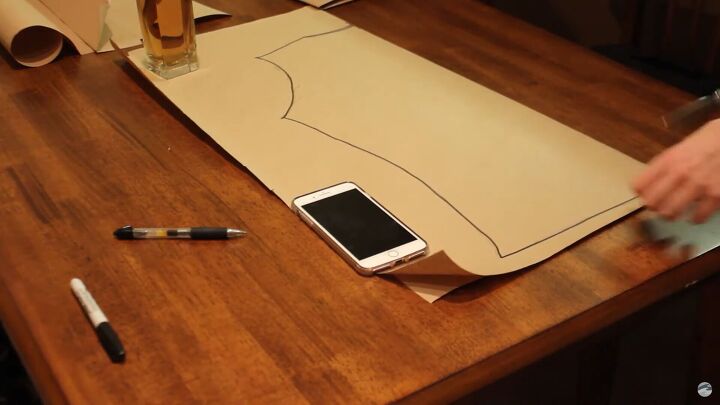
Trace the collar and fold the pattern in half because collar should be doubled.
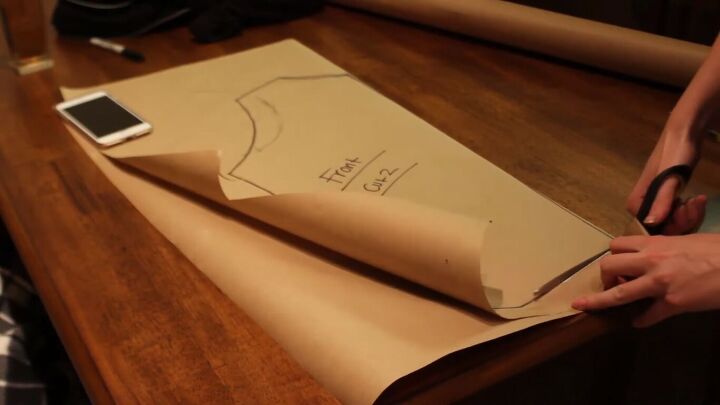
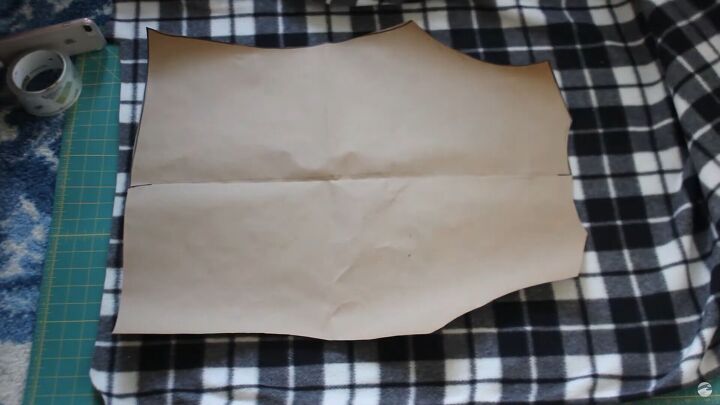
Trace the back the same way as the front. Fold and then cut the pattern. The neck hole is shallower in the back than in the front.

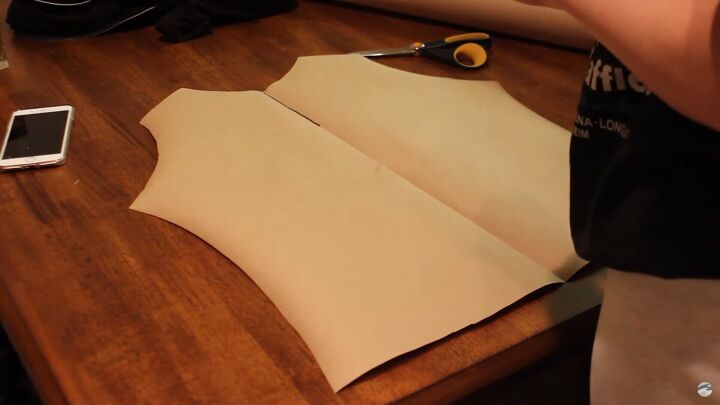
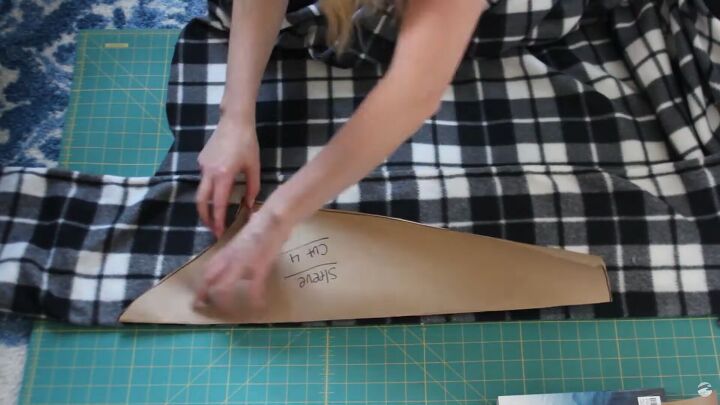
Sleeves can always be a bit funky to do. Arm patterns have a shape you wouldn’t expect. First trace the outside.
Fold the paper in half. Shoulder attachments have a bit of a curve to them.
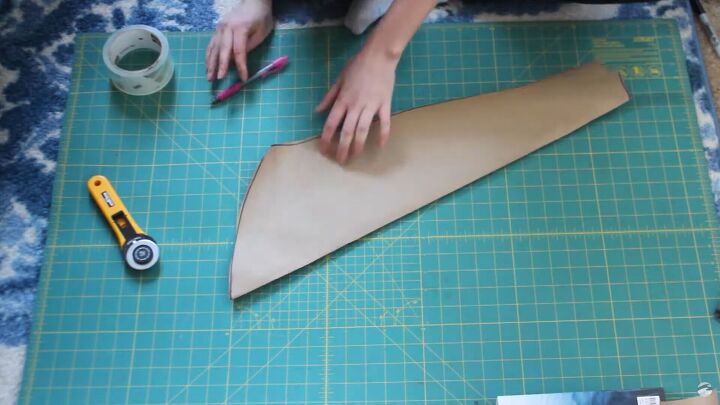
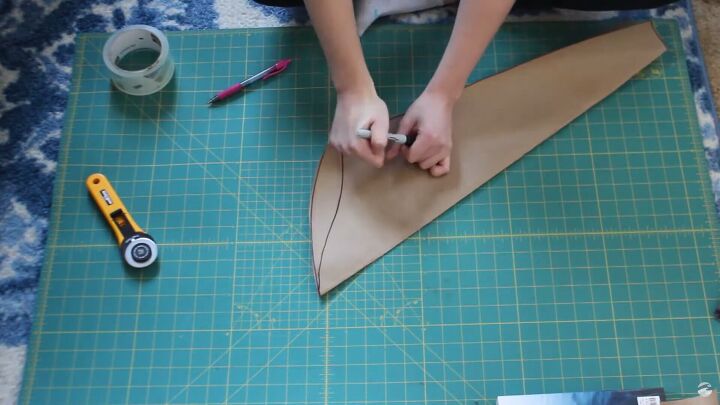
I freehand draw the curve and then cut. There is a bit of a slope and it touches this point.
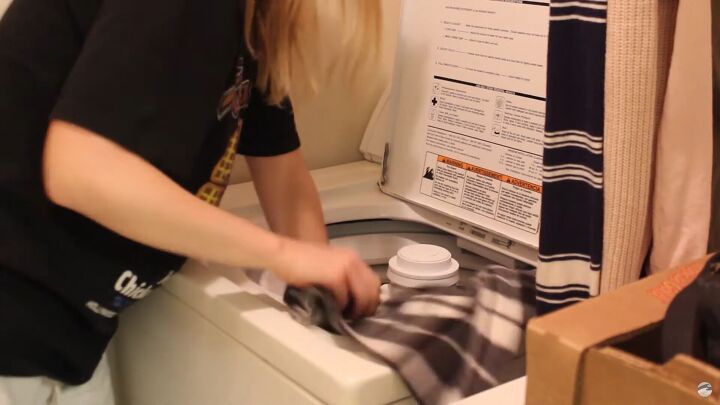
2. Wash the fleece
Fleece definitely shrinks! Once the pattern is cut, wash the fleece in the washing machine and dry it in the dryer.
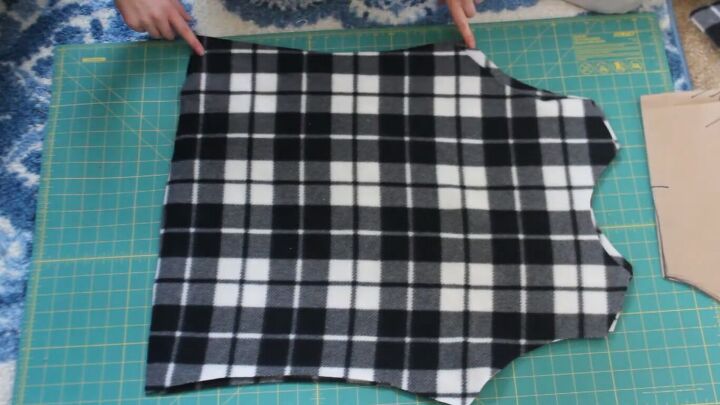
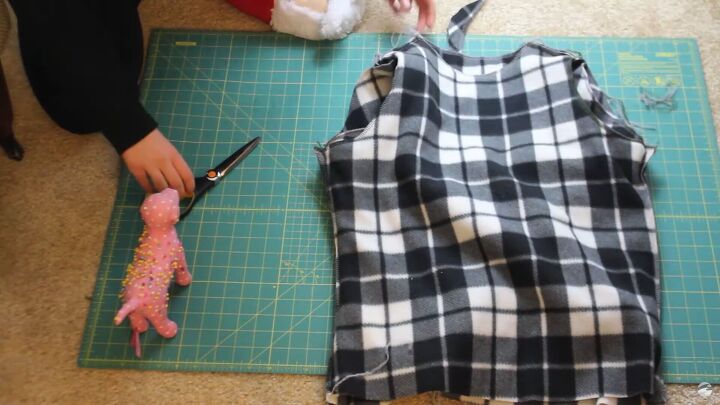
3. Cut the fleece
The fleece I used to make this tutorial is thin, so I cut out 2 pieces for each part. Part of the process will be to sew 2 front pieces together and 2 back pieces together.
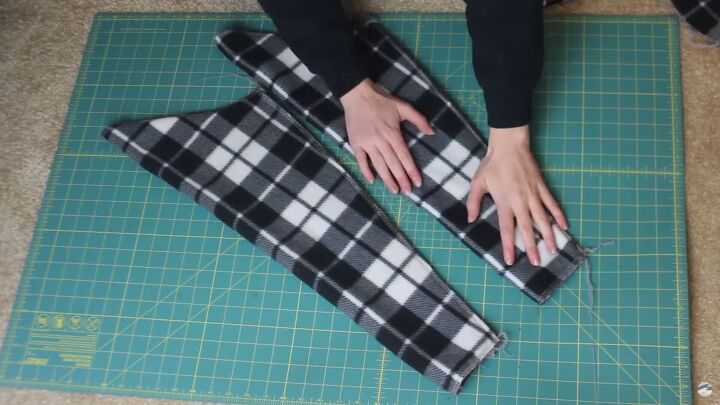
I cut 4 sleeves. An easy trick to cut sleeves is to fold the fabric when cutting.
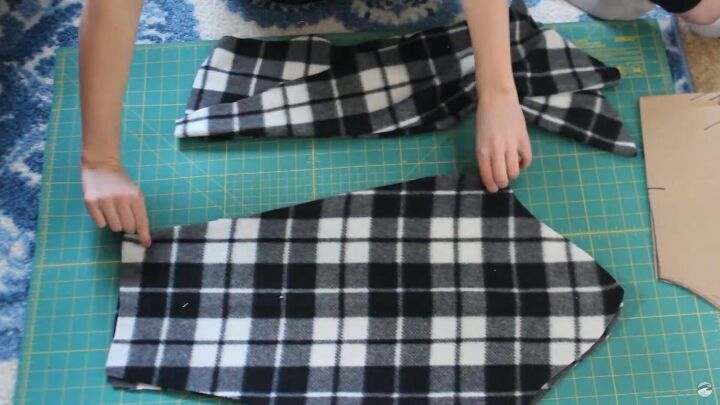
The sleeves should look like this when cut.
I doubled up the collar so I only cut 1 piece because 2 pieces will make it too thick and bulky.
4. Sew the double pieces
First, sew the 2 front pieces together. Sew up the side seams and armholes as these 2 pieces make the front.
Sew the 2 back pieces together.
Sew the sleeves. All the edges should be sewn: the wrist, armholes, pretty much everything.
If you have a serger (overlock machine), finish all the edges. If you don’t have one, just use a straight stitch all the way through.
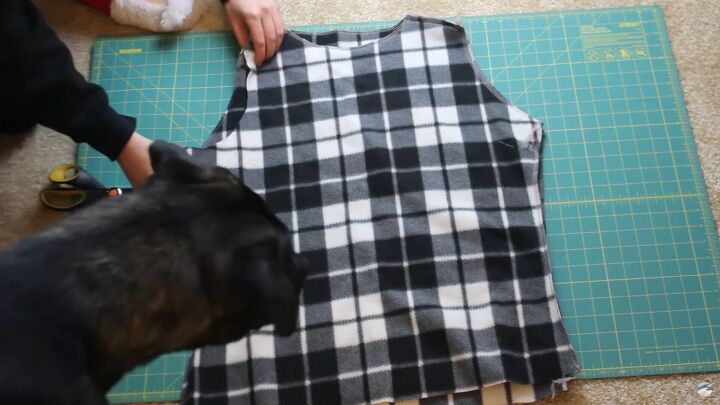
5. Sew the jacket
All the fabric should have the right sides facing in (ignore my dog in the picture).
Sew the sleeves along the side seam.
Connect the front and back. Sew the shoulder seams together. Then sew the side seams together.
Trim a bit by the shoulder area in the front.
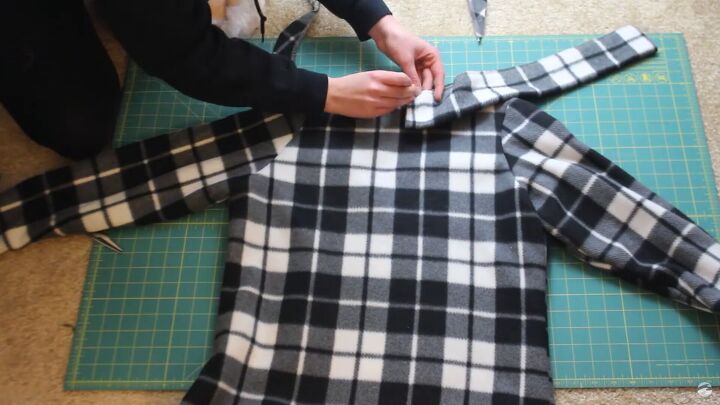
6. Attach the sleeves
Turn the sleeves right side facing out. Stick the sleeve inside the bodice that should be wrong facing outside. Pin into place matching the seams.
Make sure the apex of the curve of the sleeve is at the top of the shoulder. Sew in a circle using a straight stitch. Repeat for the other side.
7. Attach the collar
Pull the whole top inside out so the right side is facing you. Take the sewn collar with the seam side towards the neck. Pinch the fabric at the top to find the center. Mark the center with a pin.

Pin the collar starting from the center with the collar facing down. Straight stitch in place.
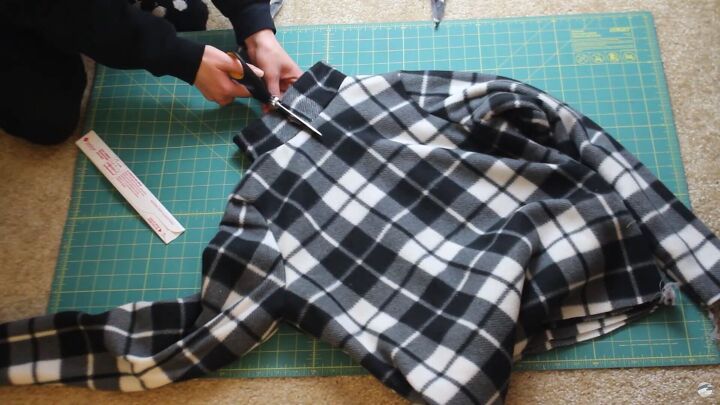
8. Install the zipper
The collar won’t meet perfectly at the center. Measure and cut to fit the zipper. I’m not the best at zippers and I actually looked up a tutorial on how to best install a zipper.
9. Hem the jacket
Once the zipper is in, hem the bottom and the sleeves to finish the jacket.
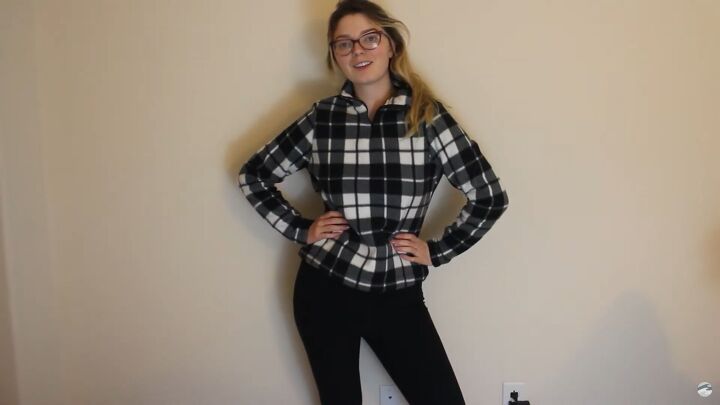
DIY fleece jacket tutorial
This DIY fleece jacket looks great by itself or with a white North-Face-style vest, black leggings, and ski boots. This is super nice, cozy, and warm with the Patagonia look. Thanks so much for watching and give me a thumbs up if you liked this fleece jacket tutorial.
The author may collect a small share of sales from the links on this page.


Comments
Join the conversation