How to DIY a Sleek Quilted Jacket

These cooler days call for warmer clothes, and this DIY quilted jacket fills that need perfectly!
In this tutorial, I will share a quilt jacket sewing pattern with you and guide you through the step-by-step instructions for sewing the quilt jacket.
Tools and materials:
- Quilted fabric
- Lining fabric
- Bias binding
- Downloadable pattern
- Scissors
- Sewing pins and needle
- Thread
- Sewing machine
1. Adjust the sewing pattern
Once you download the quilt jacket sewing pattern, there’s a few adjustments to make so you get the quilted jacket I am going to show you.
Follow the video from 0:56 to 1:44 to make a new pocket pattern piece.
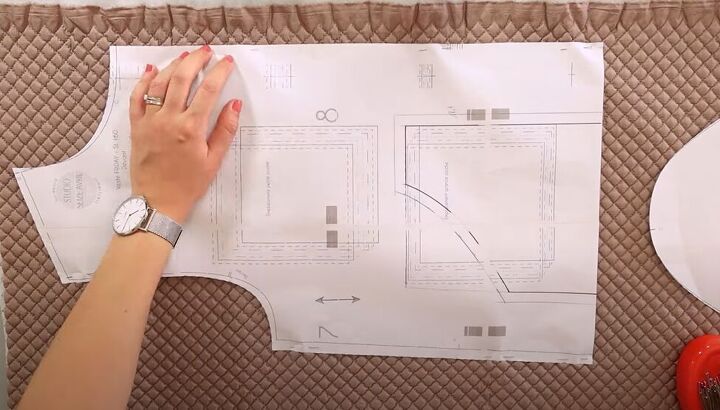
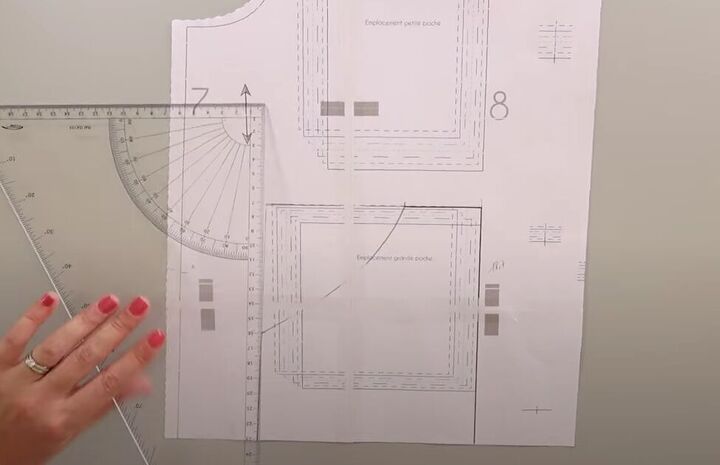
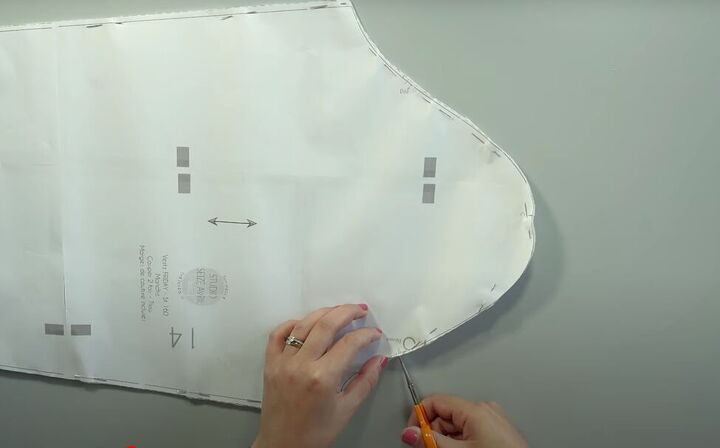
2. Cut the pattern
Pin the pattern pieces to your fabric and cut, making sure all of the pieces are aligned with the grain of the fabric.
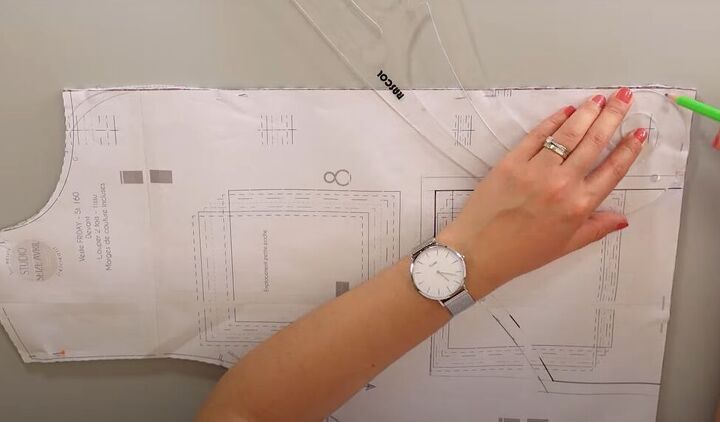
Use a round-edged ruler to mark and cut rounded corners on the center edge of the front piece, for a softer look.
Follow step 1 to cut the same pieces from your lining fabric.
Snip the notches on the sleeve lining fabric where indicated by the pattern.

Use the pattern piece to mark those same notches on the quilted fabric, but do not snip them.
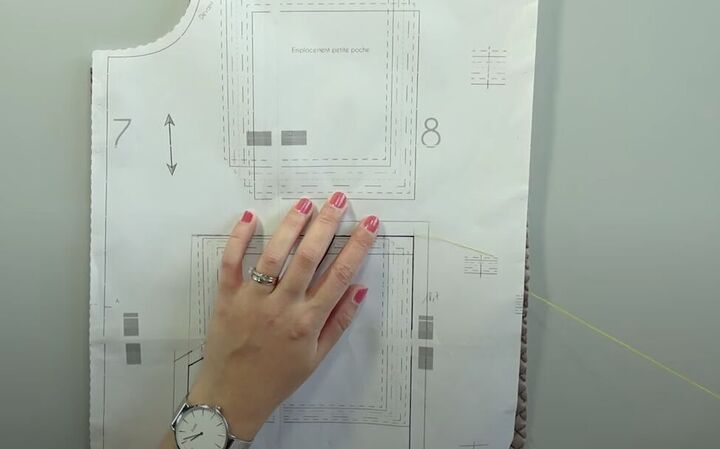
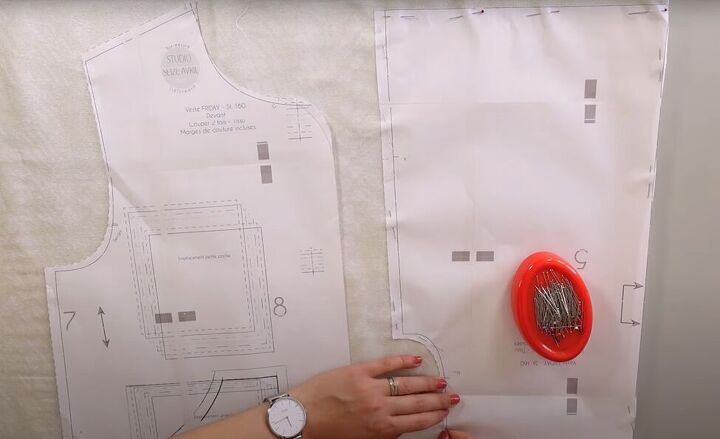
3. Mark the pocket
To mark the position of the pockets on the jacket front, follow the steps in the video from 3:18 to 3:53
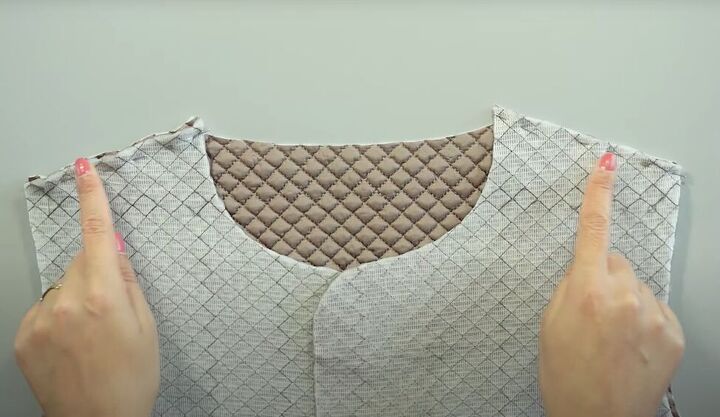
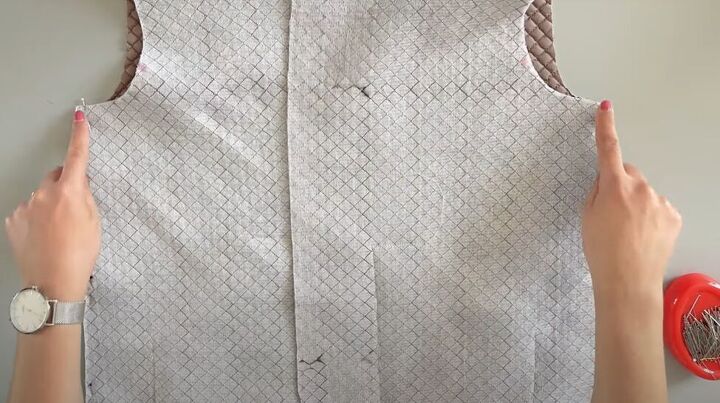
4. Attach the front and back
With right sides facing, place the jacket front pieces on the back piece.
Pin the shoulder seams and sew them 1 centimeter (0.4 inches) from the edge.
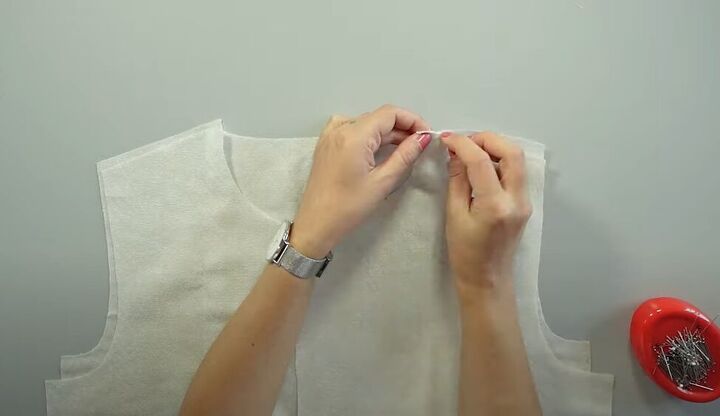
Repeat with the lining pieces.
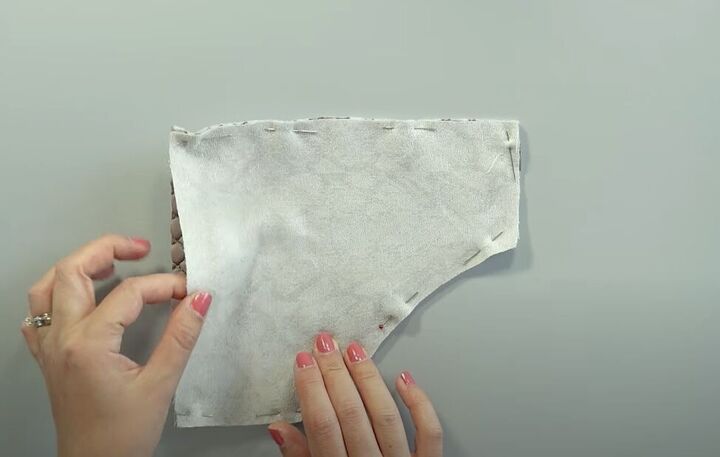
5. Assemble the pockets
With right sides together, pin the pocket linings to their matching pocket pieces all the way around except for the bottom edge.
Sew the pinned edges 1 centimeter (0.4 inches) from the edge.
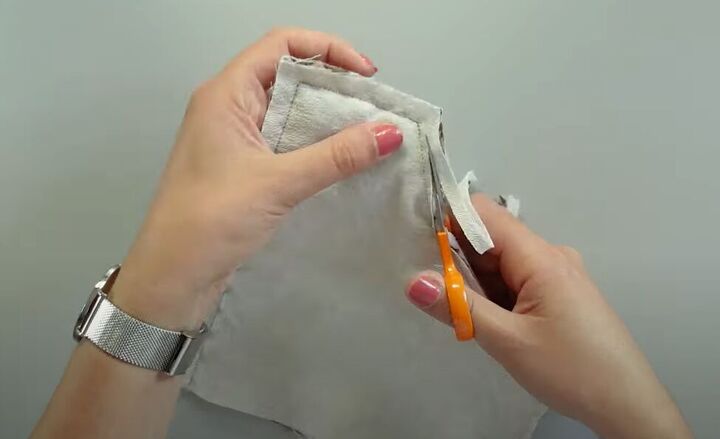
Trim the excess fabric from the pocket seam allowance.
Turn the pockets right-side out, push out the corners, and iron the pockets flat with a pressing cloth between the pocket and the iron.

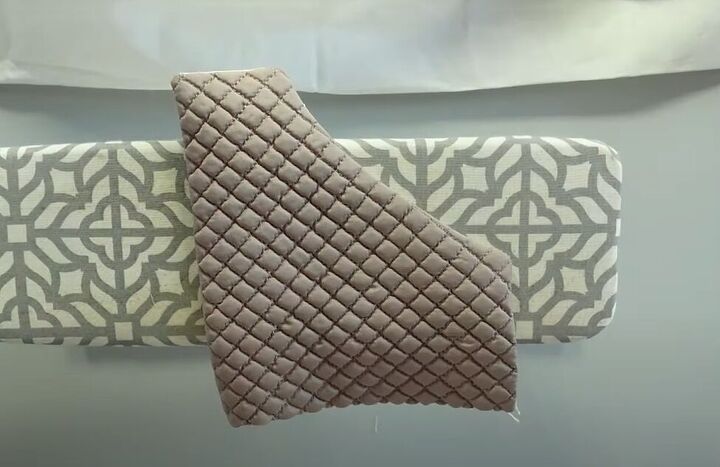
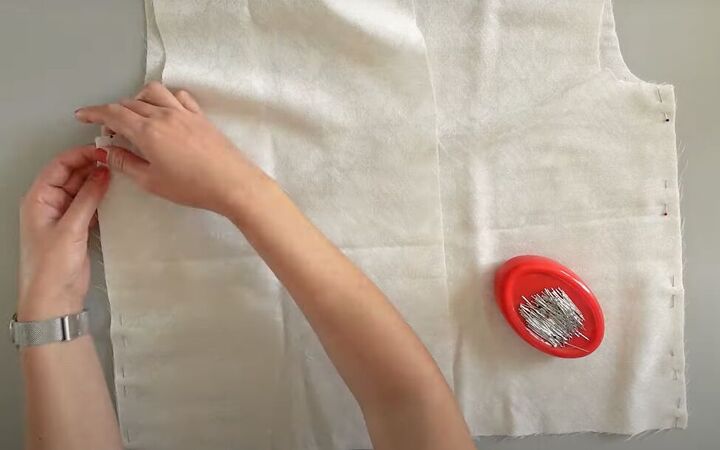
6. Attach the pockets
With right sides facing up, pin the pockets to the jacket fronts along the guiding stitches you basted in.
Sew the top edge and the sides (not the pocket opening or the bottom), 2-3 millimeters (0.07-0.1 inches) from the edge.
7. Sew jacket side seams
With right sides facing, pin the side seams of the jacket, and sew the side seams 1 centimeter (0.4 inches) from the edge.
Repeat for the jacket lining pieces.
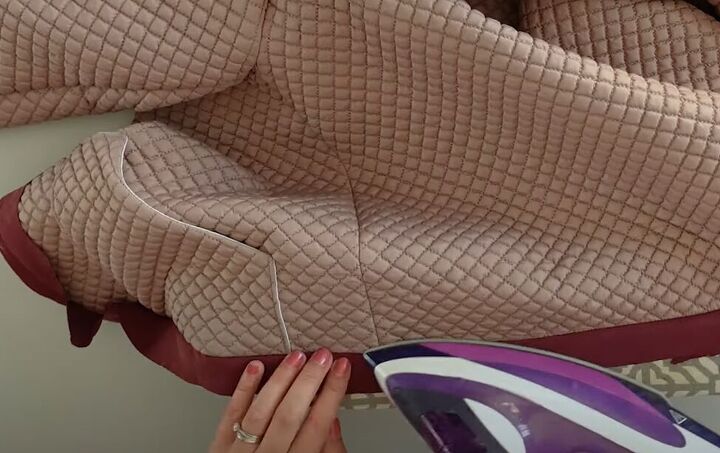
Press the side seams open using a pressing cloth between the fabric and the iron.
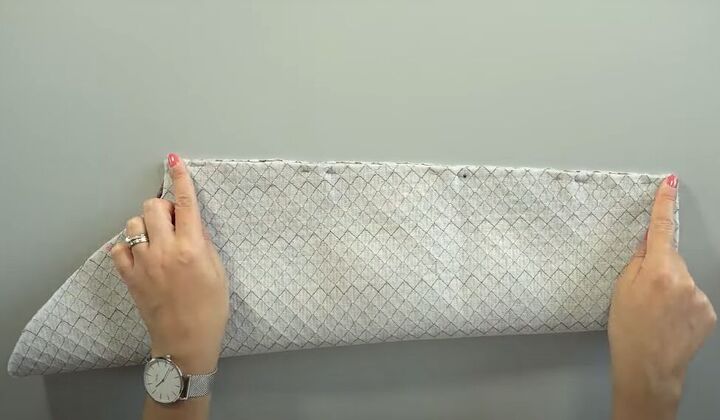
8. Sew the sleeves
With right sides together, fold the sleeve in half lengthwise. Pin and sew the long open edge 1 centimeter (0.4 inches) from the edge.
Repeat with the other sleeve, and both sleeve lining pieces.
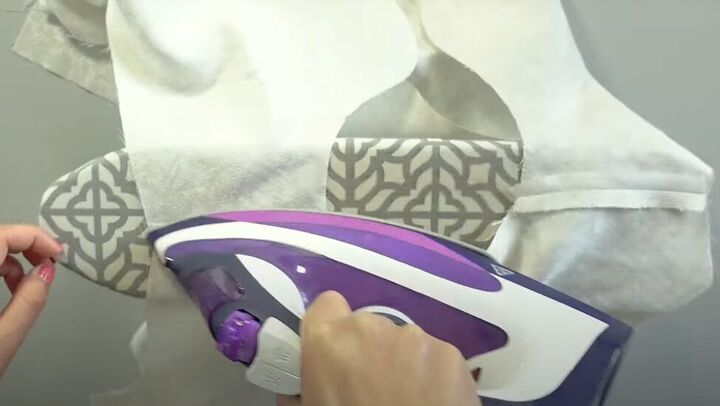
Press the seams open on all the sleeve pieces, using a pressing cloth on the quilted fabric.
9. Attach the sleeves
Insert the quilted sleeve through the armhole of the quilted jacket, with right sides facing.
Pin the sleeve in place, matching the seams and the notch markings. Then sew the sleeve in place.
10. Assemble the lining
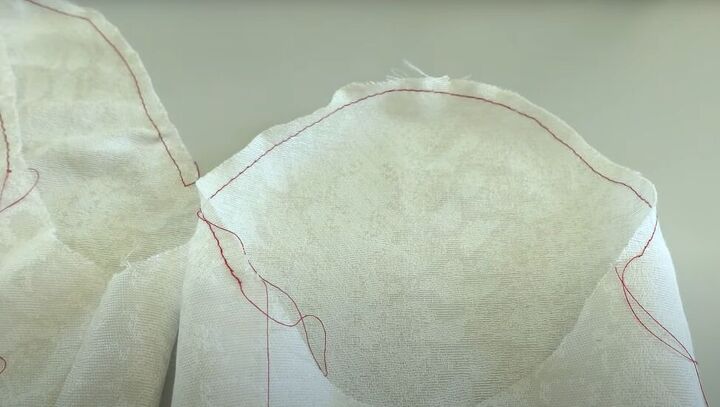
Repeat step 9 with the sleeve linings, but this time, first baste a gather stitch into the sleeve cap between the notches.
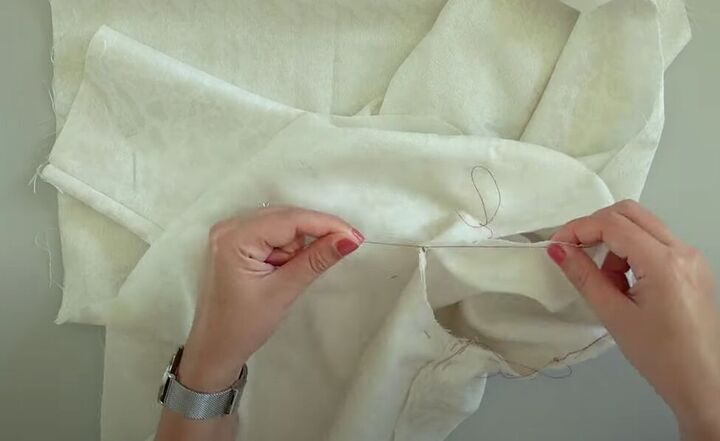
Pin and sew the sleeve lining into the armhole of the body lining, matching the seam and the notches. When you get to the sleeve cap, gather it as you pin.
Sew the sleeve in 1 centimeter (0.4 inches) from the edge, and then you can remove the gathering stitches.
Repeat with the other sleeve lining.
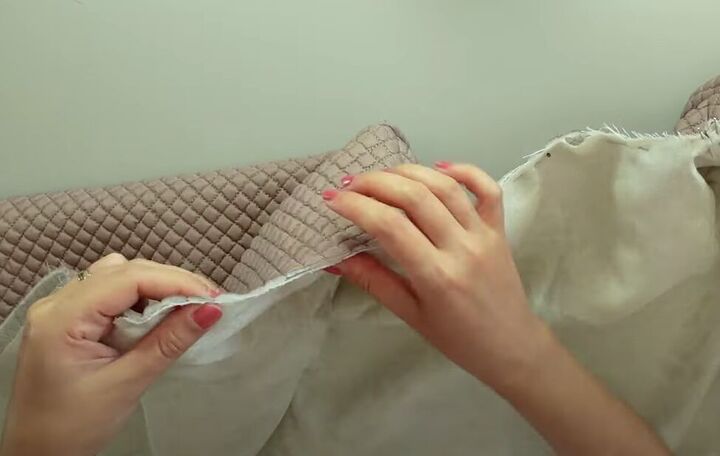
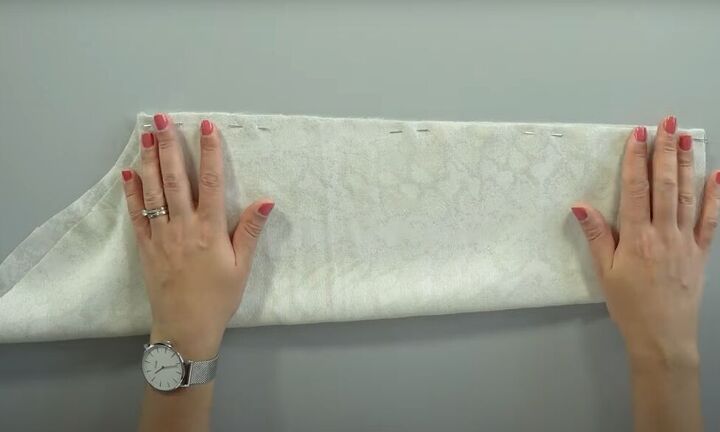
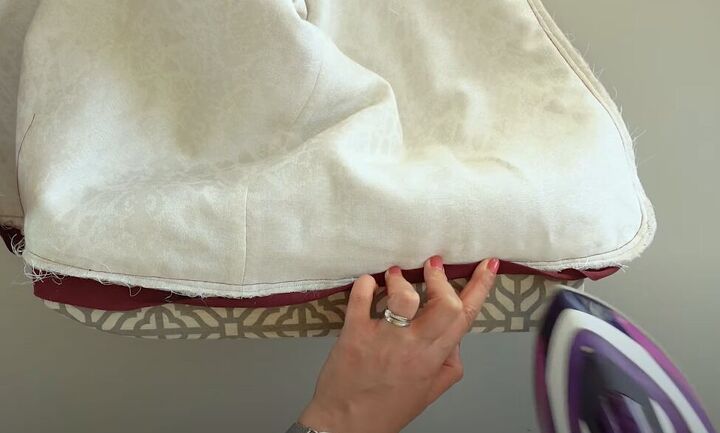
11. Attach the lining
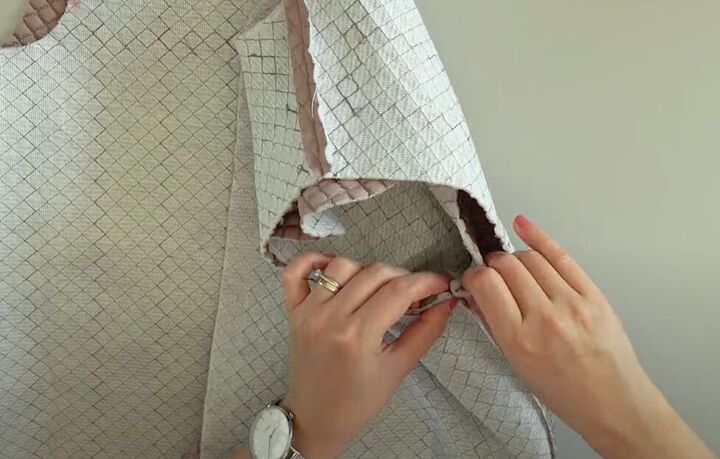
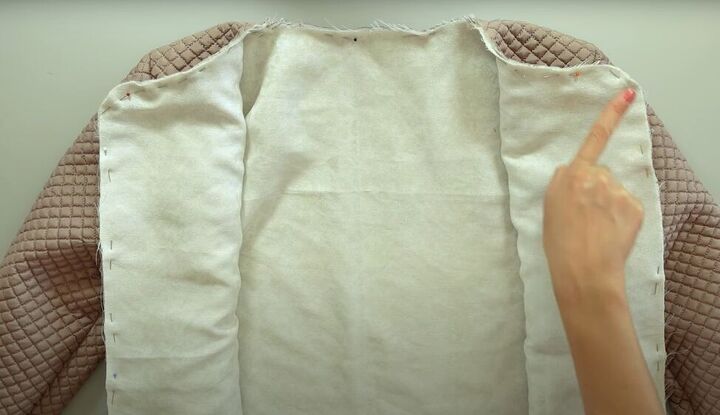
With wrong sides together, insert the lining into the jacket.
Align the shoulder seams and pin, then continue pinning all around the outer edge, aligning the side seams.
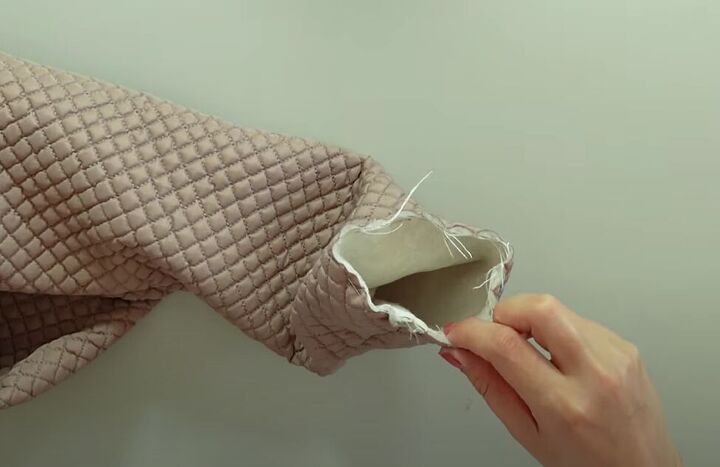
Pin the bottom of the sleeves, aligning the side seams there as well.
Sew all the pinned edges 5 millimeters (0.19 inches) from the edge.
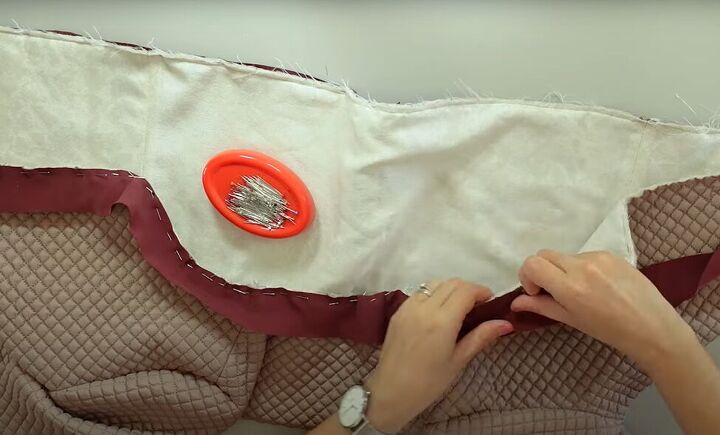
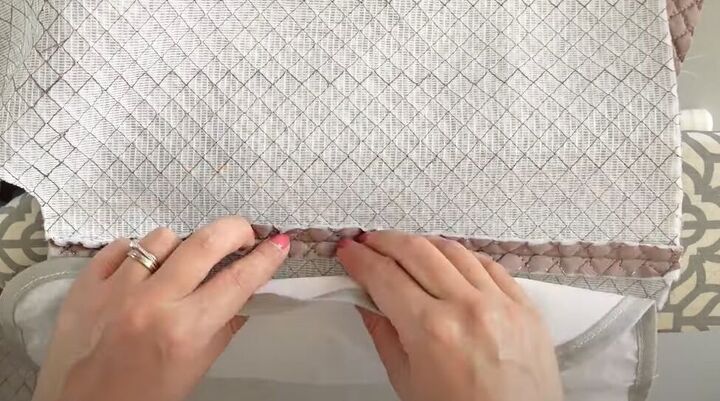
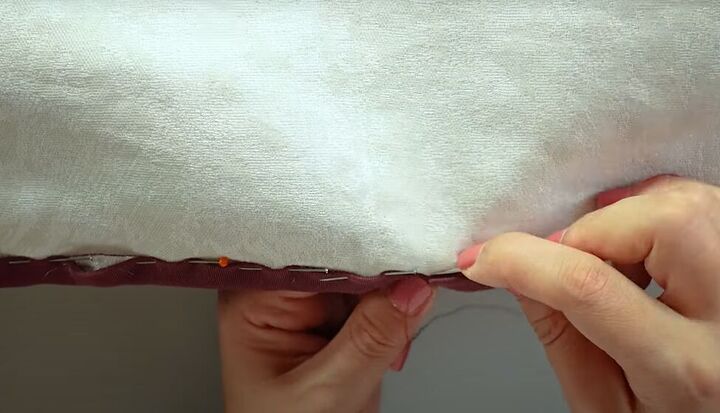
12. Bind the edges
With right sides facing, pin bias binding along the entire edge of the jacket and sew 1 centimeter (0.4 inches) from the edge.
Press the bias binding to the outside.
Turn your jacket over, and fold and press the bias binding to the inside so it meets the raw edges.
Fold and press the bias binding up one more time so it encloses the raw edges. Pin the bias binding in place.

Repeat with the sleeve bottoms.
Hand sew all of the bias binding in place with an invisible stitch.
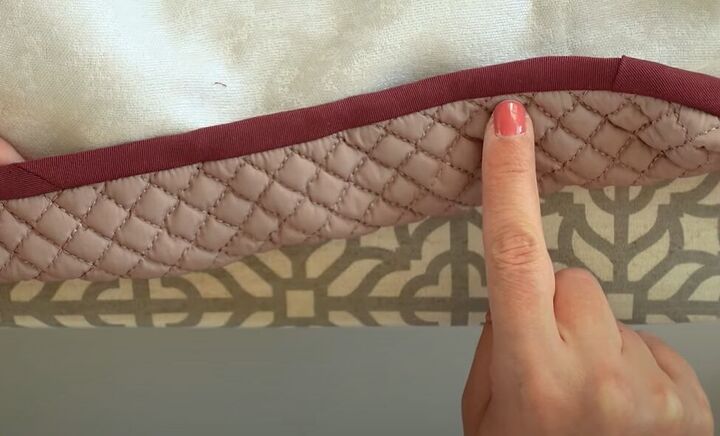
You can also top stitch in the ditch where you attached the binding at the beginning of this step.

DIY quilted jacket
Here’s my finished DIY quilted jacket. It’s the perfect weight and the binding makes it look really polished.
I hope you try making this quilted jacket and leave a comment to let me know how yours turned out.
The author may collect a small share of sales from the links on this page.


Comments
Join the conversation