How to Sew Kimono Gown in 8 Easy Steps

In this tutorial, I’m sharing with you how to sew a kimono gown from your own DIY kimono pattern.
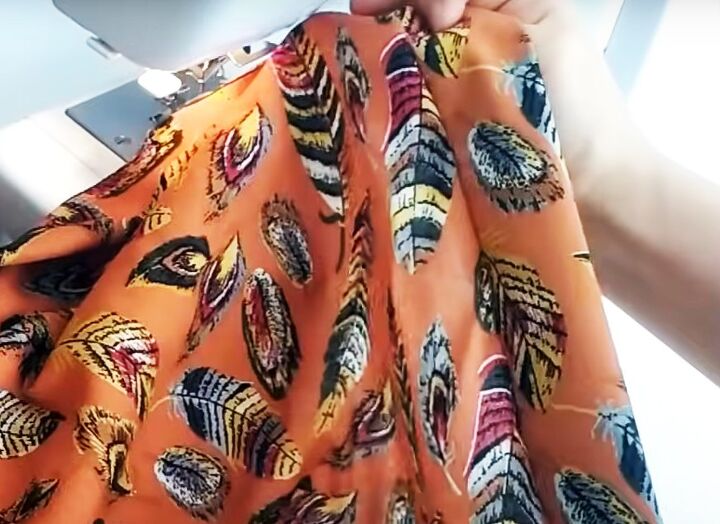
You want a fabric that drapes well for this. I used viscose but satin polyester would also work well.
The measurements I used will fit up to size 44 European but if you need to make it larger, just add 1.6 inches (4 cm) to each measurement per size.
Tools and materials:
- 2.25 yds (2 m) of 60 inch (150 cm) wide viscose or similar
- Lightweight fusible interfacing
- Ruler
- Measuring tape
- Fabric marker
- Pins
- Scissors
- Sewing machine
- Serger (optional)
1. Kimono jacket sewing pattern
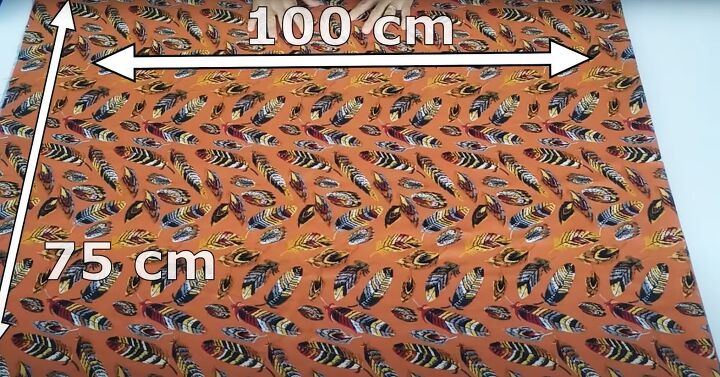
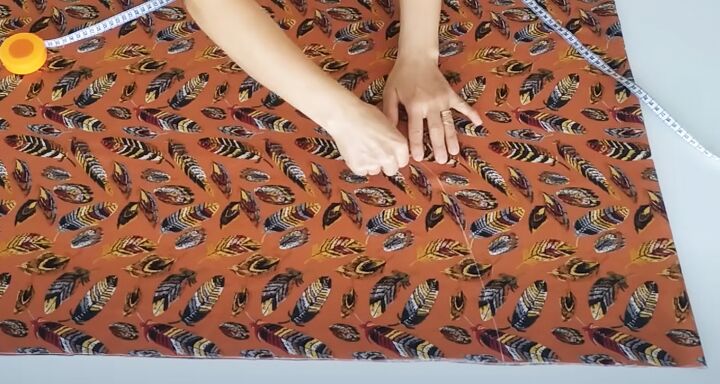
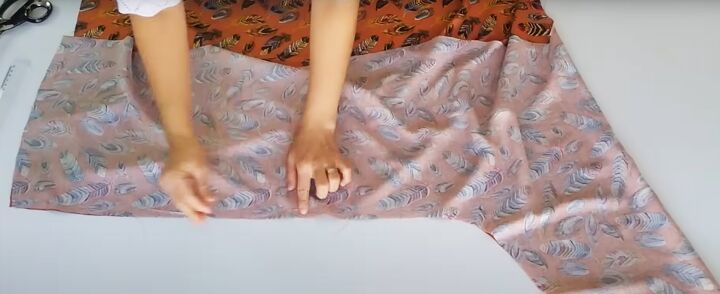
Fold your fabric in half lengthways and then widthways so it measures 39 inches (100 cm) wide by 30 inches (75 cm) deep.
Place it flat so the double folded edge is to your left, the fold is towards you and the open edges are to your right and opposite you.
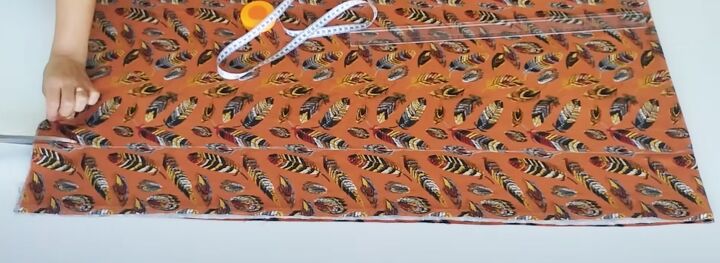
Draw a line across the fabric 4 inches (10 cm) from the open edge opposite you and cut it out.
Set aside these two pieces for the belt and front band.
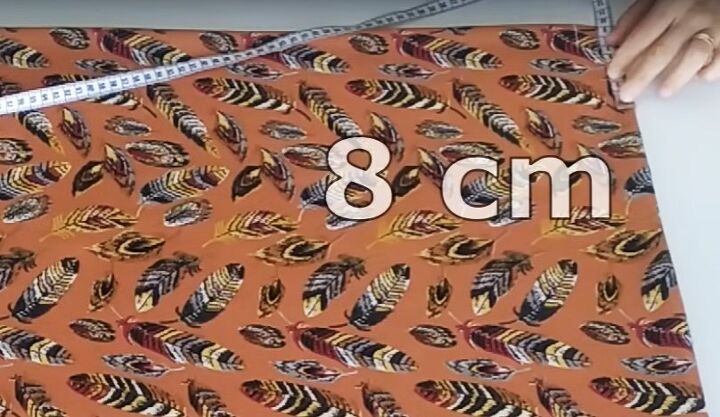
Mark the neckline curve at the corner to your left, 1.2 inches (3 cm) deep and 3 inches (8 cm) wide.
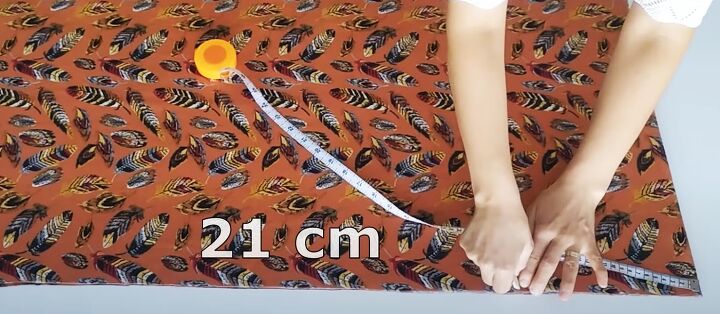
Measure 8.5 inches (21 cm) along the opposite open edge for the sleeve depth.
Measure 11.2 inches (28 cm) from the double fold and 14 inches (35 cm) from the fold and mark the point for the underarm.
Join the lower edge of the sleeve to the underarm with a curved line.
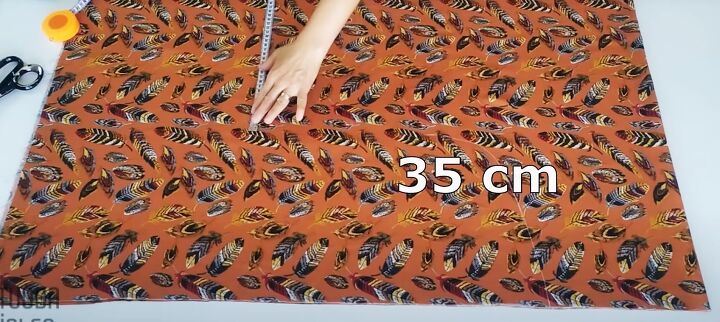
Continue the line to the right hand edge, keeping it 14 inches (35 cm) from the fold.
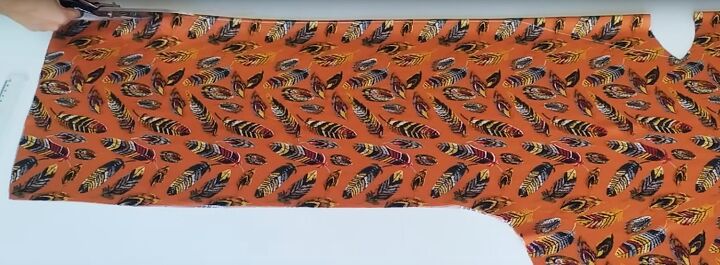
Cut out the kimono.
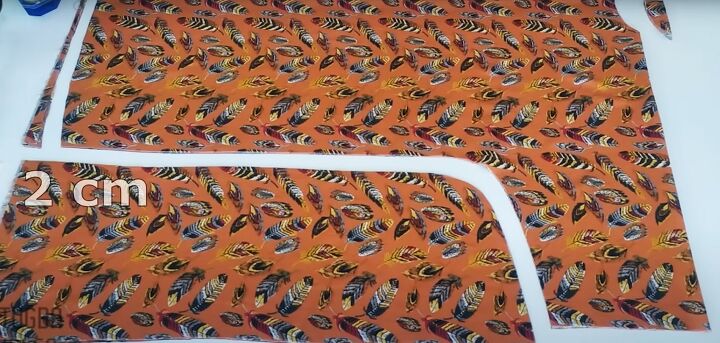
Shape the lower edge by trimming 0.75 inches (2 cm) from the side edge, tapering to 1 inch (1 cm) at the fold.
2. Prepare the cuffs
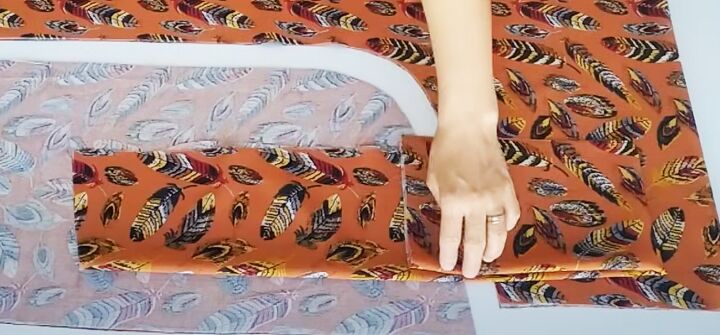
Fold one of the curved pieces you cut from the underarm in half lengthways.
Fold the straight section to match the depth of the sleeve and cut it.
Repeat with a second piece.
Add interfacing to the wrong side of both cuffs and to one of the long strips you cut off at the beginning.
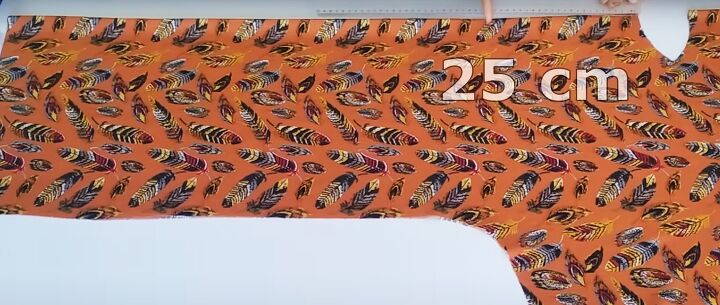
3. Create the center front opening
Open out the kimono and refold it along the center front and back.
Match all the raw edges carefully.
Mark 10 inches (25 cm) from the neck edge along the center front fold.
Join it with a diagonal line to the outer edge of the neckline at the shoulder.
Draw a line a quarter inch (0.5 cm) along the fold from the end of the diagonal line, and cut out.
Refold the kimono so the opening is at the center front.
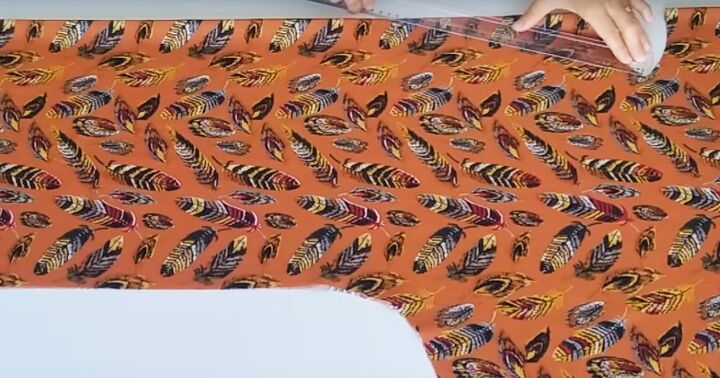
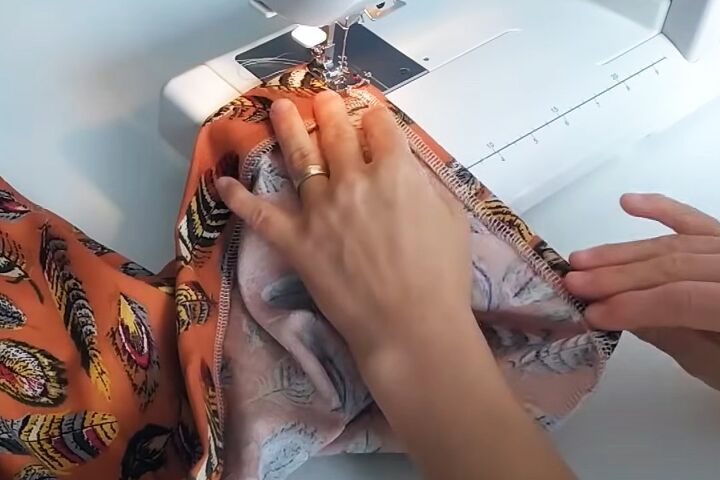
4. Side seams
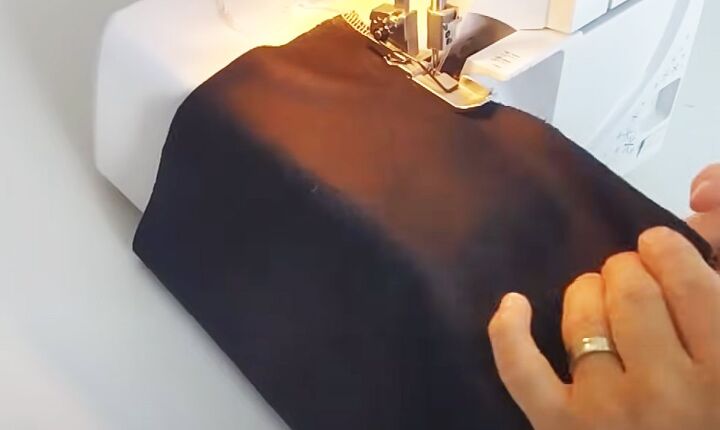
Turn the kimono wrong side out and pin the side and sleeve seams.
Sew or serge them together.
Finish all the raw edges of the kimono with your serger or using an overlock or zigzag stitch on your sewing machine.
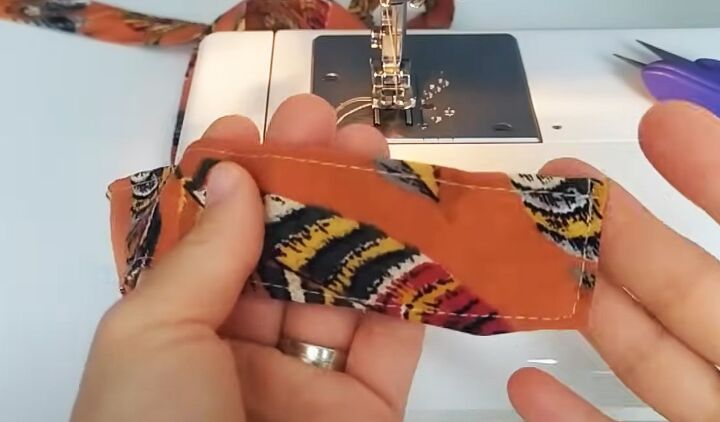
5. Attach the cuffs
Trim each cuff to 8 inches (20 cm) deep by (17 inches (42 cm) long.
Fold it with the right sides together and sew the short edges.
Fold it in half lengthways with the wrong sides facing.
Matching the cuff seam to the sleeve seam, place the cuff inside the seam so the right sides are together.
Pin and sew it in place from the inside.
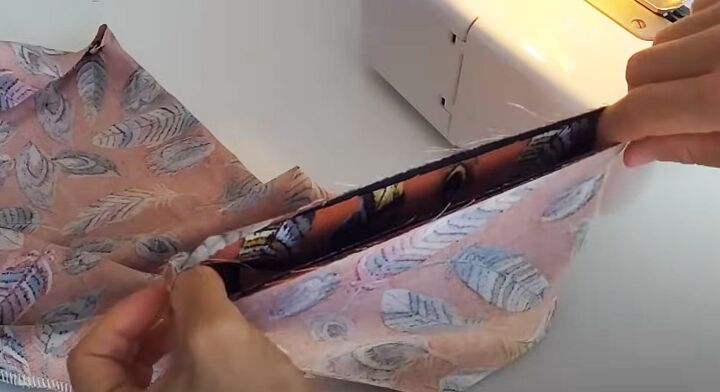
6. Attach the front band
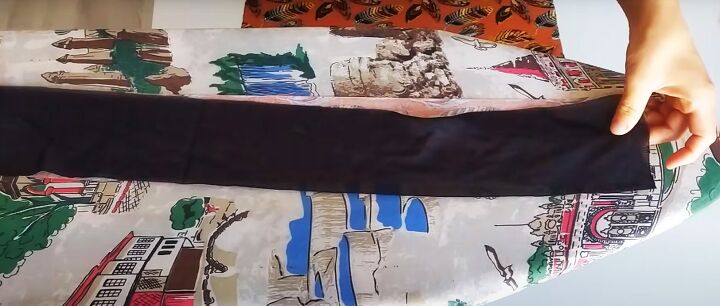
Fold the interfaced strip in half with the wrong sides together.
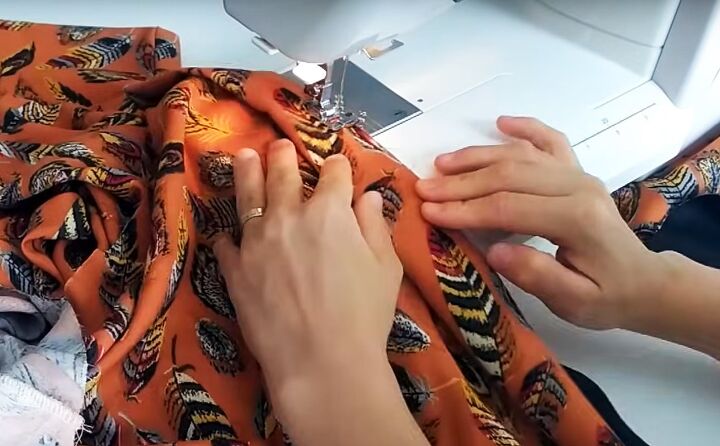
Starting and finishing at the lower edge and matching the raw edges, sew it to the right side of the front opening.
Pull it taut as you sew so it lies flat.
Press the seam flat and optionally top stitch the seam allowance to the front of the kimono.
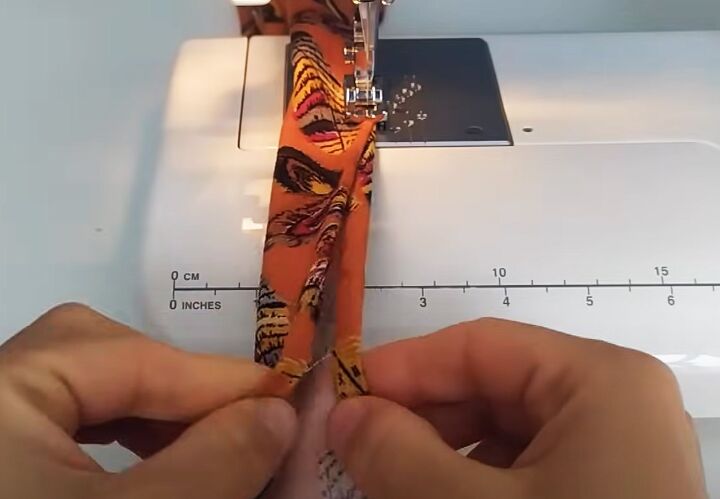
7. Make the belt
Turn in one short edge and both long edges of the second strip and fold the strip in half with the wrong sides together.
You may prefer to press or pin the edges in place before sewing.
Sew them together along the three open edges.
Top stitch just inside the folded edge.
8. Hem
Turn up a narrow double or single hem at the lower edge and sew in place.
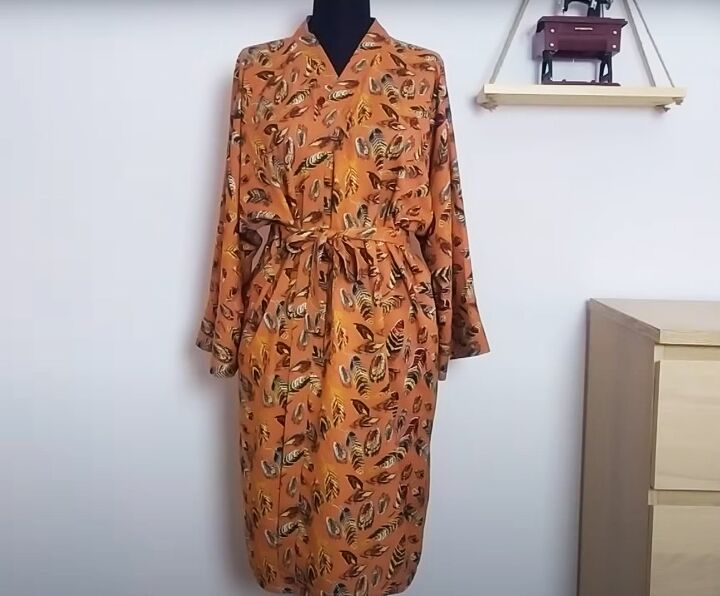

How to sew kimono gown
This makes a knee length or slightly below the knee kimono robe, which I think is the most practical length.
However it’s easy to adjust the length if you prefer it shorter. You could also make the front band and cuffs in a plain contrasting or toning fabric for a completely different look. It’s fun to be creative and make something unique!
Please let me know what you think of this kimono robe sewing pattern. I love hearing from you and reading your comments.
For more of my sewing hacks and ideas, please follow me on TikTok: @tugbaisler
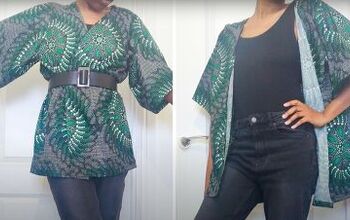
How to Make a DIY Kimono Scarf in 5 Quick & Simple Steps
The author may collect a small share of sales from the links on this page.


Comments
Join the conversation