Sew Along With Me to Make an Amazing Waistcoat

I love creating statement pieces that can add so much to my looks. I chose a fun, colorful fabric to sew this really amazing waistcoat and if I say so myself, the finish on this piece is just perfect! Sew along with me and learn how to make your own waistcoat. This is a timeless piece that you will never regret making!
Tools and materials:
- Scissors
- Pins
- Sewing machine
- Lining
- Fabric
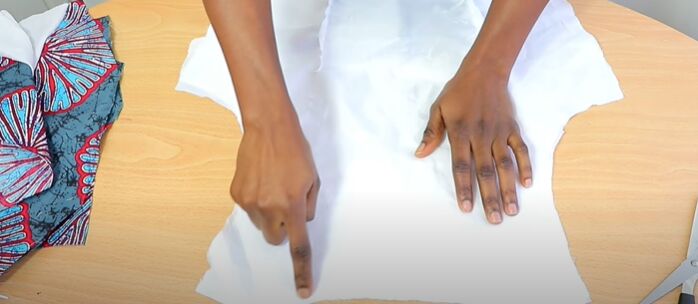
Cut the fabric
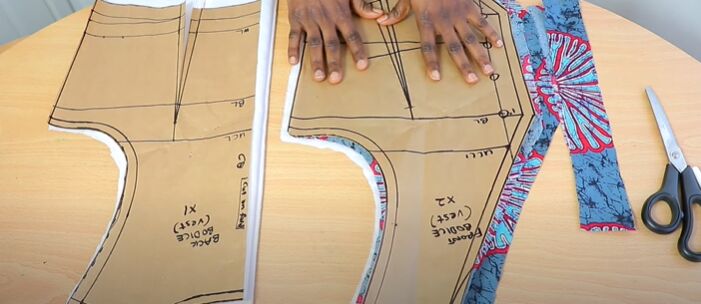
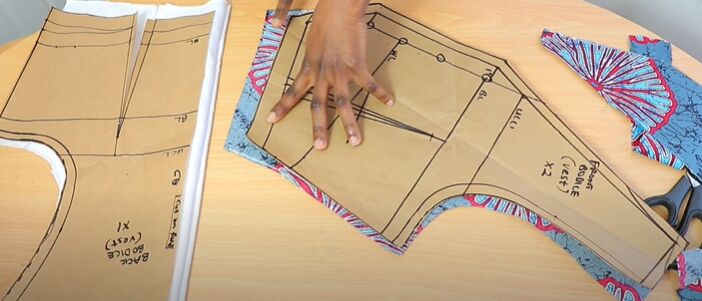
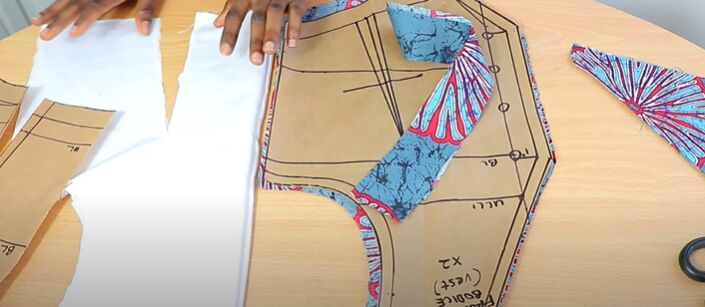
To get started on this amazing waistcoat, you will need to cut out the front and back pattern pieces. If you want to learn how to draft this pattern watch this. For the back pattern piece, you will need to cut both the outer fabric and the lining on the fold. For the back fabric, I decided to use a different fabric from the front but this is totally optional. For the front piece, cut out two outer fabric pieces and two lining pieces.
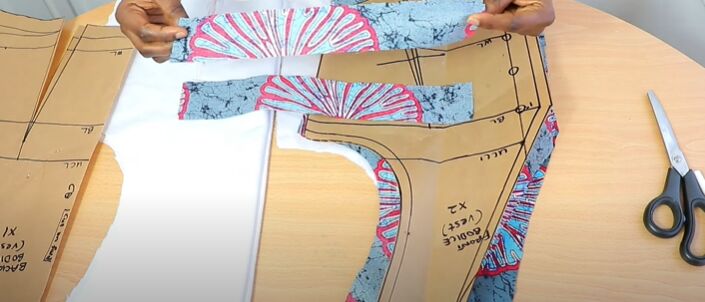
If you want to add a belt onto the back of your waistcoat, make sure to cut two strips of fabric with a width of about 2.5 inches. One of the strips should be slightly longer than the other. If you prefer to make the waistcoat without a belt it will still look awesome when you are finished with it!
Another question to ask yourself when sewing this jacket is, how long do you want it? You can adapt the pattern to make the waistcoat shorter or longer according to the style you prefer. To make it longer, just add an inch or two to the length at both the front and the back. If you do choose to make the waistcoat longer, adjust the shape at the bottom to create a sort of hip shape to get the best possible fit for your new piece.
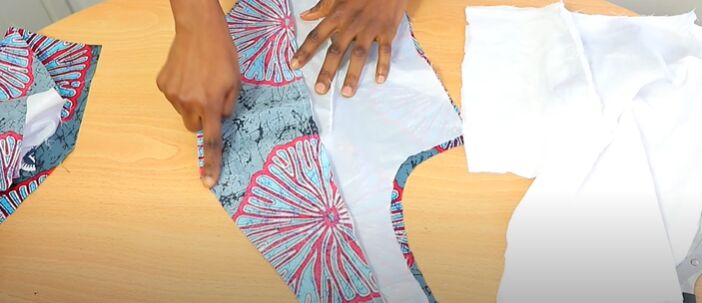
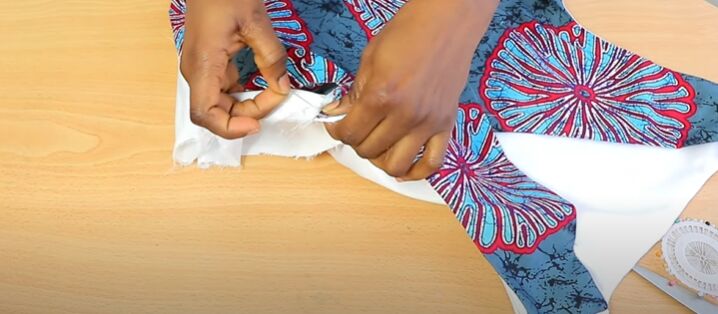
Transfer the darts
The first step to putting this waistcoat together is transferring the darts to your fabric. If you do plan on adding a belt to the back then make sure to slash the darts on the back fabric. For the front pieces, sew the lining and facing together and then transfer the darts to the front fabric. Whatever you do to the outer fabric, do to the lining as well.

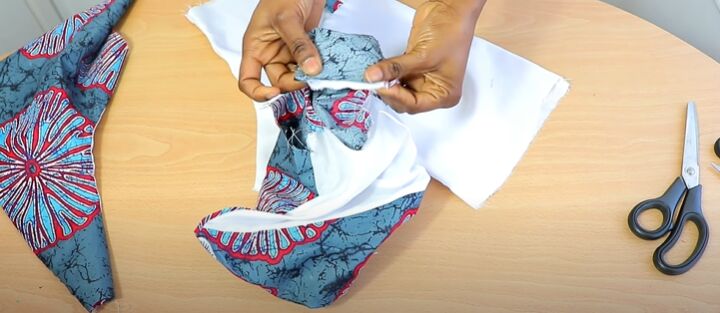
Attach the belt
The reason for slashing the darts on the back fabric is so that you can sew in the belt. Fold the two strips of fabric lengthwise and insert each piece into a dart. You can then go ahead and sew closed the dart which will secure the belt in place as well.
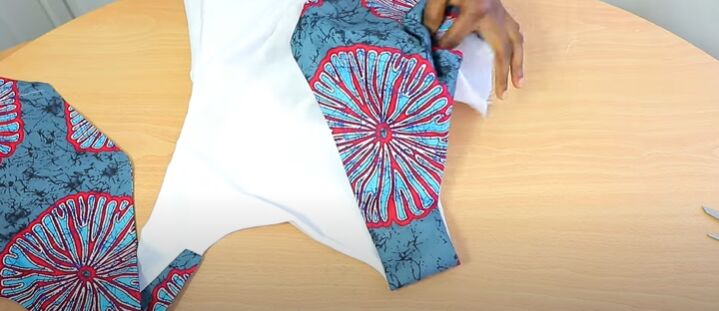
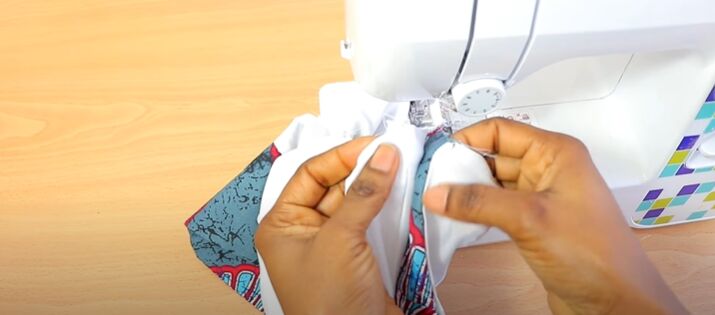
Attach the lining and outer fabric
Place the back lining over the back outer fabric so that they are right sides together. Then you can start sewing along the neckline, armhole area and across the waistline in order to attach the lining.
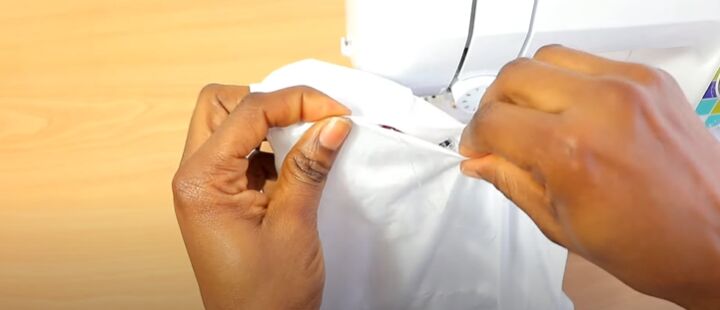
For the front pieces, lay the lining on the outer fabric, right sides together and sew from the neckline down to the bottom and the armhole area, leaving the side and shoulder seam open.

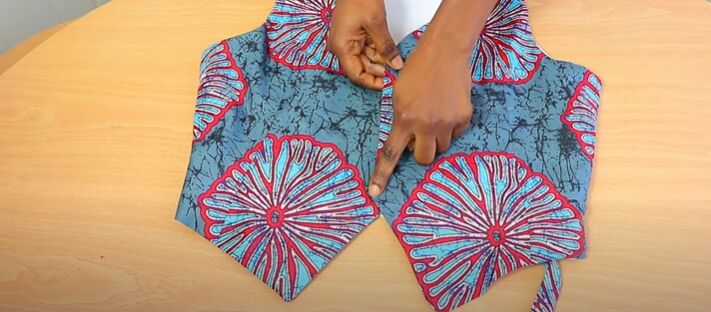
Sew the back and front together
To attach the front and back pieces, start with the shoulders. Lay the back and front pieces, right sides together. Then, slide your hand through the open side of the front piece. Push your hard through until your fingers reach the open shoulder seam. Grab the shoulder of the back piece and pull it through.
Your front piece should have turned inside out to allow you to line up the shoulder seams of both pieces. Once you have lined up the seams, go over to your sewing machine and sew across the shoulder to attach the front and back pieces. Repeat the same step for the other side of the waistcoat.
Once you have sewed the shoulder seams, you will notice how neat and clean they look. To get the same finish for the side seams, you will repeat the technique you used earlier. Push your hand through one of the open sides through to the other. Grab the fabric on the other side and pull it through to line up the side seams so that you will have a hidden stitch on the inside. Sew all the way around, making use of the seam allowance.
Turn the waistcoat right side out to get to work on the other side. First, make sure that the back and front pieces are lined up at the bottom of the armhole area. Put a pin in, to hold the two pieces in place.
Head to your sewing machine to sew the sides together.
There should be about a 2-inch gap that you couldn’t reach so all you need to do is topstitch the lining to close that gap.
Add buttons
With your waistcoat looking incredible, all that’s left to do is add your buttons and buttonholes. You can decide how many buttons to add to the front of your new piece.
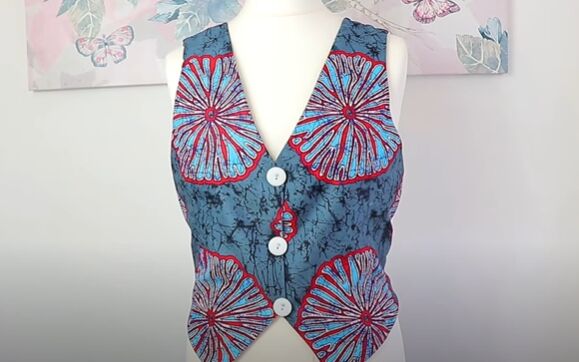
This is such a fun piece to add to your wardrobe! What do you think about this waistcoat? Let me know in the comments!
The author may collect a small share of sales from the links on this page.


Comments
Join the conversation
Make sure you check where your waistline is compared to the one on the pattern. I am short waisted, so I have to pinch (fold) about an inch to make the waist line up. My daughter is long waisted. For her I need to slit the pattern, insert some paper, and tape the pattern back up with the elongated waistline There is usually a line on the pattern for where to adjust.