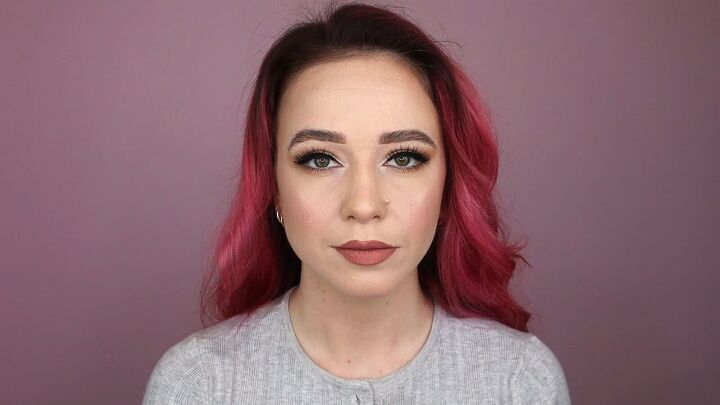
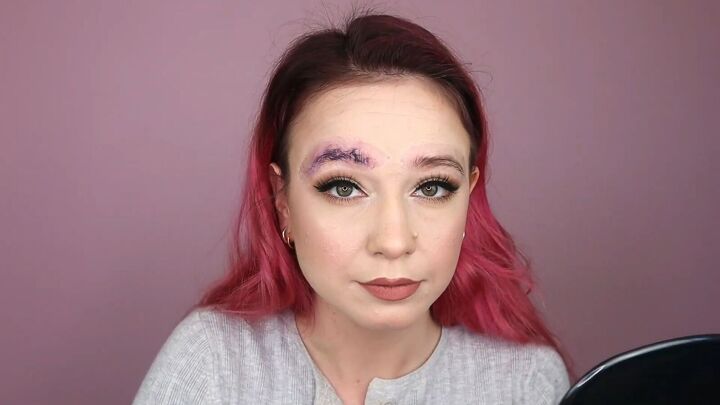
Colored Eyebrows Tutorial for Cosplay and Halloween

With Halloween coming up, here’s a simple, colored eyebrows look for the perfect costume. Follow along with my step-by-step tutorial to learn how to do colored eyebrows.
Tools and materials:
- Washable, non-toxic glue stick
- White cream eyeshadow (stick) or concealer
- Colorful eyeshadow
- Concealer
- Flat concealer brush
- Spoolie
- Angled eyeshadow brush
- Setting powder
- Full coverage foundation
- A color corrector (white or red-orange)
- Makeup sponge
- Makeup remover and toner (optional)
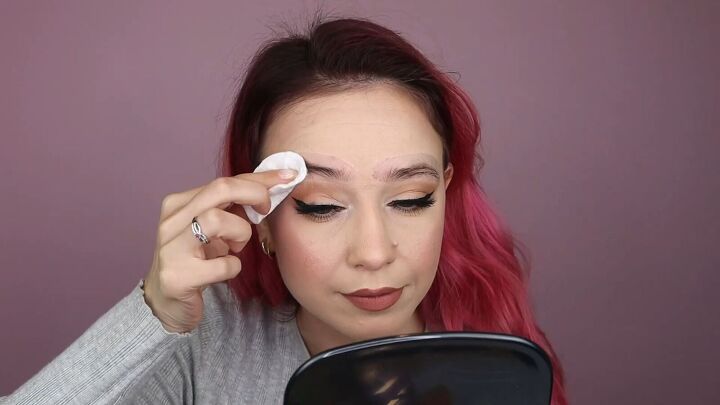
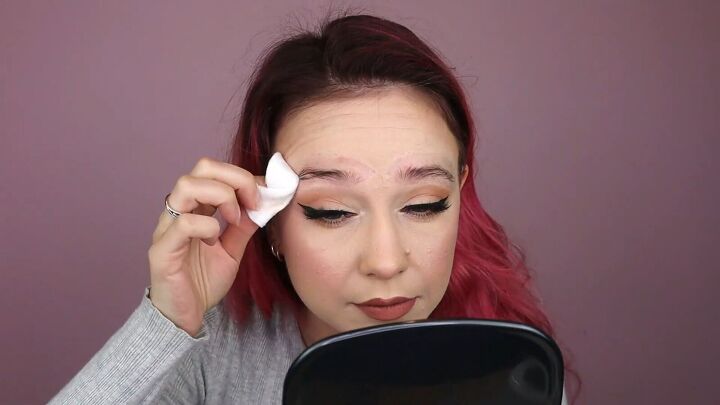
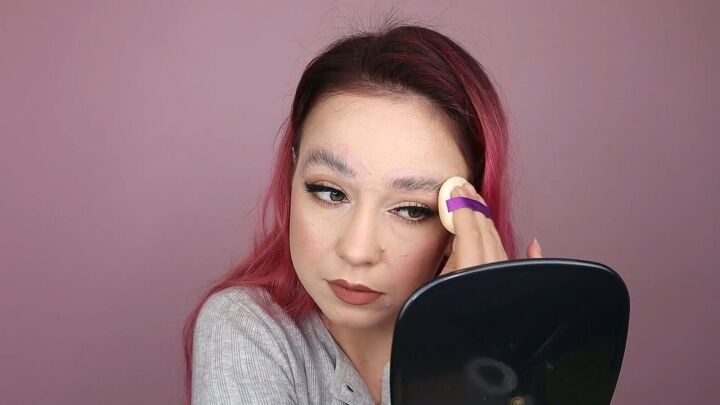
1. Prep your eyebrows
Start by removing any makeup from your brows. Then remove excess oils with a toner. Make sure your brows are clean and dry.
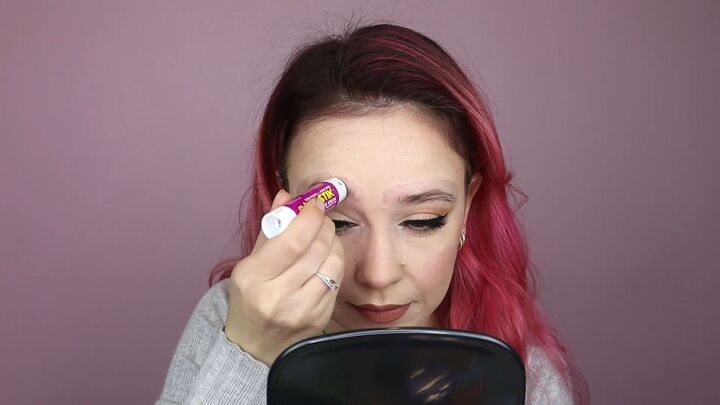
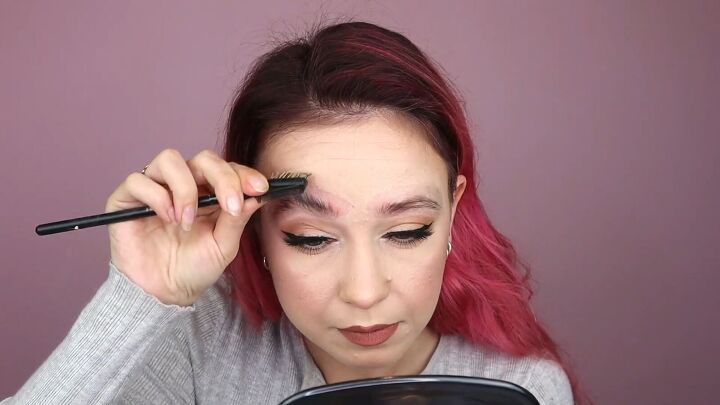
2. Apply a glue base
Apply a thin layer of glue over your eyebrows, making sure to cover all the hairs.
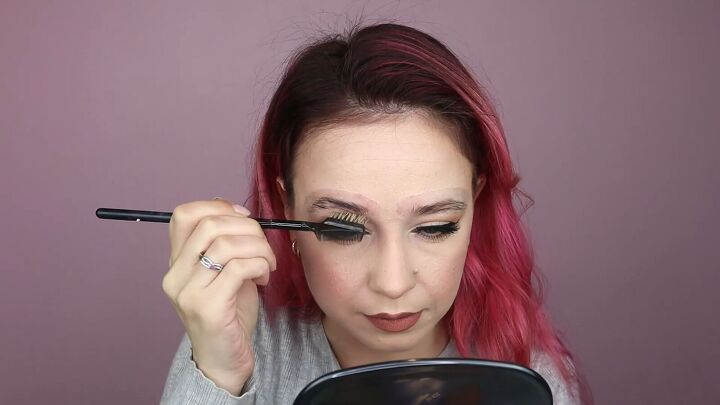
Grab your spoolie and use it to guide the hairs to the desired shape. Repeat on the other brow. Use your finger to flatten the hairs, making sure they are all stuck down.
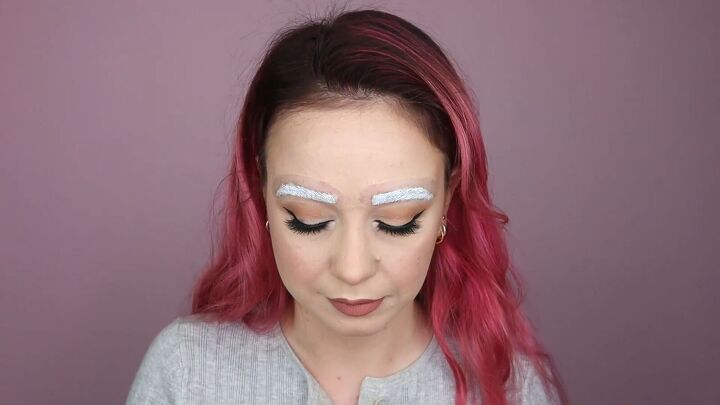
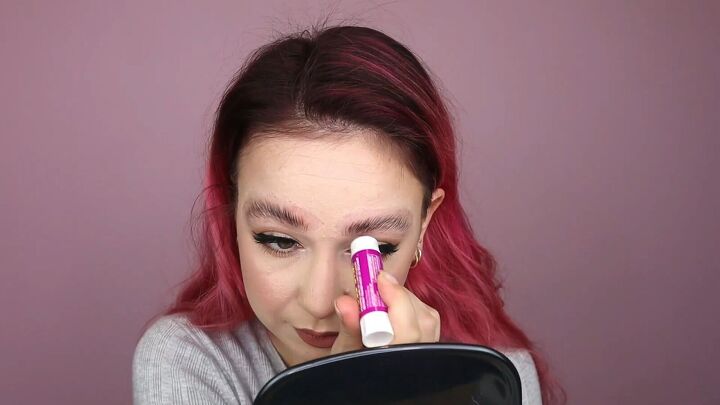
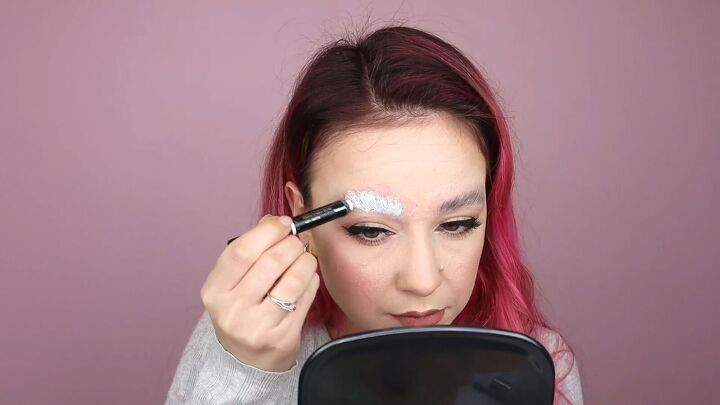
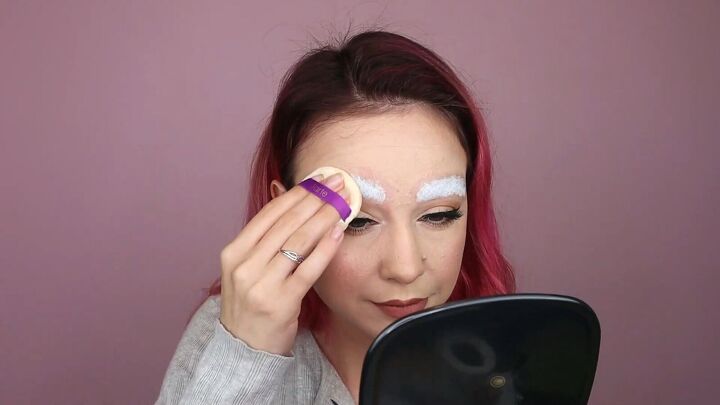
3. Whiten your brows
Allow your brows to dry and wipe off any excess glue. Once everything is dry, grab your cream eyeshadow or concealer and use it to cover your brows and map out the shape. It’s ok if they’re not perfect.
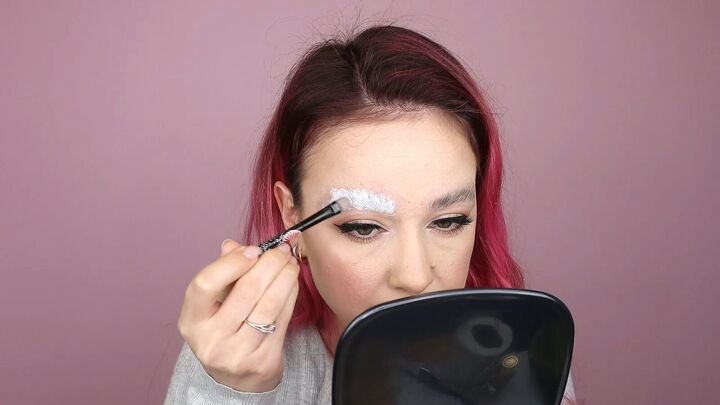
4. Add color
Once your eyebrows are all white, use your angled eyeshadow brush and colorful eyeshadow. Use the brush to stamp on the color of your choice, completely covering the white.
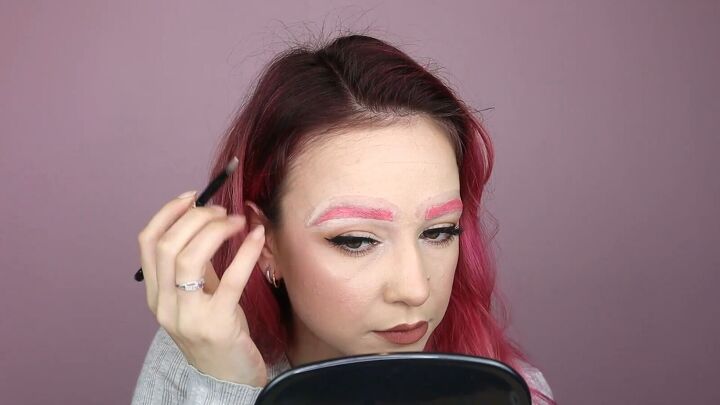
5. Fill in around your brows
Grab your concealer and a flat brush to trace around your brows, defining the shape and fixing any errors. And that’s it: colored eyebrows!
Up next, I’m going to show you how to cover dark eyebrows for the eyebrow-less look.
How to cover dark eyebrows
1. Prep your eyebrows
As before, make sure your brows are clean, dry and free of any excess oils.
2. Apply a glue base
Swirl the glue into your eyebrows, pushing as much product into the hair as possible.
3. Brush your brows
While the glue is still wet, use your spoolie to push the hairs up and flat to your forehead.
Make sure all the hairs are glued down. Dab a bit more glue once you’ve brushed them to the desired shape. Then repeat on the other side and wait for them to dry.
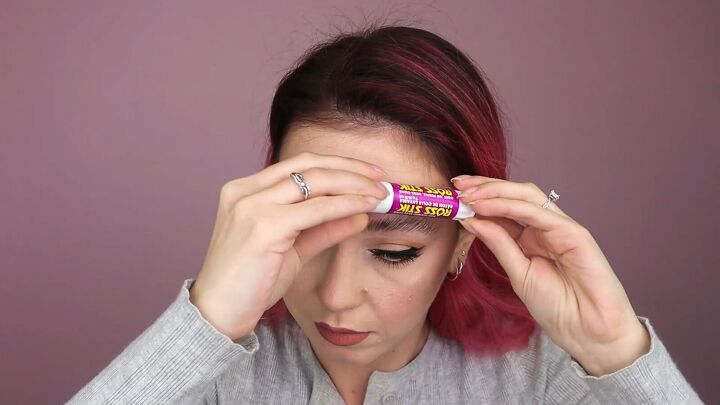
4. Flatten your brows
Once the glue is no longer sticky, use the closed glue stick like a rolling pin to flatten the hairs. Then, in upward strokes, apply a single layer of glue over your eyebrows and wait for them to dry.
Flatten your brows and apply another layer of glue again, as you did before and allow to dry. Repeat this process about 4-5 coats and your brows are smooth.
Make sure to allow the glue to completely dry between coats before flattening.
5. Set the glue
Grab your setting powder and apply to your eyebrows.
6. Cover with color corrector
Use your color corrector to completely cover all of the hairs. Then use a flat brush to make sure you get the product into all the crevices. Add more product as needed.
7. Set your brows
Set the color corrector with setting powder.
8. Apply full coverage foundation
Using your makeup sponge, start stamping the foundation over the color corrector.
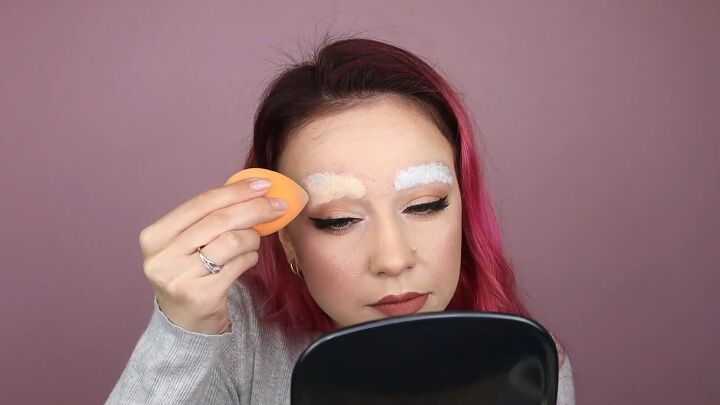
If at this point you can still see traces of your eyebrows, go back in with the color corrector, set it with setting powder, add another layer of foundation and set it once more. And there you are–no more eyebrows!
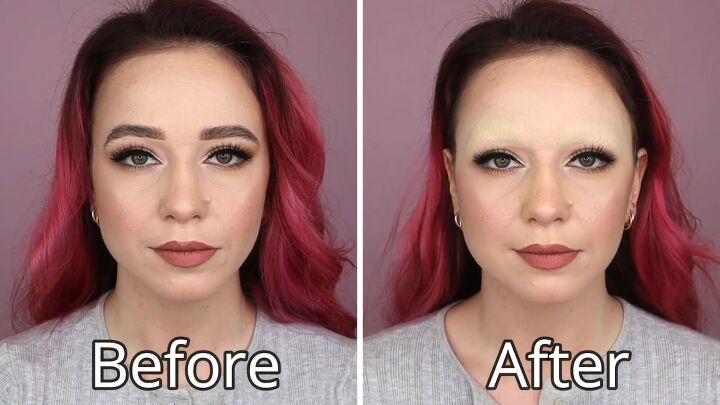
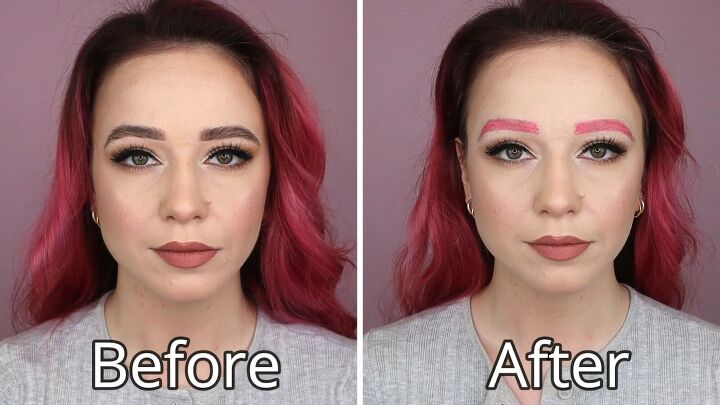
Colored eyebrows
Thanks for following along with this colored eyebrows tutorial. If you have any questions or just want to share your full look, reach out in the comments below.
The author may collect a small share of sales from the links on this page.


Comments
Join the conversation