Cú Chulainn's Warp Spasm Makeup Tutorial for Halloween

Cú Chulainn, a fabled Irish warrior, son of a god, and a mortal woman. A hero who during battle would enter a frenzied state that was later termed a warp spasm. I can only aspire to approach something as impressive as Cú Chulainn's warp spasm, but today I am going to do my best to show you how you can create it for a truly epic Halloween costume.
Tools and materials:
- Face paint palette
- Eyeshadow palette
- White eyeliner pencil
- Makeup brushes
- A tall, light object
- Hairband
- White contact lenses
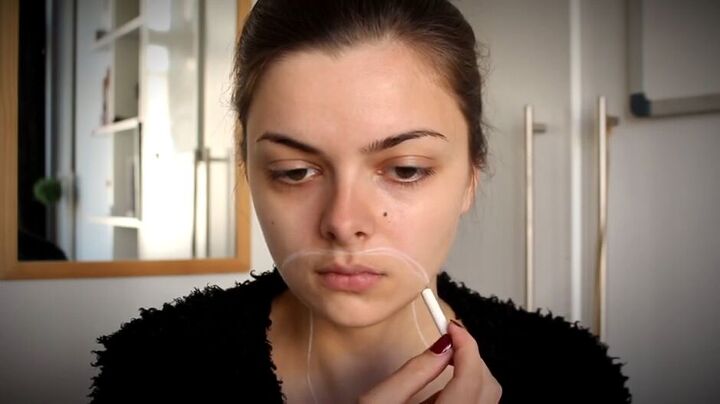
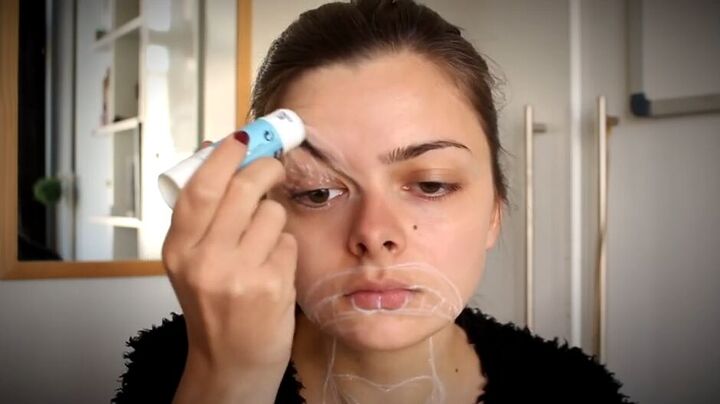
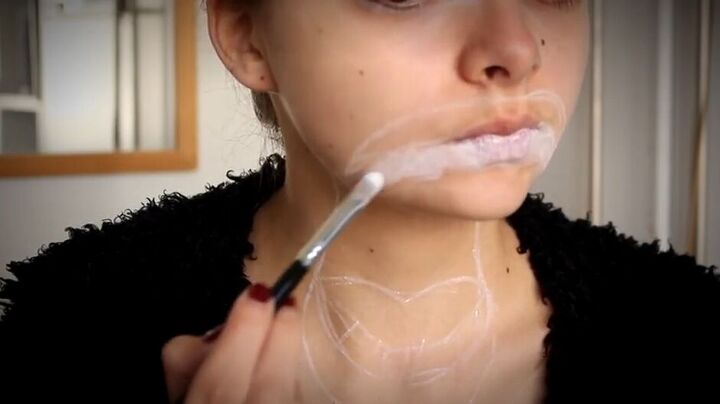
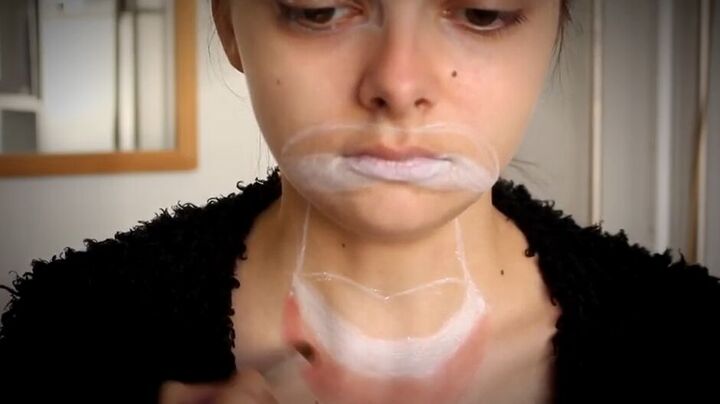
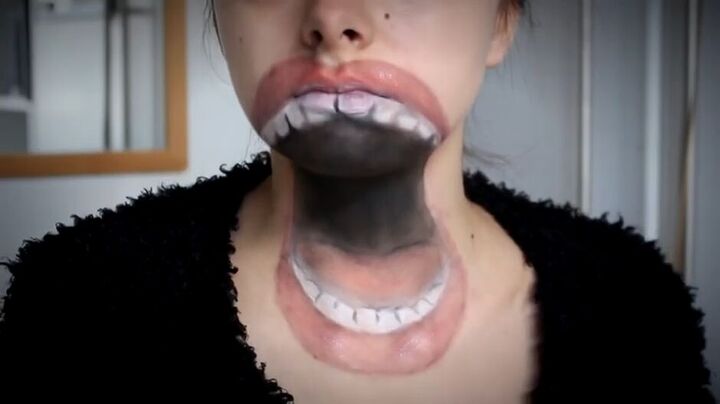
1. Outline the shape of the mouth
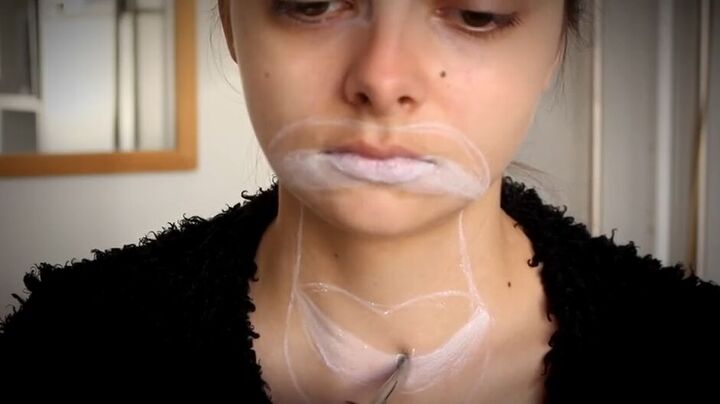
The lower part of your face and neck will be the focal point of his massive mouth. Begin by using a white eyeliner pencil to outline the general shape of the mouth, from under your nose down to your neck.
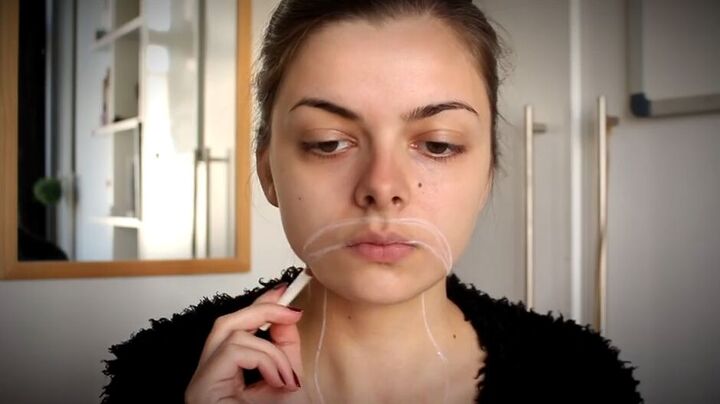
In addition, you want to include the shape of his upper lip and teeth over your entire mouth.
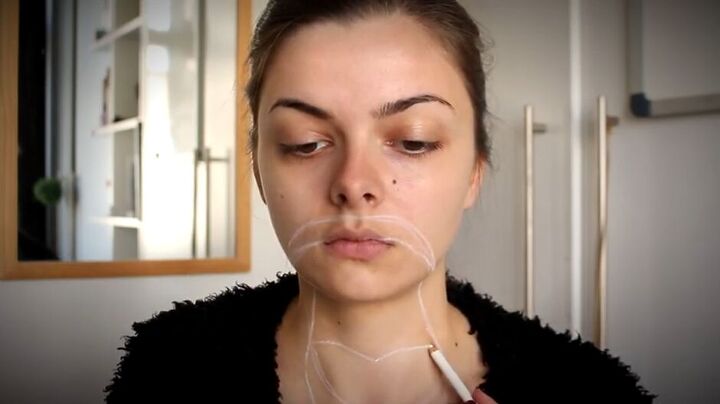
On your neck, draw in the shape of a tongue and below that his bottom teeth.

Remember to outline the basic details of his teeth.
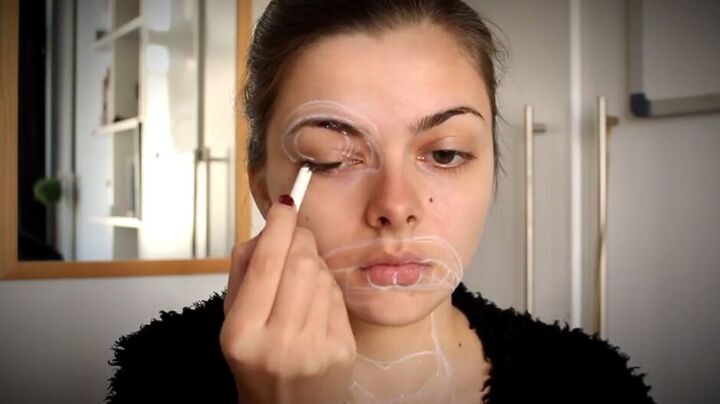
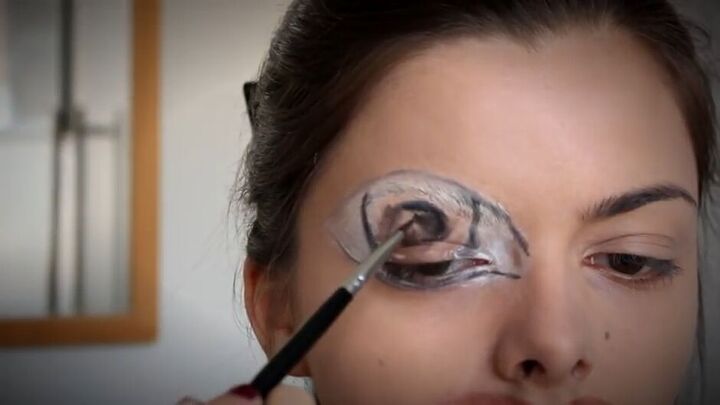
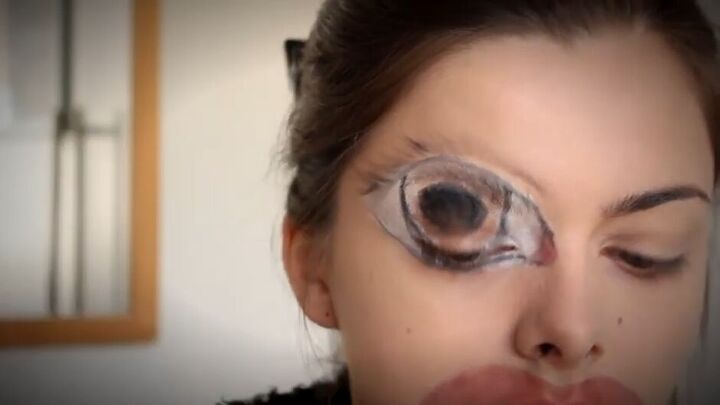
2. Outline the shape of the large eye
During warp spasm, Cú Chulainn's one eye was sucked into his head, while the other eye appeared to fall outward toward his cheek.
To create the contrast between the two eyes, use your right eye as the canvas to draw the shape of his massive, protruding eye. I did this by drawing a larger circle around the whole of my right eye and within that a second smaller circle.
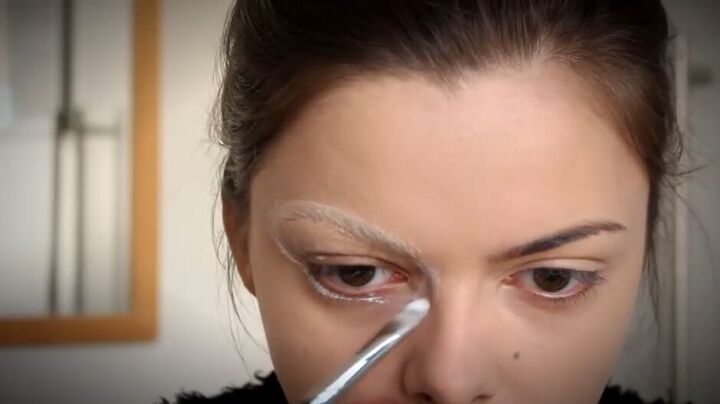
3. Cover up your eyebrow
The next step is to eliminate the texture of your natural eyebrow by layering non-toxic glue and powder.
Repeat the layering until the texture of your eyebrow is basically gone. Remember to get the glue on all sides of the hair to make this process as effective as possible.
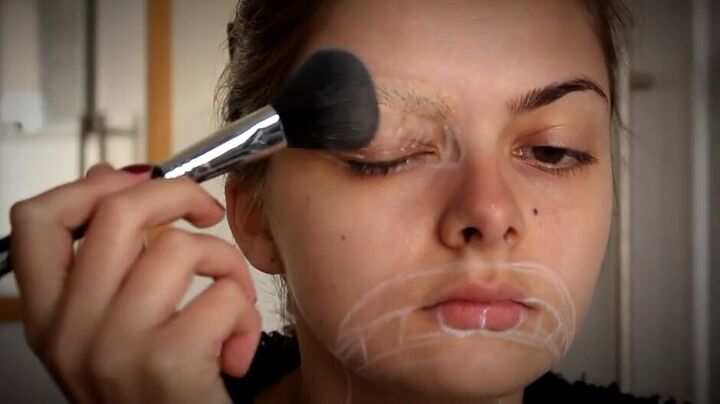
Over this apply a heavy-duty concealer and set it with powder.
Now it's time to start filling everything in. I personally used face paint and regular eyeshadow, but you can use whatever you have on hand.
To make the look more 3D, I apply the basic colors first, followed by some darker and lighter shades here and there to give it dimension.
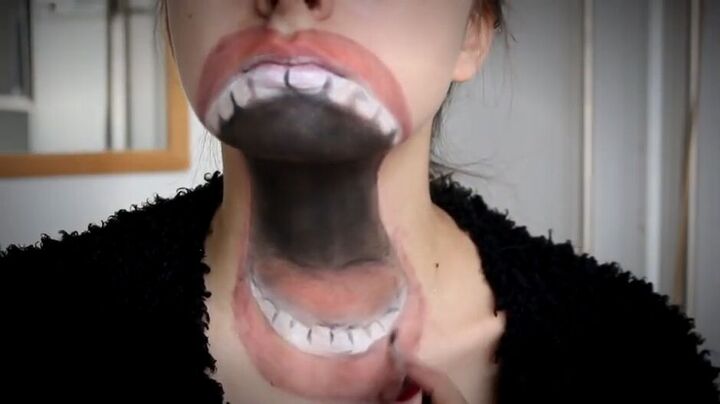
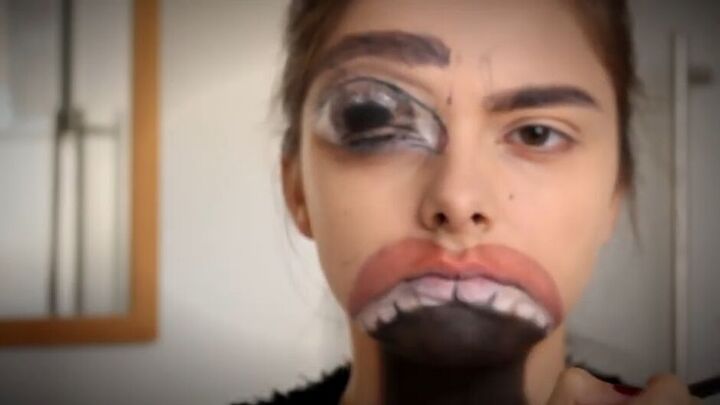
4. Start detailing the mouth
Begin by filling in the area that will be his upper teeth with white face paint.
Repeat on the bottom teeth.
Using face paint as close to lip color as possible, color in the area below the teeth to start creating his large lower lip.
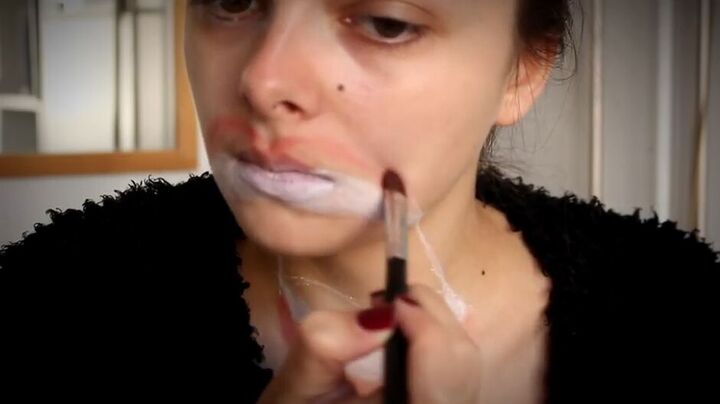

Repeat for his upper lip, this time creating more of an elaborate lip shape above your own. Fill it in with the face paint blending it all the way down to his bottom lip.
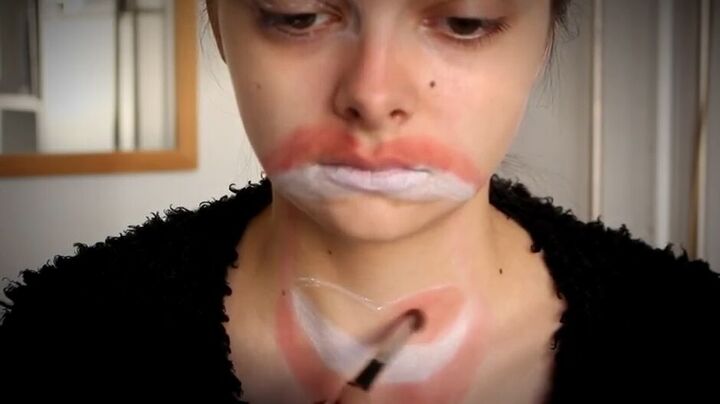
Color in the tongue with the same color.
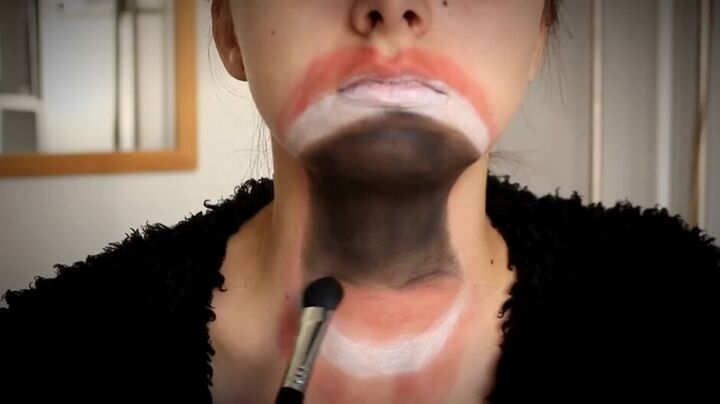
To create the wide void in his mouth, take black face paint and fill in the areas you have not yet touched.
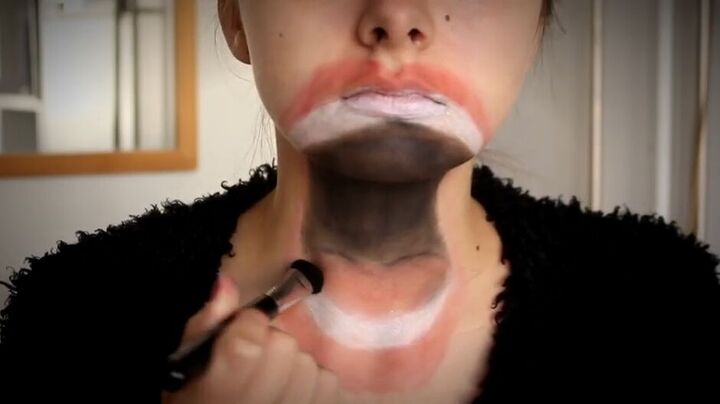
Blend the black down and around the tongue to add dimension.
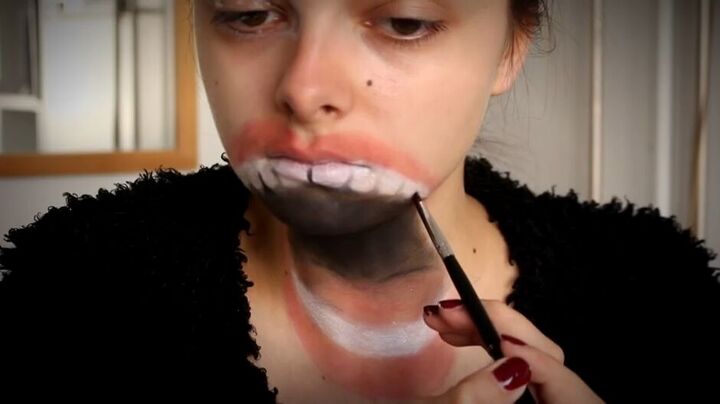
Now create the upper teeth using a thin make-up brush and black paint.
Repeat on the bottom.
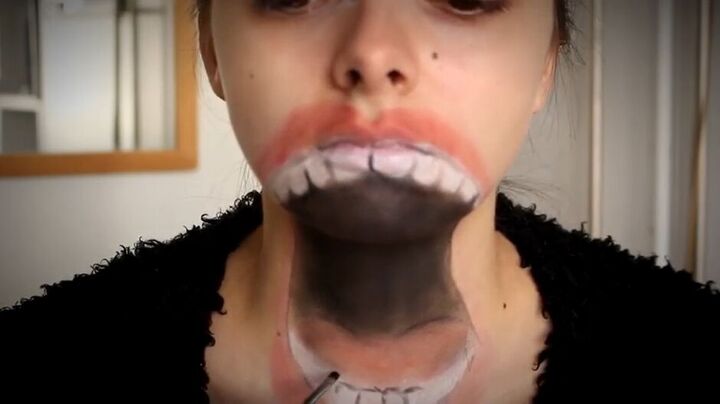
For a more realistic appearance, line the lips as well.
Highlight areas of the lips to make the look more convincing.
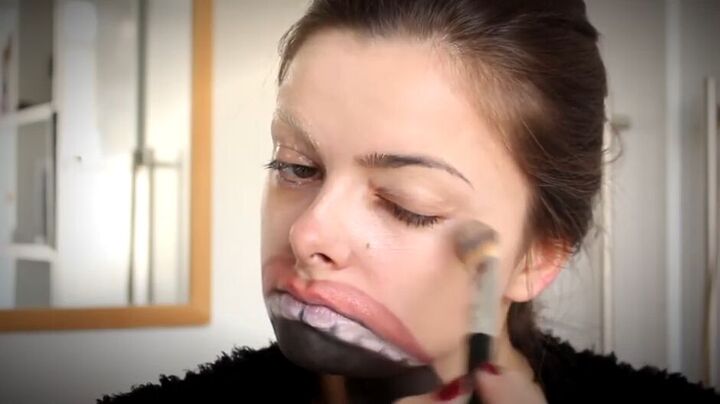
5. Cover your face with foundation
Apply foundation to your whole face for a smoother texture and then cover with powder to set.
6. Start detailing the large eye
Let’s really make that massive eye pop. Using white face paint enhances the circles previously drawn, blending the white into the center of the eye.
Outline each part of the eye with black face paint and fill in the pupil.
Remember to give it eyelashes to maintain a realistic appearance.
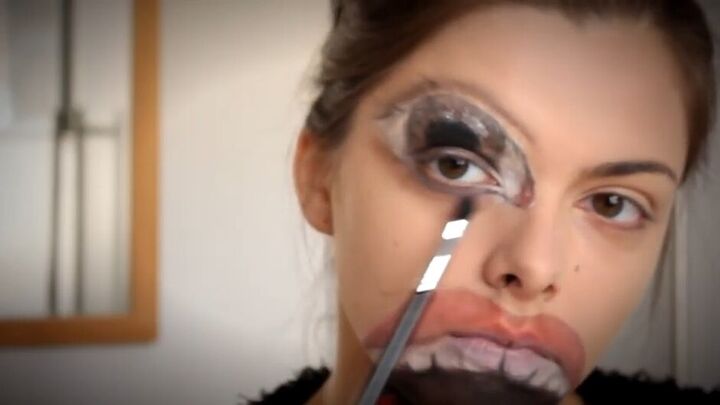
This part is all about shading, applying those darker and lighter colors in the right places.
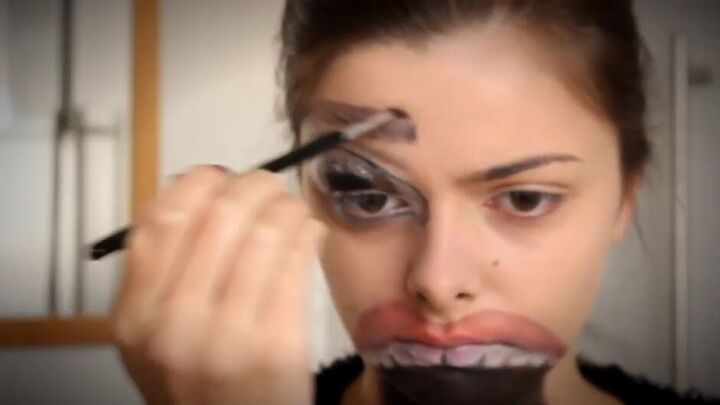
Draw on a new eyebrow above the larger eye.

Use this opportunity to make your other eyebrow a little thicker and manly.
Add in a couple of frown lines to capture his anger.
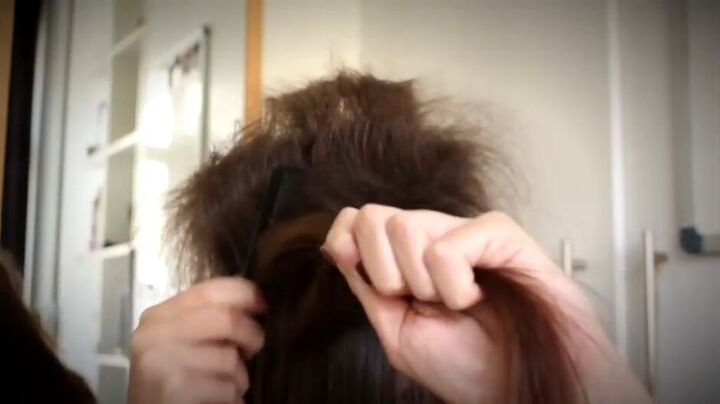
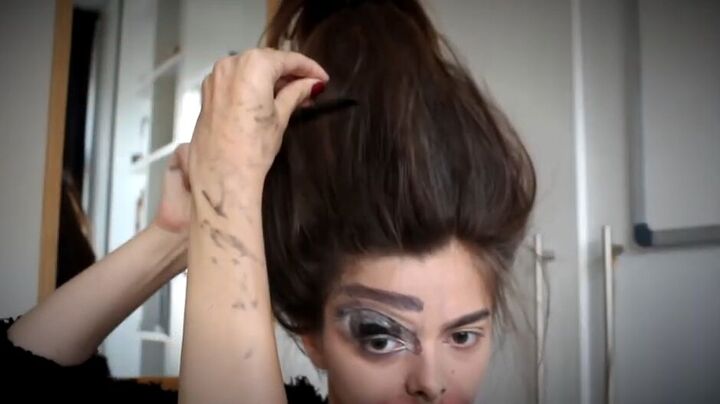
7. Style your hair
Because your hair will be upright, it is important to tease it a lot, so it gets that easy-to-manipulate texture.
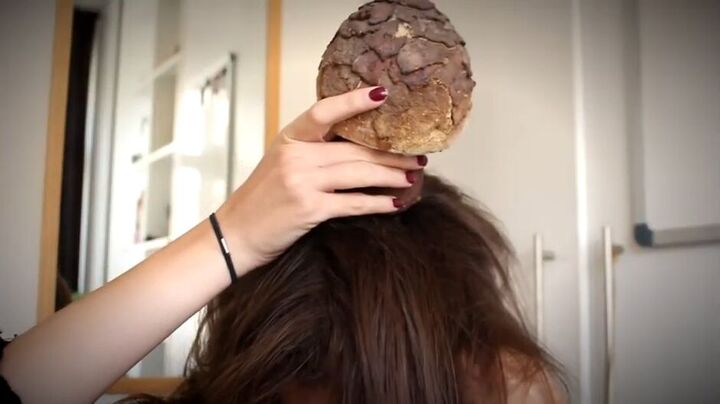
Find an object that is tall and light (I found a decorative plastic mushroom) and place it on the top center of your head.
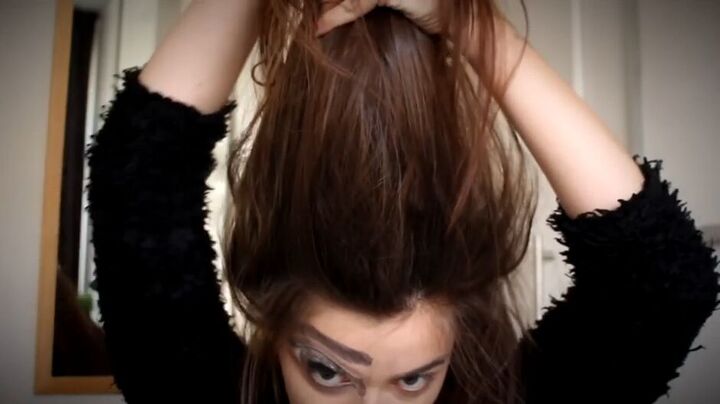
Now drape your hair up and over it, collecting your ends at the top…
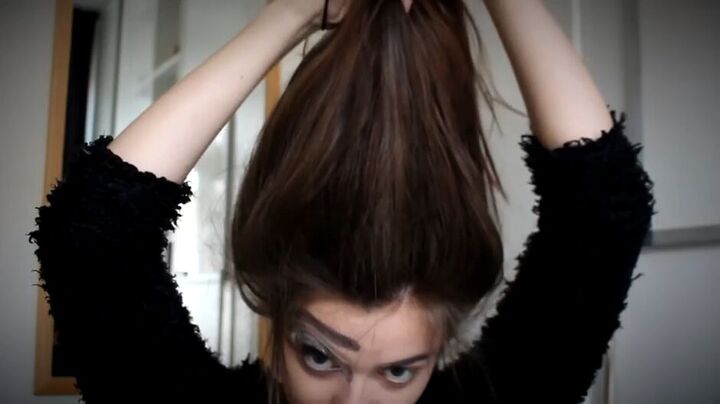
… and tie them off with an elastic band.
Tease your hair a little bit more.

The finishing touch is a white contact lense. This will white out your iris making your eye look tiny, really enhancing the size difference of the two eyes.
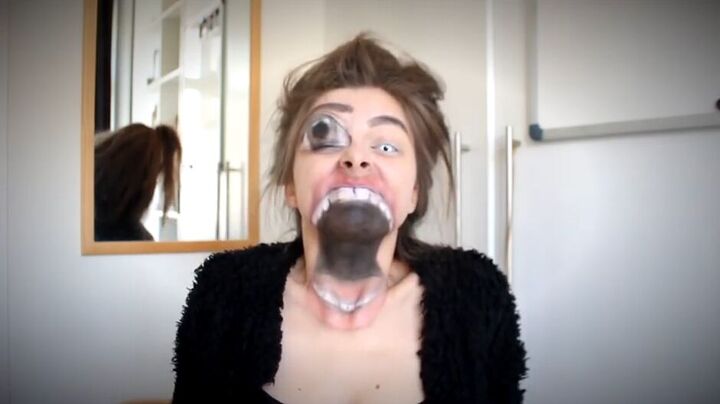
If you want to get into the spirit of Halloween, check out the video to hear the stories of Cú Chulainn's warp spasms.
It was so much fun making this tutorial, I really hope you enjoyed it. Please let me know if you try this out.
The author may collect a small share of sales from the links on this page.


Comments
Join the conversation
Oh my gosh, this is freaky! But it's done so well 👏
Hi Loepsie, are you a professional makeup artist?? If not you should be. Your tutorial and the outcome is VERY well done. Thank you for sharing :)