How to DIY Awesome Bubble Bath Nail Art

Recently, I’ve seen an awesome bubble bath nails trend on Instagram, and I wanted to try it for myself.
Essentially this technique is done by mixing water and soap and creating bubbles. I’ve never tried out these bubble nails before so I’m excited to give it a go. Let’s get started!
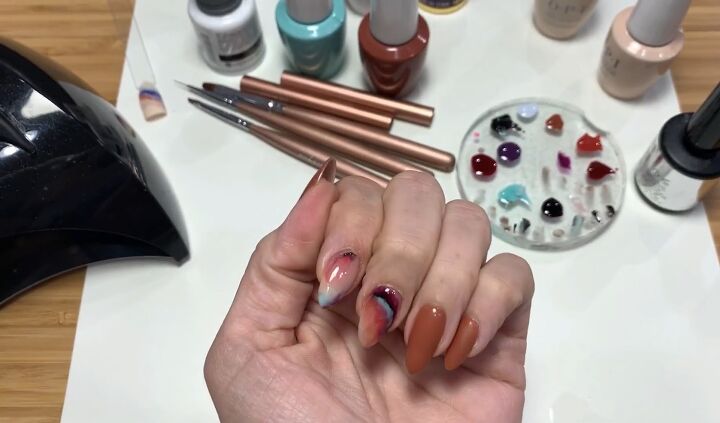
Tools and materials:
- Soap
- Nail polish
- Top coat
- Spatula
- UV nail lamp
- Alcohol wipe
1. Make bubbles
Make some bubbles by mixing water and soap.
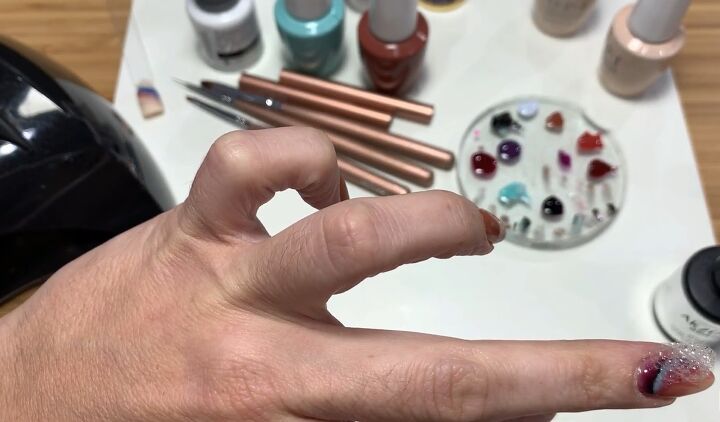
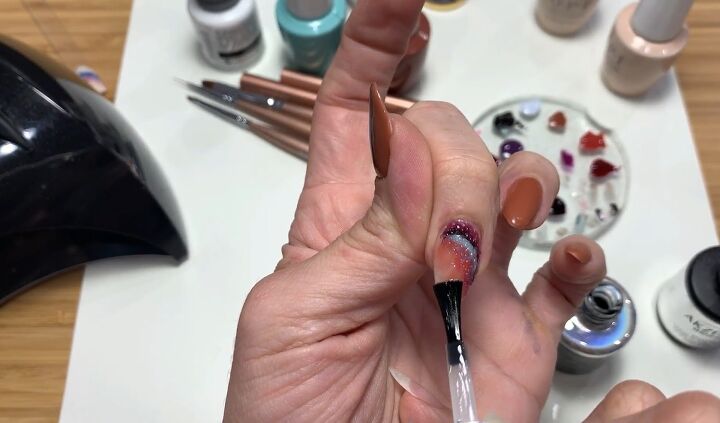
2. Paint nail and apply top coat
Starting with one nail, paint your nail however you like, you could paint it with just one color or with multiple colors.
Then put on a clear no-wipe top coat just on the area where you want the bubbles to be.
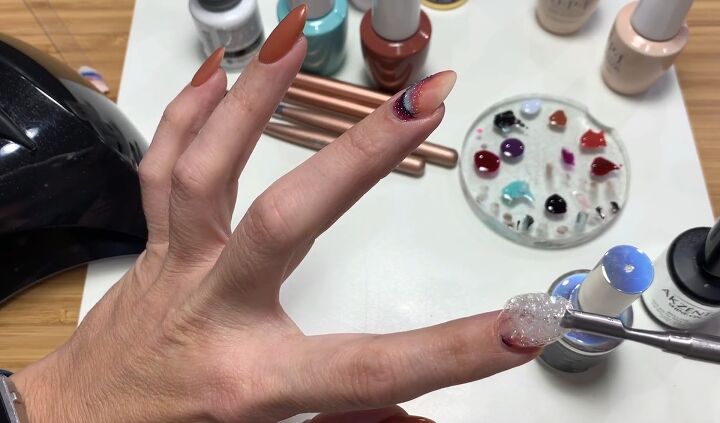
3. Put bubbles on
But before you cure the clear coat or leave it to dry naturally, pick up some bubbles with a nail spatula and place them on top of where you put the top coat.
You don't want to press them down but rather just leave them as they are on top of your nail.
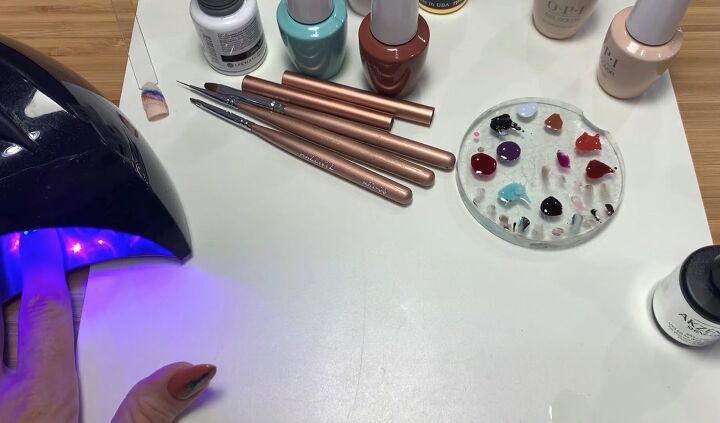
4. Cure your nail
With the bubbles still on your nail, put them under the UV nail lamp. Cure them for the same amount of time that you’d regularly cure your nails.
When I came across this technique, my first question was: If you're putting on the clear coat, and then the bubbles on top, the bubbles are going to start separating the clear coat?
Does that mean that the color underneath isn't going to be protected anymore? Does it separate all the way through?
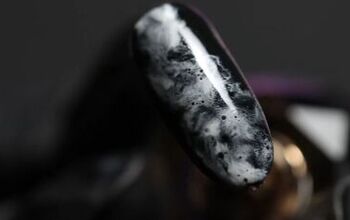
When I tried the technique out, I was really happy to see that that wasn't the case. The nails are still shiny even with the bubbles on top, so all of it is completely sealed in and cured.
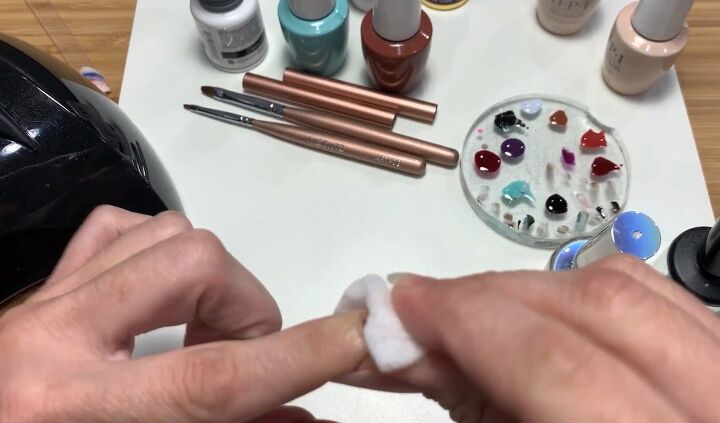
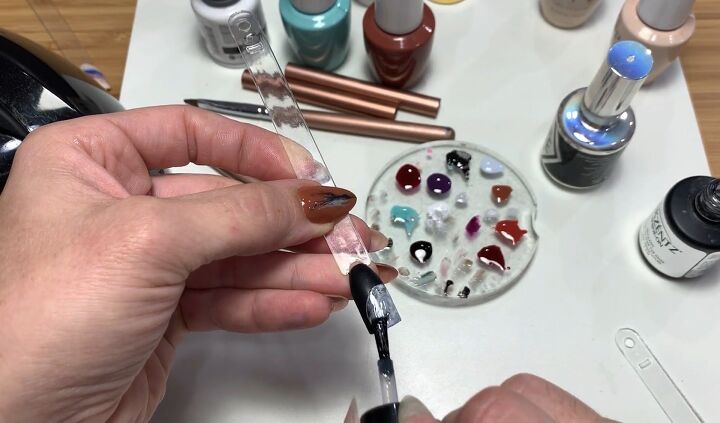
5. Wipe your nail
Wipe your nail with an alcohol wipe to get rid of the bubbles and any other stickiness.
6. Put the rest of the top coat on
Now put a top coat on the rest of your nails.
7. Repeat
Repeat the process on the rest of your nails. You can either position the bubbles in the same place or in a different place on your other nails.
Moon bubble look
Now I want to show you a cuttle little idea I had for what you can do with this bubble technique. On this nail, I’ve painted a moon.
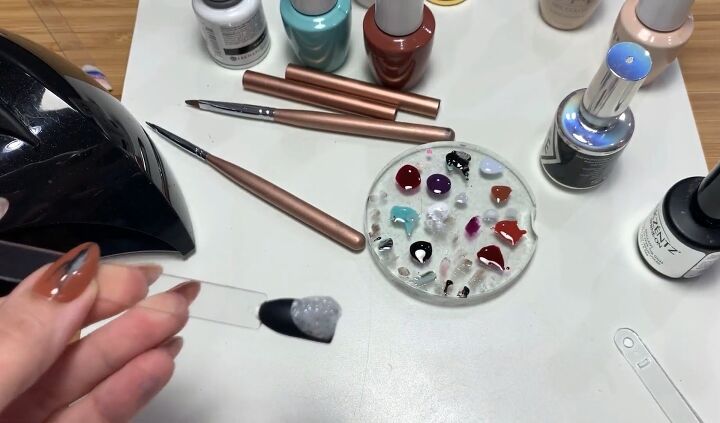
I’m going to go around the edge of it with a top coat. Then place bubbles on the moon, cure it and wipe away any excess.
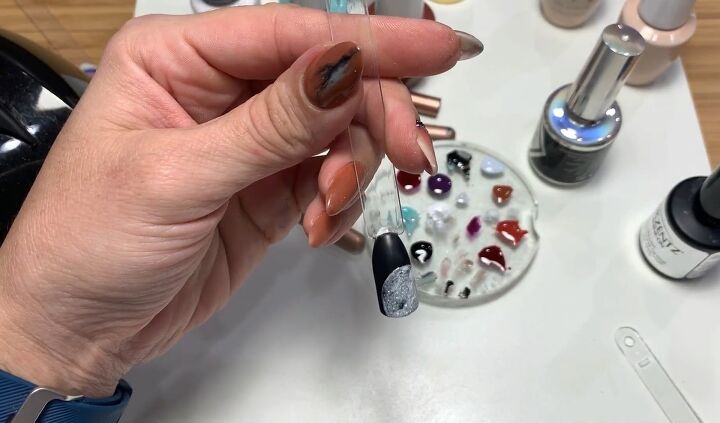
This looks super cool.
Iridescent bubble look

I also wanted to try this look with some iridescent polish. I first put some powdered glitter over the top of the polish to make it even shinier.
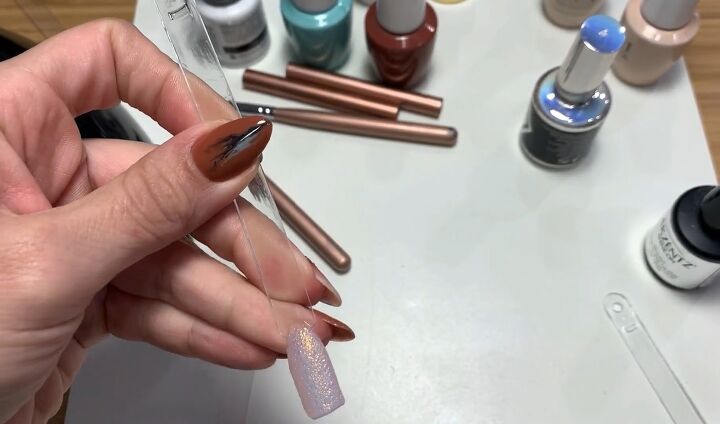
Then I applied the bubble technique all over the nail.
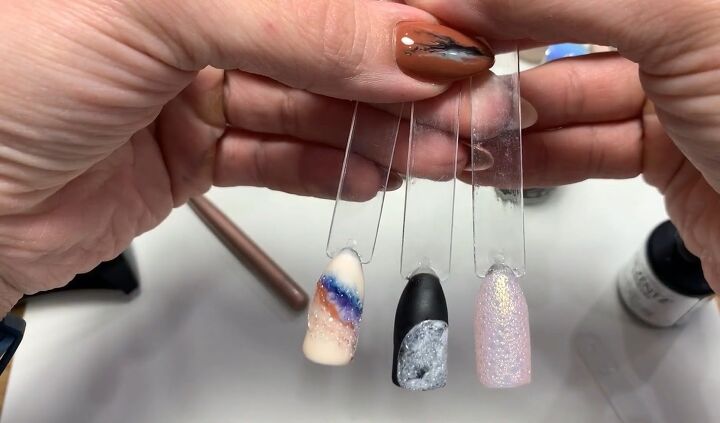
Bubble bath nails
I think that this bubble effect looks really awesome, I’m digging this look. I think that it looks a bit sci-fi and really unique.
As I’ve shown you, there are lots of different ways that you can create this bubble look.
Which bubble nail design is your favorite? Let a comment down below!
The author may collect a small share of sales from the links on this page.


Comments
Join the conversation