How to Fix a Broken Nail in 6 Easy Steps

Want to know how to fix a broken nail? Today, we're going to be focusing on those treacherous nail breaks.
No matter how careful we are with our nails and how we shape our nails, sometimes nail breaks still happen. But no worries because there is a way to easily be able to patch up a nail break and make it really strong.
This way, you can continue wearing your manicure, keep your nail length and not have to worry about cutting one or all of the nails down.
Best nail glue!
Tools and materials:
- Paper towel
- Nail glue
- Pad
- Buffer
- Base coat
- Nail polish
- Gel polish
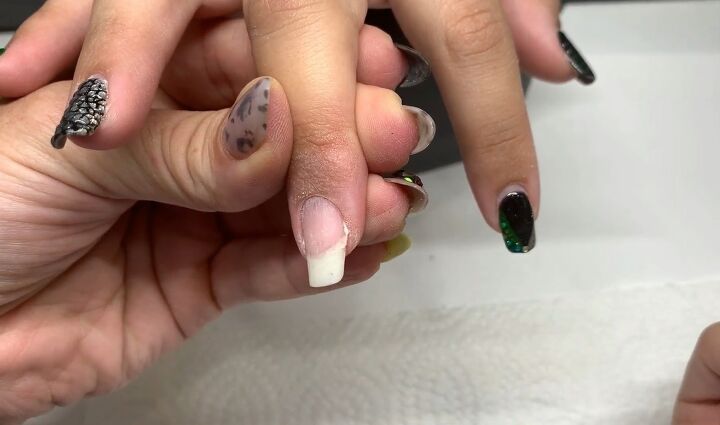
1. Consider whether it’s fixable
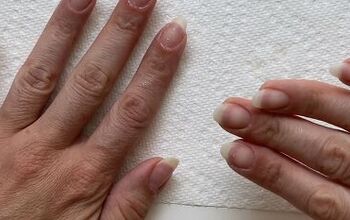
Here we have the broken nail. The last thing you want to do when you have a broken nail is split it any further than it already is.
We want to try to minimize how big that separation gets because the more floppy the break is, even fixing the nail, the more likely you are to break it again.
So the first step in fixing nails is determining whether or not it's truly fixable.
Anytime that the break is on the free edge, above the nail bed, and it's in the free open space, you want to consider: How big the break is, how strong the nail is, how floppy it is and whether there are any open or missing spaces in the break?
For the most part, I find most breaks to be super fixable.
2. Smooth the nail plate
We’re going to do here is smooth out the nail plate.
You want to make sure that the nail is put together as evenly as possible, making sure that no piece of the nail is above or below the other.
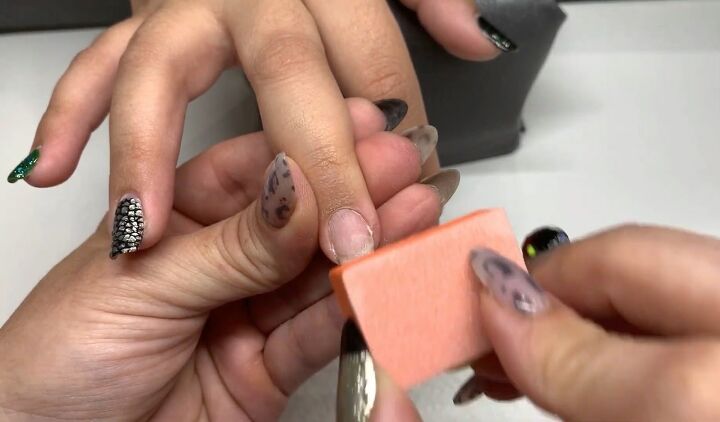
A good test to make sure that it's smooth and you have no ridges is getting a lint-free pad. If you don't have any fibers that are getting caught, then you’ve got a pretty good solid and smooth workspace.
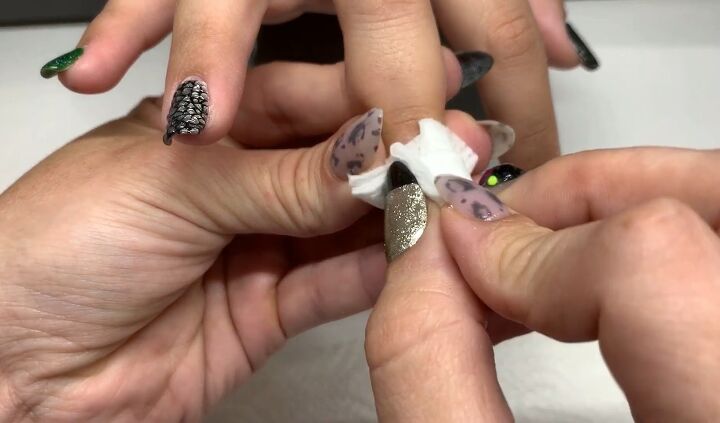
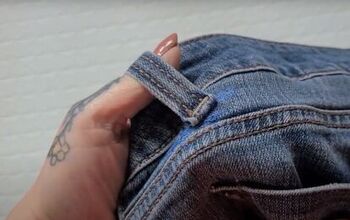
3. Stick on paper
Split a piece of paper towel in half, as you only need one thin layer from it. Now that we have a buff surface, we’re going to glue the piece of paper to that break.
You want to get it as close to the edge as possible and make sure that you smooth it out as much as possible. I'm going to do this all at once.
I don't like gluing the break first and then putting the paper on because it's no longer part of the patch. It's kind of just something we glue on top of the break as opposed to it drying and sealing with the break.
Make sure to wet the entire paper with nail glue. You want to drag this paper towel out right to the edge.
It's super important that you get it where the break is. You want to make sure that you're sealing the edge of it. You'll be able to file off and smooth away any excess.
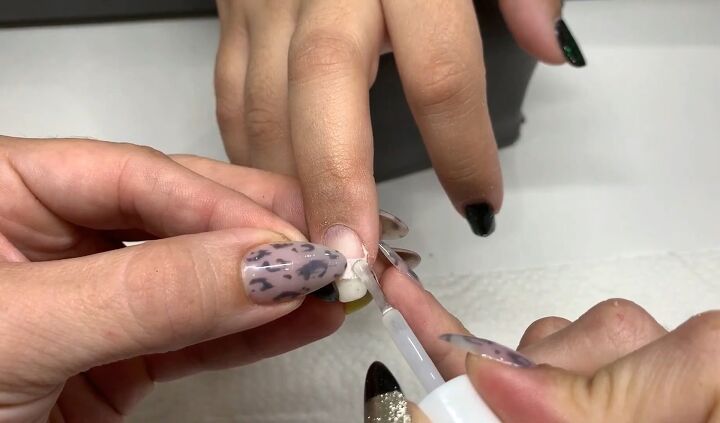
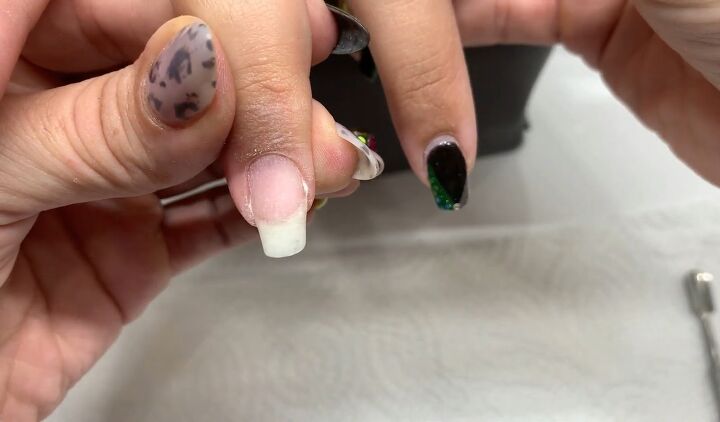
4. Leave it to dry
You want to make sure that the paper towel dries completely flat.
Sometimes you'll get little air bubbles in the fibers. You want to push that out and make sure that you get a very, very solid seal.
Then lightly blow on the finger and wait for it to dry completely, and there is no more moisture left on there.
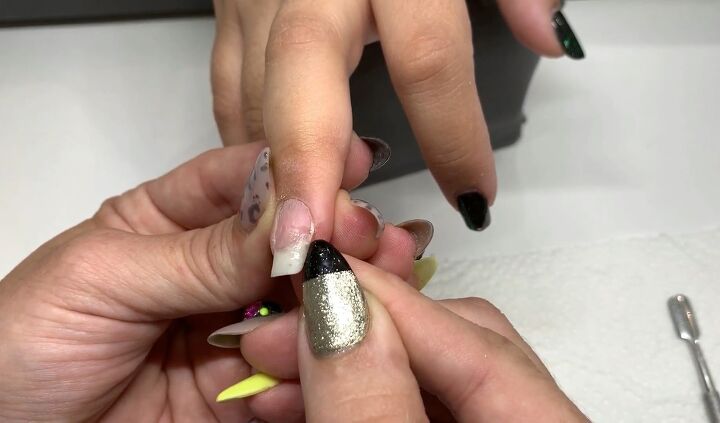
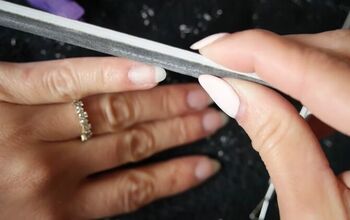
5. Smooth the nail out
Now what we need to do is just smooth it out with a buffer. Start from around the edges and make sure that you concentrate on the parts that you really want to smooth out.
That way, you don't thin anything out more than you need to. Smooth out the edges and the paper so it looks like it's part of the nail.
And there you have it: A super solid, smoothed-out nail patch.
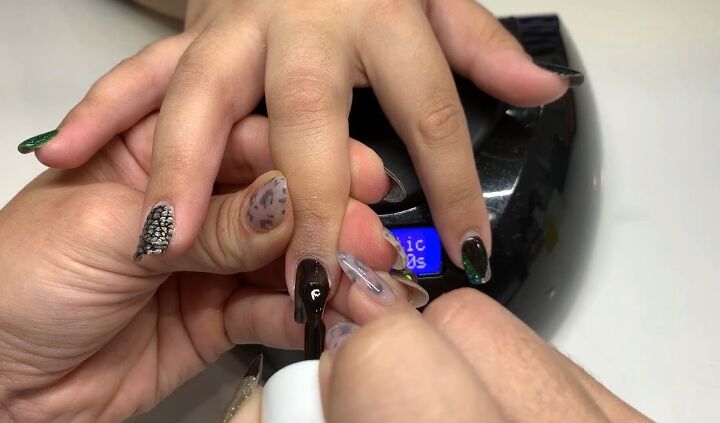
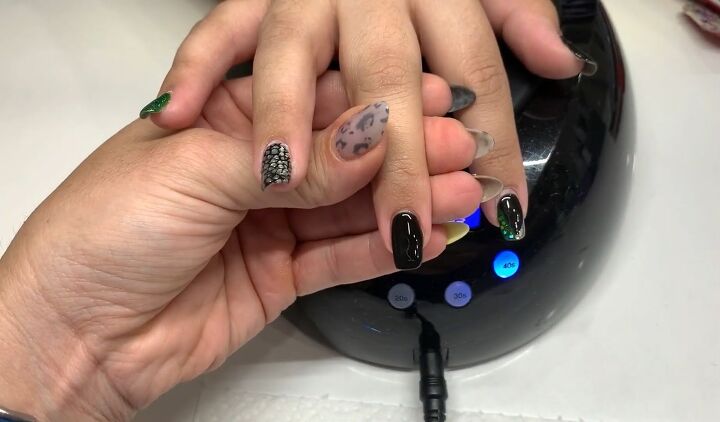
6. Apply manicure
Now go about the manicure as usual - base coat and color.
When I have nail breaks, especially when they're out in the free edge, I always put a gel overlay on the nail just to give it that extra support.
How to fix a broken nail
So there we have it everyone, a very easy way to patch up nail breaks.
This is the method I've been using for a really long time, and it's been very successful. It might take a little practice handling and maneuvering with the glue but take your time. Practice makes perfect!
For more nail content, check out my post on How to DIY Awesome Bubble Bath Nail Art.
The author may collect a small share of sales from the links on this page.


Comments
Join the conversation