Easy Healthy Nails Manicure Tutorial

In this tutorial, I’m going to do a quick overview of my entire healthy nails manicure process.
I’ll show you how to care for your nails and how to do a manicure at home. Let’s get started.
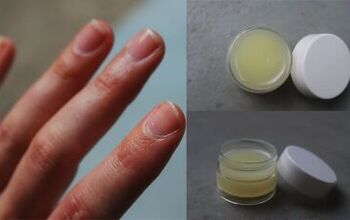
Best cuticle oil!
Tools and materials:
- Nail file
- Cuticle remover
- Cuticle pusher
- Cuticle cutter
- Buffer
- Wipes
- Gel base coat
- Top coat
- Alcohol
- Cuticle oil
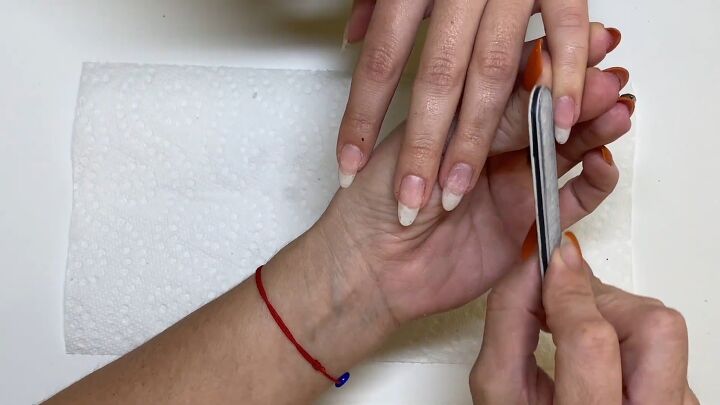
1. File the nails
File the nails on each hand.
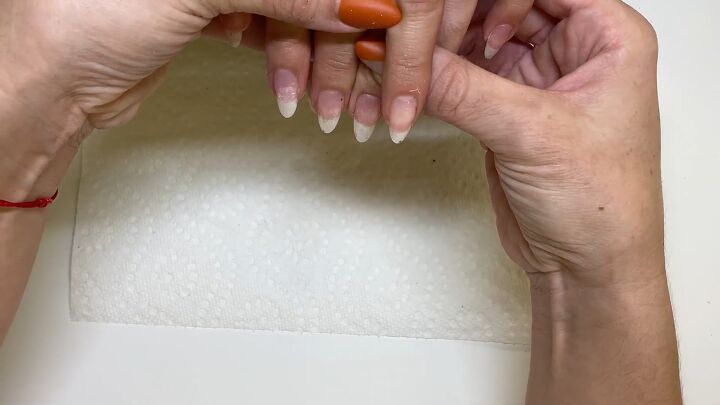
Make sure they’re nice and even with the other hand.
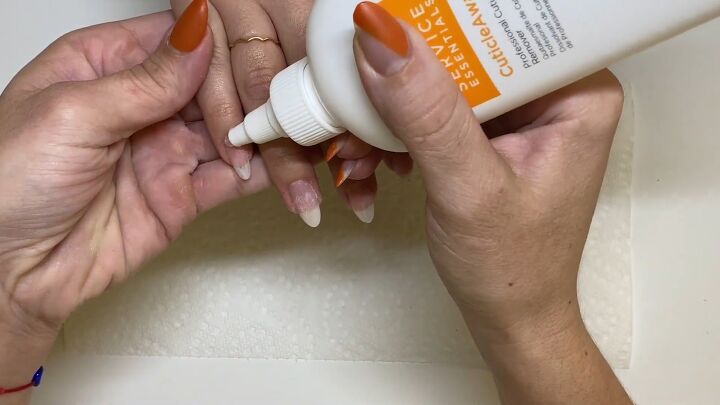
2. Apply cuticle remover
After filing the nails, apply cuticle remover to the cuticles. This is what I do instead of soaking the nails in water.
Dabble a bit around the cuticle and spread it out to get it nice and soft.
This will help soften up the cuticle so we can push back and remove it safely and effectively.
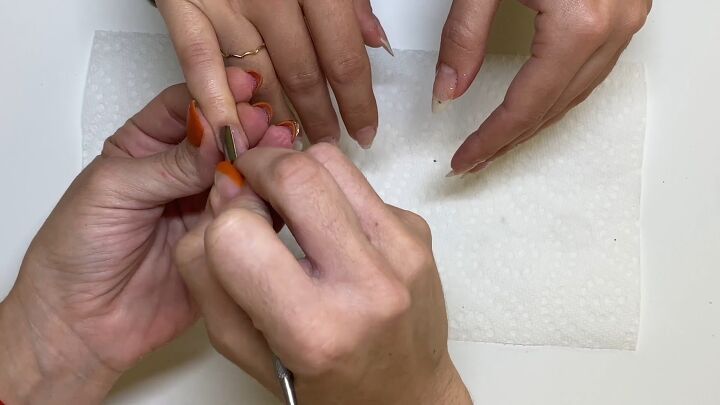
3. Push back the cuticles
Use a cuticle pusher and remove the cuticle gently.
Remember cuticle is skin that grows on your nail plate, so make sure you’re scraping it all the way back and up into the cuticle bed.

You also want to make the surface nice and smooth.
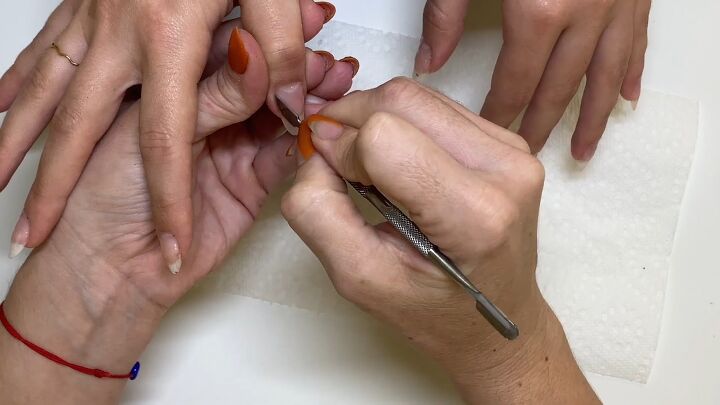
4. Scrape the edges
Use the other end of the pusher to scrape all along the edges to make sure you’ve removed as much cuticle as you can with the pusher.
Make sure you’re cleaning under the nail as well.
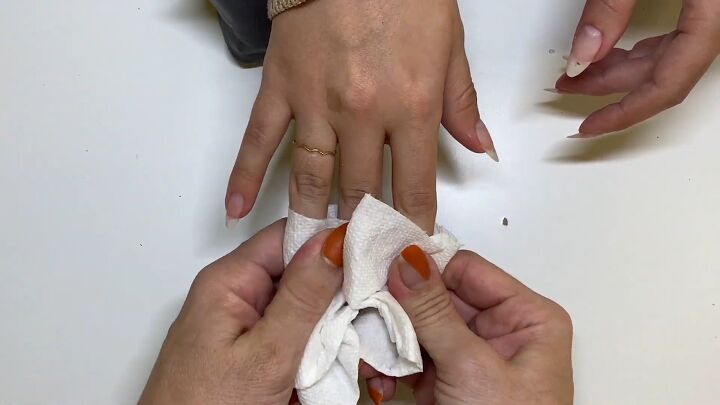
5. Wipe the nails off
Spray a little bit of water and wipe off the cuticle from the nail.
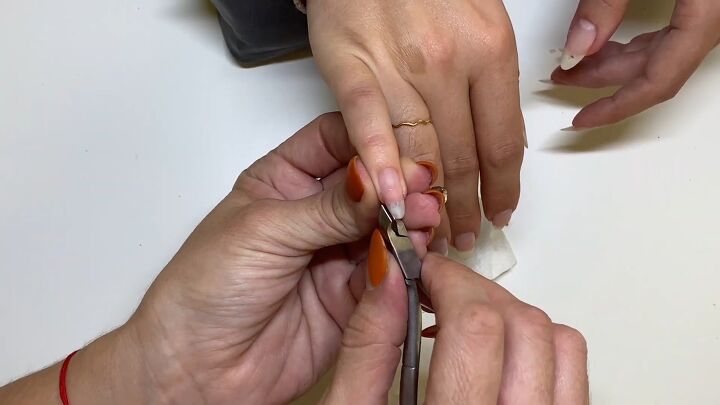
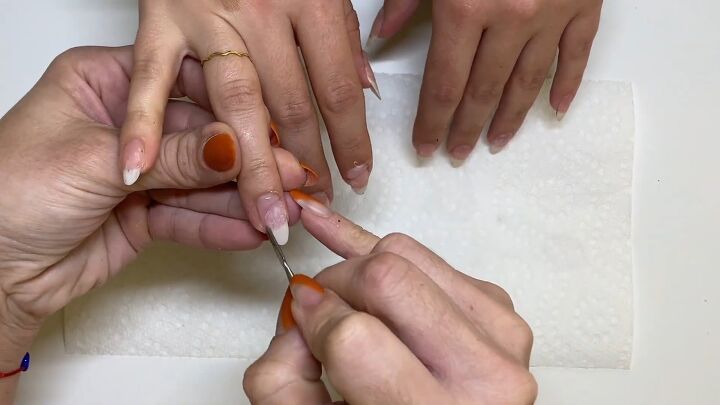
6. Nip any leftover pieces of cuticle
Go back and nip any little pieces of cuticle that were left behind around the edges of the nail.
Don’t go heavy with the nipper and cut things you don’t need to. If you’re using the cuticle pusher the right way by pushing the cuticle back and removing it properly, there should be little for you to nip.
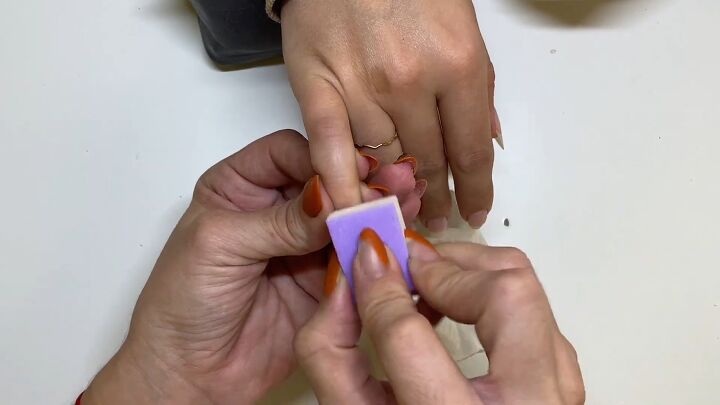
7. Buff the nails
Use a buffer to gently buff the nail. I use an up-and-down motion.
Avoid going side to side unless you need a bit more aggressiveness to smooth it out.
Make sure you’re smoothing out the entire nail plate and all around the edges, removing any oils and rough areas.
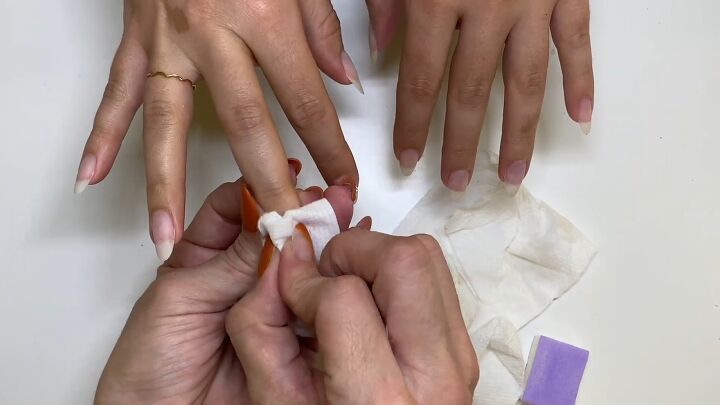
8. Wipe the nails off again
Wipe off all of the dust from the nail plate and the edges, so that when you start polishing you don’t have any dust particles left.
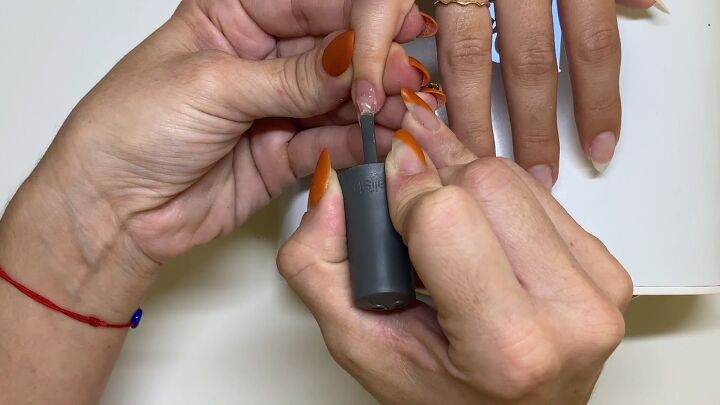
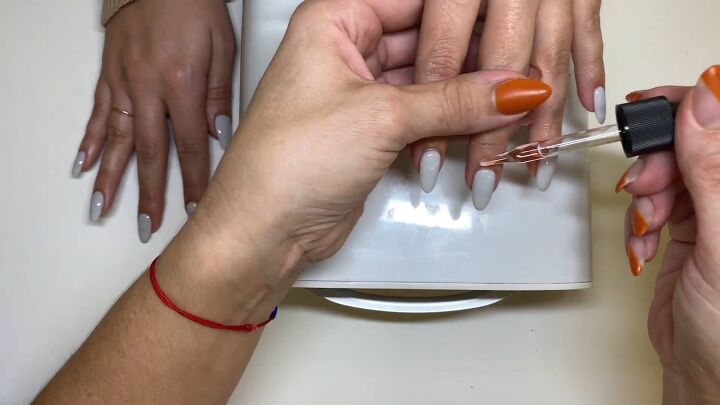
9. Apply a gel base coat
I like using a gel base coat to polish.
Again, make sure you’re getting the polish all around the nail and the edges. Get as close to that cuticle bed as possible without getting into the cuticle bed.
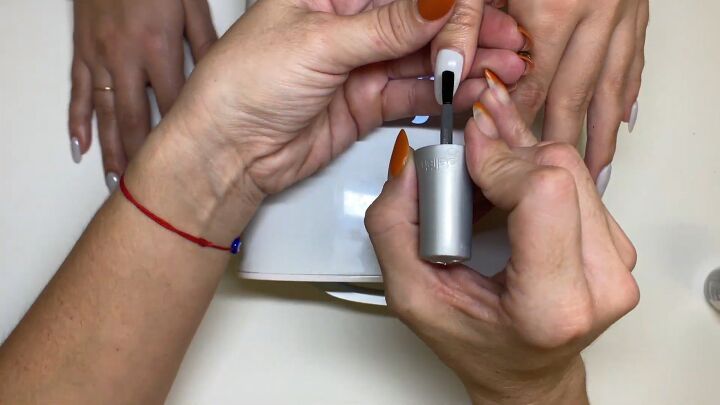
10. Apply a top coat
After the nails are polished, you’re ready to top coat.
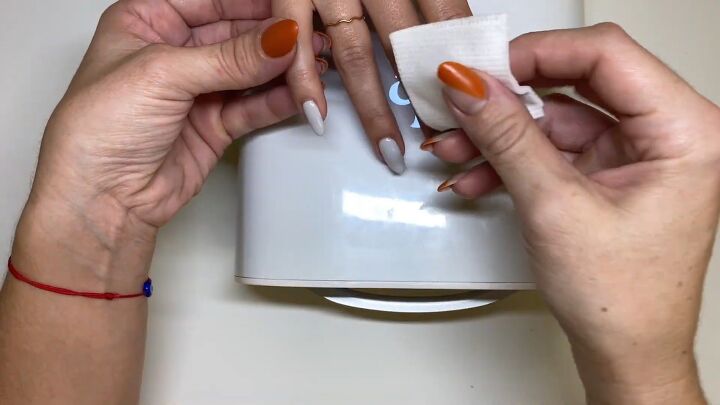
11. Clean the nail with alcohol
Use 99% alcohol and a lint-free pad to wipe off the remaining residue that the gel leaves behind on and under the nail.
12. Apply cuticle oil
Apply and rub cuticle oil into the cuticle.
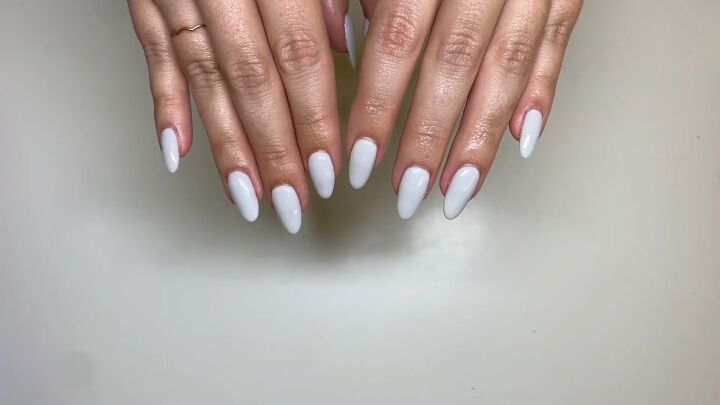
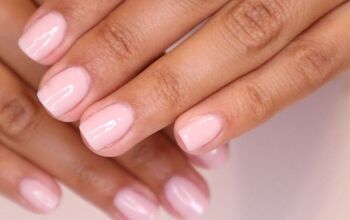
Healthy nails manicure
Here we go! A perfectly polished and beautiful manicure. This is the process I use with every single one of my clients.
Look how healthy the cuticles look, and the polish is nice and neat!
Let me know what you think about this healthy nails manicure process down below.
You may also want to check out my post on How to Fix a Broken Nail in 6 Easy Steps.
The author may collect a small share of sales from the links on this page.


Comments
Join the conversation