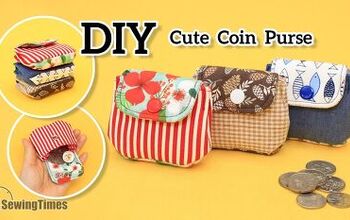
This Adorable Dumpling-Style DIY Coin Purse is the Perfect Gift Idea

Looking for that perfect gift idea? Here’s how to make an adorable dumpling-style DIY coin purse. It doesn’t just have to hold change - it can hold pills, tiny keepsakes like your baby’s lock of hair or first tooth - anything small and precious. Let’s get started on the dumpling coin purse pattern!
Tools and materials:
- Fabric for the outside
- Fabric for lining
- Fusible fleece
- Mid-weight interfacing
- Small D style metal ring
- Ruler
- Scissors
- Clips
- Sewing machine
- Needle and thread
- Iron
- Fabric marker
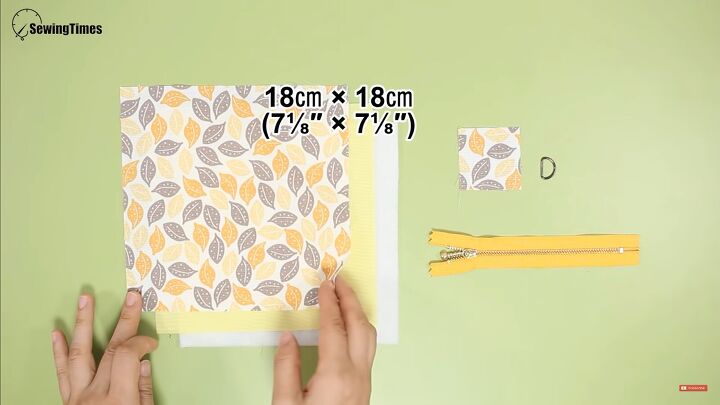
1. Cut the fabric
You’ll need fabric in these sizes:
- Outer layer 7⅛ X 7⅛ inches
- Small tab 2 X 2 inches
- Lining 7⅛ X 7⅛ inches
- Fusible fleece 7⅛ X 7⅛ inches
2. Cut the pattern
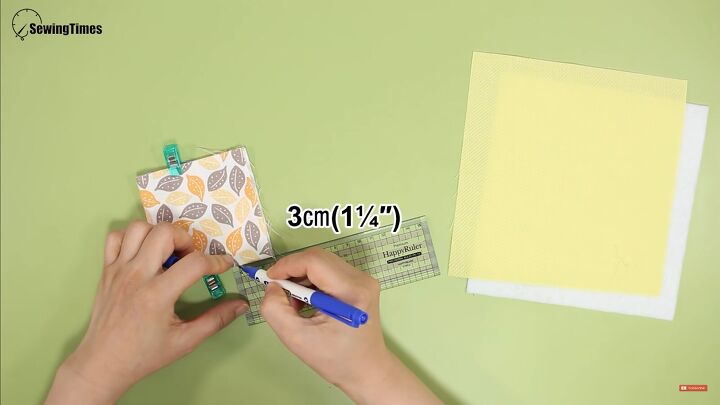
Fold the outer fabric in half and then in half again to form a small square. Clip the top and bottom.
At the folded edge, measure 1¼ inches and turn the square a bit so you can draw a diagonal line from that mark down to the very edge.
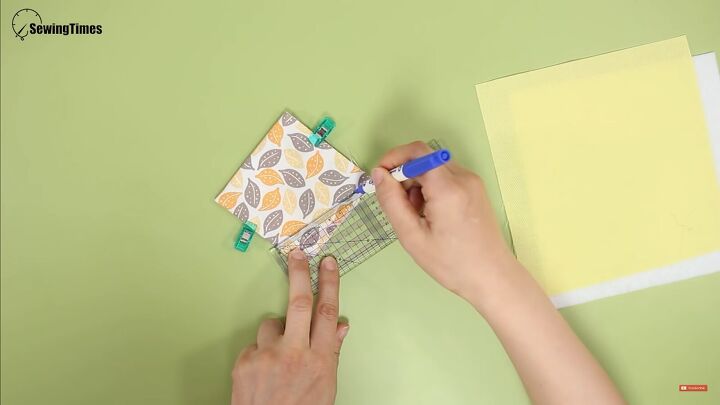
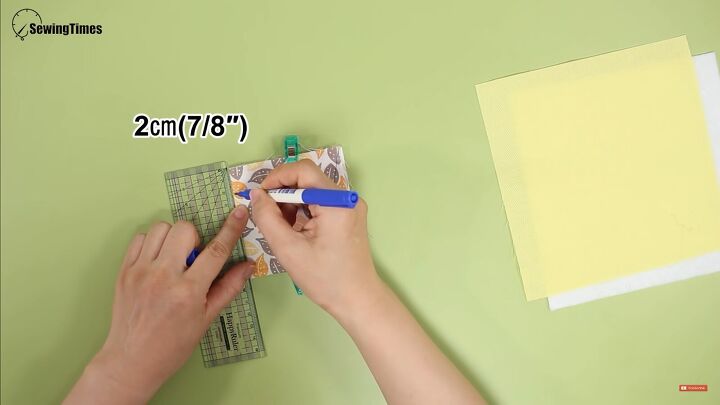
On the opposite side measure ⅞ of an inch and draw a diagonal line to that point.
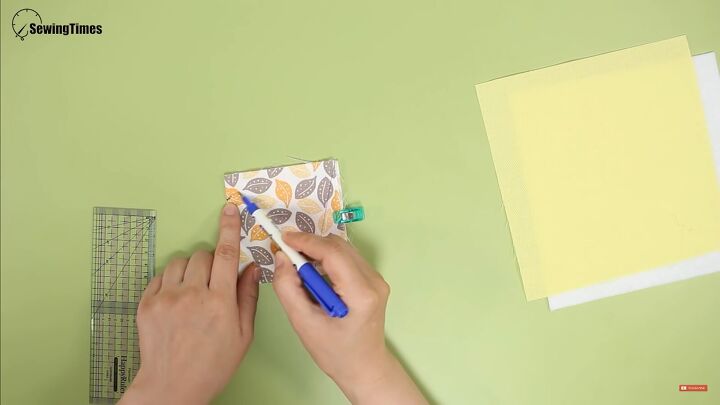
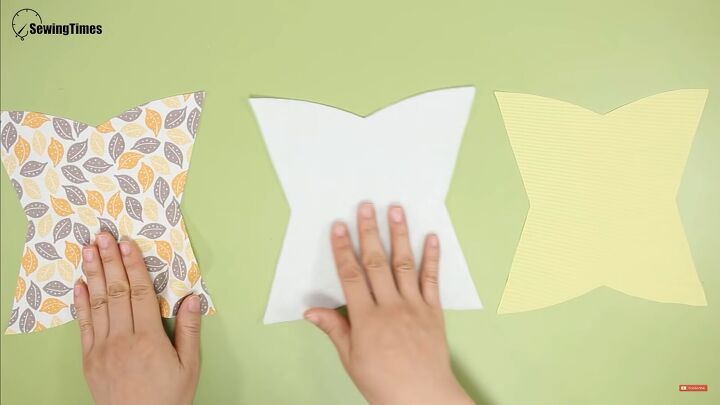
Cut along the lines, then open up the fabric. Lay the outer layer on top of the fusible fleece and then the lining to use a pattern. Clip them all together. Cut the fusible fleece and lining to match the outer layer.

3. Press
Iron the fusible fleece to the outer layer’s wrong side.
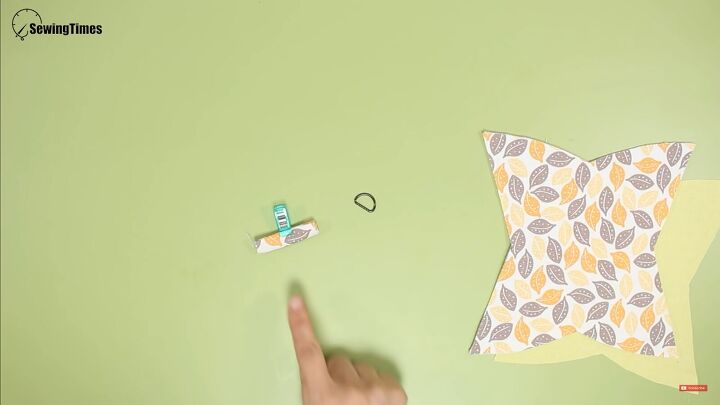
4. Make the tab attachment
Fold the 2 X 2-inch fabric in thirds to make a little sandwich and then fold that sandwich in half. Clip to hold it together.
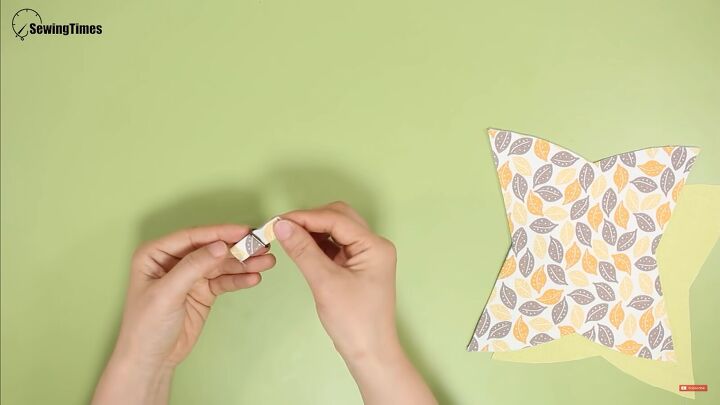
Sew the fabric together to form the tab, then pull the “D” ring through it.
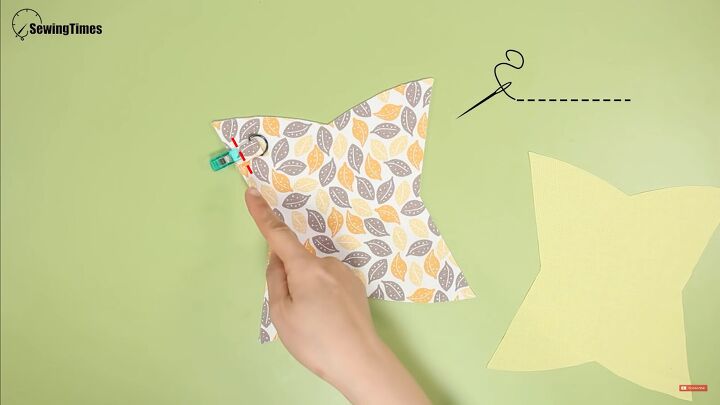
5. Attach the tab
Sew the tab with the ring to one of the “wings”.
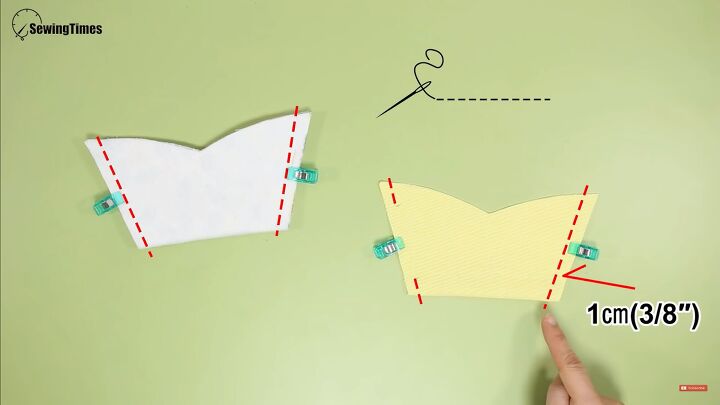
6. Sew the dumpling purse
Fold the fabric so the right sides are together. Clip in place.
Fold the lining the same way. Clip in place. Mark a 1-inch opening as a space in the lining to keep open, so you can flip the fabric later.
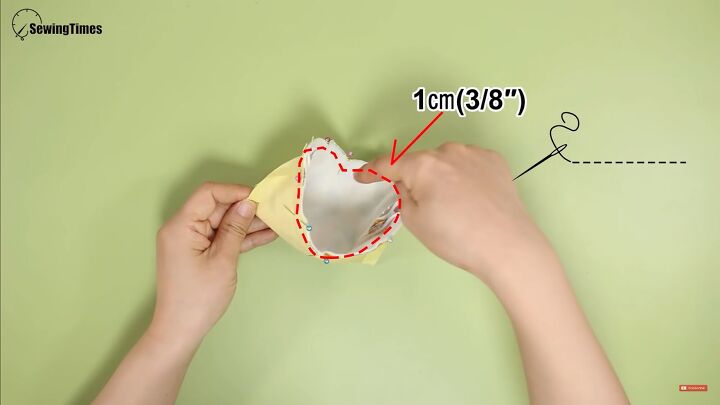
Sew the pieces, leaving a ⅜-inch seam allowance.
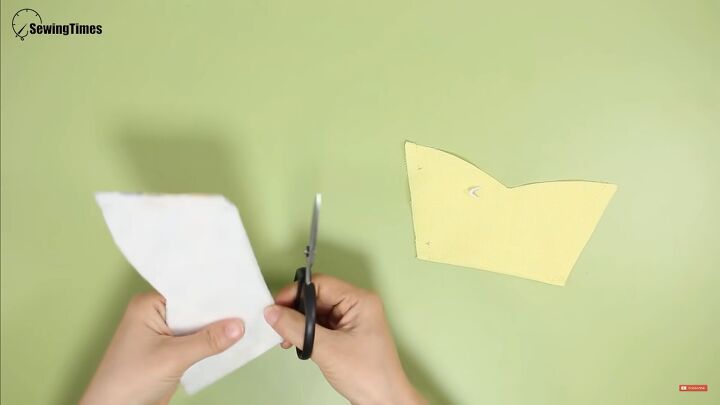
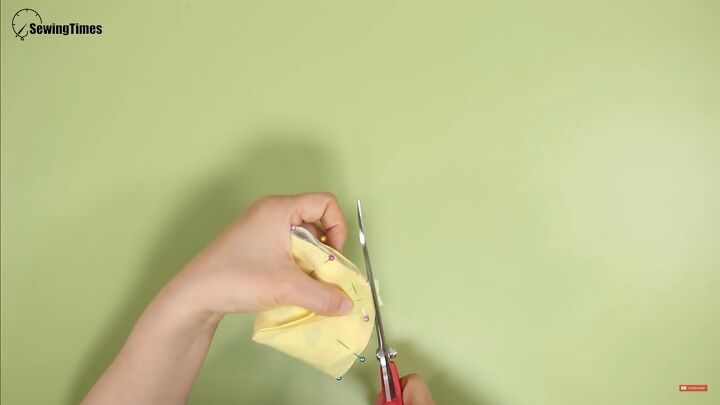
Snip the corners in the seam allowance so the fabric lies flat.
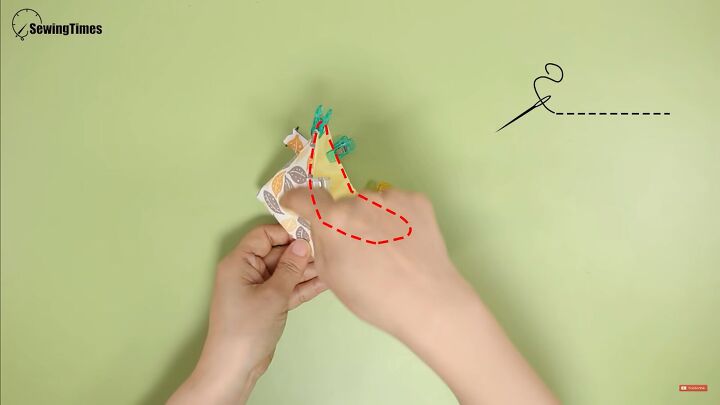
Flip the fabric inside out. Place the outer layer into the lining. Pin or clip in place. Line up the seams.
Pinch the purse together so the seams are in the middle. Cut off any excess fabric.
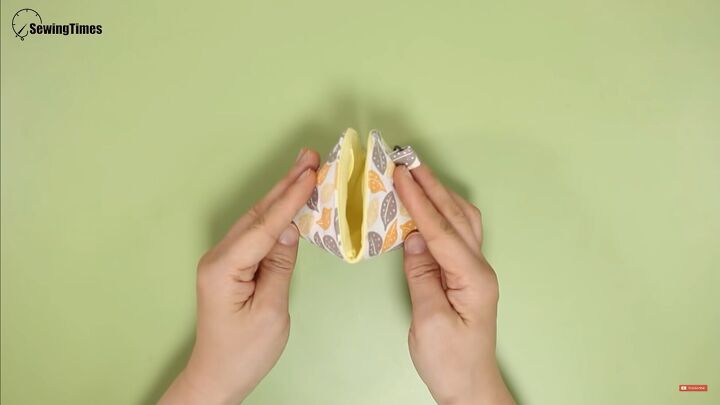
Sew all around the edge with a ⅜-inch seam allowance. Trim any excess seam allowance.
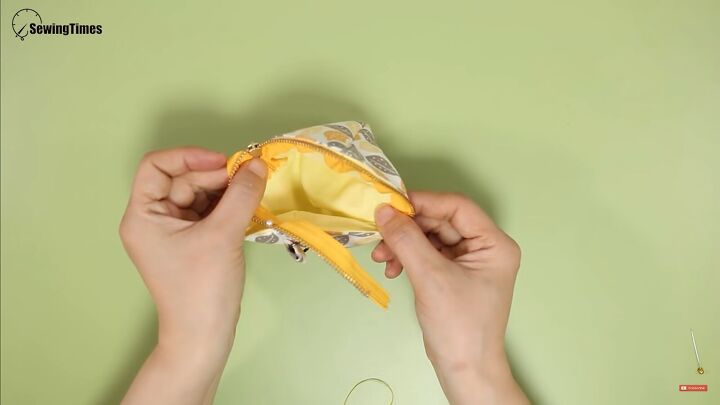
Use the 1-inch space to flip the dumpling purse inside out. Hand sew the opening closed.
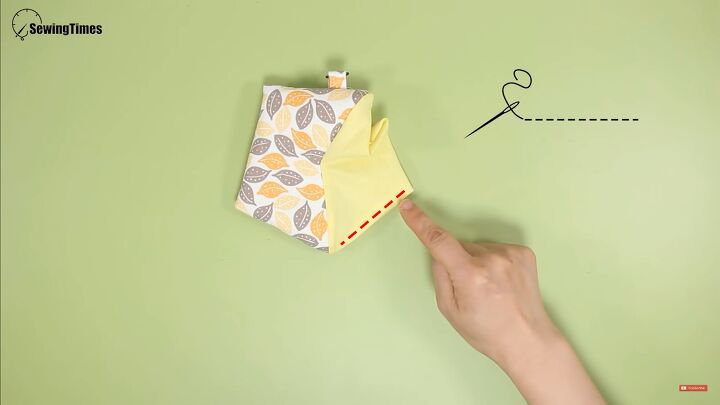
Clip the ends and sew a hem all around the top.
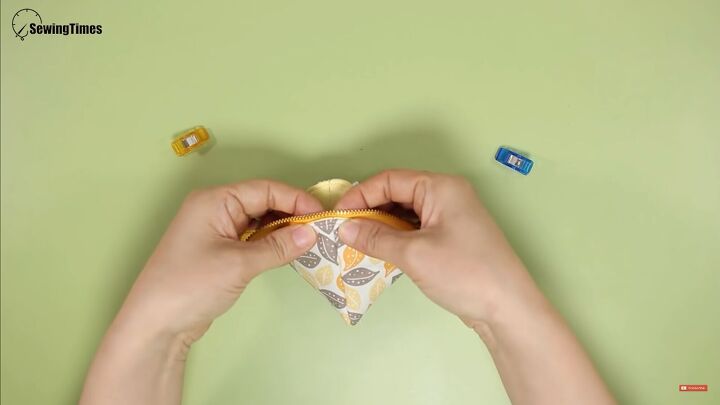
7. Install the zipper
Pinch the purse so the seams are in the middle.
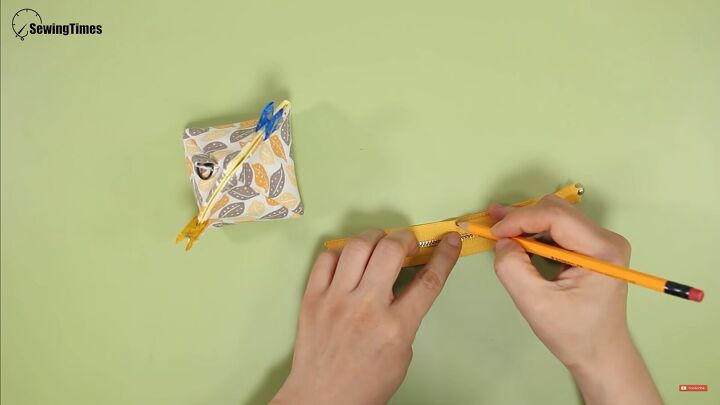
Clip in place. Fold the zipper in half and mark it at the center.
Match that mark to the center seam. Pin or clip in place.
Hand sew the zipper in by sewing down the zipper tape to the lining.
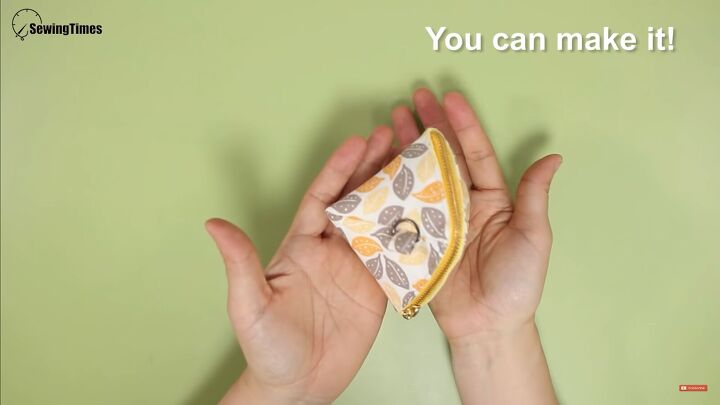
DIY coin purse tutorial
That’s it! A simple, easy, beautiful, and practical gift for yourself or others! Let me know in the comments how easy or hard this dumpling coin purse tutorial was for you. I love hearing from you!
The author may collect a small share of sales from the links on this page.


Comments
Join the conversation
I am sorry but I see no zipper mentioned in the tools and materials list. I would like to try this pattern if I knew what was needed for the zipper. Thank-you.