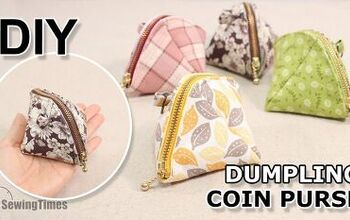
How to Make a Simple DIY Coin Purse - Perfect Gift Idea

This adorable DIY coin purse tutorial is perfect for coins, pills, or other small important items. You can use all sorts of fabric scraps to make it. Follow along to learn how to make a coin purse!
Tools and materials:
- Fabric
- Fusible fleece
- Snaps - 9.5mm size
- Scissors
- Iron
- Pen
- Snap insertion tool/mallet
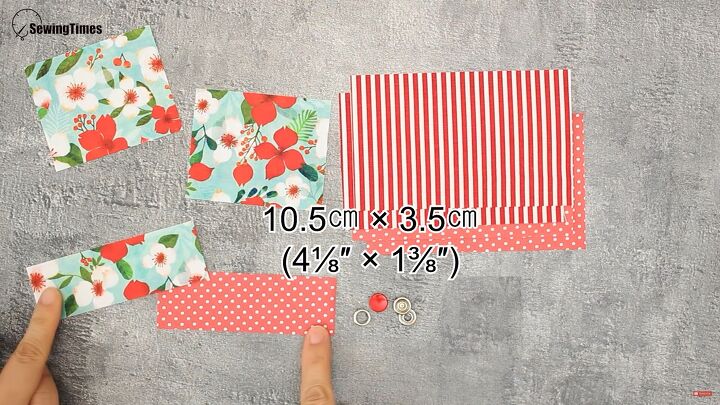
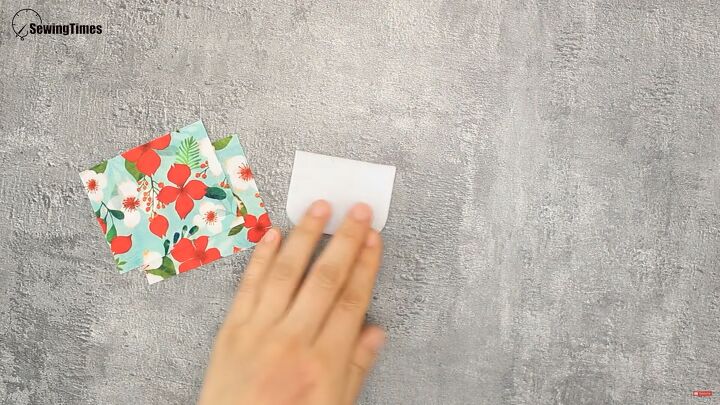
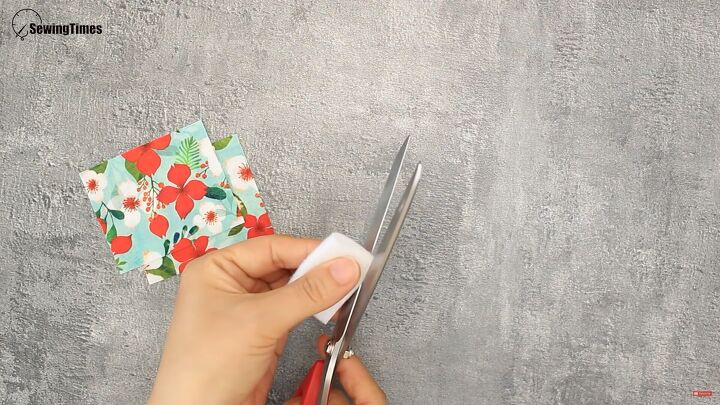
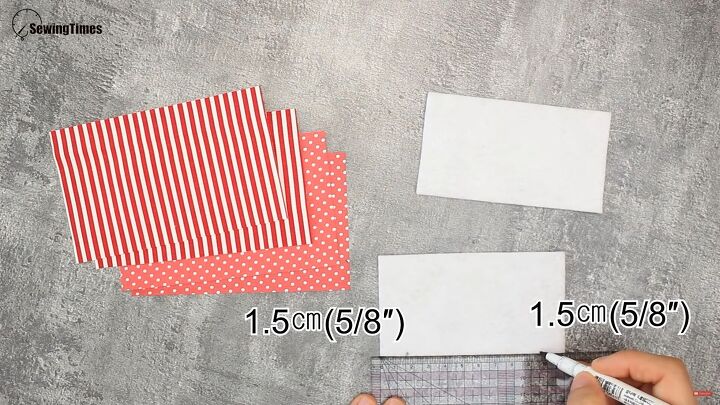
1. Cut the fabric and fusible fleece
Cut the fabric
- 4 pieces 5⅛ x 3⅛ inches for the outside and lining
- 2 pieces 3⅛ x 2½ inches
- 2 pieces 4⅛ x 1⅜ inches
Cut the fusible fleece
- 1 piece 2⅜ x 1¾ inches
- 1 piece 3⅜ x ⅝ inches
- 2 pieces 4⅜ x 2⅜ inches
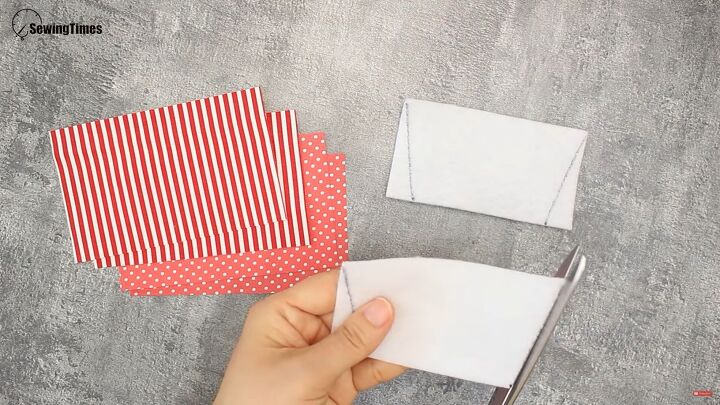
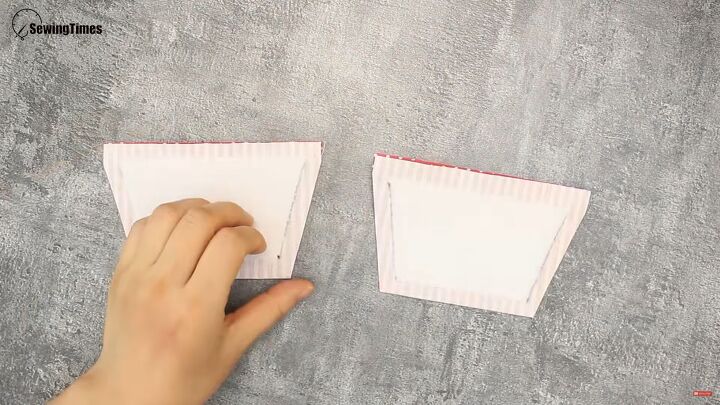
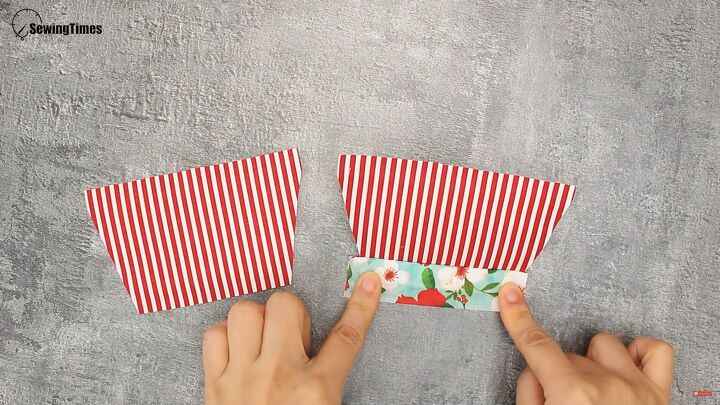
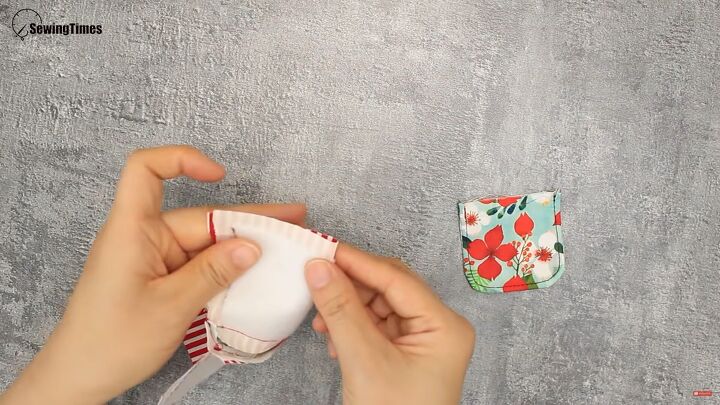
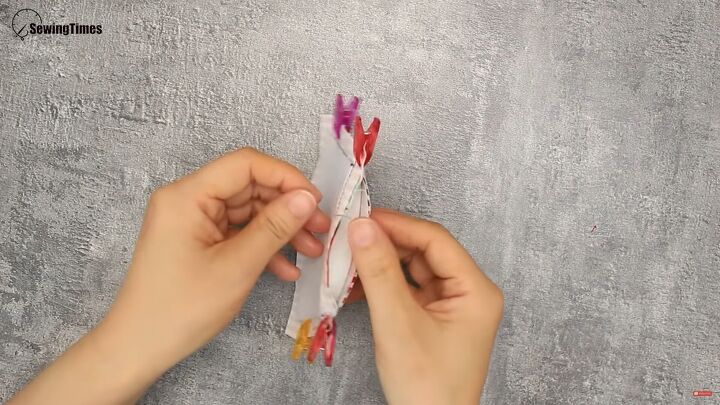
2. Make the closure piece
Fold a piece of fusible fleece in half.
Round the edges and place it on the bottom of the piece that is 3⅛ x 2½ inches, with the fabric facing right side down.
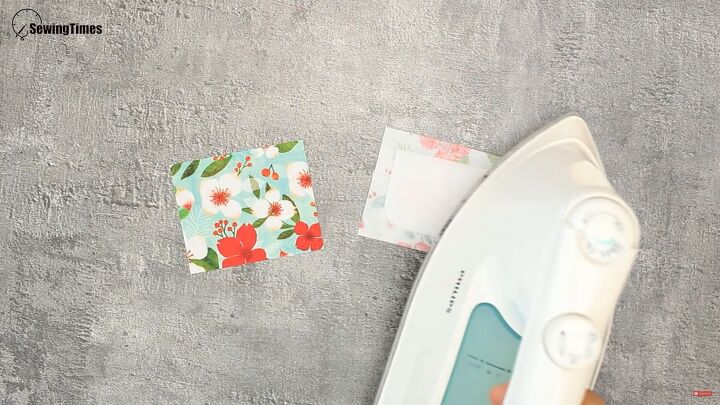
Iron the fusible fleece in the center of the fabric.
Place the second 3⅛ x 2½ inch piece and put it on top of the piece with the fusible fleece.
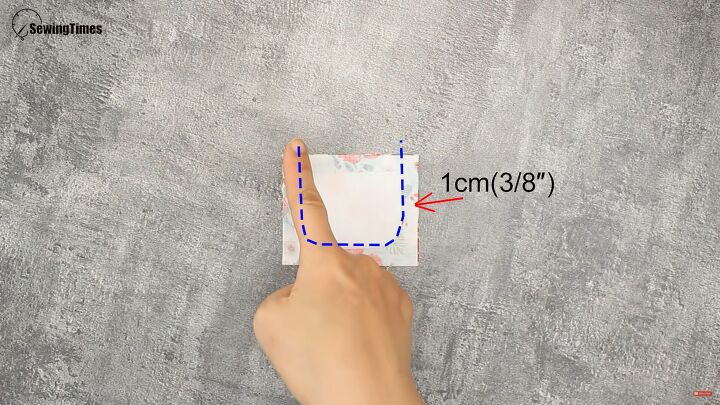
Mark the size of the fusible fleece ⅜ inches in from the edge of the fabric.
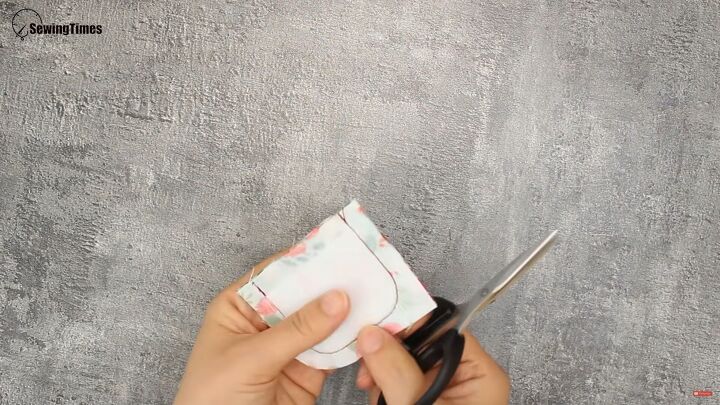
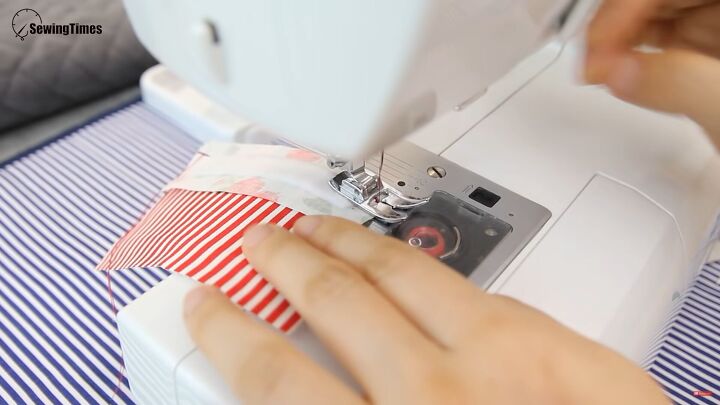
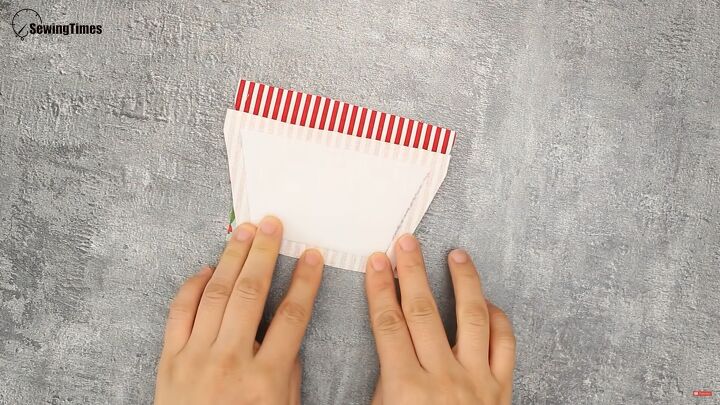
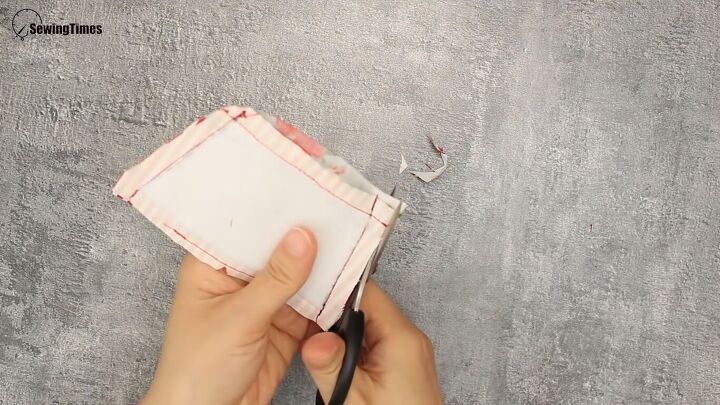
Pin the 2 pieces of fabric together, right sides facing. Sew together. Round the seam allowance edges.
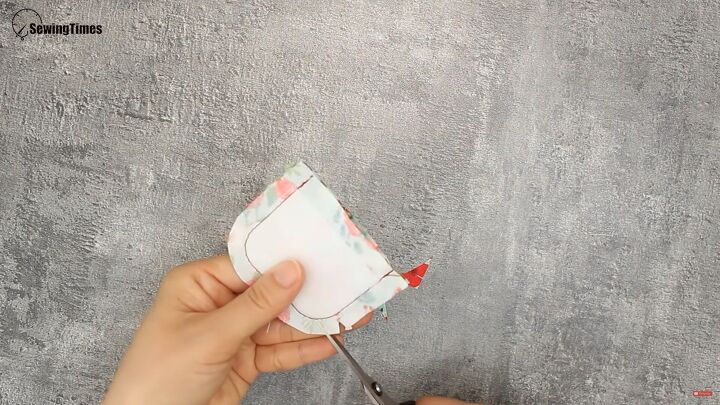
Cut small triangles on the rounded ends in the seam allowance.
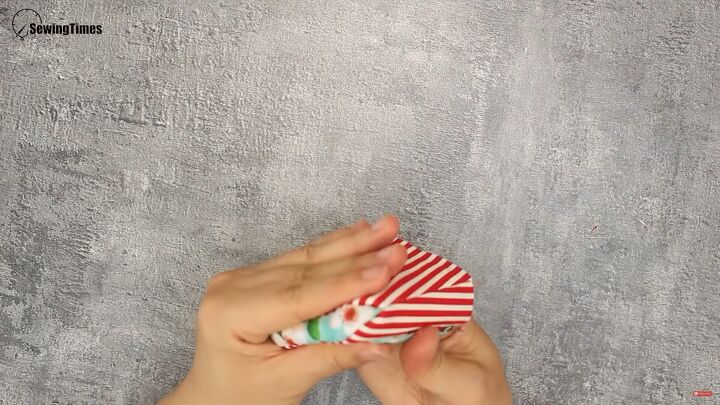
Turn it right side out.
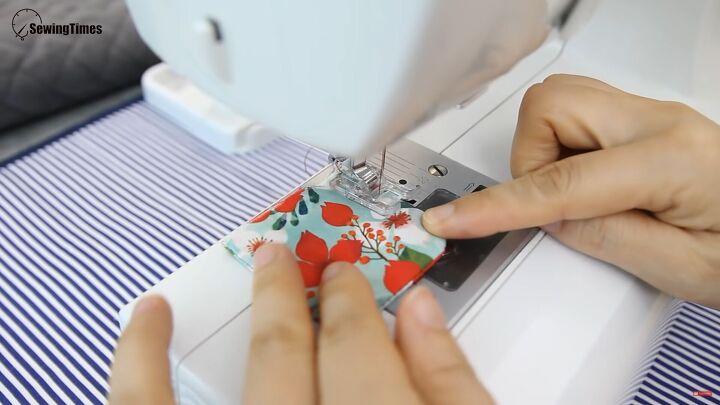
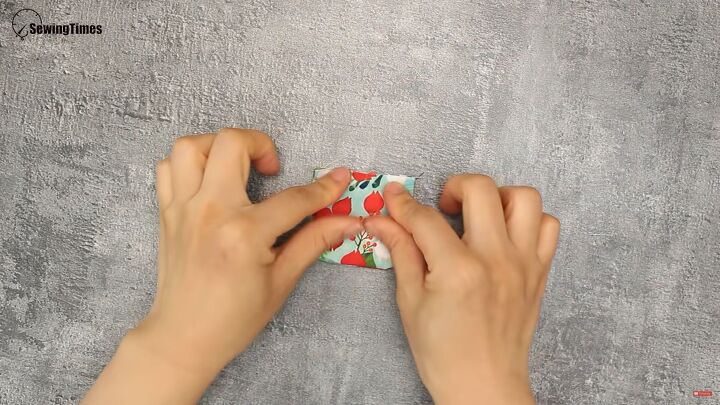
Then, sew it as close to the edge as possible.
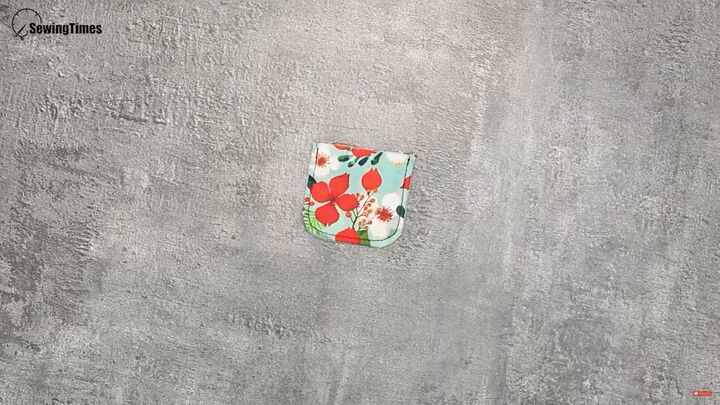
It will look like this.
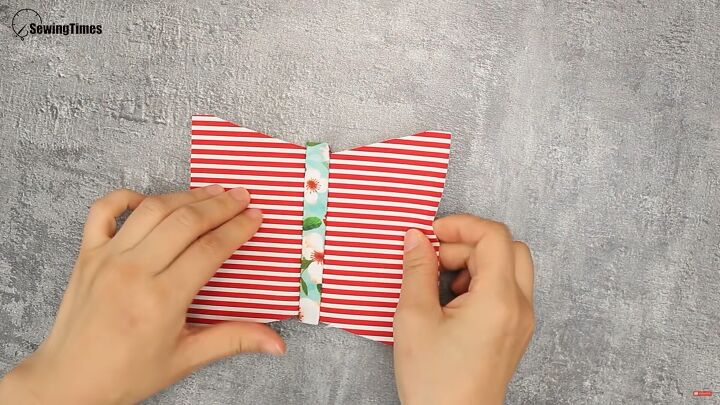
3. Make the bottom
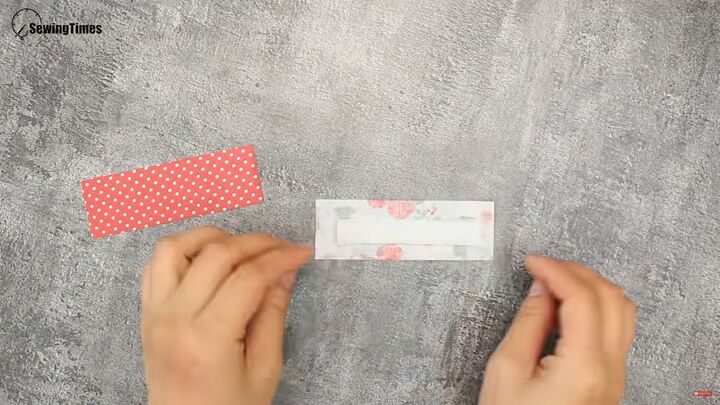
Take one of 4⅛ x 1⅜ inch pieces and put the fusible fleece that is 3⅜ x ⅝ inches in the center on the wrong side.
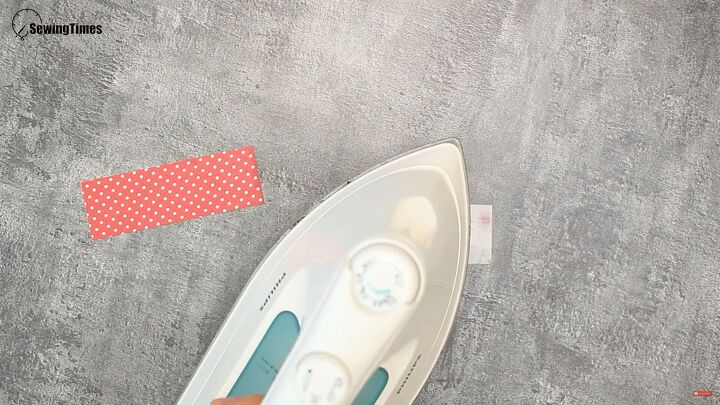
Iron them together. Set it aside for now.
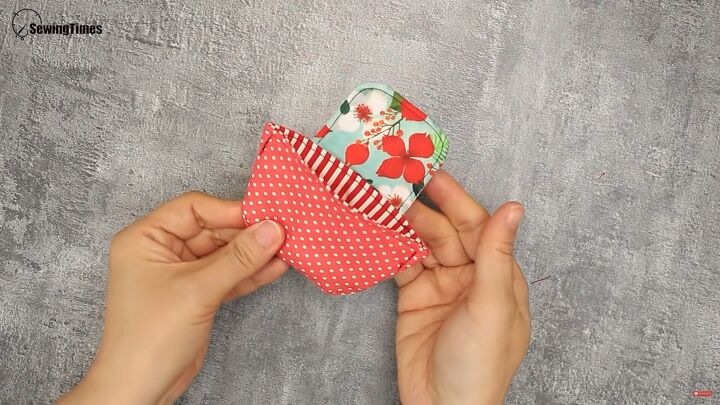
4. Make the bag
Lay 2 of the larger pieces of fusible fleece (4⅜ x 2⅜ inches) and mark them ⅝ inches on either side.
Mark that point and draw a diagonal line. Repeat for the other piece of fusible fleece. Cut out both of the marked triangles.
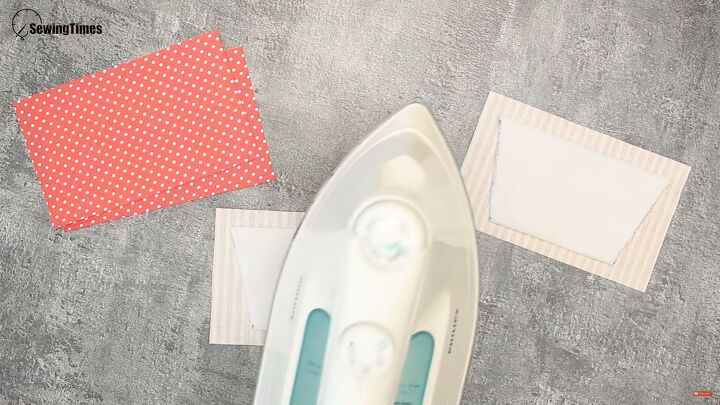
Lay 2 pieces of the 5⅛ x 3⅛ inch fabric right side down. Place the trimmed fusible fabric in the center. Iron each one of them.
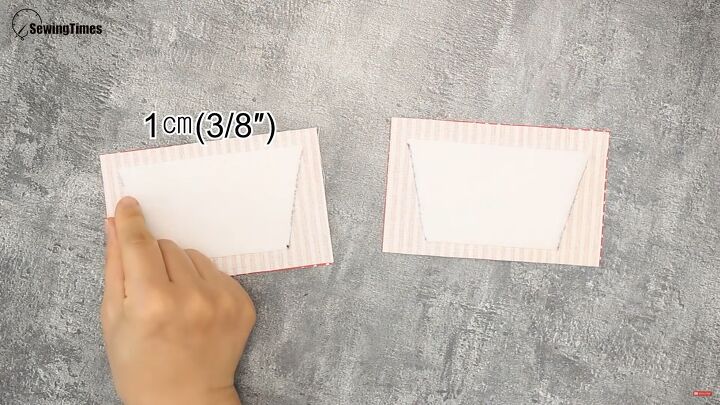
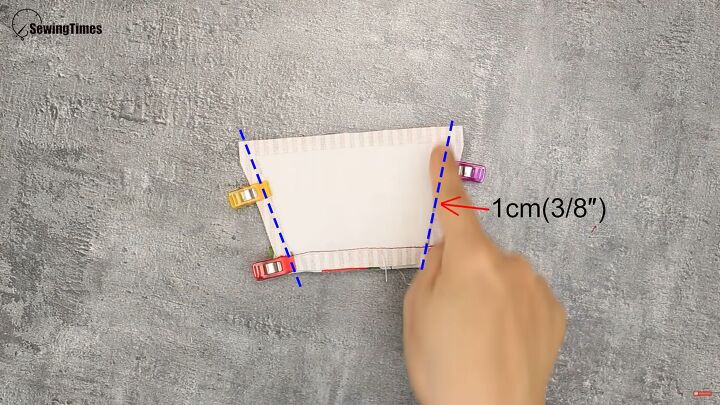
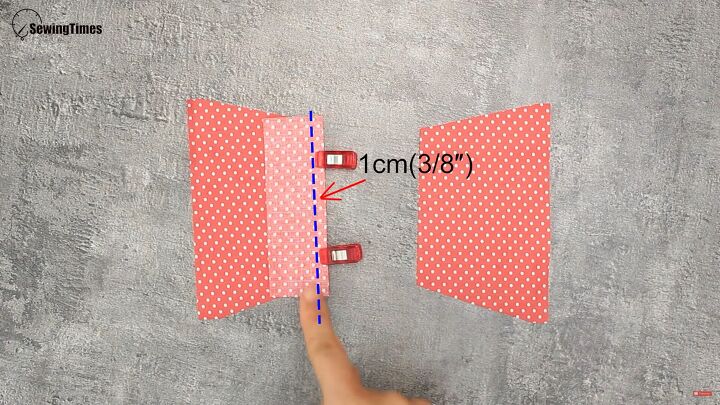
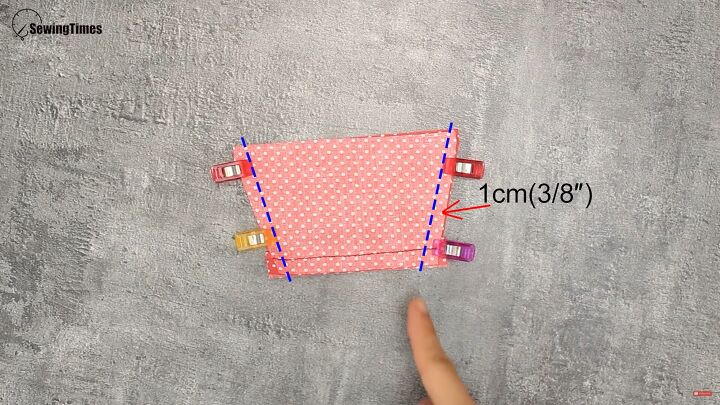
Take the other 2 pieces of fabric and lay right side in. Mark by ⅜ inches on either side of the angled edges.
Cut these off for both pieces.
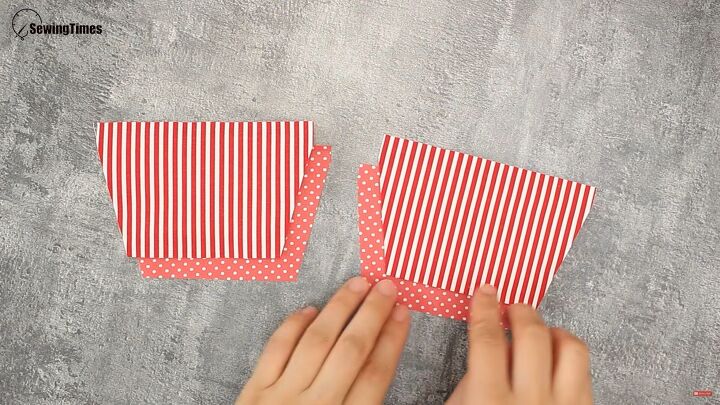
Separate the pieces so the ones without fusible fleece are on the side.
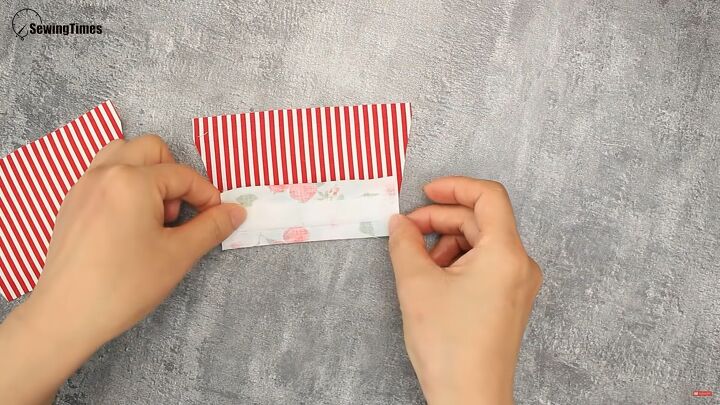
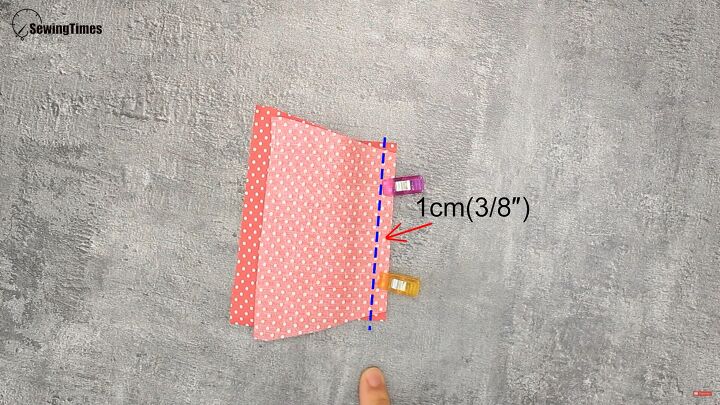
Take the small rectangle together with the larger pieces of fusible fleece. Lay the small rectangle right side down so both right sides are facing each other.
Leave ⅜ inches at the edge at the bottom.
Sew with a straight stitch.
You should be able to fold it over.
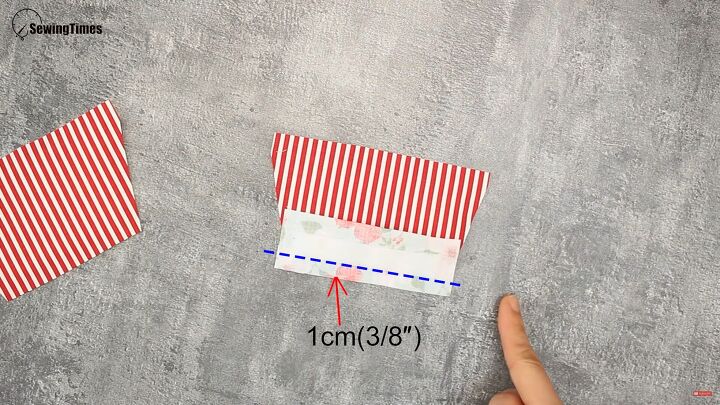
Lay the second piece of fusible fleece directly on top of the edge of the sewn rectangle.
It won’t be flush with the top part of the other large piece. Pin it.

Then sew also with ⅜ inch from the bottom.
It should look like this.
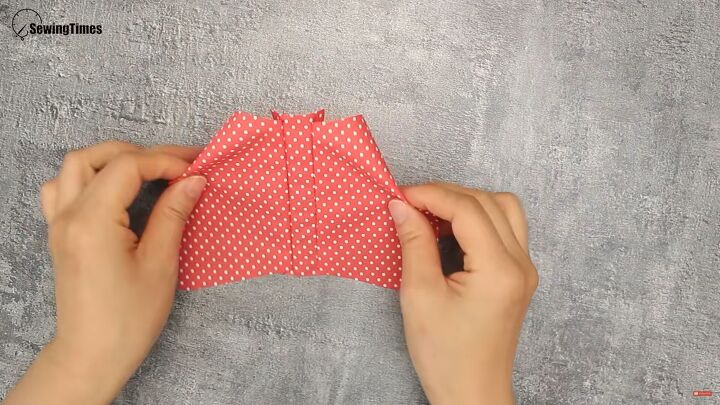
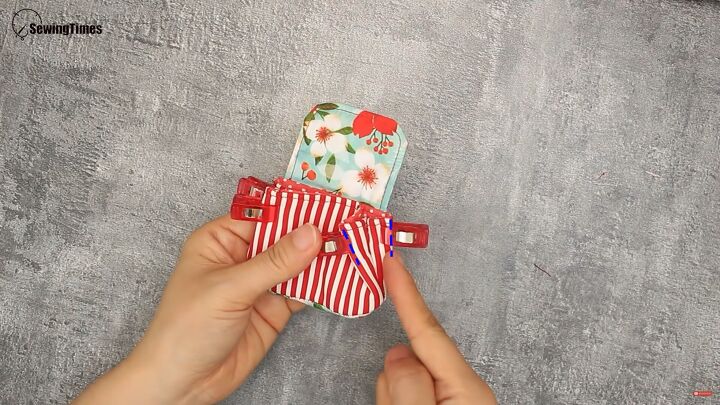
Fold the right sides in but lengthwise. On one side, snip at the fold at the top.
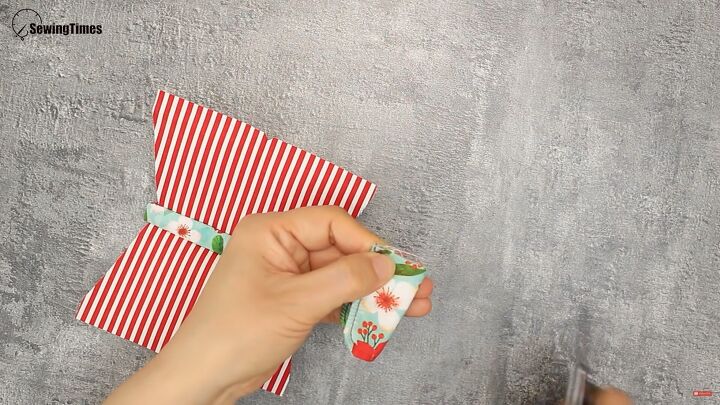
Fold the small sewn top lengthwise and snip at the top of the fold.
Place the small sewn tab at the top center where you cut at the fold. Clip in place. Sew only that part together.
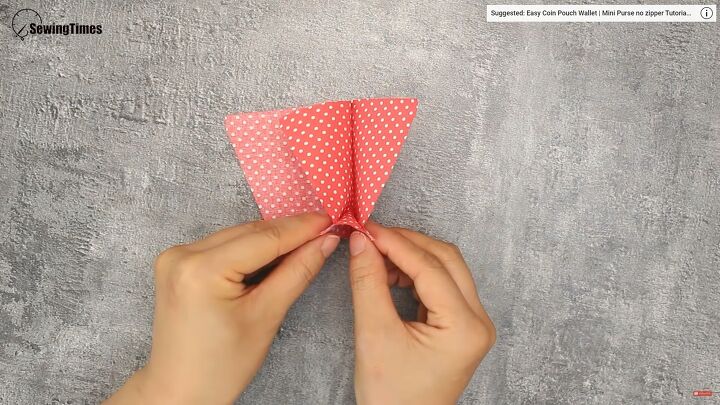
Fold the right sides in. Clip the ends.
Make sure the rectangular bottom is folded inward.
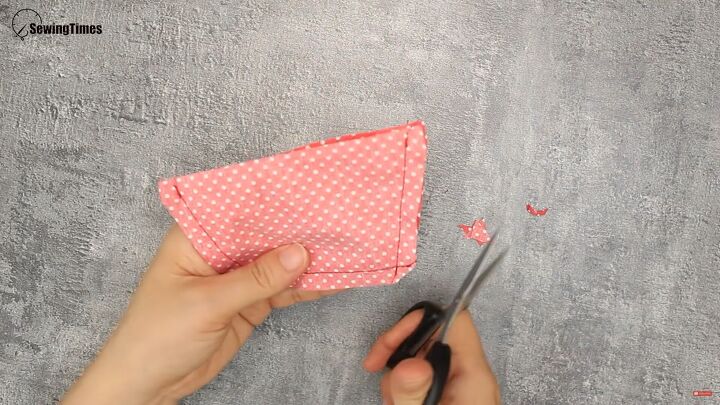
Sew leaving a ⅜-inch seam allowance on the diagonal line.
Round the edges at the seam allowance.
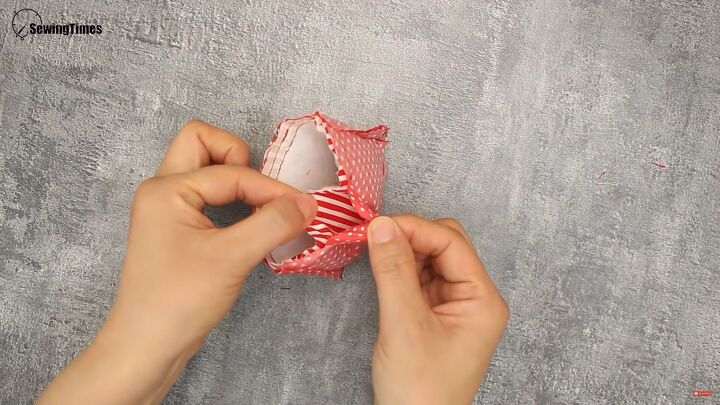
Turn it right side out.
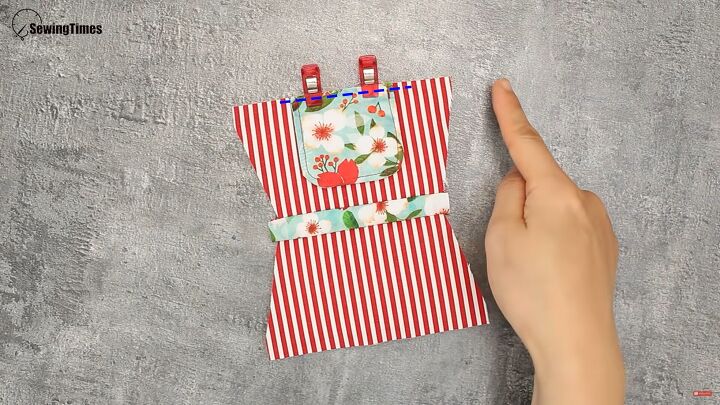
5. Lining
Take 2 larger pieces and 1 rectangle. Lay the rectangle on one of the pieces of fabric with the right sides facing in. Sew them together leaving a ⅜-inch seam allowance.
Then sew the second large piece at the edge of the rectangle, right side in, with a ⅜-inch seam allowance.
It should look like this.
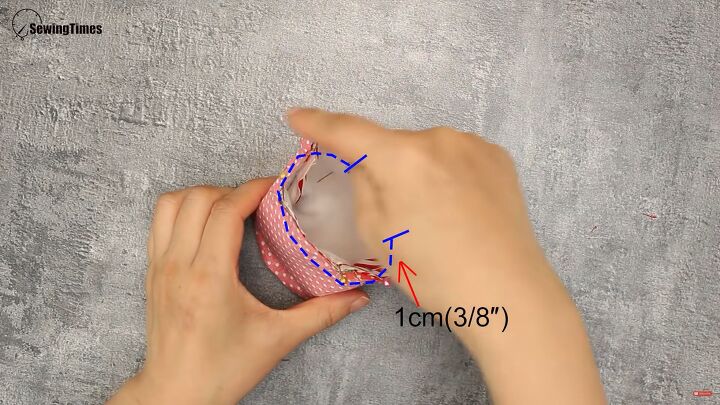
Fold the seam allowances to meet so the rectangle is folded inward. Clip them together.
Sew with a ⅜-inch seam allowance on both sides in a diagonal line.
Round the edges on the seam allowance.
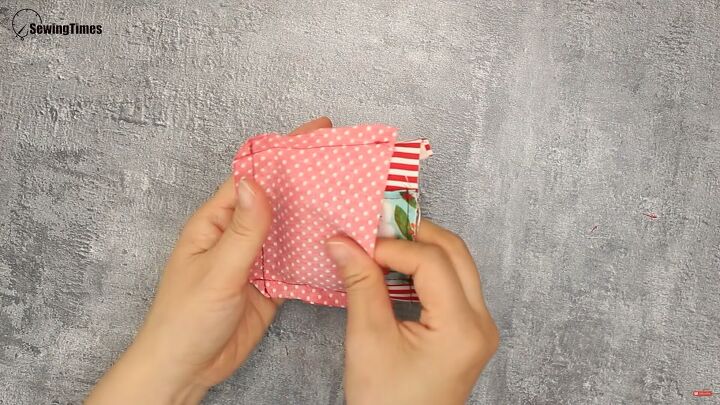
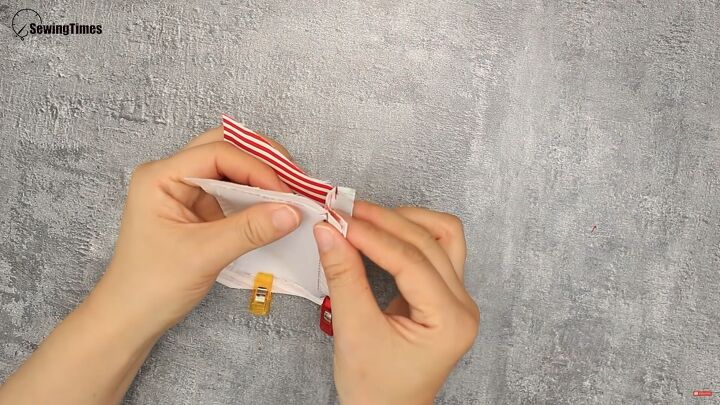
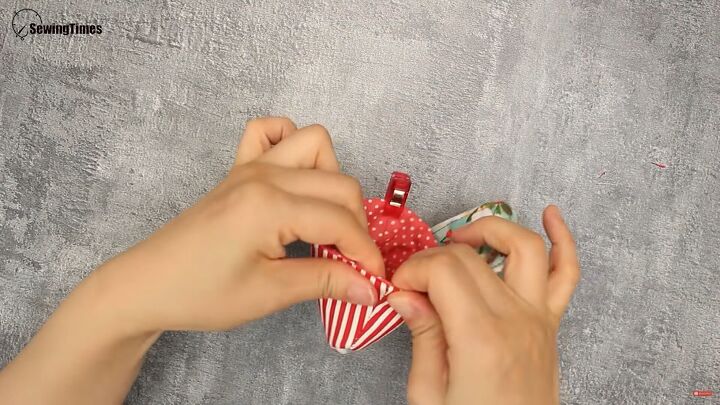
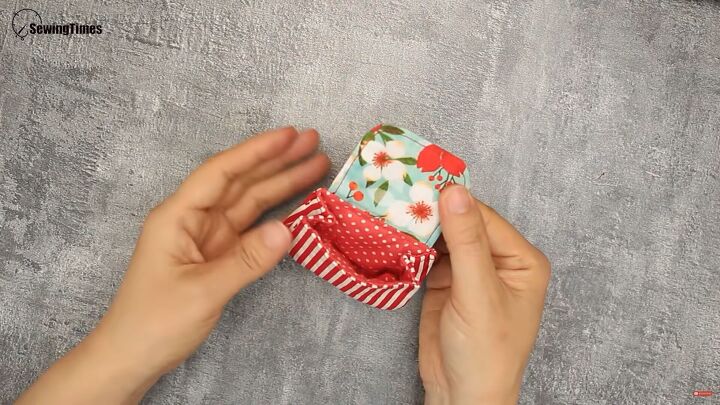
Place the sewn bag with the flap into the lining. Line up the seams.
Mark the inside, leaving space to turn it right side out.
Sew the entire top of the bag except for the space area with a ⅜-inch seam allowance. Sew the opened seam allowance down. Use your finger in the open space to turn the coin purse inside out.
Clip the lining to the outside.
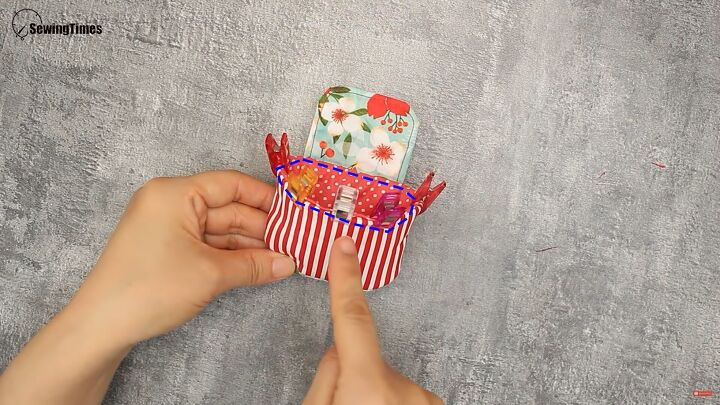
Sew the entire top across the edge as close to the edge as possible.
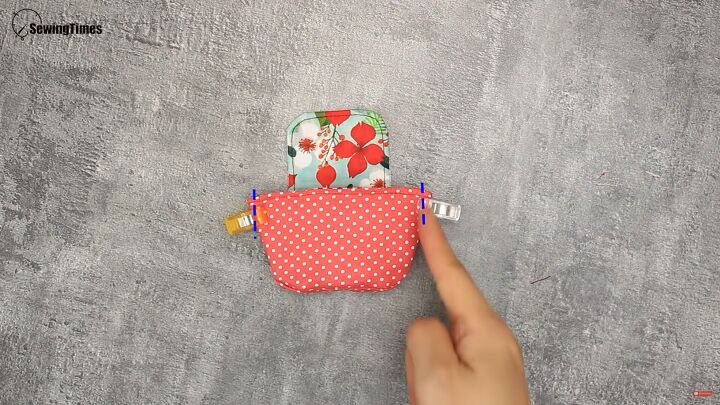
Turn the bag inside out again. Clip the sides in.
Sew them down about ⅜ inch. Turn it inside out again.
Fold the sides inward. Clip 4 corners for sewing.
Sew each corner downward about halfway down.
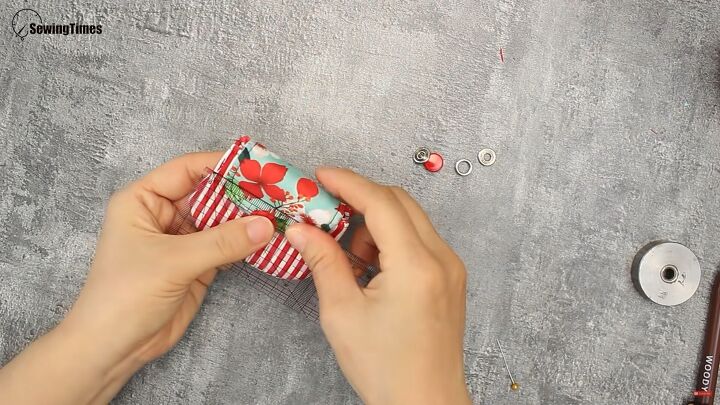
6. Attach the snap
Fold the top closure part down.
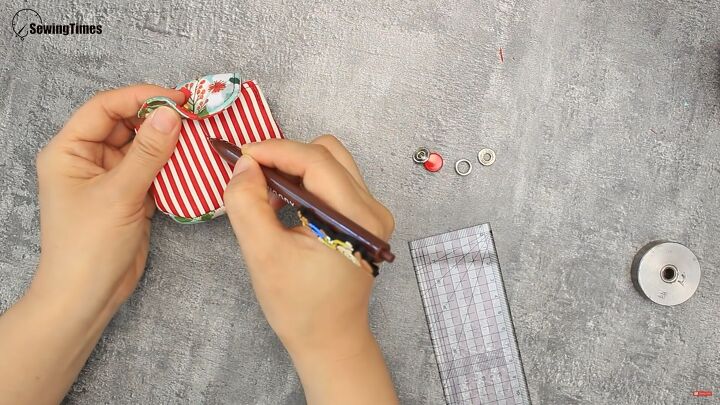
Measure and mark the spot.
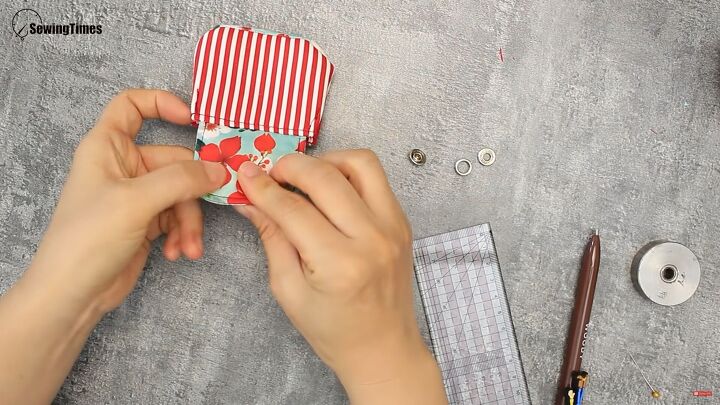
Apply the button snap so the prongs go through the fabric.
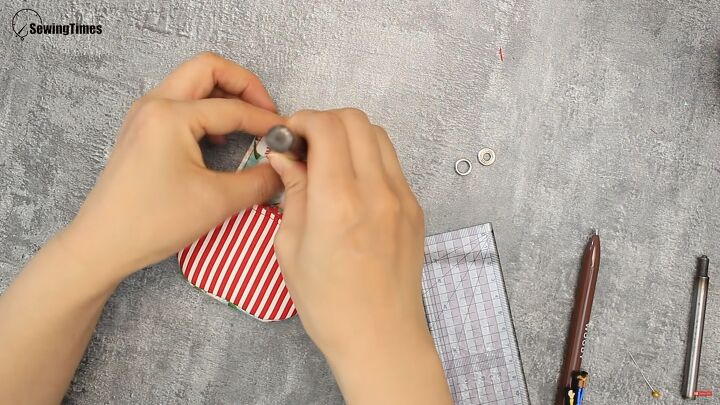
Use the snap tool together with a mallet to snap into place. Do the same for the bottom snap.
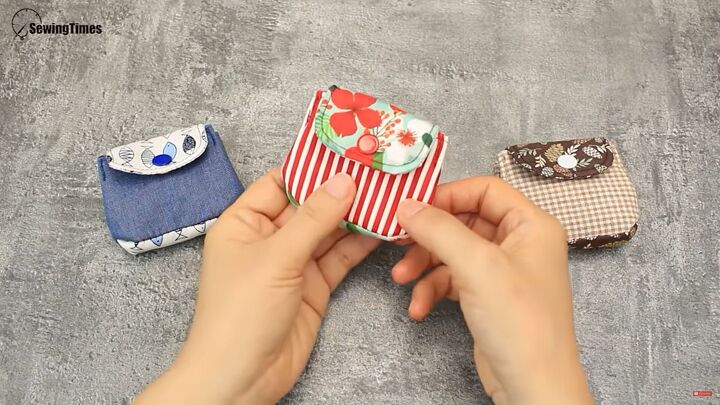
DIY coin purse tutorial
There you have it! I hope you enjoyed this DIY coin purse tutorial. Let me know in the comments if you’re planning to make it.
The author may collect a small share of sales from the links on this page.


Comments
Join the conversation
I definitely see making these for school backpacks for my grandkids for Christmas. I would add a loop for a split ring though I’m not sure which step to include the loop. Thanks for the exact tutorial.
THAT IS SUUUPER CUTE! & SUPER SIMPLE! THANKS!!♥️💙💛