How to Easily Make a Cute Knot Headband - Perfect DIY Gift Idea

Follow this super-easy tutorial on how to make a knot headband out of an ordinary dollar store plastic headband. Once you get started you may find it hard to stop making these DIY knot headbands! They make for great gifts for friends or family... or just for yourself!
Tools and materials:
- Plastic headband
- Chiffon fabric
- Hot glue gun
- Sewing needle
- Thread
- Scissors
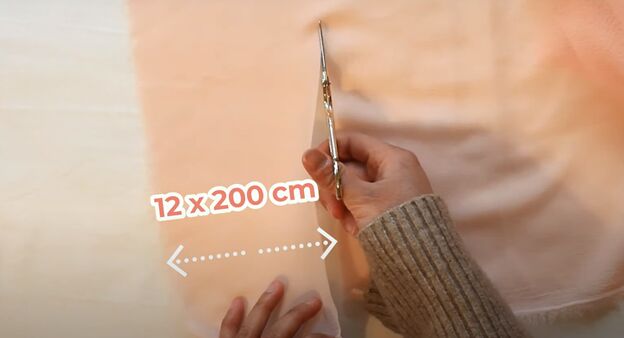
1. Measure and cut the fabric
Cut a strip of chiffon fabric 12 x 200 centimeters (4.7 x 78.7 inches) in size.
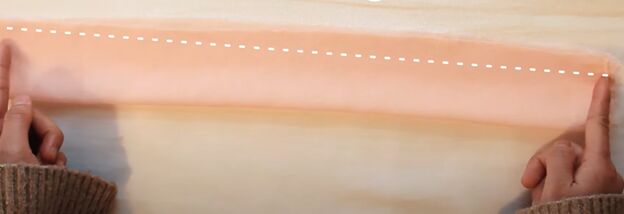
2. Sew the fabric
Fold the strip of fabric in half lengthwise, with the right side facing in, and sew a seam along the long raw edge.
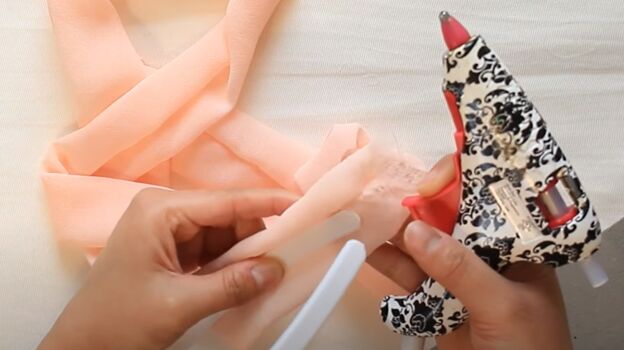
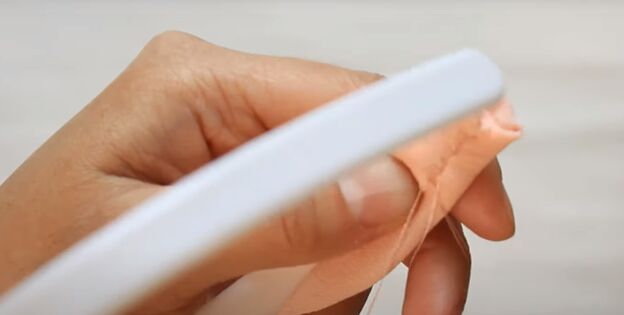
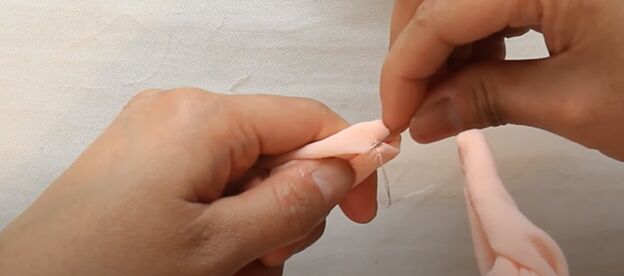
3. Attach the fabric to the headband
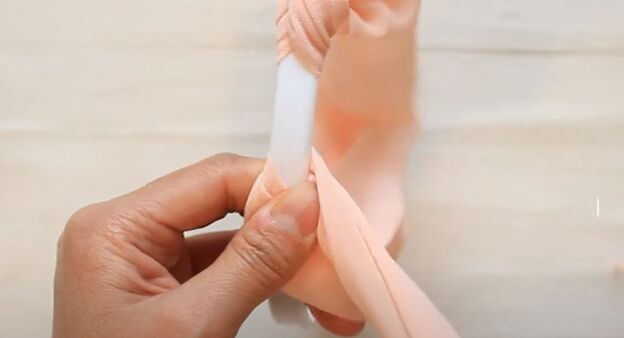
Use a ruler or pen to turn the strip of fabric right side out. Place one end of the fabric strip along the top of one end of the plastic headband, with a little bit hanging over the end of the headband.
Fold the end of the fabric to the inside of the headband and hot glue the fabric in place.
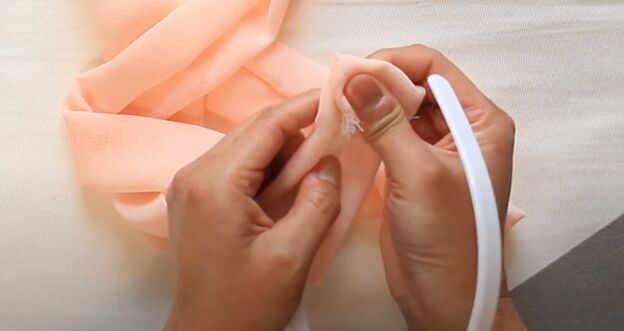
Trim the frayed edge of the turned-in end of fabric. Now, fold in the two sides of the glued end of the fabric to fully enclose the end of the headband, and hand-sew a few stitches to hold the fabric together.
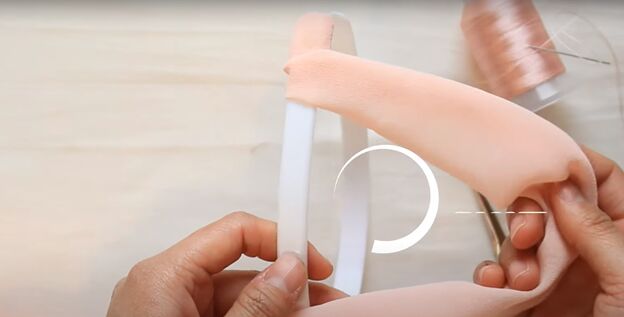
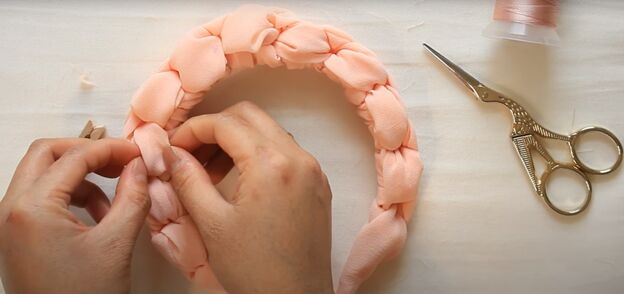
4. Wrap and knot the fabric
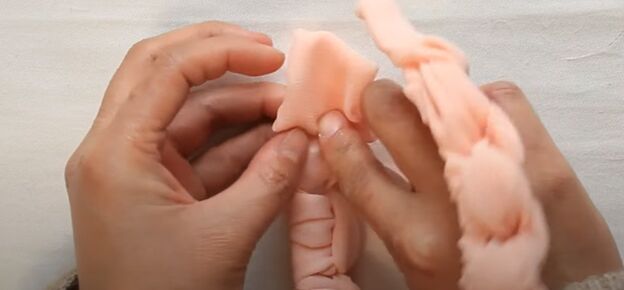
Hold the headband with the top facing you and loop the fabric one rotation around the front of the headband from left to right.
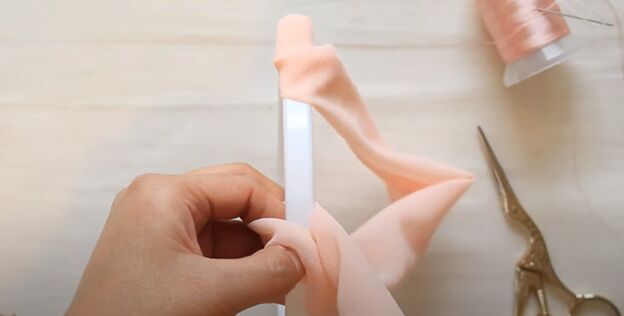
Now, wrap the fabric around the headband again, left to right, bringing the fabric under the headband and pulling it through the previous loop.
Pull the fabric strip to tighten the knot.

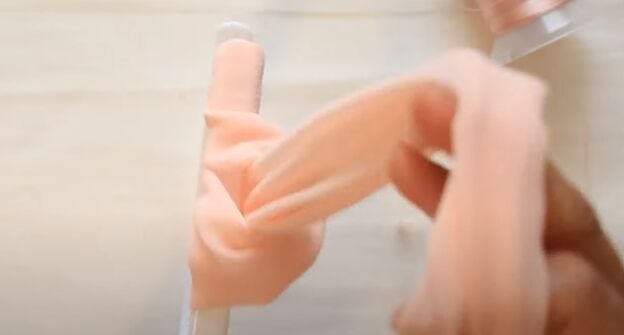
Move the fabric strip to the left of the headband and make another knot, crossing over the top of the headband from left to right and pulling it behind the headband and up through the new loop.
Reverse the direction for the next knot, starting with the strip on the right of the headband, crossing to the left underneath and coming up through the loop.
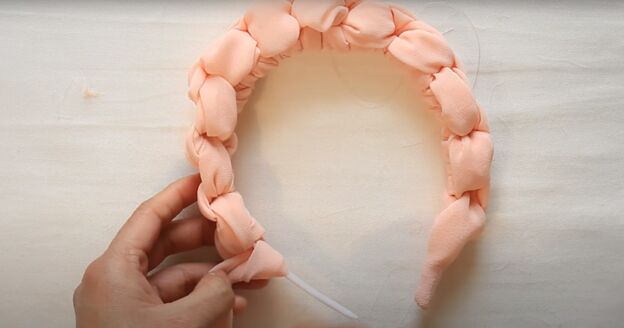
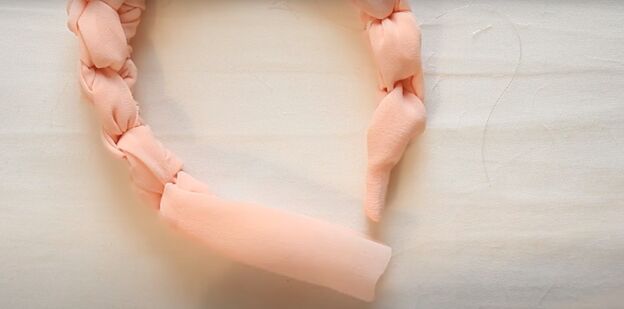
Continue alternating the knots on the left and right of the headband until the whole headband is wrapped in fabric, leaving a little exposed headband at the end.
5. Finish the tie-knot headband
Cut the strip below the end of the headband, the same amount as the first end was hanging over.
Apply hot glue to the exposed inside end of the headband and fold the excess fabric over. Turn in the raw edge before gluing the end down so you will have a nice, clean finish.
Fold in and sew the sides of the end of fabric as you did with the first end.
Fluff out the fabric knots to finish with a soft look.
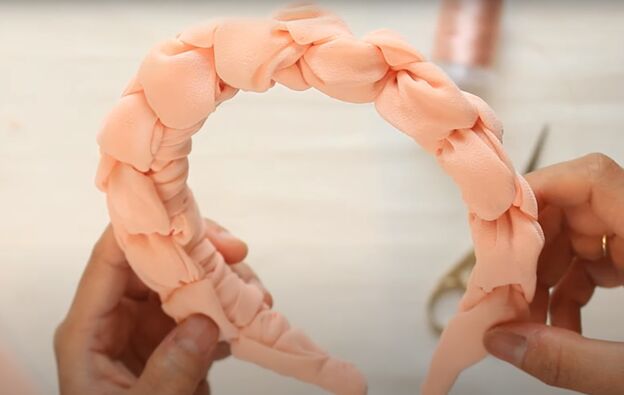
How to make a knot headband tutorial
What a pretty headband! Imagine all the colors and even patterns you could use to turn dollar store headbands into beautiful stylish ones. Think about holiday themes you can get fabric in, and all the outfits you would like to top off with a coordinated tie-knot headband!
Leave a comment to let us know how yours turned out.
The author may collect a small share of sales from the links on this page.


Comments
Join the conversation
This headband is LOVELY. Thank you!!
I will try this knotted chiffon covered headband! It is beautiful.