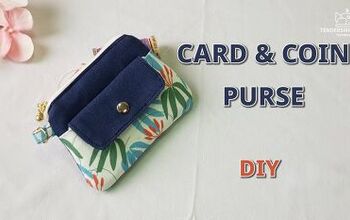
How to Make a Simple DIY Envelope Purse - Great Gift Idea

Today’s tutorial is on how to make a DIY envelope purse. This type of clutch bag can be used as a wallet or a phone case, or you could make a larger one as a general purse. It's really easy to make. Let's get started!
Tools and materials:
- Fabric
- Paper
- Sewing machine
- Scissors
- Chalk
- Marker
- Ruler
- Pins
- Snap fastener pliers
- Plastic snaps
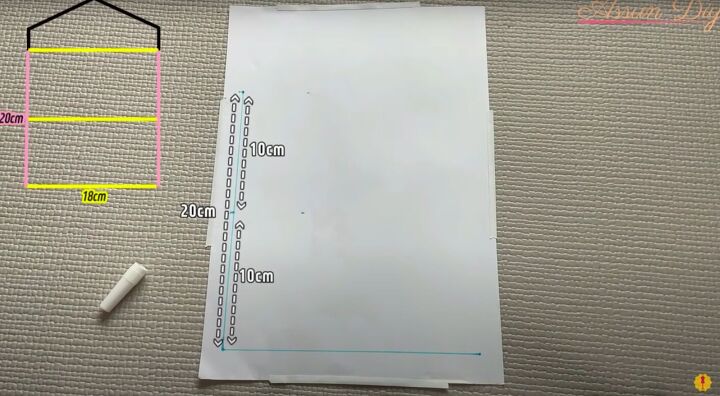
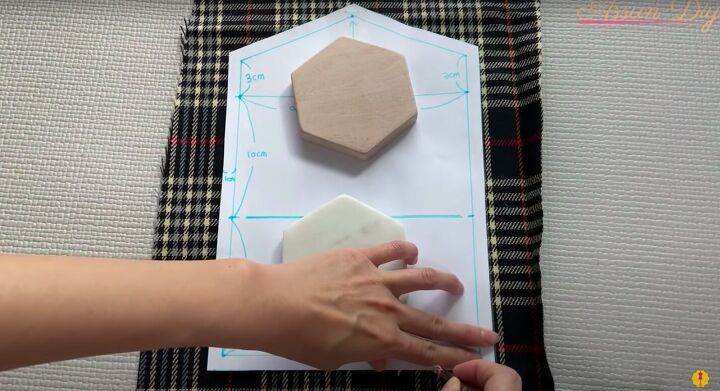
1. Draw the pattern
Sketch the plans for your clutch on a piece of paper.
Mark out 18cm in width by 20cm in height (7 x 8 inches)
Mark out a 10cm (4-inch) midpoint when marking out the height.
Mark out a 9cm (3.5-inch) midpoint when marking out the width.
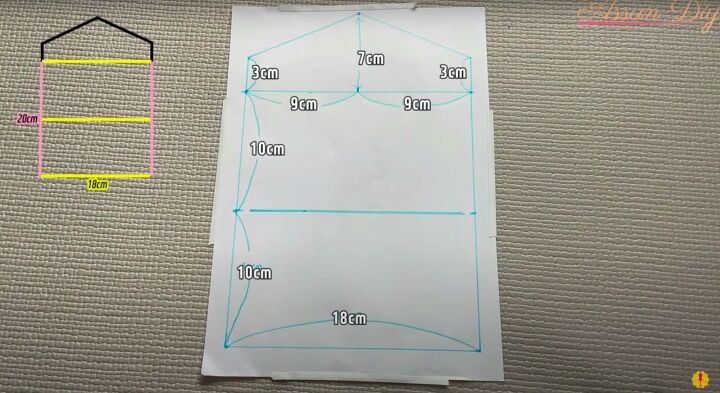
Add an additional 3cm (1 inch) to both sides of the height.
Mark a dot 7cm (3 inches) up from the center of the width.
Connect the 3cm (1-inch( dots with the 7cm (3-inch) dot to create the envelope shape.
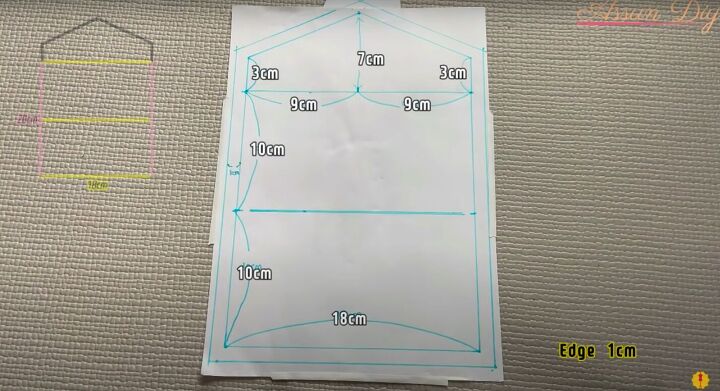
Draw a 1cm (⅖-inch) line around the perimeter of your entire sketch for seam allowance.
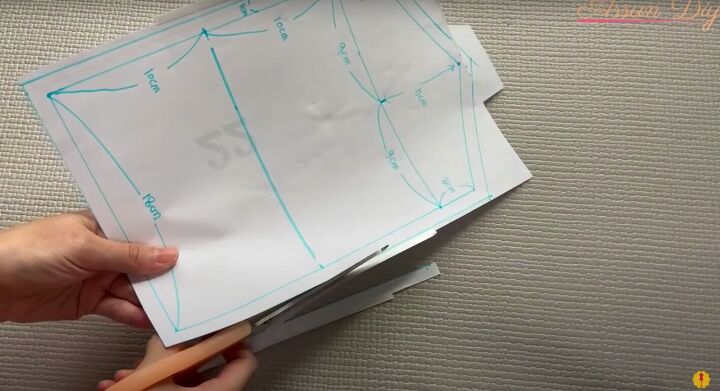
2. Cut
Cut out the pattern.
3. Transfer the pattern to the fabric
Place your pattern on top of your fabric of choice.
Make sure your fabric is in two layers so that you cut out a front and back.
Using paperweights to hold the sketch in place, mark out the measurements onto the fabric with chalk.
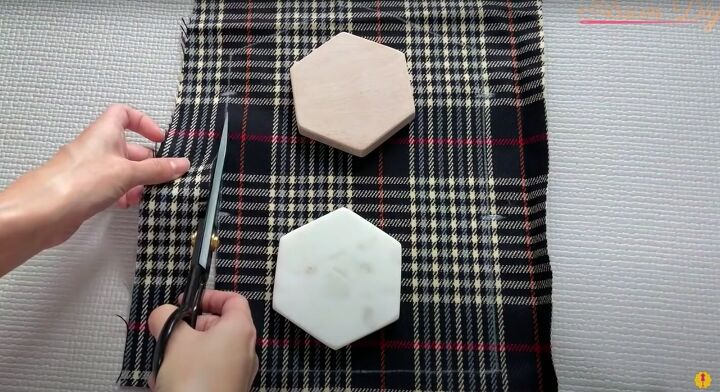
Cut out the fabric using your markings as a guide.
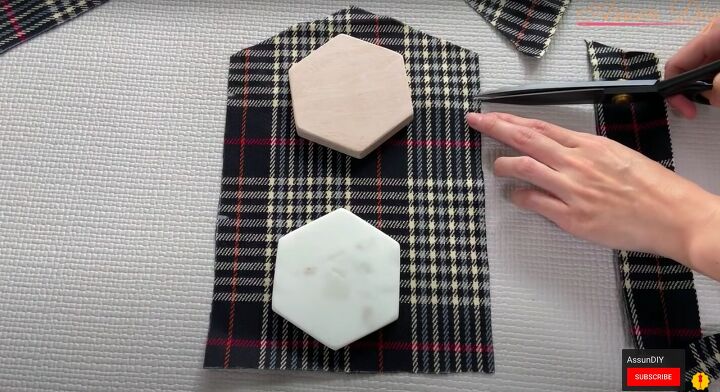
4. Add snips
Cut small incisions where the folds will be, according to the pattern.
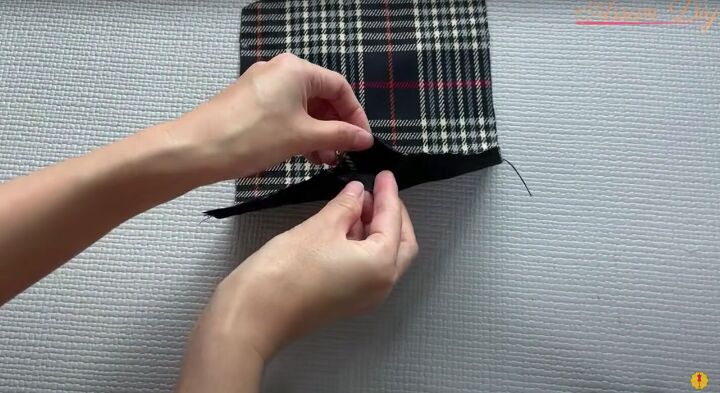
5. Sew up
Line up the fabrics together and sew the bottom edge, making sure to leave a small gap in the center for later.
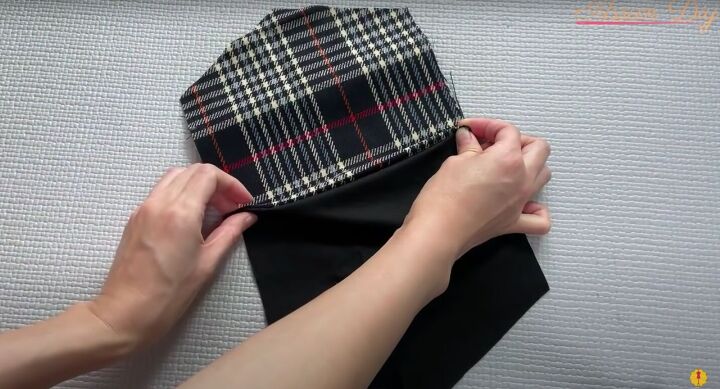
6. Fold
Press the seam with your fingers, then fold the layers to make the envelope purse shape (watch the video for this step).
Pinch the bottom layer together with the top using your fingers and flip the bottom layer underneath the top.
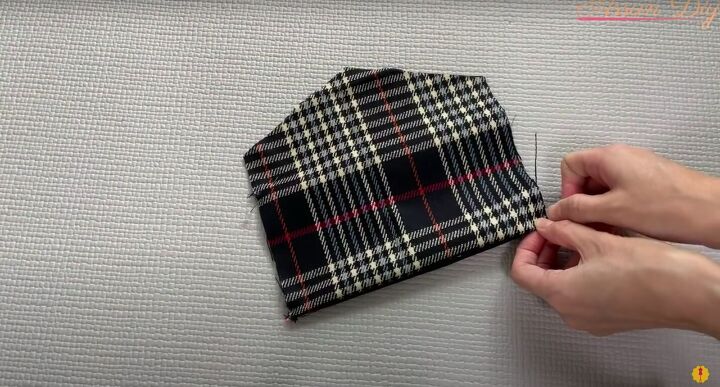
7. Sew the sides
Pin the sides into place. Sew up the sides, including the envelope-shaped top.
Snip all the corners.

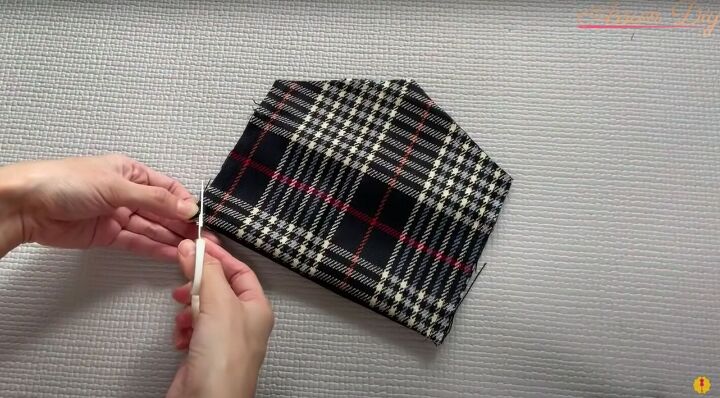
8. Turn the clutch right side out
Pull the fabric through the gap you left, so the clutch is now right side out.
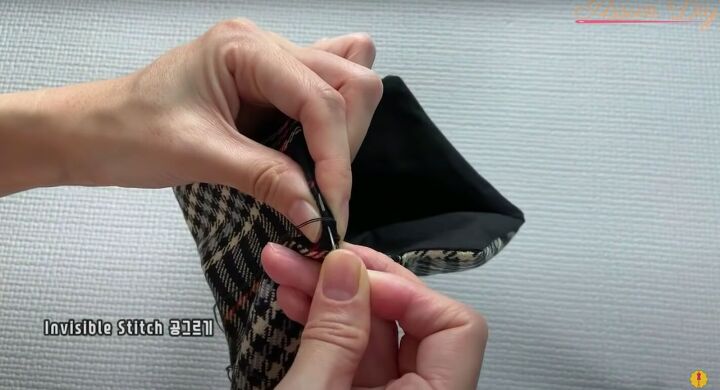
9. Sew up the gap
Sew up the gap in the center by hand using an invisible stitch.
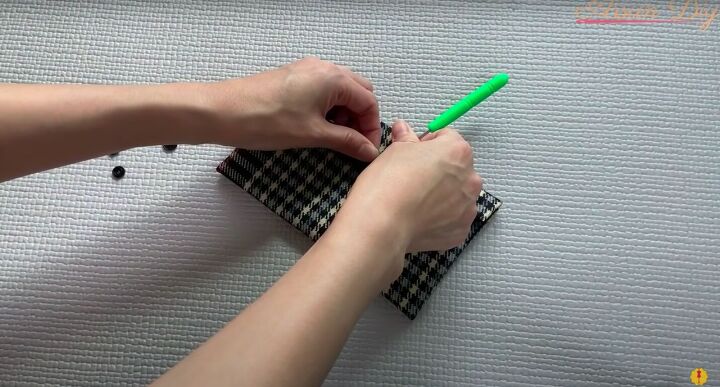
10. Make the clasp
Poke holes where you want to attach the plastic snap on both the body and envelope flap of the clutch. Make sure they line up first.
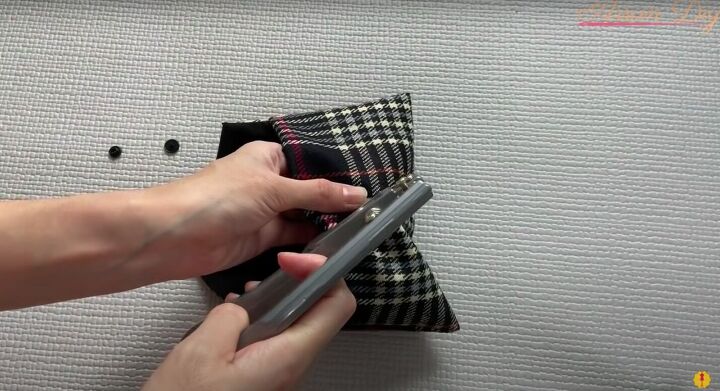
Attach the plastic snap using snap fastener pliers.

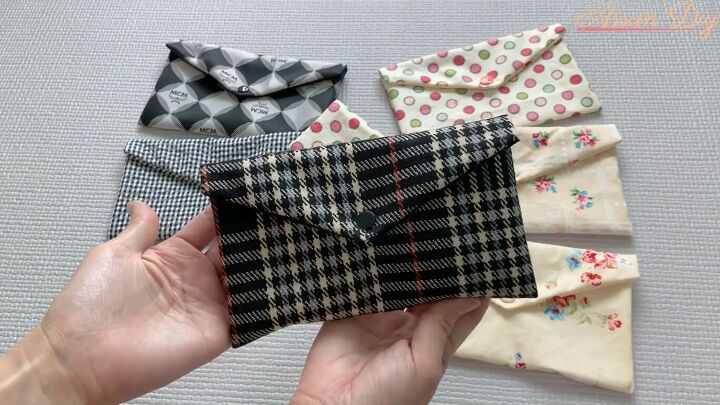
DIY envelope purse tutorial
Now you have a DIY envelope clutch! This DIY is super fun to do and an extremely convenient item to have. Use this clutch when you are out with our friends or just to keep your belongings organized at home!
Let me know in the comments below what you think.
The author may collect a small share of sales from the links on this page.


Comments
Join the conversation