6 Super Impressive DIY Nail Art Hacks

Painting your nails is a fun and easy way to be creative at home, and you probably have most of the items you need already, which will make this even easier.
In this tutorial, I’ll show you a few new nail painting hacks that I've been using. I'll then finish with a demo of how I use these hacks for easy nail art designs for beginners, that you can do at home.
Tools and materials:
- Peel-off skin coat
- Clear nail base coat
- Clear top coat
- 3 colors of nail polish
- Temporary tattoos
- Paper reinforcements
- Small nail scissors
- Makeup sponge
- Plastic straw
- Water
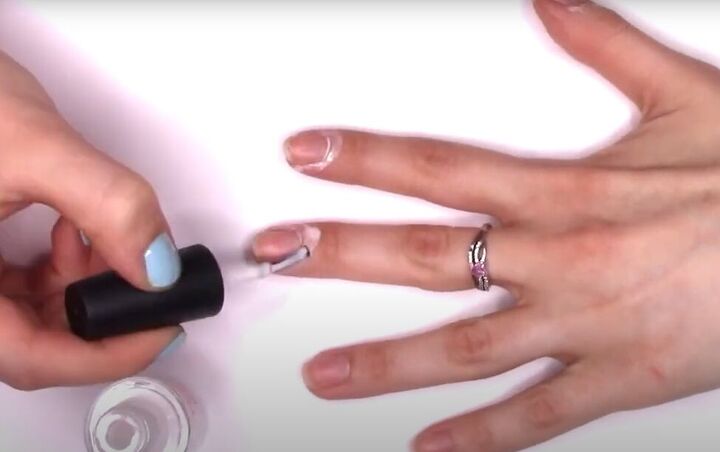
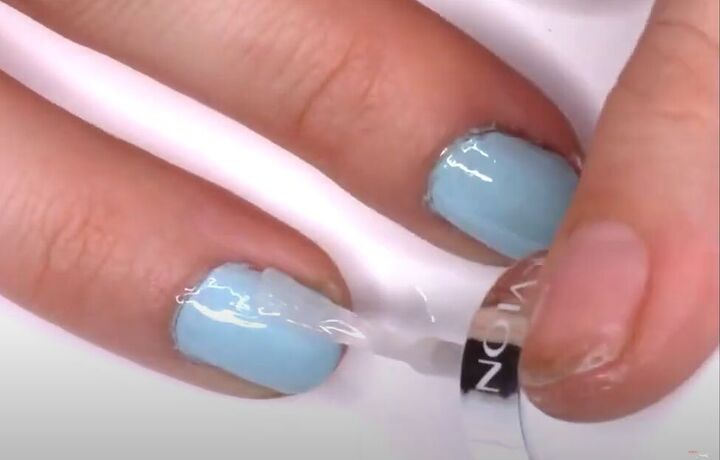
1. Peel-off base coat
Apply one coat of peel-off base coat to the skin around your nails.
It dries very quickly. When you are all done painting your nails, you can simply peel it off and have a clean crisp edge on your painted nails.
Think of it as painters’ tape for your nails!
2. Full coverage
Using a makeup sponge to apply polish is a known technique for getting an ombre effect.
But, did you know that sponging on nail polish is also a great way to get a perfect full coverage of a single nail polish color as well, while using less polish?
If your coverage is uneven after one or two coats of color, use a sponge to apply more polish, only where it’s needed.
Make sure to only sponge over polish that is completely dry.
These very thin coats of polish that are sponged on dry super-fast and blend in perfectly under a top coat.
3. Nail tattoos
Start with the peel-off skin base from step 1.
Then peel the top off the temporary tattoos and place them face down your nails where you want them.
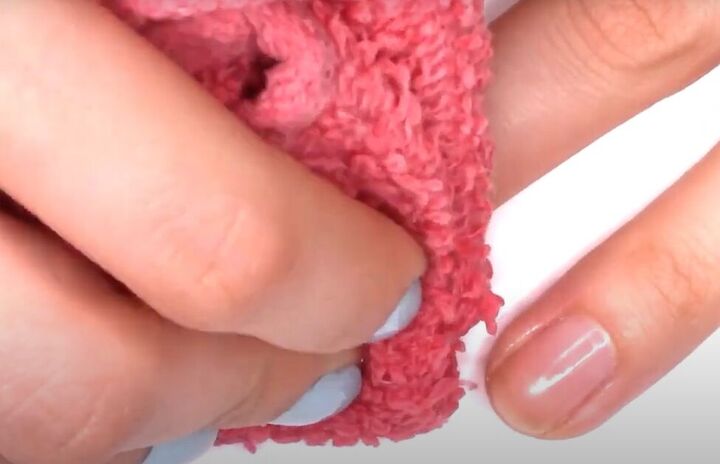
Soak the tattoo with water or a damp cloth.
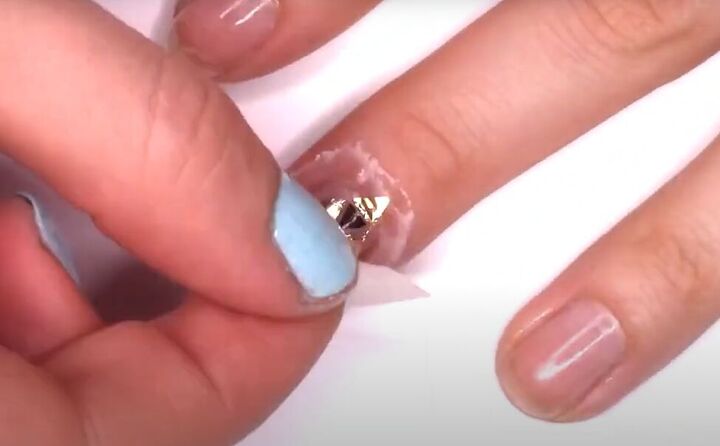
Peel off the tattoo backing.
You can use this technique on bare nails or over your nail polish.

Remove the peel-off skin coat and seal the tattoo with a top coat.
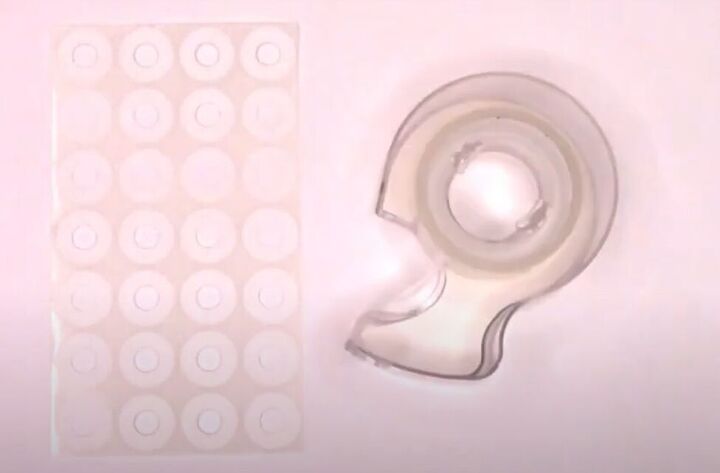
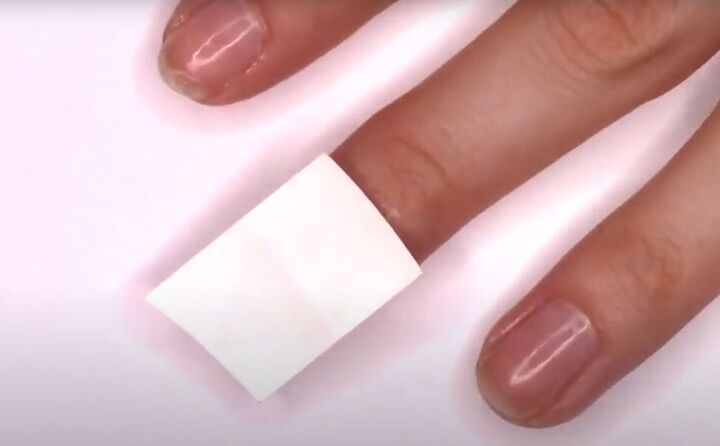
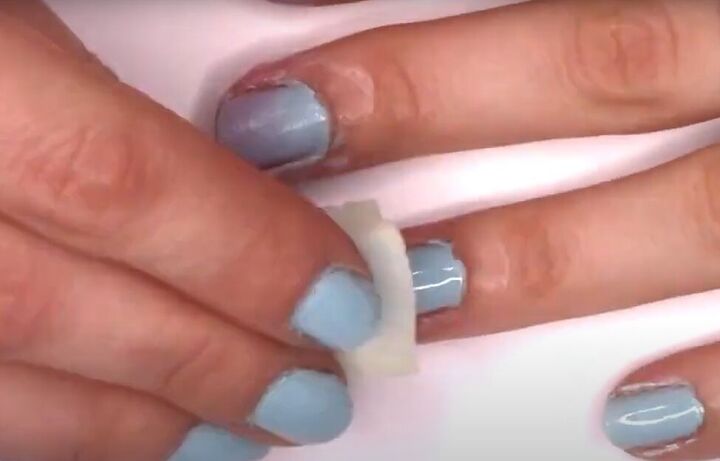
4. Stationary nail vinyls
For this hack, you will make DIY nail vinyls from paper reinforcements and adhesive tape.
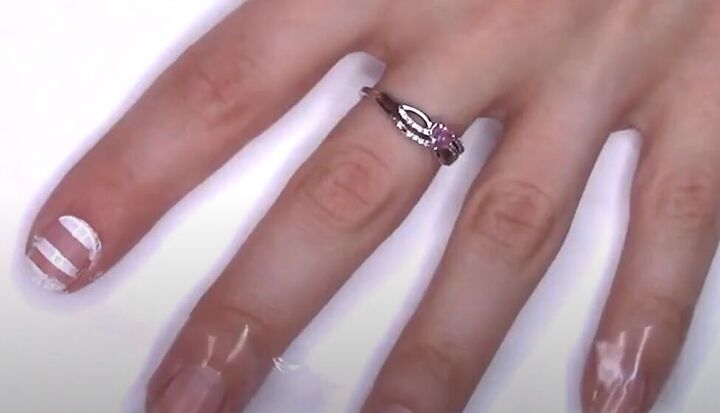
Stick tape to your nail where you do not want your nail polish. Then apply your polish and remove the tape while your polish is still wet.
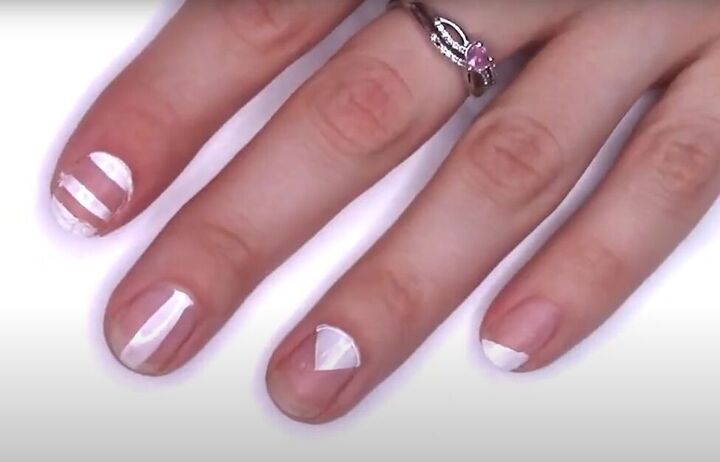
Here are a few different adhesive tape nail art designs I made.

Paper reinforcements are great for French manicures, as well as cool nail art designs.
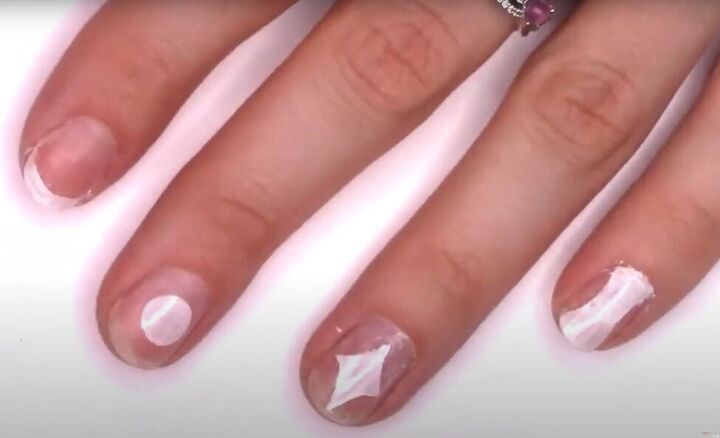
Use them in the same way as adhesive tape to get perfect tips, dots, and curved designs.
You can use this reinforcement hack on bare nails or over a dry top coat.
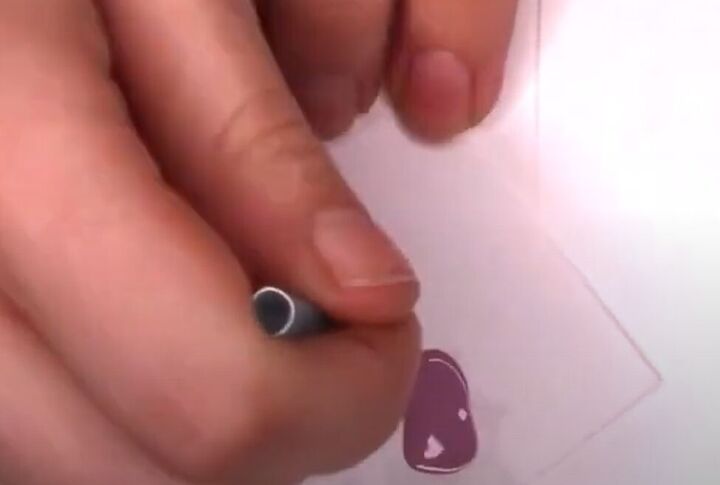
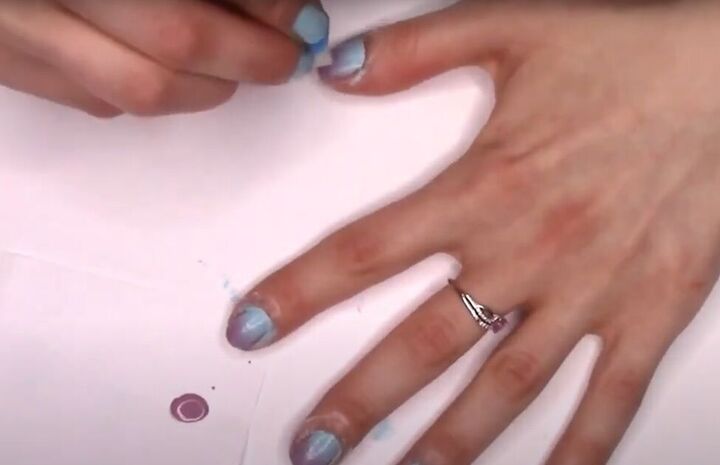
5. Straw stamps
If you still have plastic straws, here’s a nail hack you can use them for before you recycle them.
Cut off a small section of straw so you have a perfect clean circle at the end.
Drip some nail polish onto paper and dip the end of your straw into it.
Make sure the end of the straw is fully coated and do a couple of test stamps on the paper to remove excess polish.
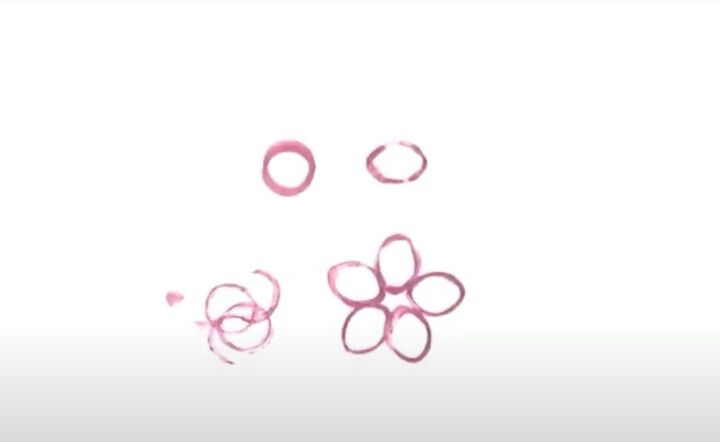
Do some experimenting on your paper. If you flatten the straw a bit you can get perfect ovals for making flower metals.
6. Nail art design
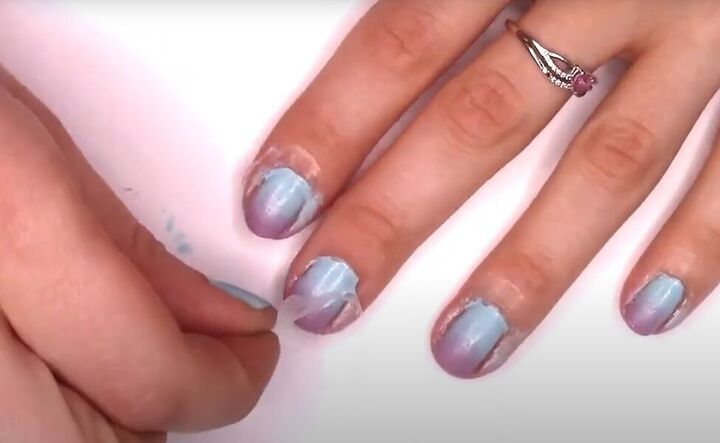
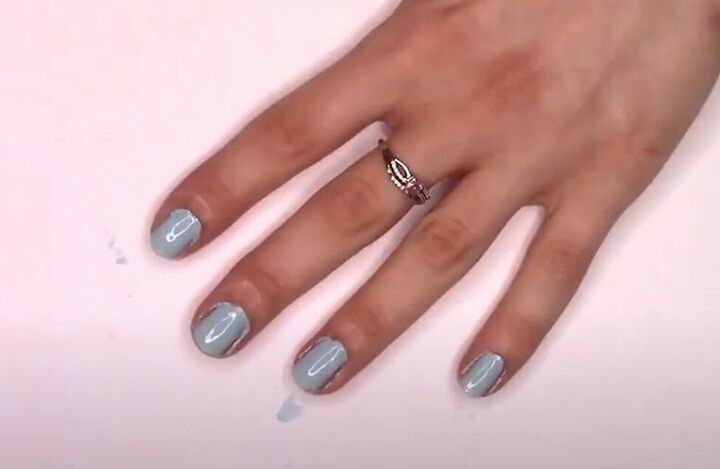
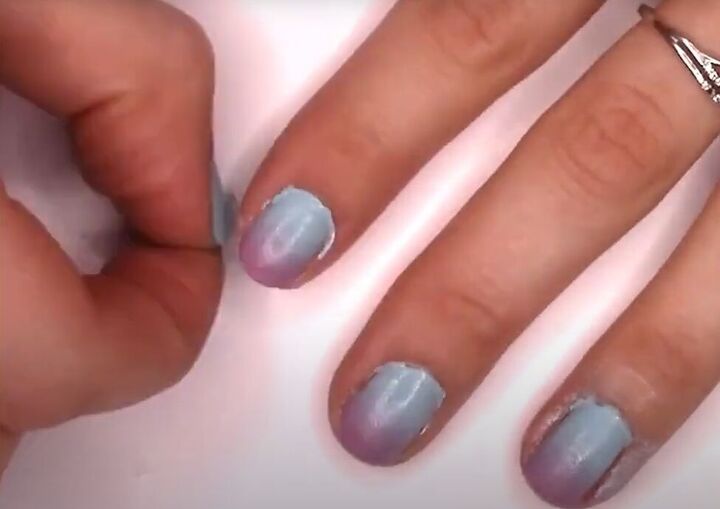
For this design, after applying the peel-off skin coat, and the base coat to my nails, I applied two coats of baby blue nail polish.
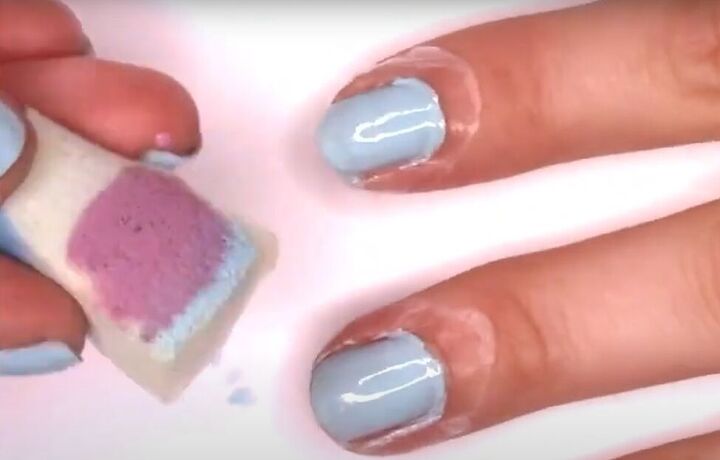
Now apply baby blue and light purple polish to a makeup sponge.
Dab the sponge on your nail to get a light ombre effect.
Let the polish dry and then repeat.
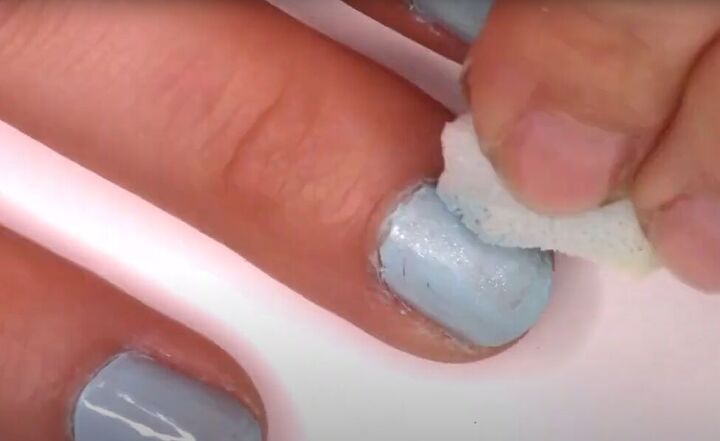
Use a smaller piece of sponge dipped into your base color to add more polish just where it is needed.
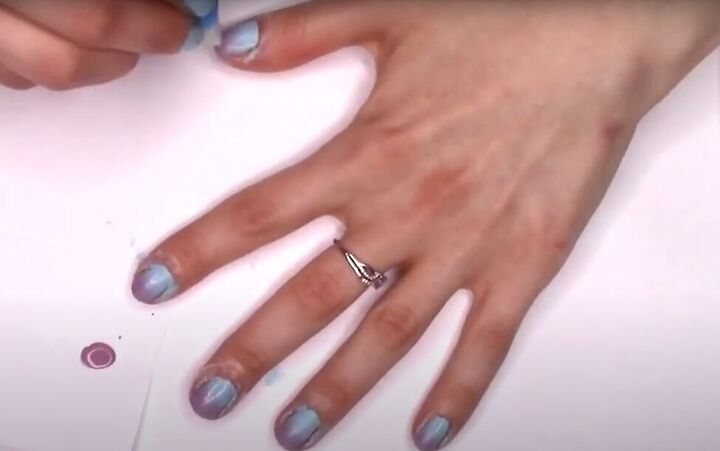
Remove the skin coat.
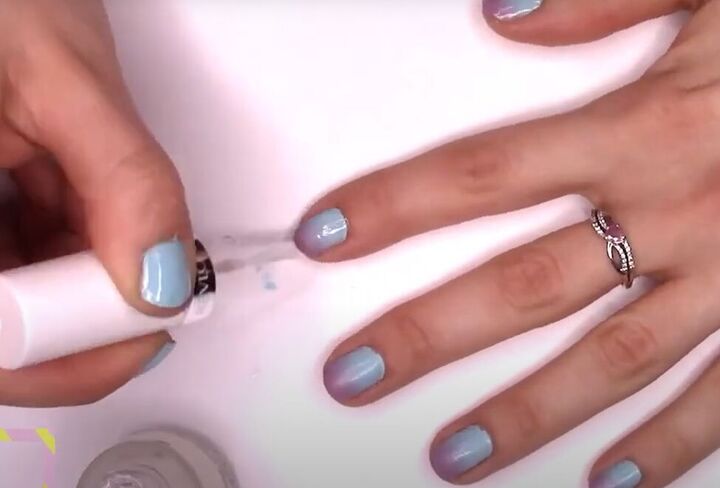
Apply a top coat and let it dry.
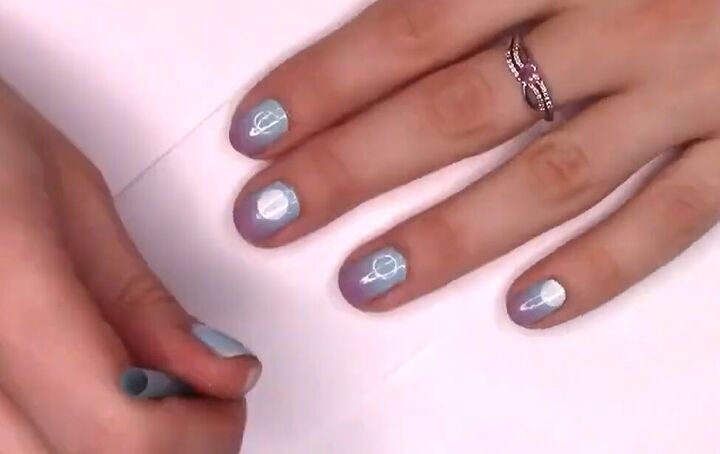
Now, use your paper reinforcements, your straw, and white polish to create designs.
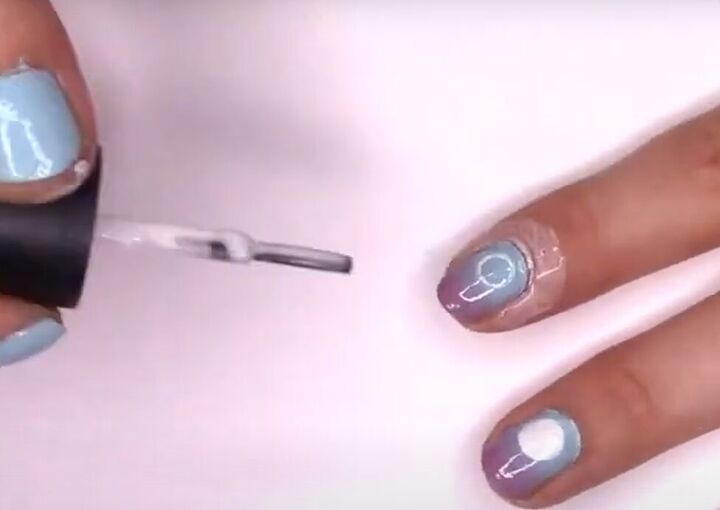
Allow the design to dry and add more peel-off product to your skin.
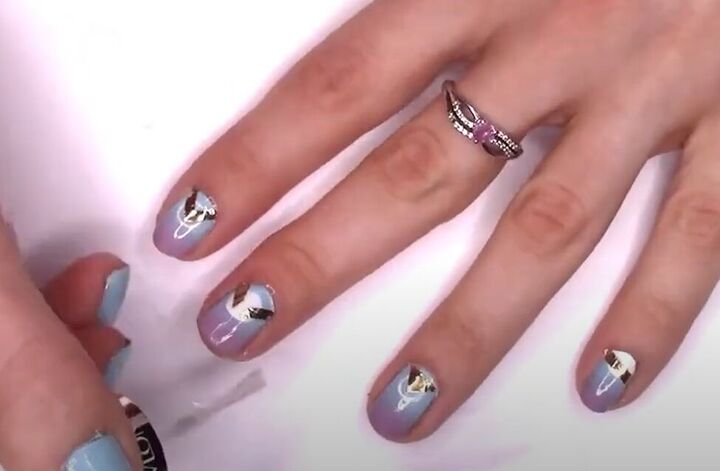
Add your tattoos, finish it all off with a top coat, and remove the peel-off product from your skin.
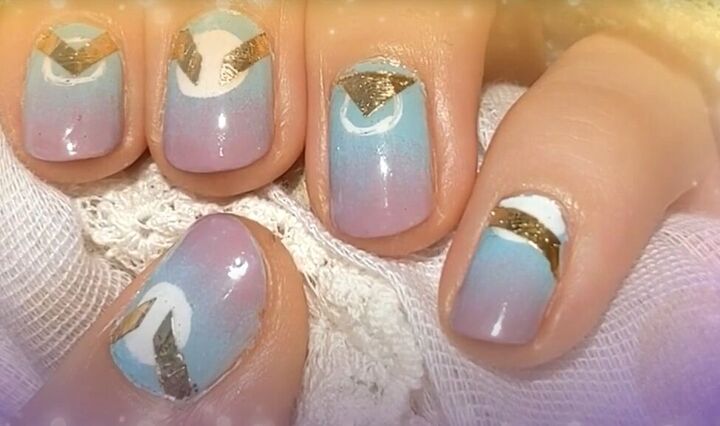
DIY nail art hacks
All done! I hope you try these nail tricks and cute and easy nail design ideas.
Leave a comment to let me know how it all turned out and share your nail designs!
For more beauty hacks, check out my Quick and Easy Soap Brows Tutorial.
The author may collect a small share of sales from the links on this page.


Comments
Join the conversation
Ah, I can clearly see you are the superior nail artist. You win faceless Jo