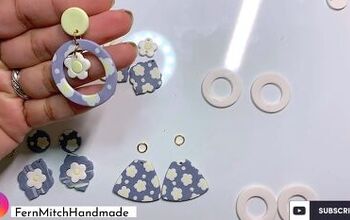
How to DIY Floral Polymer Clay Hoop Earrings

In this tutorial, I’m going to show you how to DIY some polymer clay hoop earrings with a flower design.
We’re going to be adding lots of fine detail to the flowers to make them look very life-like. Let’s get started with these darling earrings!
Tools and materials:
- Tile
- Mini circle cutters
- Polymer clay (in white, translucent, and two shades of blue)
- Ball tool
- Acrylic roller
- Pasta machine
- Clay adhesive glue
- Needle tool
- Tissue blade
- Hoop earrings
- Paintbrush
- Foil
- Earring poles
- Pliers
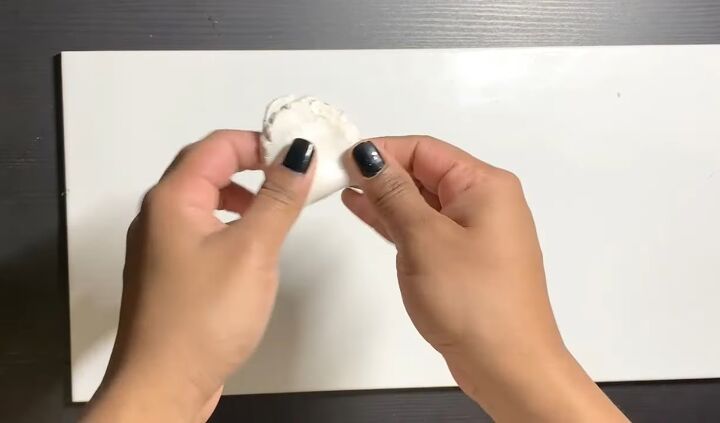
1. Mix the clay together
To make the flowers, I like to add a bit of translucent clay to my white clay. This will ensure the clay is soft and easy to mold, and it will also have a pearly appearance.
I’m using a ratio of one part translucent clay for five parts white clay. You can use a roller to help you mix the two types of clay together if you want.
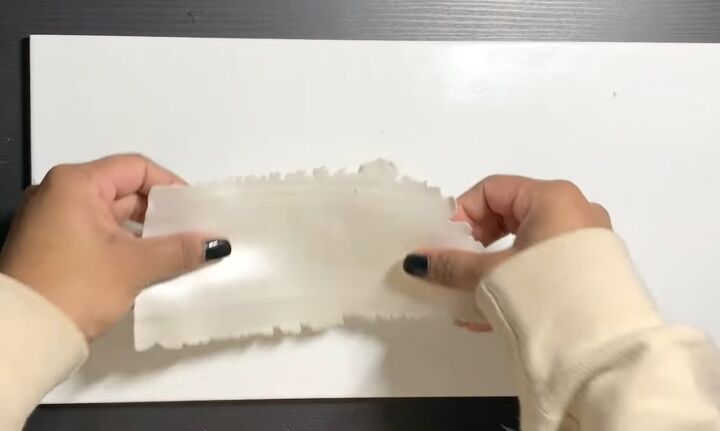
2. Flatten the clay
When the clay is nice and mixed together, run it through the pasta machine on the second thinnest setting.
You don't want the clay to be too thin or too thick.
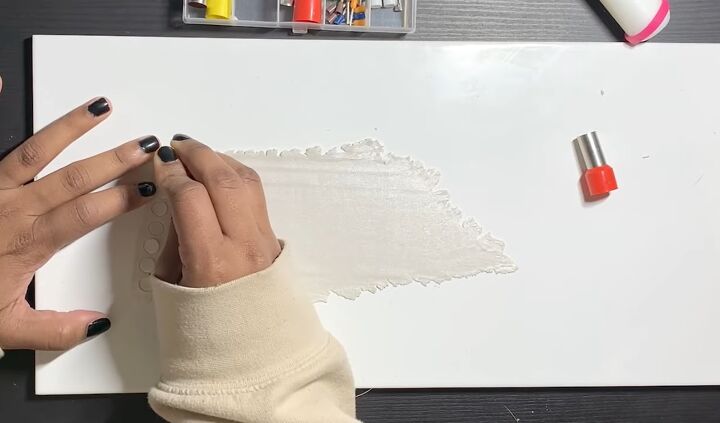
3. Cut circles
For this project, we are going to make four small flowers and two big ones. For each flower, you need to cut six circles.
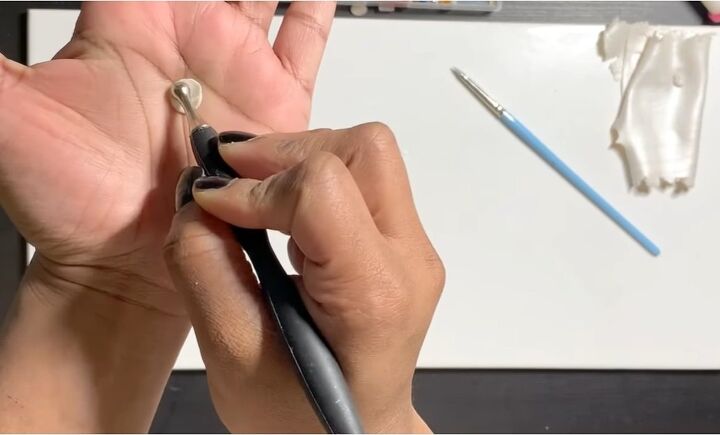
4. Stretch the petals
To create the petals, place one circle on your palm and use a ball tool to carefully push the clay away from you to create a nice ripple effect.
This technique makes it easier to mold the petals later on.
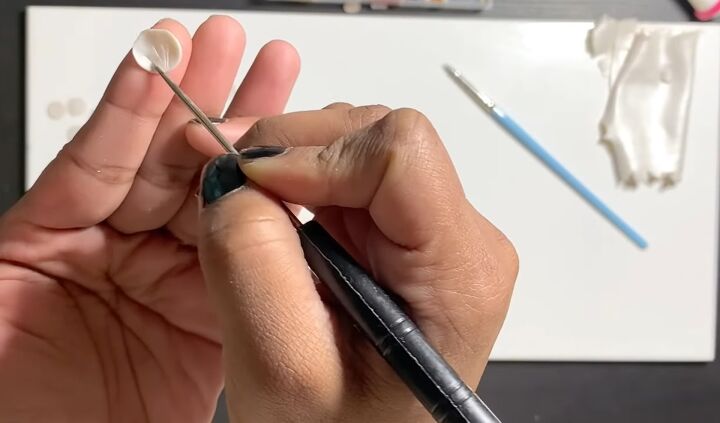
5. Draw lines on petals
Then using a needle tool, draw some lines onto the petal to add extra details and make it look more realistic.
6. Pinch the petal
To create the proper petal shape, pinch the ends together just a little.
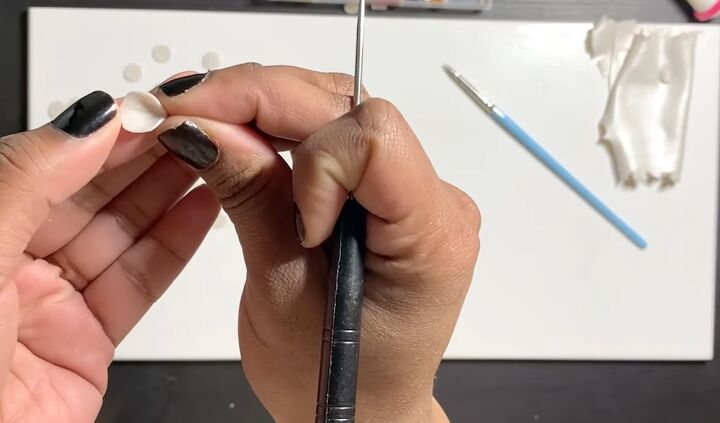
7. Put the petals on the base
To prep the base of the flower, take one circle and spread some clay adhesive on it. You can also use liquid clay as well.
I made five petals for this flower, but you are welcome to create as many as you like.
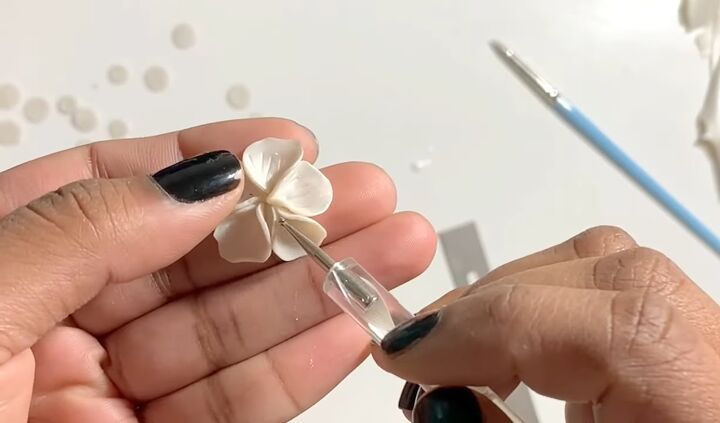
Once you have all the petals, you are ready to assemble your flower. I like to use a small ball tool for this.
Carefully place each petal next to the other on the base you made earlier.
To do a little bit of tidying up, use the tissue blade to lift the flower off the tile.
To make sure they are nice and neat and stuck together, pinch two petals together and do this all the way around the flower.
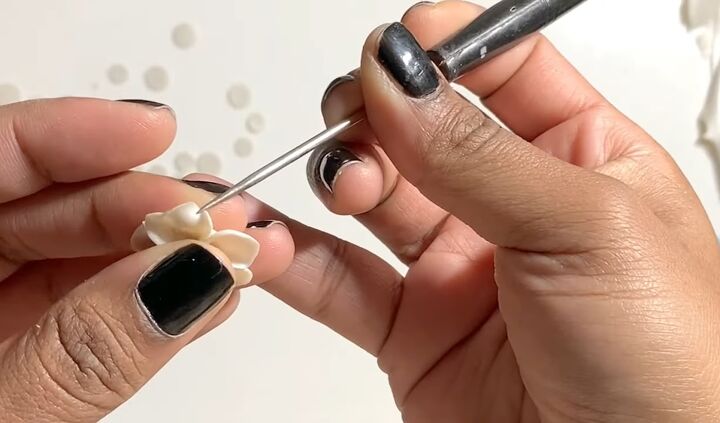
8. Fold the petals
Using the needle tool, carefully fold the petal once towards you and once away.

9. Create the center of the flower
To create the center of the flower, use the needle tool to scratch the light blue clay slightly. This will create an effect that is similar in texture to moss.
This technique is very versatile when it comes to creating nature-inspired pieces.
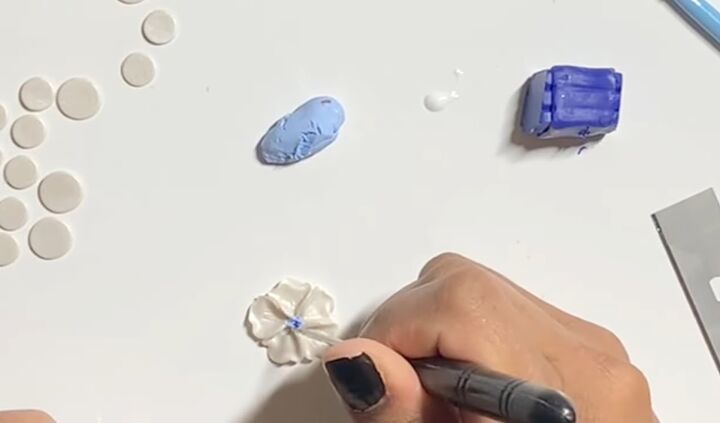
10. Add a darker shade
Add a tiny bit of a darker shade of blue for some depth.
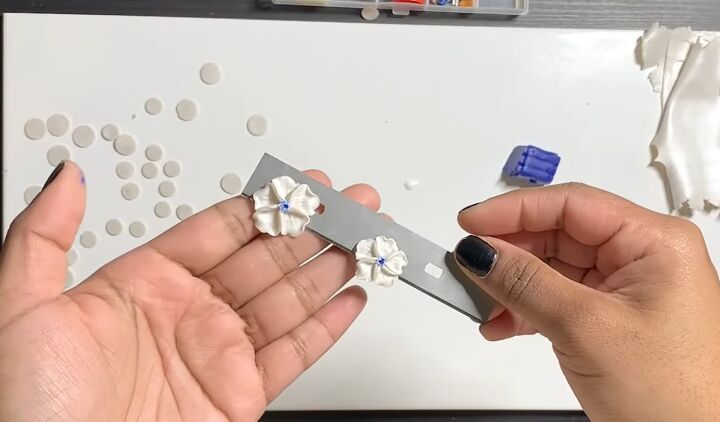
Here you have the small and the large flower. The possibilities are really endless with this technique.
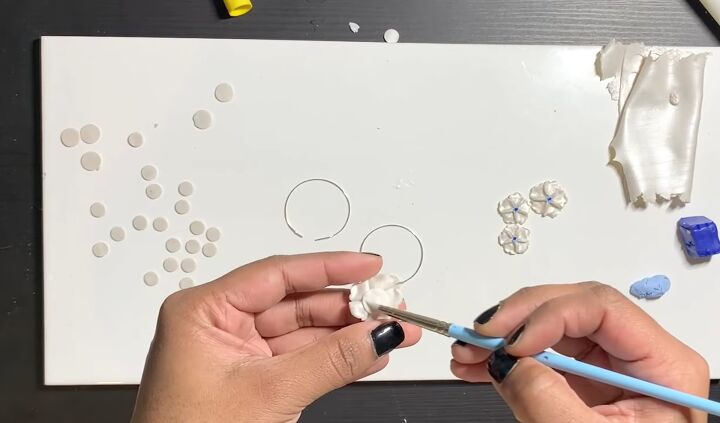
11. Attach flowers to hoops
To make hoop earrings, spread some clear adhesive on the base circle. Then place the hoop over it and add the flower, sandwiching the hoop in.
Try to apply as much adhesive as you can on the two circles. Then carefully lift up the whole thing off the tile and press to make sure everything has adhered.
Repeat the same steps to attach the small flower as well.
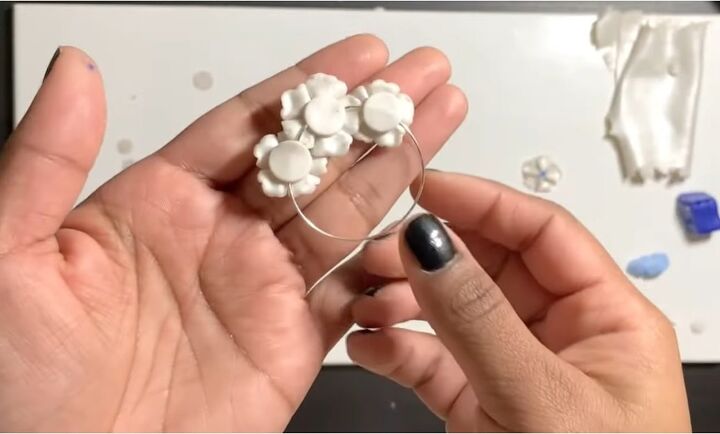
Here's how the back of it looks.
They are pretty, nice, and neat, and everything's attached together well to the hoop. Proceed to create the other earrings.
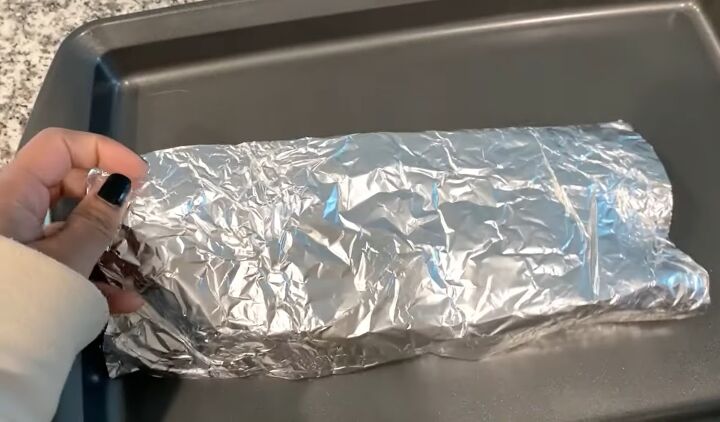
12. Bake the earrings
Pop the earrings in the oven for about an hour at 275 Fahrenheit (135 celsius).
To prevent the clay from discoloring or burning, place foil over them.
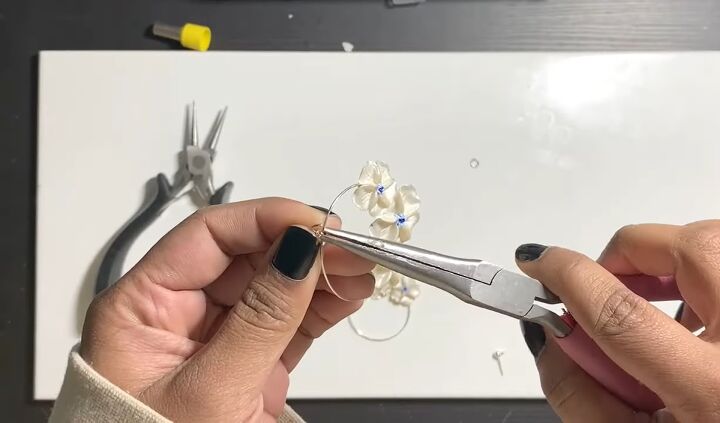
13. Add the earring poles
When the earrings have finished baking and are cooled down, add the earring poles and any other hardware you have in your design.
We don’t have to do any sanding or anything like that because we’re going for an organic and natural look that can be a little rustic around the edges.
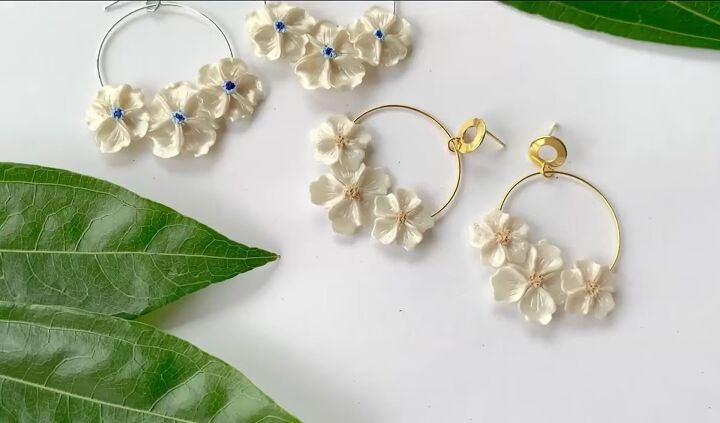
DIY polymer clay hoop earrings
Here are the finished dangly polymer clay earrings!
All of the details that we added to the flowers make them look a little closer to the real thing.
I’ve also made another pair, changing up the color of the center of the flower as well as the hardware.
If you enjoyed this tutorial, leave a comment down below.
The author may collect a small share of sales from the links on this page.


Comments
Join the conversation