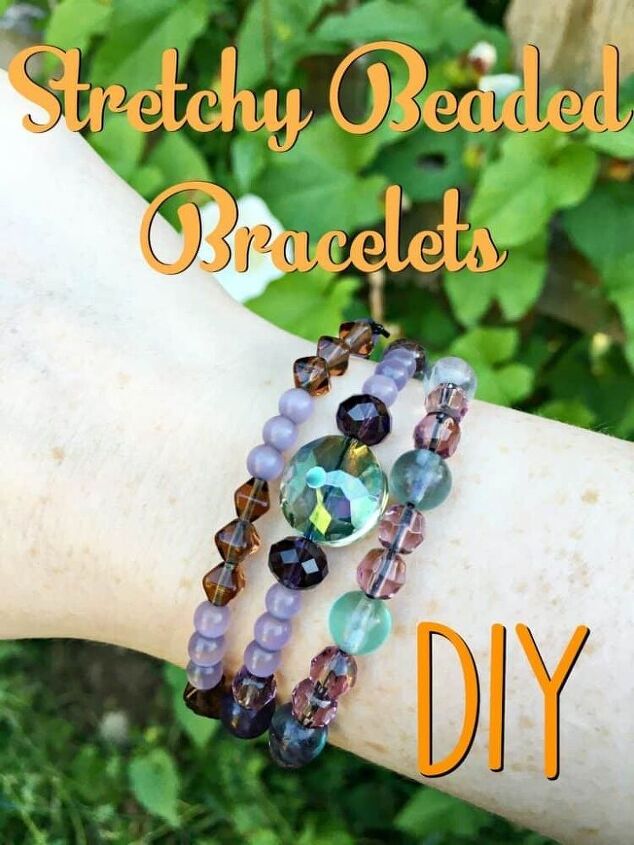
DIY STRETCHY BEADED BRACELET
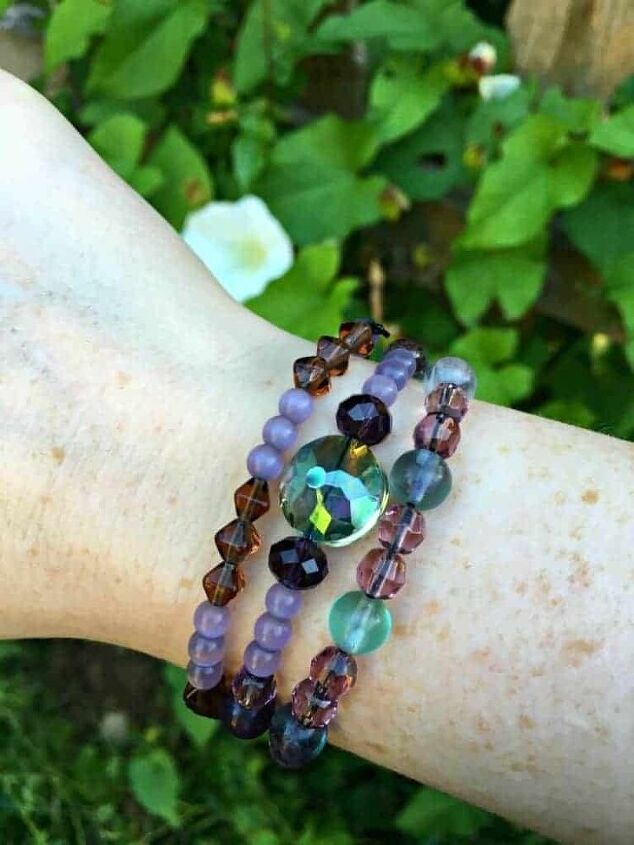
For today’s jewelry tutorial I am going to teach you how to make a stretchy beaded bracelet. Beaded bracelets are very trendy these days. You can buy them at all different price points but they are so simple to make and only cost a few dollars to DIY. Why not make some chic stretchy beaded bracelets for yourself this summer?
Supplies
Stretchy bracelet cord
Assortment of beads, I used rainbow fluorite and Czech polished beads
Bead cover
Super glue
You can get all of these supplies from your local craft store or bead shop.
Start by measuring your wrist. Cut the piece of cord several inches longer than the circumference of you wrist so that it will be easier to tie the bracelet together at the end.
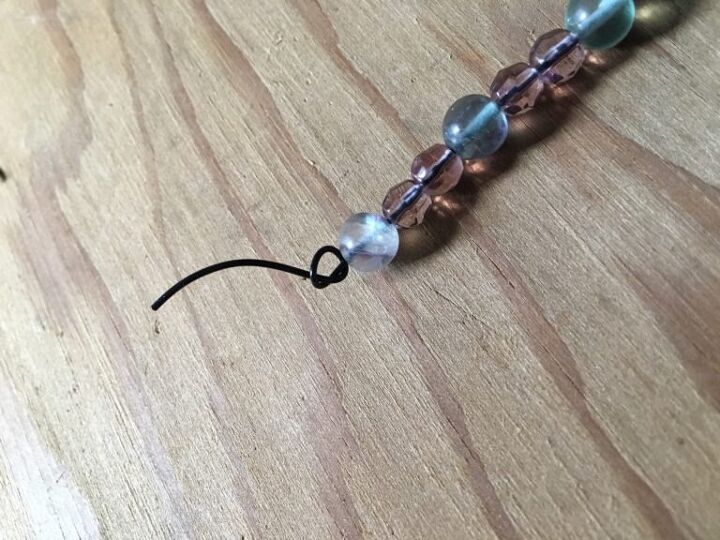
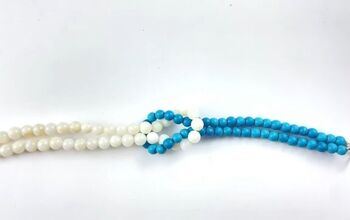
Tie a knot in one end of the cord so that the beads don’t slip off.
Begin stringing the beads on in a pattern that you like.
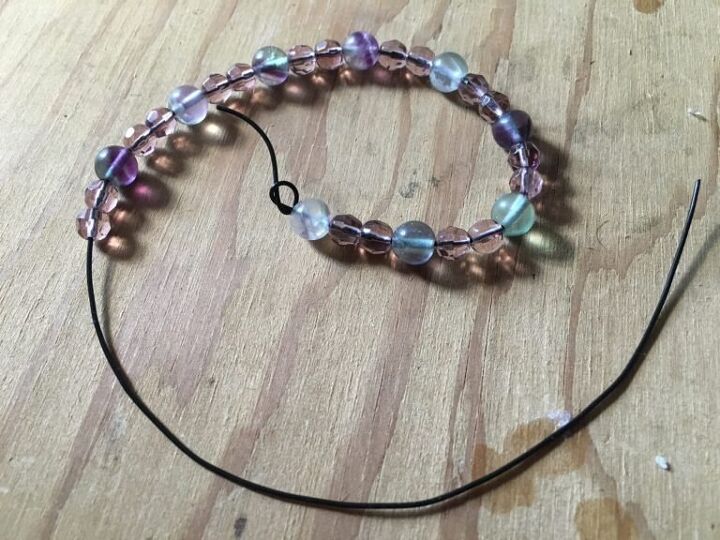
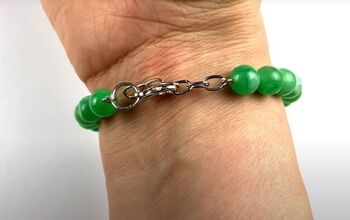
You will need a bead with a larger hole. This will cover up the knot when you tie the ends of the bracelet together.
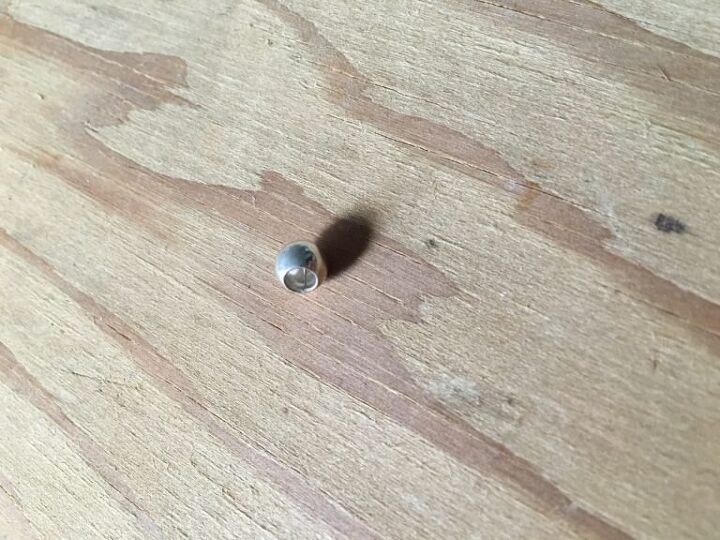
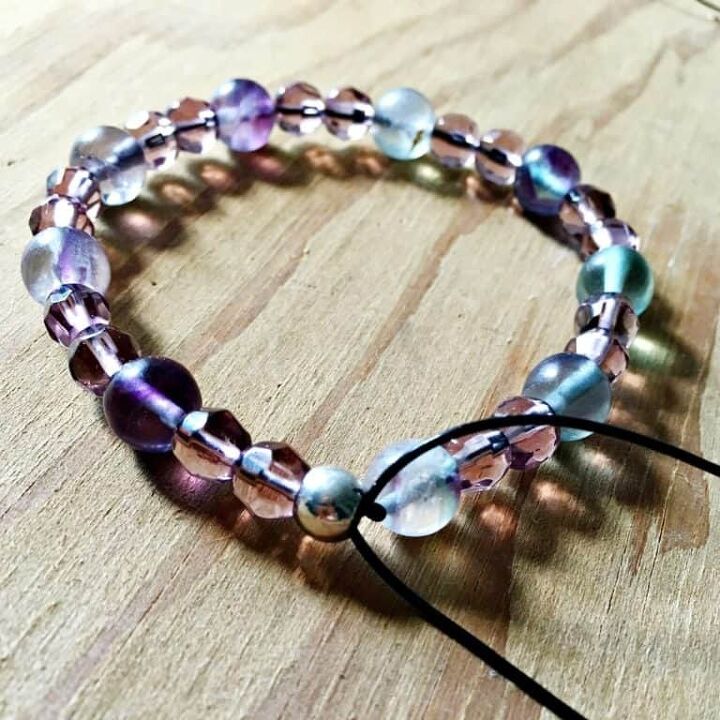
String the bead on and then tie the ends together in a knot. Repeat three times. You can add a drop of super glue onto the knot to help it stay even more secure. Trim the free ends of the cord short and slide the bead cover over it.

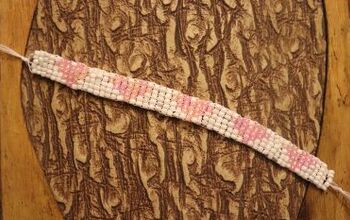
These bracelets only take a few minutes to make and look great stacked together. Try making a several bracelets in matching colors and wear them all together.
The author may collect a small share of sales from the links on this page.


Comments
Join the conversation