DIY Dress Makeovers: 2 Easy Dress Refashions With Cute Vintage Details

Hi, everybody! My followers have asked me for some DIY dress ideas on how to thrift flip some clothes to give them a more vintage look. So today I’m going to be doing two DIY dress makeovers; both with puffed sleeves, which is very on-trend right now.
If you’d like to see some clothes makeover ideas, keep reading!
Tools and materials:
- Sundress with shoulder straps
- Long-sleeved maxi dress
- Scissors
- Elastic band
- Pins
- Measuring tape
- Fabric chalk
- Sewing machine
DIY dress makeover 1
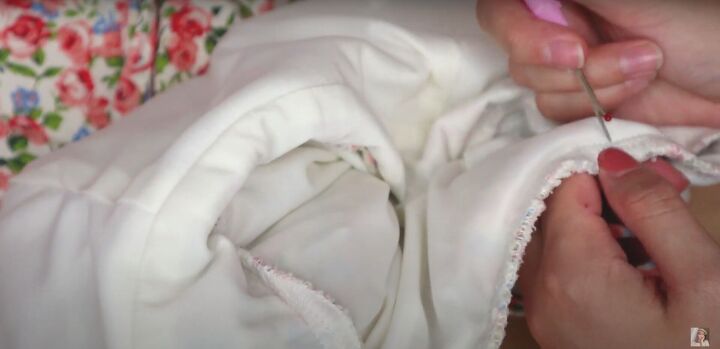
1. Rip the seam
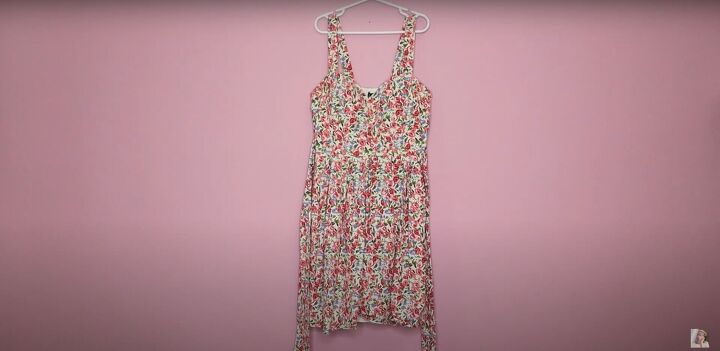
This is a dress that I bought in high school. It has a stretchy back, but not a stretchy waist, and it no longer fits me. To begin this transformation, I ripped the seam waistline seam in the back, along the stretchy part of the bodice.
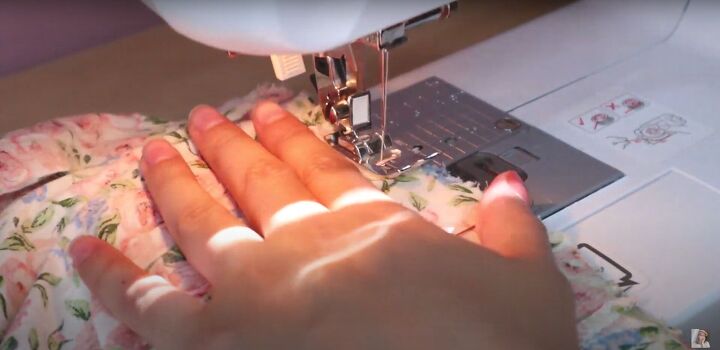
2. Stretch and sew
I stretched out the elastic part of the bodice so it was equal in length to the waistline, and then pinned and sewed them together. Make sure the fabric is completely stretched as you sew.
3. Shortening the dress
I wanted to turn this dress into a shirt, so the next step was to cut the top to the desired length.
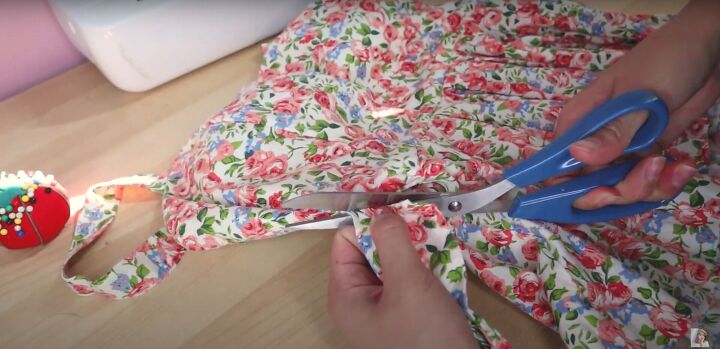
I also cut off both of the waist ties.
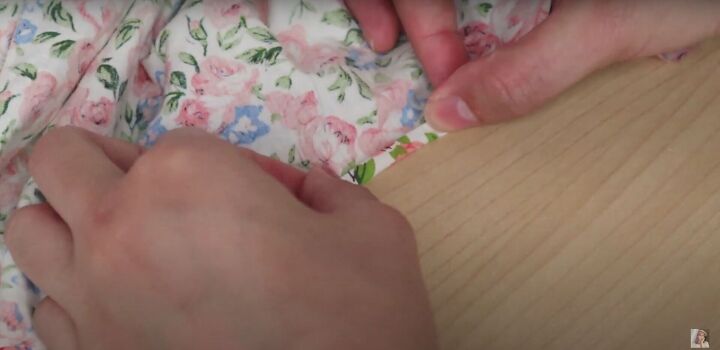
4. Hem
Then I hemmed the bottom of the shirt by folding the bottom edge up twice and sewing it down.
5. Draw, cut, and attach sleeves
Next, I decided to add puffy sleeves. For instructions on how to draw a pattern for the sleeves, cut them out, and attach them to the dress, see the video from 1:38-3:02.
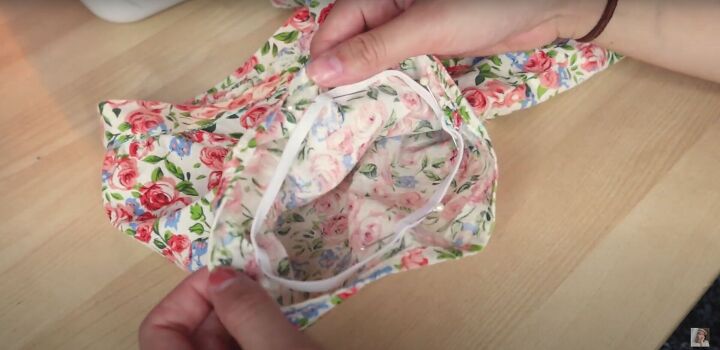
6. Pin and sew the elastic
I pinned an elastic into the bottom of the sleeve that was equal in length to the circumference of my upper arm. I sewed it down, pulling on the elastic as I sewed to create ruffles.
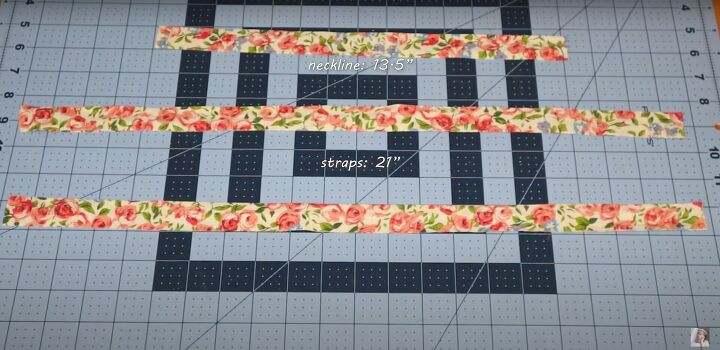
7. Make a ruffled trim
I wanted to add a ruffled trim to the neckline. To do this, I measured the neckline and each of the straps and multiplied each of those measurements by 1.5. Then I cut three strips of those lengths, each 0.75 inches wide.
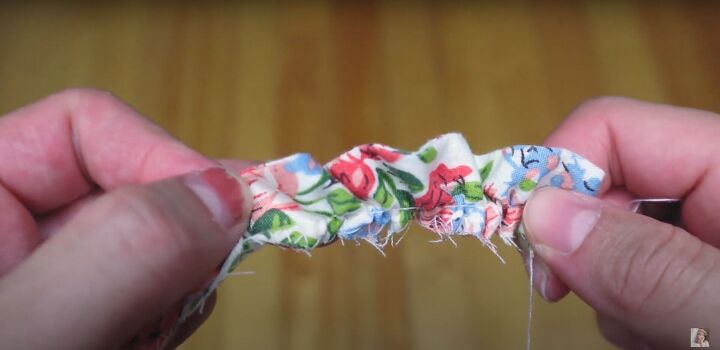
8. Gather
I zigzagged the edges of each strip and then sewed a basting stitch along the bottom of each strip. I pulled the thread to gather the fabric until the smaller strip was equal in length to the neckline and the longer strips were equal to the length of the straps.
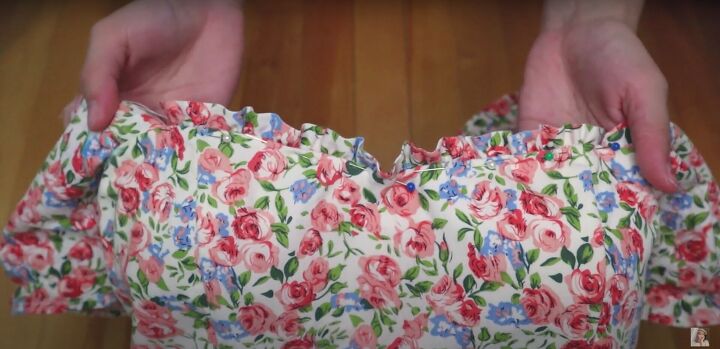
9. Pin and sew the ruffles
When I was happy with the ruffles, I pinned them in place and sewed them down with a topstitch.
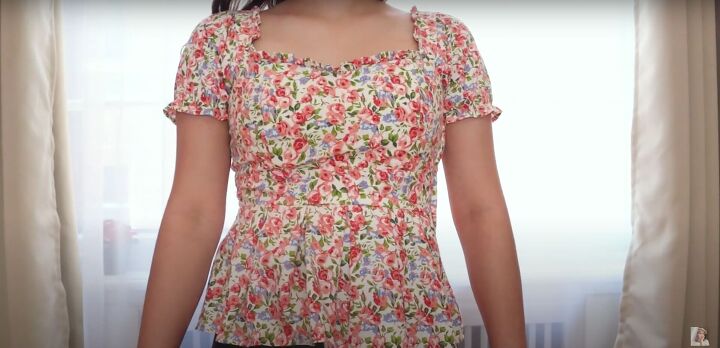
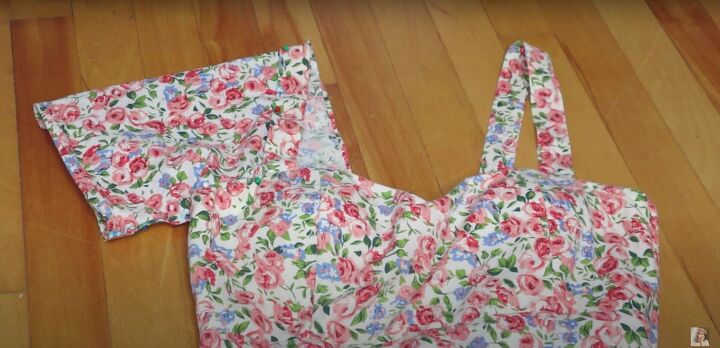
I love how this top turned out, and I’m so happy I was able to upcycle an old dress that no longer fit me.
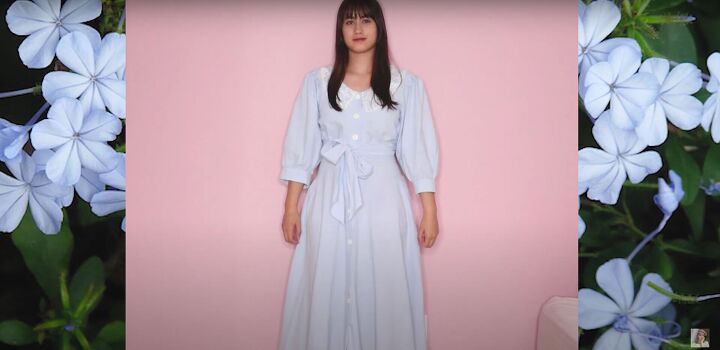
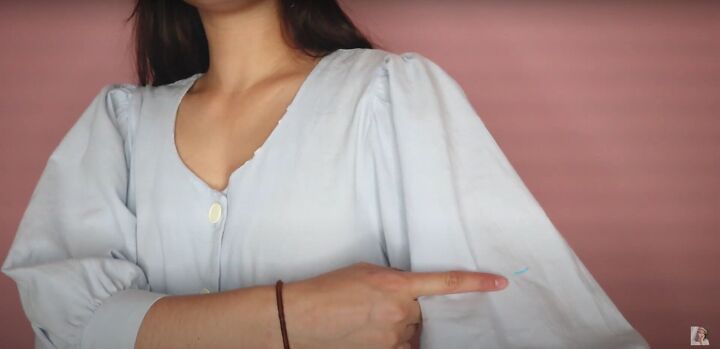
DIY dress makeover 2
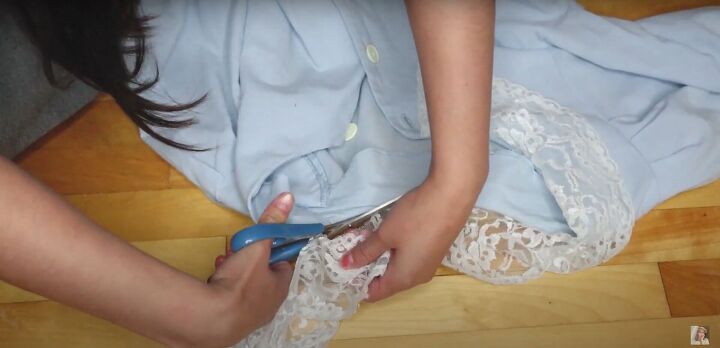
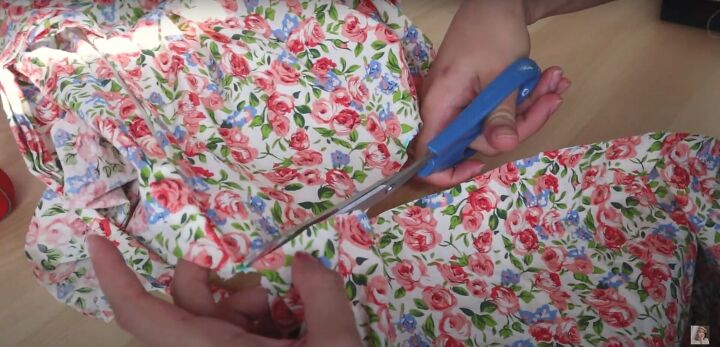
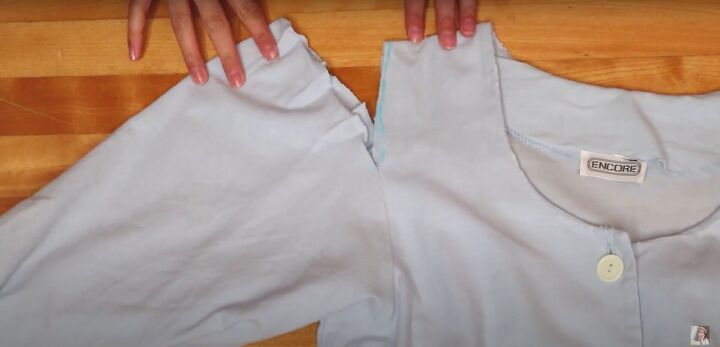
1. Cut the dress
To transform this dress, I started by cutting off the lace collar.
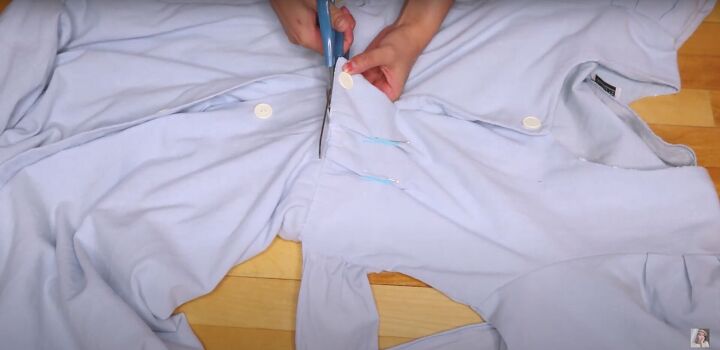
Then, I cut the skirt from the top so I could adjust the waistline.
I cut off the waist ties, as well, but I will be reattaching them later.

And finally, I cut the top to my desired length.
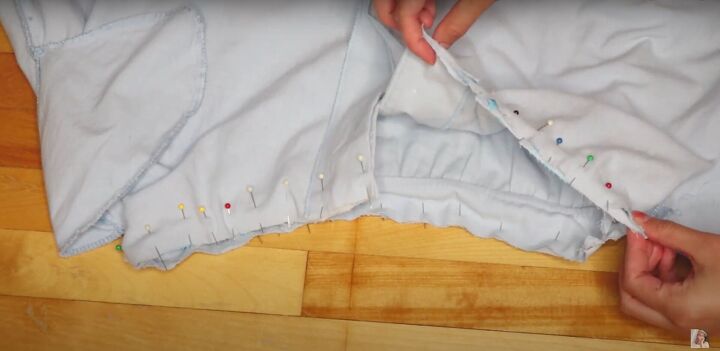
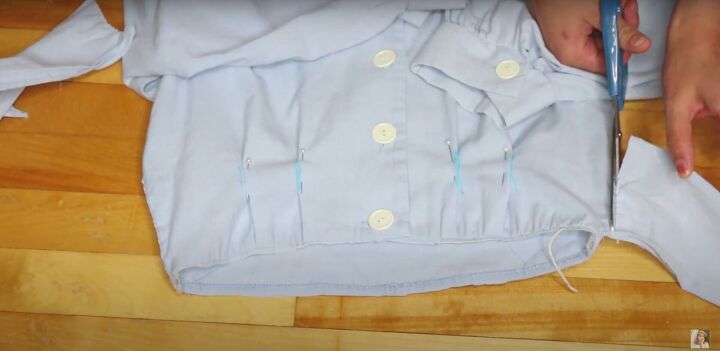
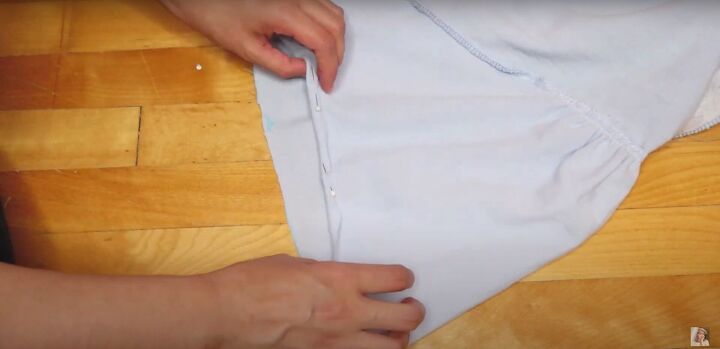
2. Pin and sew
Since I needed to leave space to reattach the waist ties, I needed to sew the front and back parts separately. I pinned and sewed the skirt first to the two front pieces, and then all along the back.
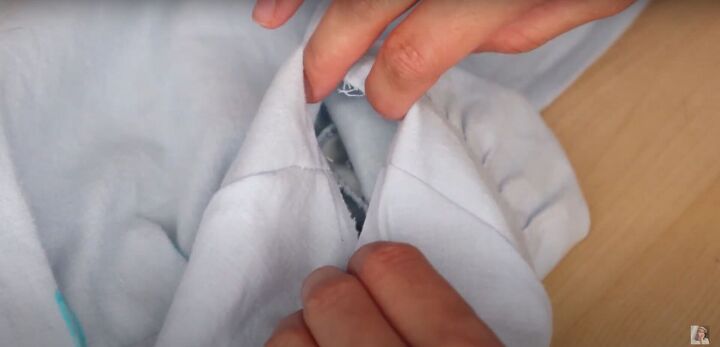
When you’re done sewing, there should be a hole like this on either side.
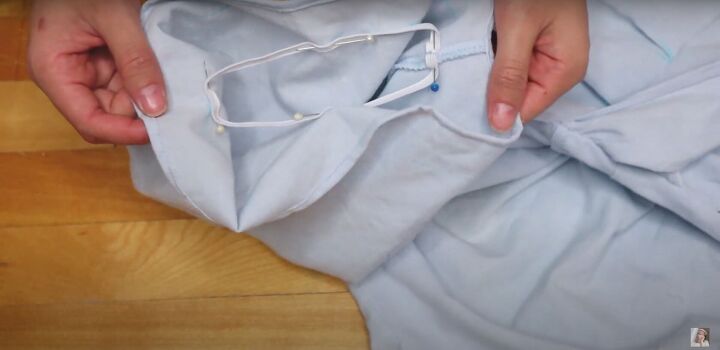
3. Reattach the waist ties
I inserted the ends of the waist ties into these holes, flipped the dress inside out, and sewed the ties down, sandwiched between the side seams.
4. Rip the seam
For instructions on how to turn the pleated shoulders into puff sleeves, see the video from 6:16-6:50.
5. Mark and cut
Next, I marked where I wanted the sleeve to end and cut it.
6. Hem
To hem the sleeves, I folded the edge twice and sewed it down.
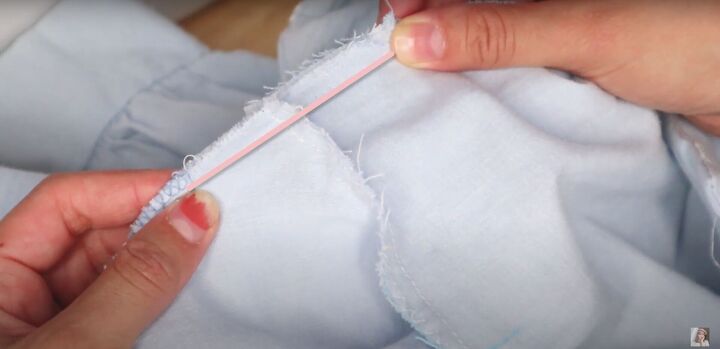
7. Pin and sew the elastic
Then, I cut two pieces of elastic that fit comfortably around my upper arm. I pinned each one in place about 2 inches in from the hem of the sleeve, and sewed it down, making sure to stretch the elastic as I was sewing.
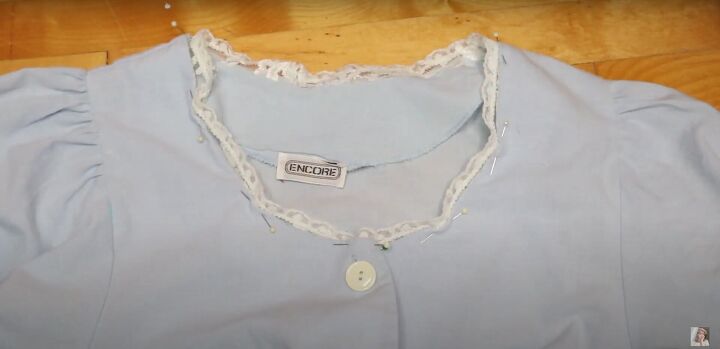
8. Cut, pin and sew the collar
For one last detail, I cut the edge off the lace collar, and pinned and sewed it inside the neckline of the dress with a topstitch.

DIY dress makeover tutorial
I really like how this dress turned out. It’s giving me Cinderella vibes and looks a lot more modern and youthful than the original.
Which of these DIY dress makeovers do you like best? Let me know in the comments if you use any of the techniques shown in this video to transform some of your own clothes, or even just add some details with vintage vibes.
The author may collect a small share of sales from the links on this page.


Comments
Join the conversation