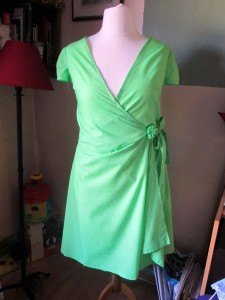
A Spring Green Wrap Dress Without a Pattern
A few weeks ago I decided to make myself a dress in bright spring green. Winter was definitely over and I was bored with my wintery things.
Last time I made a wrap dress I used a pattern. Unfortunately, despite buying what I thought was the right size, it was too small! So annoying. I managed to make it fit by unpicking the darts and patching in some extra bits but I was far from happy. Not least because the pattern people had made me feel like a fatty.
So this time I threw caution to the wind and attempted to make a wrap dress without a pattern. I bought four metres of cheap polycotton so that if I messed it up it wouldn’t be an expensive mistake! Here’s what I did.
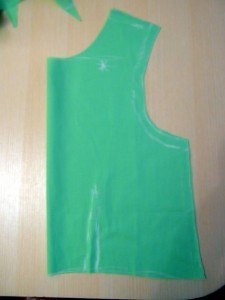
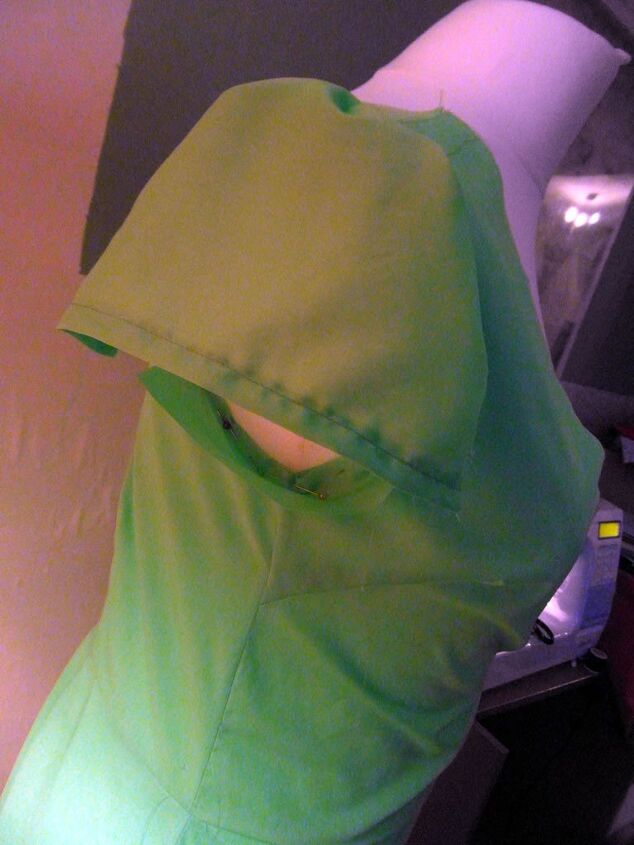
I cut 2 large triangles for the front using Betty, my tailors’ dummy, as a guide, and added some darts to give it some shape.
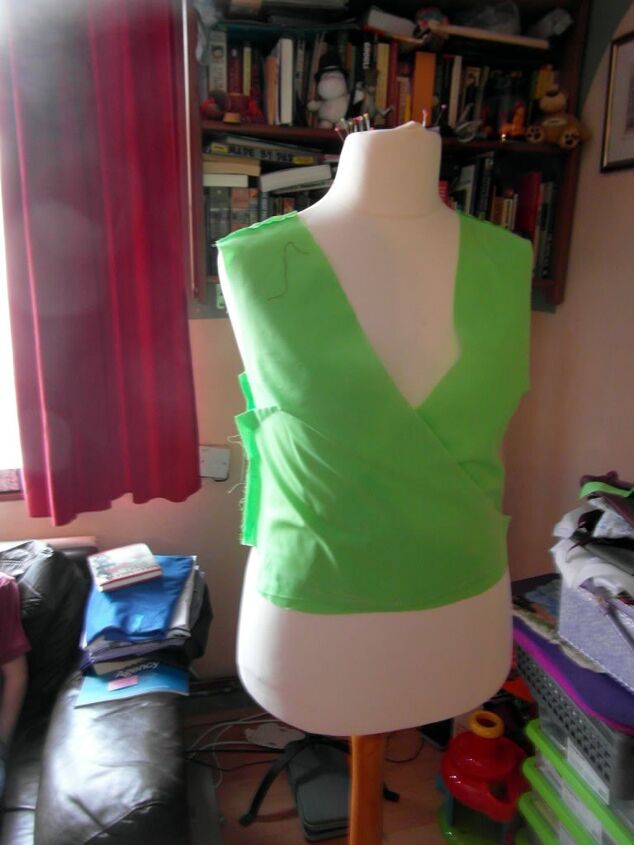
I pinned the bits onto her, then cut a rectangle of fabric and pinned it onto her back. Matching up sides and shoulders, I drew on the shape for the back. I folded it in half so that both halves would match!
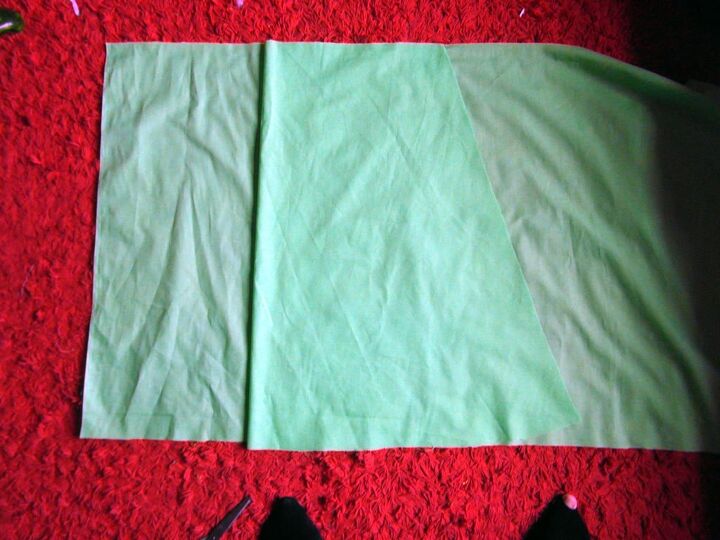
Then I cut it out allowing for seams. The length of the skirt was dictated by the amount of fabric I had left. I remembered from the GBSB about the grain of the fabric running down the centre front and back and cut pieces with a bit of a curved edge.
The back is one piece as are each of the front pieces. I sewed the skirt pieces together. To attach the skirt to the bodice I matched the side seams and pinned in place, then added a little pleat at the back, hoping it wouldn’t make me look like I had an enormous behind!
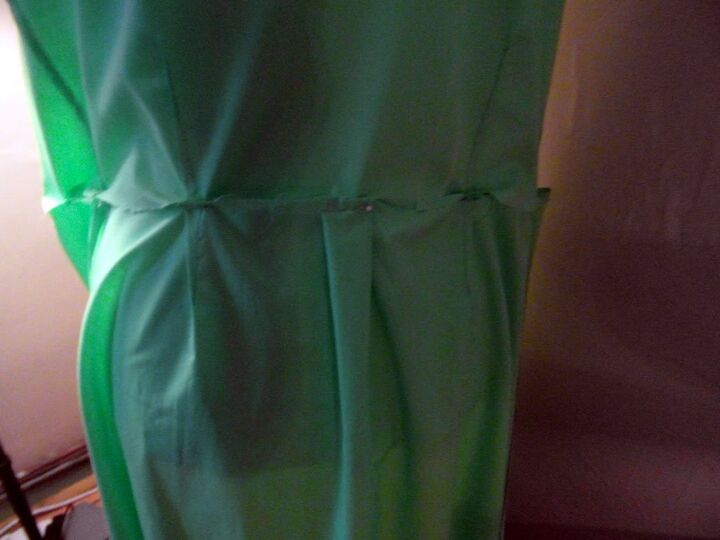
I decided that I wanted a bit of a frill, so after hemming the front edge I folded the edge over and back on itself a couple of times, pinned then sewed in place. I cut the bottom of the frill off so that it didn’t dangle below the edge of the skirt.
To finish the bodice off, I made bias strips and attached them all the way round. I made some extra strips for ties and attached a hook and eye on the inside.
To make the sleeves, I used this tutorial I found at ourlifeisbeautiful.com. I would never have thought of making sleeves this way, it was so easy!
Unfortunately my arms are a little bit dinnerladyish and one of the sleeves seams broke the first time I wore it. I might just take the sleeves off and bind the armholes. Or do what I have been doing and wear the dress with a rip in the sleeve area. Classy.
When I tried the dress on it didn’t fit very well. I’ve discovered that I am now thinner than Betty. Yay! It was a little bit annoying about the dress though. With some help from Husband, I made a couple of little tucks and now it fits. To disguise the mess, I made a lovely ruffly flower. I love wearing clothes I’ve made myself. I know that there’s almost no chance that i’ll bump into somebody wearing the same outfit 🙂
The author may collect a small share of sales from the links on this page.


Comments
Join the conversation