DIY Bell Sleeve Shift Dress

I’m going to show you step-by-step how to make a bell sleeve shift dress. The dress is chic and minimalist, and the bell sleeves are flared and flowy and are just a really gorgeous sleeve style that I can’t get enough of. Let’s get started:
Tools and materials:
- Fabric with good stretch
- Coordinating thread
- Pattern paper
- Paper scissors
- Fabric shears
- Pins
- Marking pencil
- Sewing machine
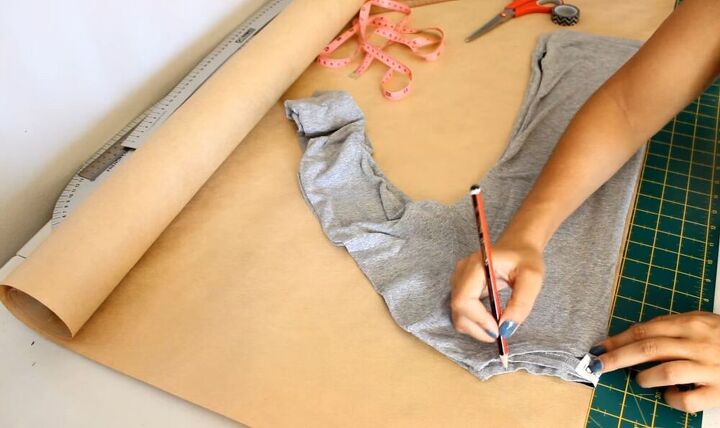
Trace a top
Trace a top that fits you well onto your pattern paper. Fold the top in half as I have done. You just need to trace the body part of the top, so omit the sleeves.
Mark the length
Determine how long you would like your dress to be and add a 1-inch hem allowance to the bottom. Mark this on the paper. Also, add a half-inch seam allowance on the side, the neckline, and the dress's armhole.
Cut the template
Mark 2 inches from the armpit area down and draw a line across the template. Cut through this line and then cut out the rest of your pattern pieces using paper scissors.
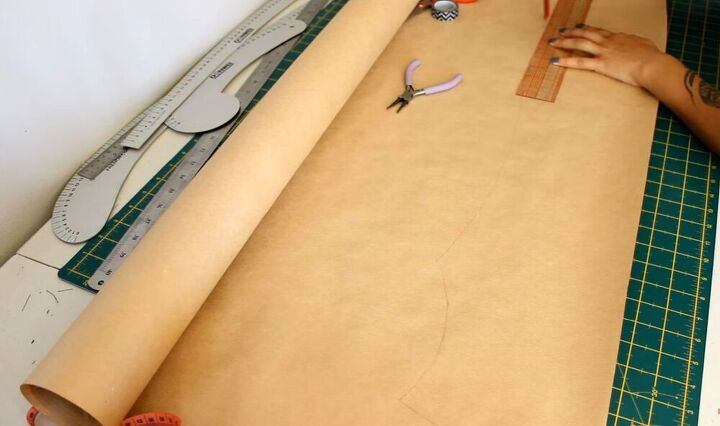
Mark the skirt
You now have two template pieces, the top half and the bottom half. On the bottom half, draw lines that are 1.5 inches apart from the top to the bottom of the pattern piece.
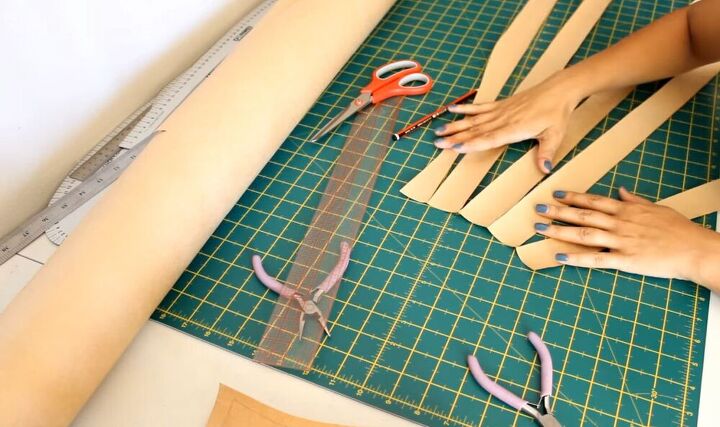
Slash and spread the skirt
Proceed to cut along these lines, but not right through. Leave it attached at the very top, as can be seen in the picture.
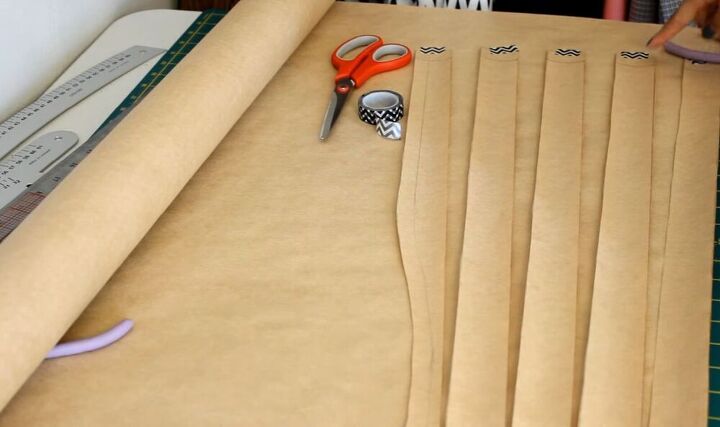
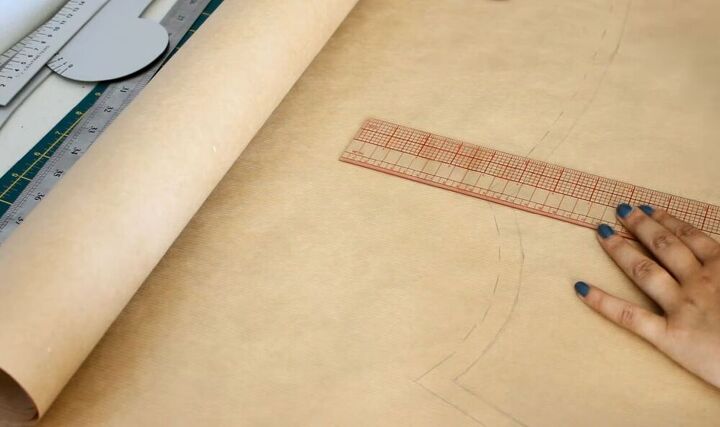
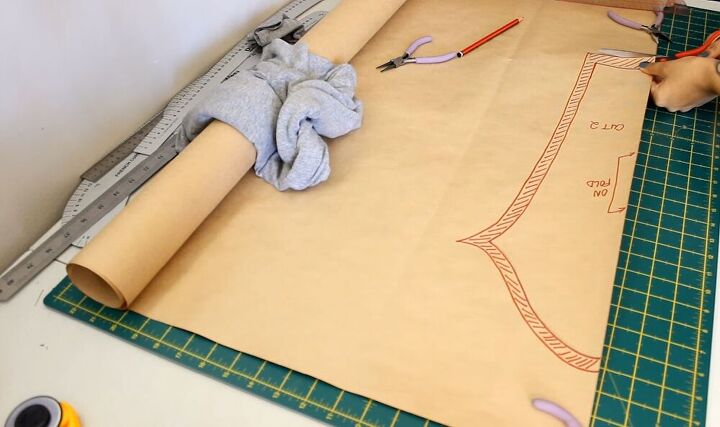
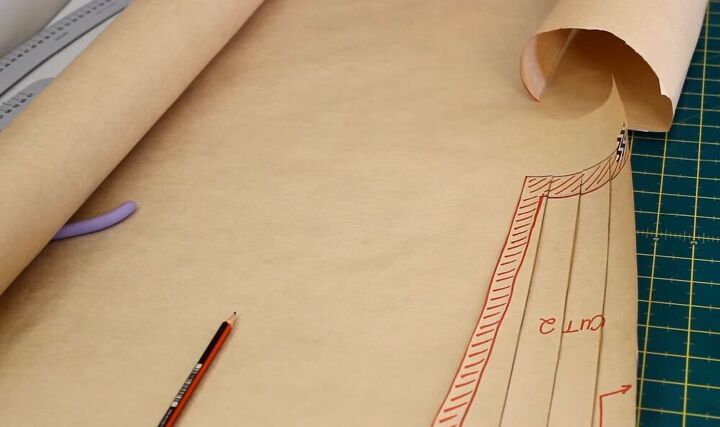
Cut out your new template
Transfer the two templates onto a new piece of pattern paper. Spread each of the slashed strips of the bottom pattern piece 1 inch apart and tape it down. Continue to cut out the new pattern piece using your paper scissors. Mark your new pattern piece for ease of reference; you’ll want to mark the seam allowance and the fold line.
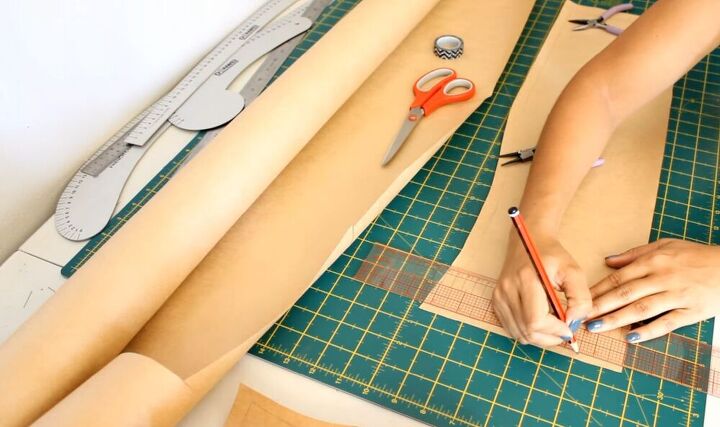
Make the sleeve template
Now it’s time to trace the sleeve pattern. Add a half-inch seam allowance on the sides and the armhole area. Cut the pattern out.
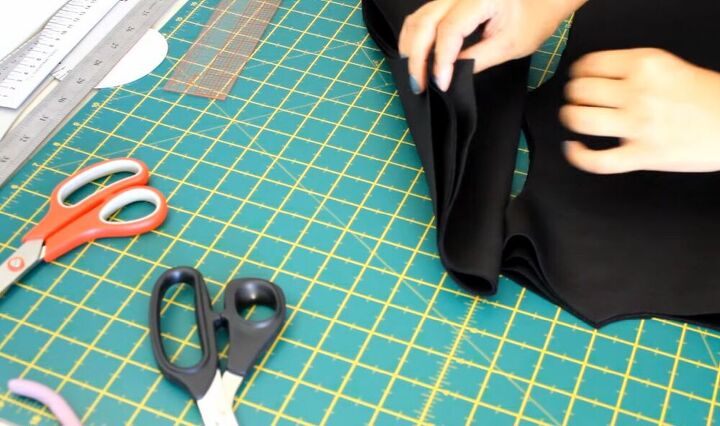
Slash and spread the sleeves
Mark how far down you would like your bell sleeves to start and draw a line across. Repeat the same slash and spread method as done on the body pattern. This time, your slashed pieces will be 1inch wide, not 1.5 inches as before. Spread the slashed pieces 2 inches apart. Now cut out your new sleeve pattern piece. Mark your new pattern piece (just as you marked the other cutout) for ease of reference.
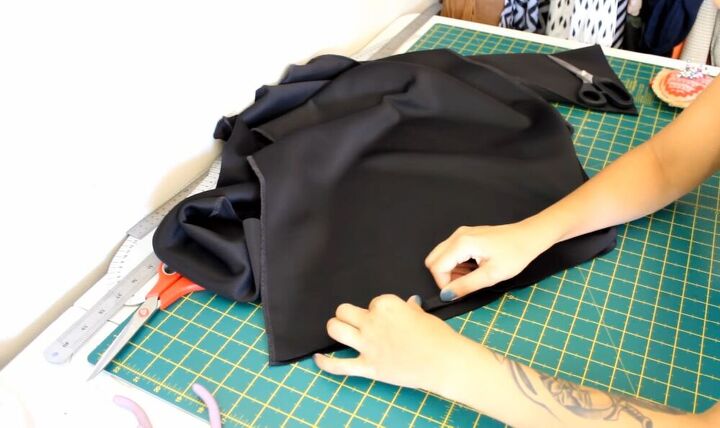
Cut the fabric
You now have all of the pieces that you need to create your bell sleeve shift dress. Now it’s time to cut your fabric using the pattern pieces you have just created. Fold your fabric in half twice, place the pattern pieces on the fold, pin it down, and cut. You should have four layers of each piece on the fold. Now it’s time to mark and cut the front neckline, however deep you would like it to be.

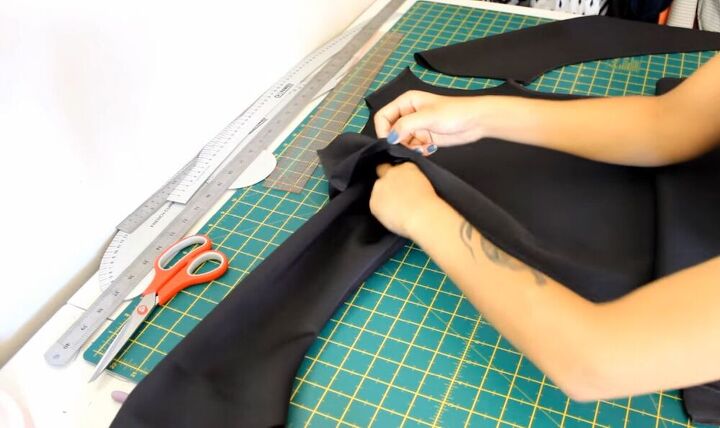
Sew the fabric together
Lay the front and back pieces on top of each other with the right sides facing each other. Pin the shoulder seams and the side seams, and then sew. Once you’ve done this, pin the side seams of the sleeves and then sew. Turn both pieces inside out so that the stitching is on the inside.
Attach the sleeves to the dress
Now it’s time to attach the sleeves to the dress at the armhole area. Feed the sleeve into the armhole, pin it all the way around, and then sew and repeat this for the second sleeve.
Hem the edges
Hem the sleeves, neckline, and the bottom of the dress. Zigzag or serge all the raw edges, fold the material over a half-inch once, and sew!

Now you’re ready to rock your new dress! This is such a versatile little dress that you can wear on so many different occasions. It’s simple and chic, and the bell sleeves add a really nice touch. As it is very minimalist, there is no limit to all the ways you can dress it up by adding different accessories. I’ve styled mine here with ankle boots, a black fedora, and a dog collar necklace. Have fun styling yours!
The author may collect a small share of sales from the links on this page.


Comments
Join the conversation