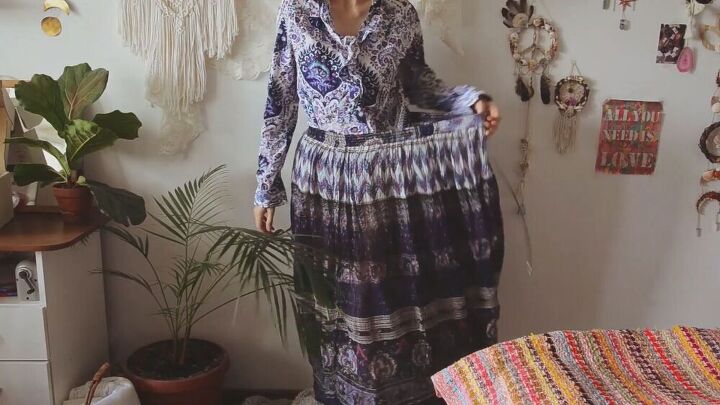
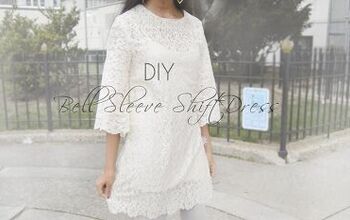
Boho Bell Sleeve Dress Tutorial

Refashioning is fun and easy, and today I’m going to show you a simple tutorial for how to sew a bell-sleeve dress that you will love to wear out of old clothes that have seen better days. Follow along with this bell-sleeve dress tutorial, and enjoy the fabulous results.
Tools and materials:
- Button-down shirt
- Long skirt
- Bleach (optional)
- Bucket (optional)
- Seam ripper
- Scissors
- Pins
- Iron
- Sewing machine
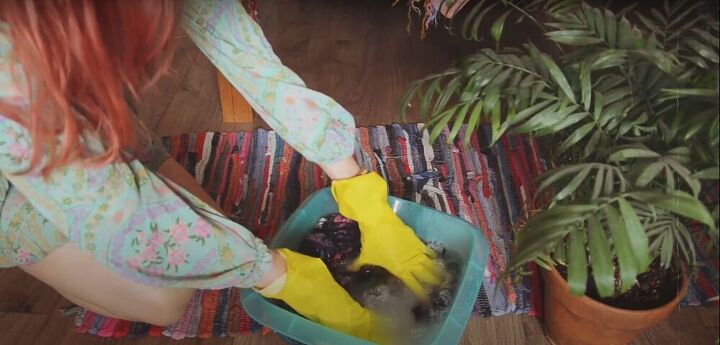
Bleach and wash
I wanted to fade the colors on the clothes I was using for this project, so I soaked them in a bucket of a mixture of water and bleach. If you do this, make sure to test a small bit of the fabric in the bleach before soaking the whole thing. After bleaching, I washed and dried the clothing before beginning the project.
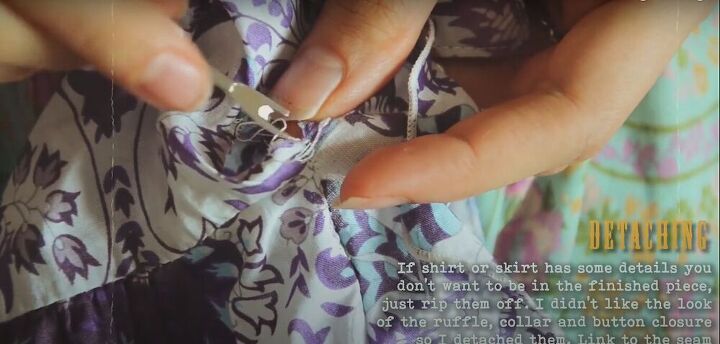
Remove unwanted features
I removed the ruffle, collar, and button closures from the shirt, as I didn’t want them on the finished piece.
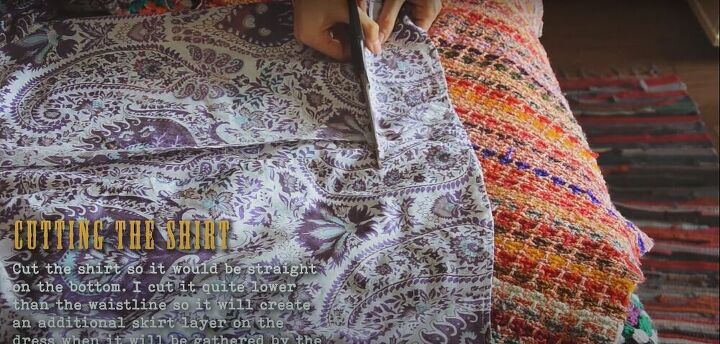
Cut
Next, I cut the shirt so the bottom edge would be straight. I cut it lower than the waistline, so it would create an additional skirt layer once the dress is gathered by the waist.
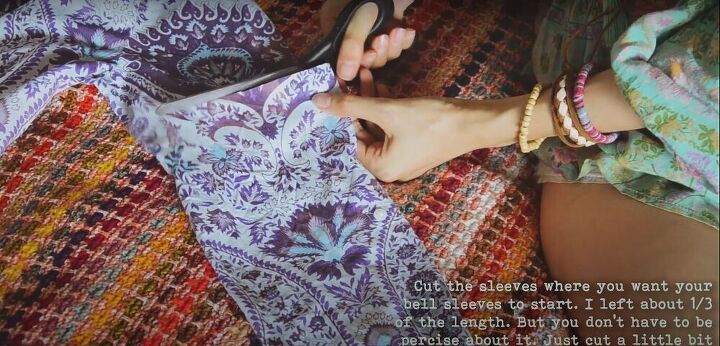
I also cut the sleeves at the point where I wanted the bell of the sleeve to begin.
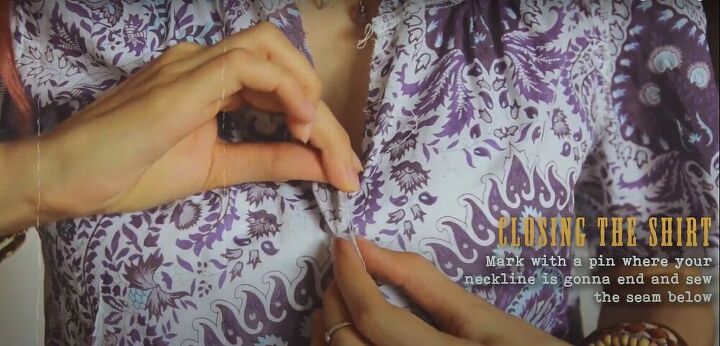
Pin and sew
I tried on the shirt and placed a pin where I wanted the neckline to end. Then I sewed the seam closed below it.
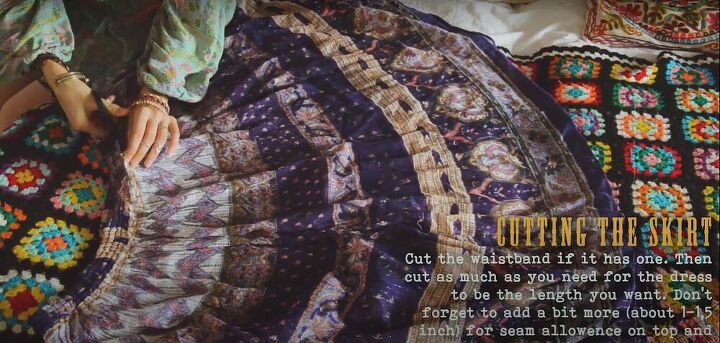
Cut
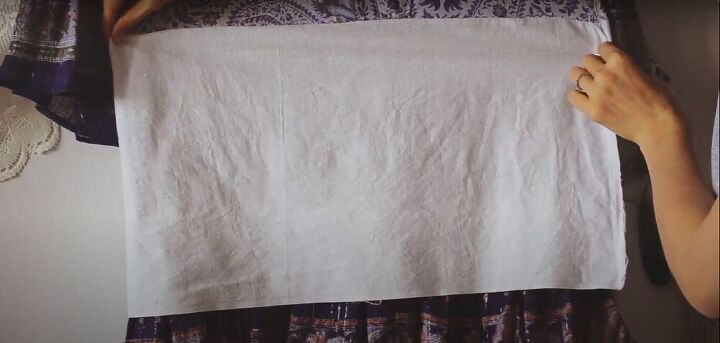
Next, I cut the waistband off my skirt. I also cut the skirt to my desired length, leaving an extra inch or two for seam allowance.
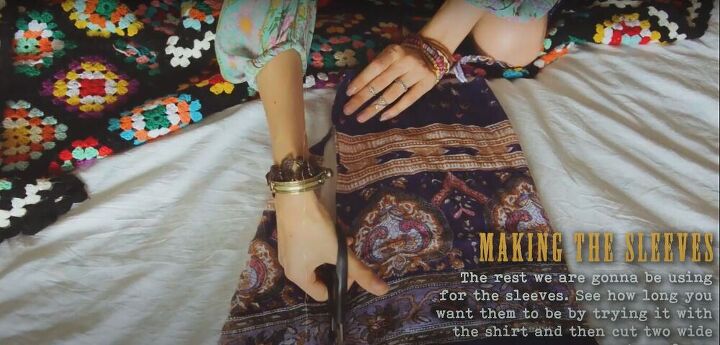
Cut bells for the sleeves
Using the offcuts of the skirt, I cut two wide rectangles to use as the bells of the sleeves. Make sure to cut them very wide. I did not cut mine wide enough and needed to add fabric later.
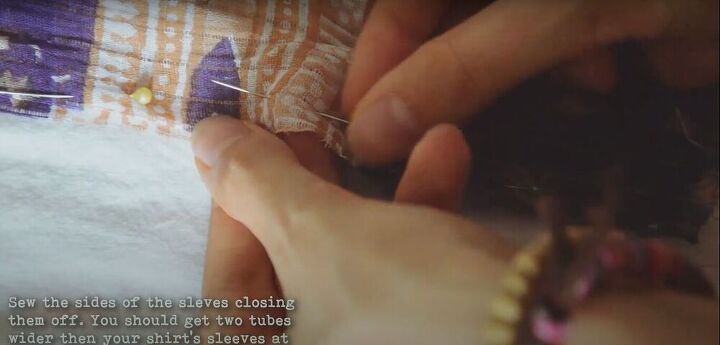
Pin and sew
I pinned the sides of the rectangles and sewed them down, creating two tubes with a circumference wider than the sleeves of the dress.
Gather
I gathered the top edges of the skirt and the bells of the sleeves using a wide, straight stitch, making sure not to backstitch at the beginning or end, and then pulling the thread.
Pin, sew, and remove thread
With right sides together, I pinned the skirt and bell sleeves in place and sewed them down. Once everything was sewn into place, I removed the gathering threads.
Fold, pin, and sew
Next, I hemmed the neckline by folding the edge once inward, pinning it in place, and sewing it down.
Cut
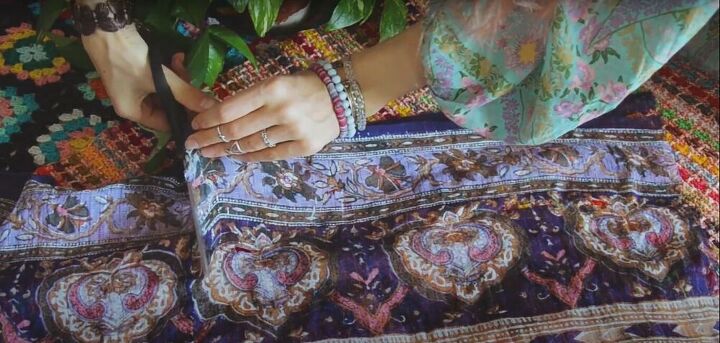
I wanted my dress to have a panel on the bodice of the same fabric as the skirt, so I cut a rectangle of fabric from the offcuts of the skirt.
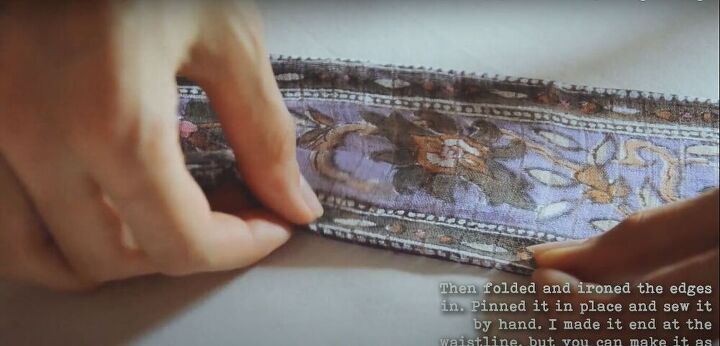
Fold and iron
I folded the edges of the fabric inward and ironed them down.
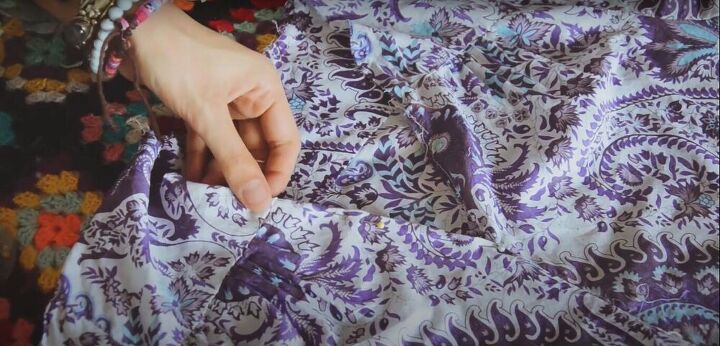
Pin and sew
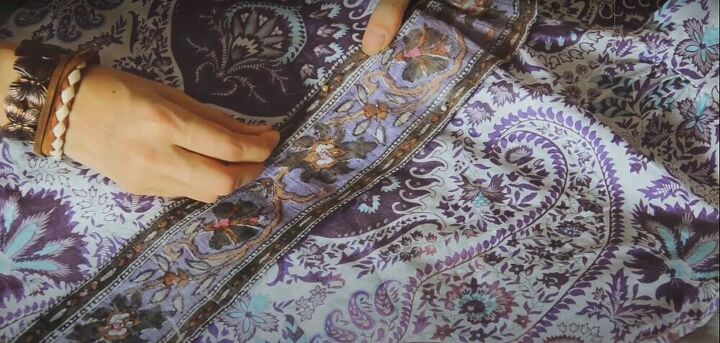
Then I pinned the panel in place down the center of the bodice, from the neckline to the waist, and sewed it in place by hand.
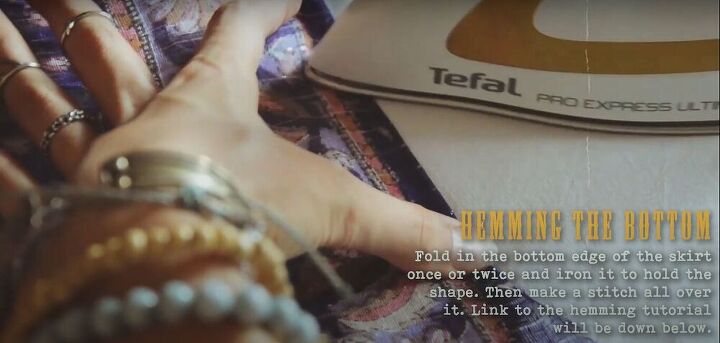
Hem
To hem the bottom edge, I folded the edge over twice and ironed it flat. Then I sewed it down.
Add lining
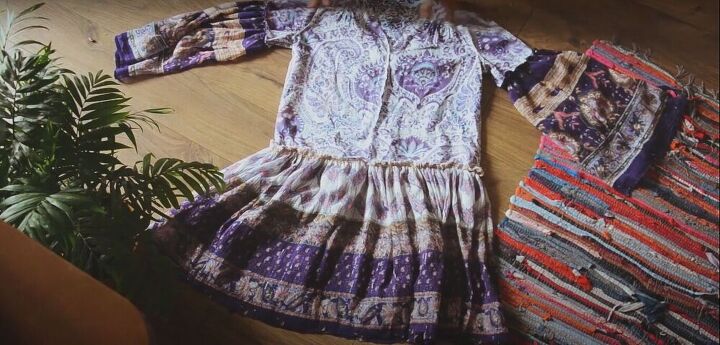
I decided to add a lining because the skirt was very sheer. I just sewed a tube of fabric as wide as the bottom of the skirt and sewed it to the seam where the shirt and skirt are attached.

I hope this tutorial was helpful. If you use these instructions to make a bell-sleeve dress of your own, I would love to see your results.
The author may collect a small share of sales from the links on this page.


Comments
Join the conversation
Looks great! Nice video!
Very pretty, and you look lovely in it. It doesn't hurt to have a good figure! I have very ugly, veined lower arms, so can't wear my short-sleeved tops anymore. The belled sleeve idea is perfect and I'll be using it. Thanks.